Stripe Apps の待機画面
待機画面の使用方法をご紹介します。
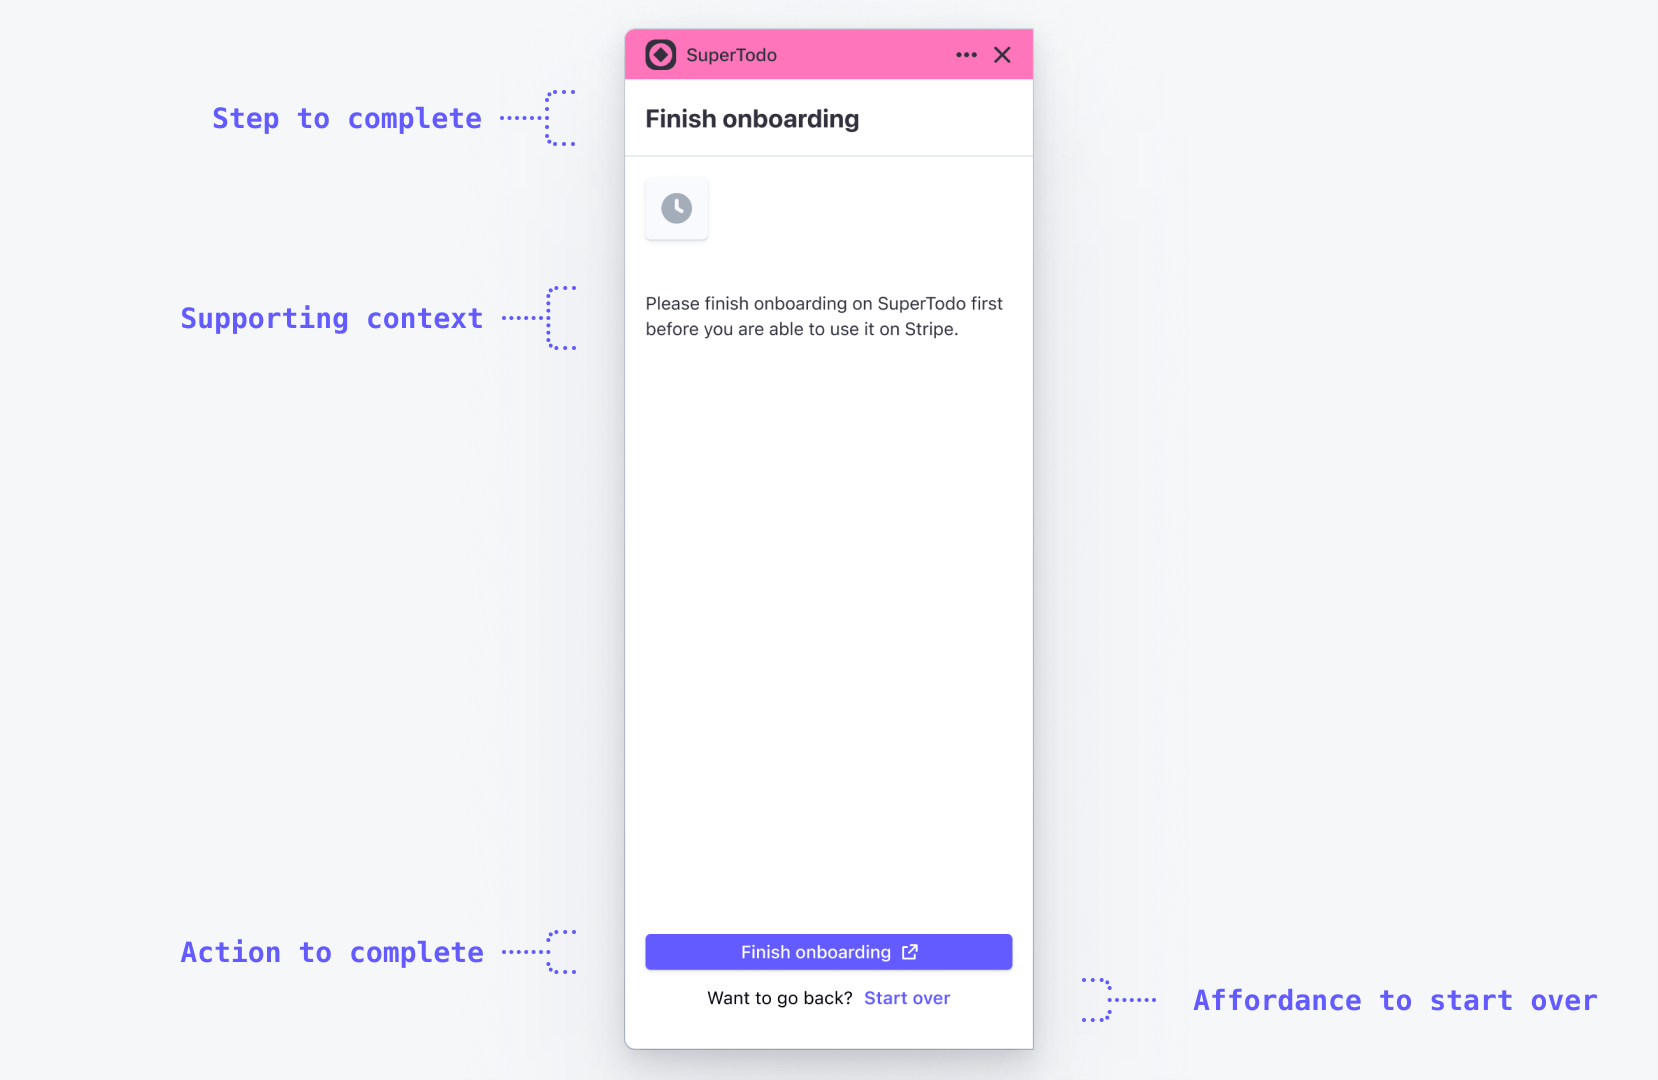
アカウント登録プロセスの全体を通してユーザーに常に情報を提示し、待機画面では推定待機時間と次の手順を明確に示します。
はじめに
推奨される使用法
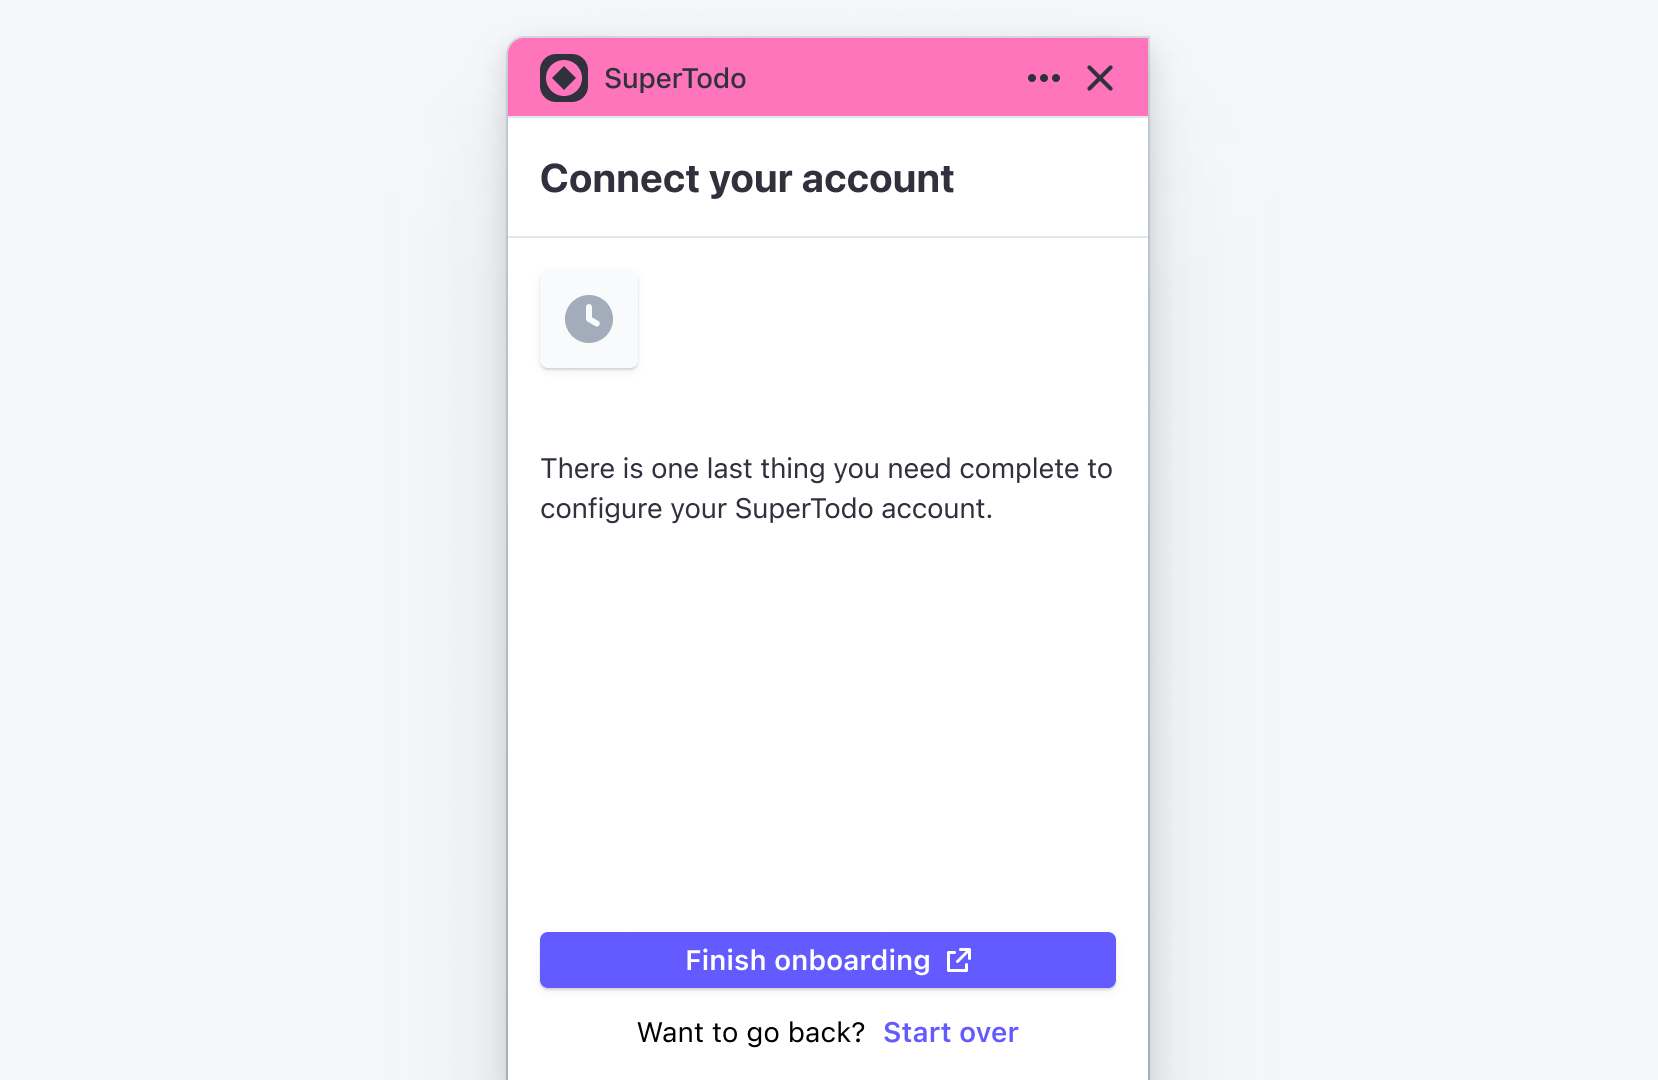
- ユーザーがアカウント登録フローの途中で Stripe に戻る場合は、状況を表示します。以下に例を示します。

- 行動喚起を追加するのは、ユーザーがアカウント登録プロセスの後続手順に進む場合、または後続の手順の実行に必要な追加のコンテキストを提供する場合のみにしてください。
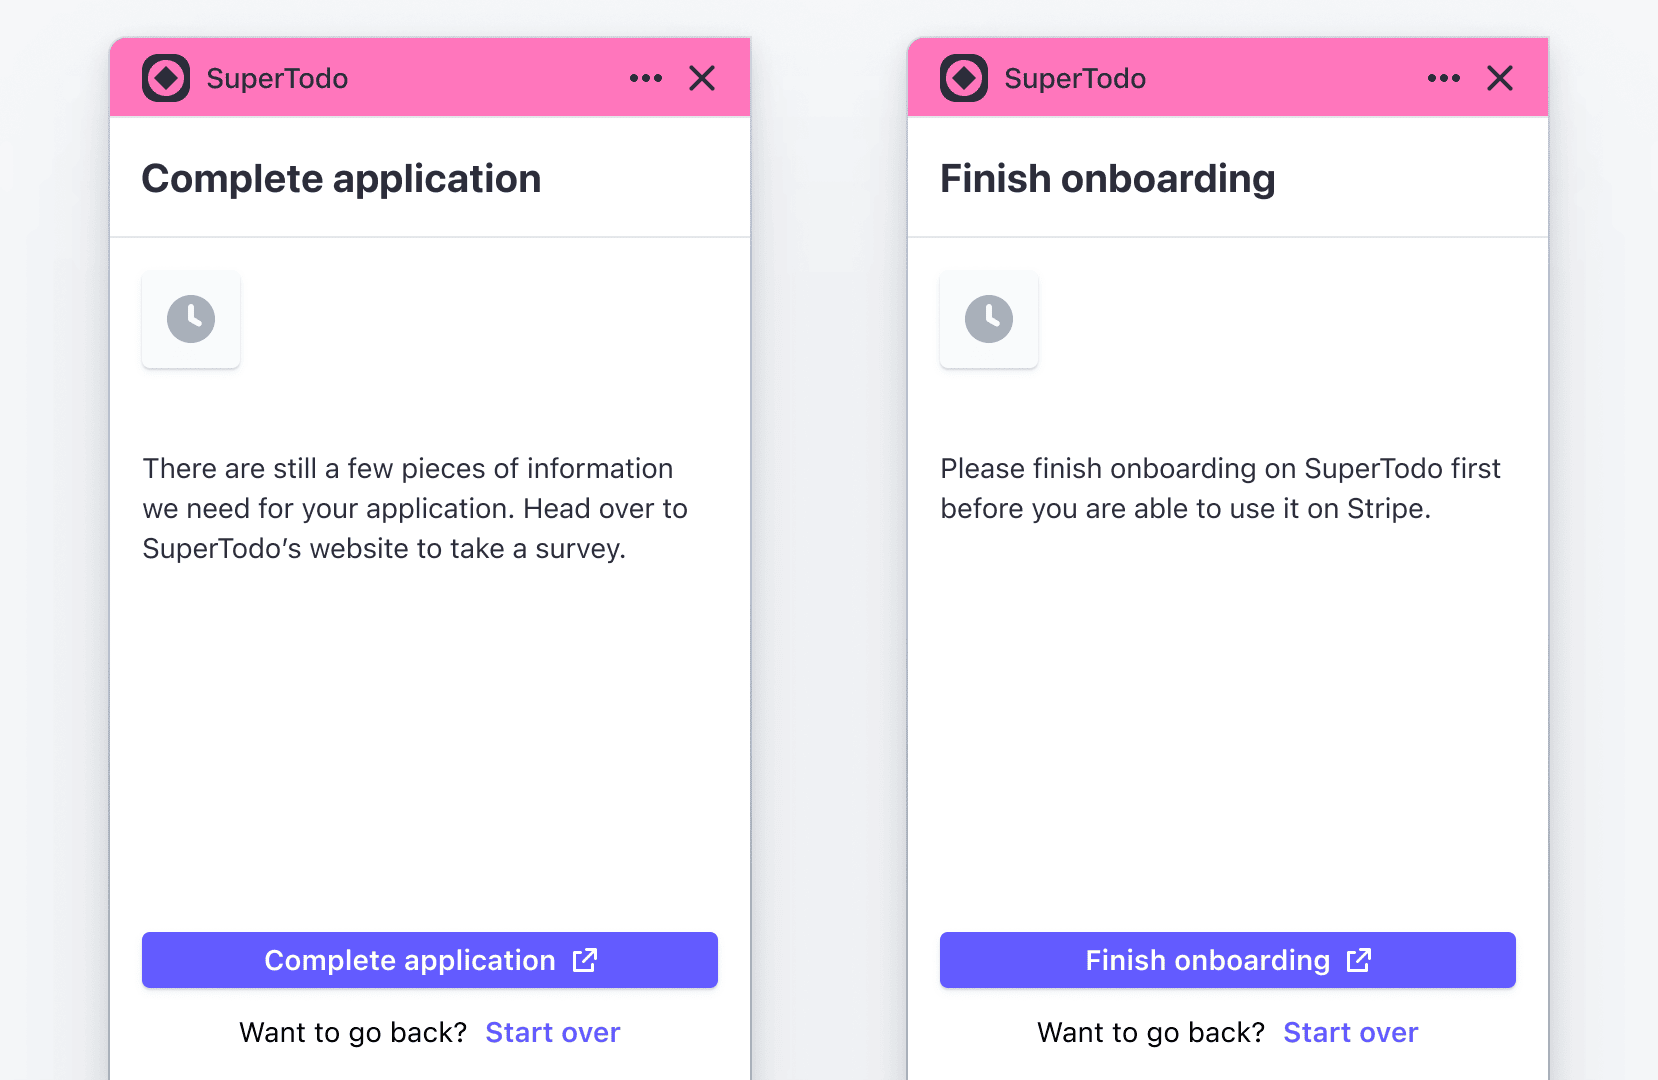
- 明確で簡潔な用語を使用します。ユーザーが実際に必要としないようなコンテキストは使用しないでください。以下に例を示します。

- Stripe の外部にユーザーを移動してアカウントに接続する必要がある場合 (非推奨)、待機画面を使用して、移動が行われることを明確に伝えてください。以下に例を示します。

例
次の例は、ContextView コンポーネントで構築された待機画面を示しています。
import {
  Box,
  Button,
  ContextView,
  Icon,
  Inline,
  Link,
} from "@stripe/ui-extension-sdk/ui";
const WaitingScreen = () => {
  return (
    <ContextView
      title="Finish onboarding"
      footerContent={
        <Box>
          <Button type="primary" css={{ width: "fill" }}>
            Finish onboarding
          </Button>
          <Box
            css={{
              marginTop: "small",
              textAlign: "center",
              stack: "x",
              alignX: "center",
              gap: "small",
            }}
          >
            <Box>Want to go back?</Box>
            <Link>Start over.</Link>
          </Box>
        </Box>
      }
    >
      <Box css={{ marginBottom: "xlarge" }}>
        <Inline
          css={{
            backgroundColor: "container",
            keyline: "neutral",
            borderRadius: "small",
            paddingX: "small",
            paddingTop: "small",
            paddingBottom: "xsmall",
          }}
        >
          <Icon name="clock" css={{ fill: "secondary" }} />
        </Inline>
      </Box>
      <Box>Please finish onboarding to SuperTodo.</Box>
    </ContextView>
  );
};