Waiting screens for Stripe Apps
Learn how to use the waiting screen.
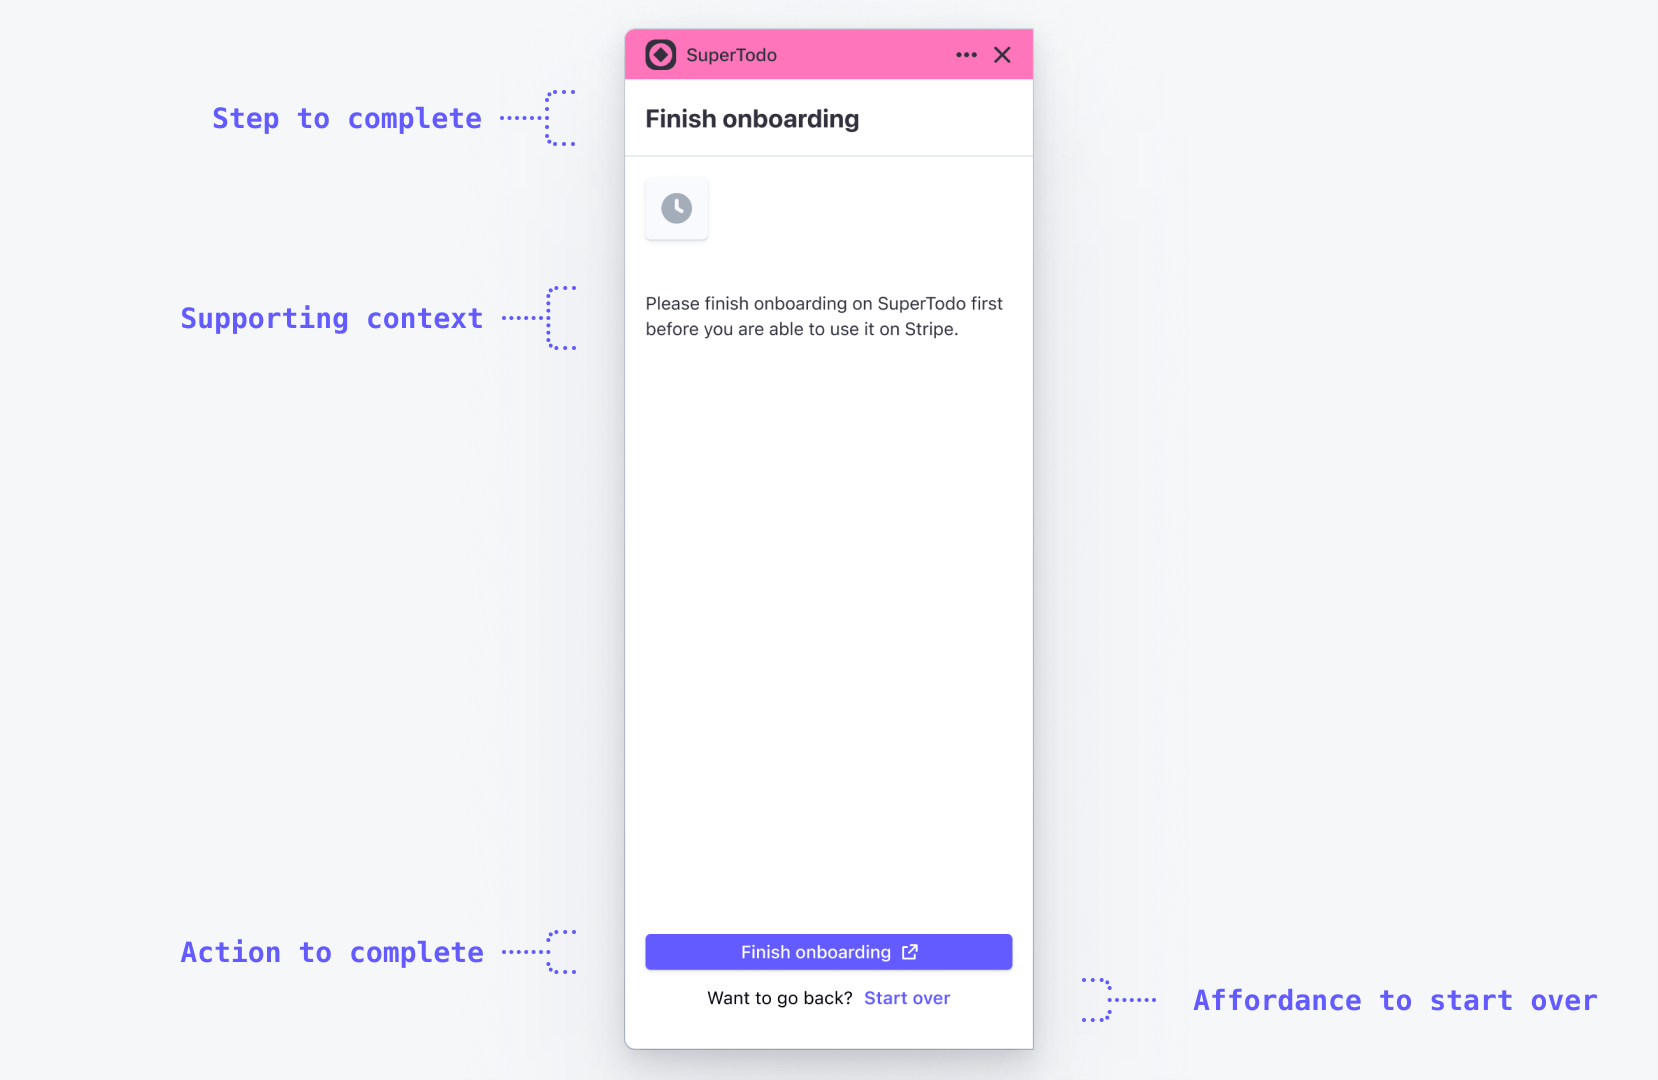
Keep users informed throughout the entire onboarding process and set clear expectations of wait times and next steps with waiting screens.
Before you begin
Suggested use
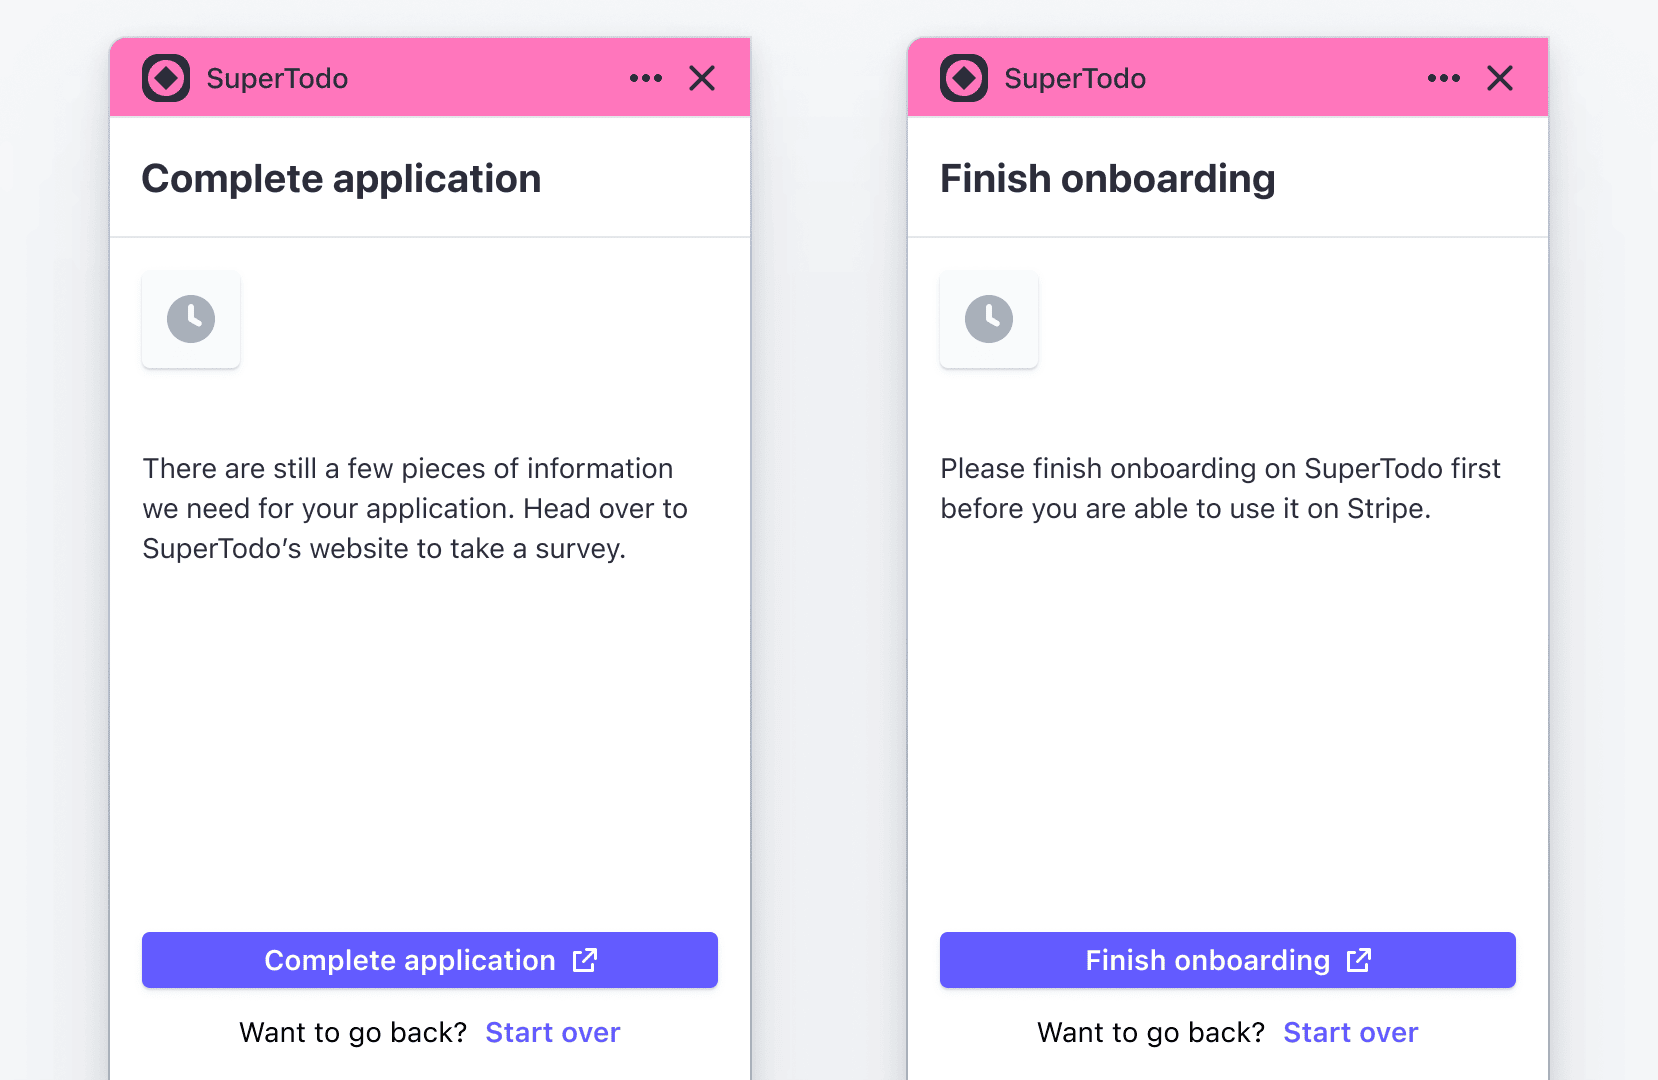
- If users navigate back to Stripe during the onboarding flow, keep them informed about what’s happening. For example:

- Only add a call-to-action if it leads users to the next step of the onboarding process, or to provide additional context they need to complete in the next step.
- Keep language clear and concise. Avoid providing more context than what users might actually require. For example:

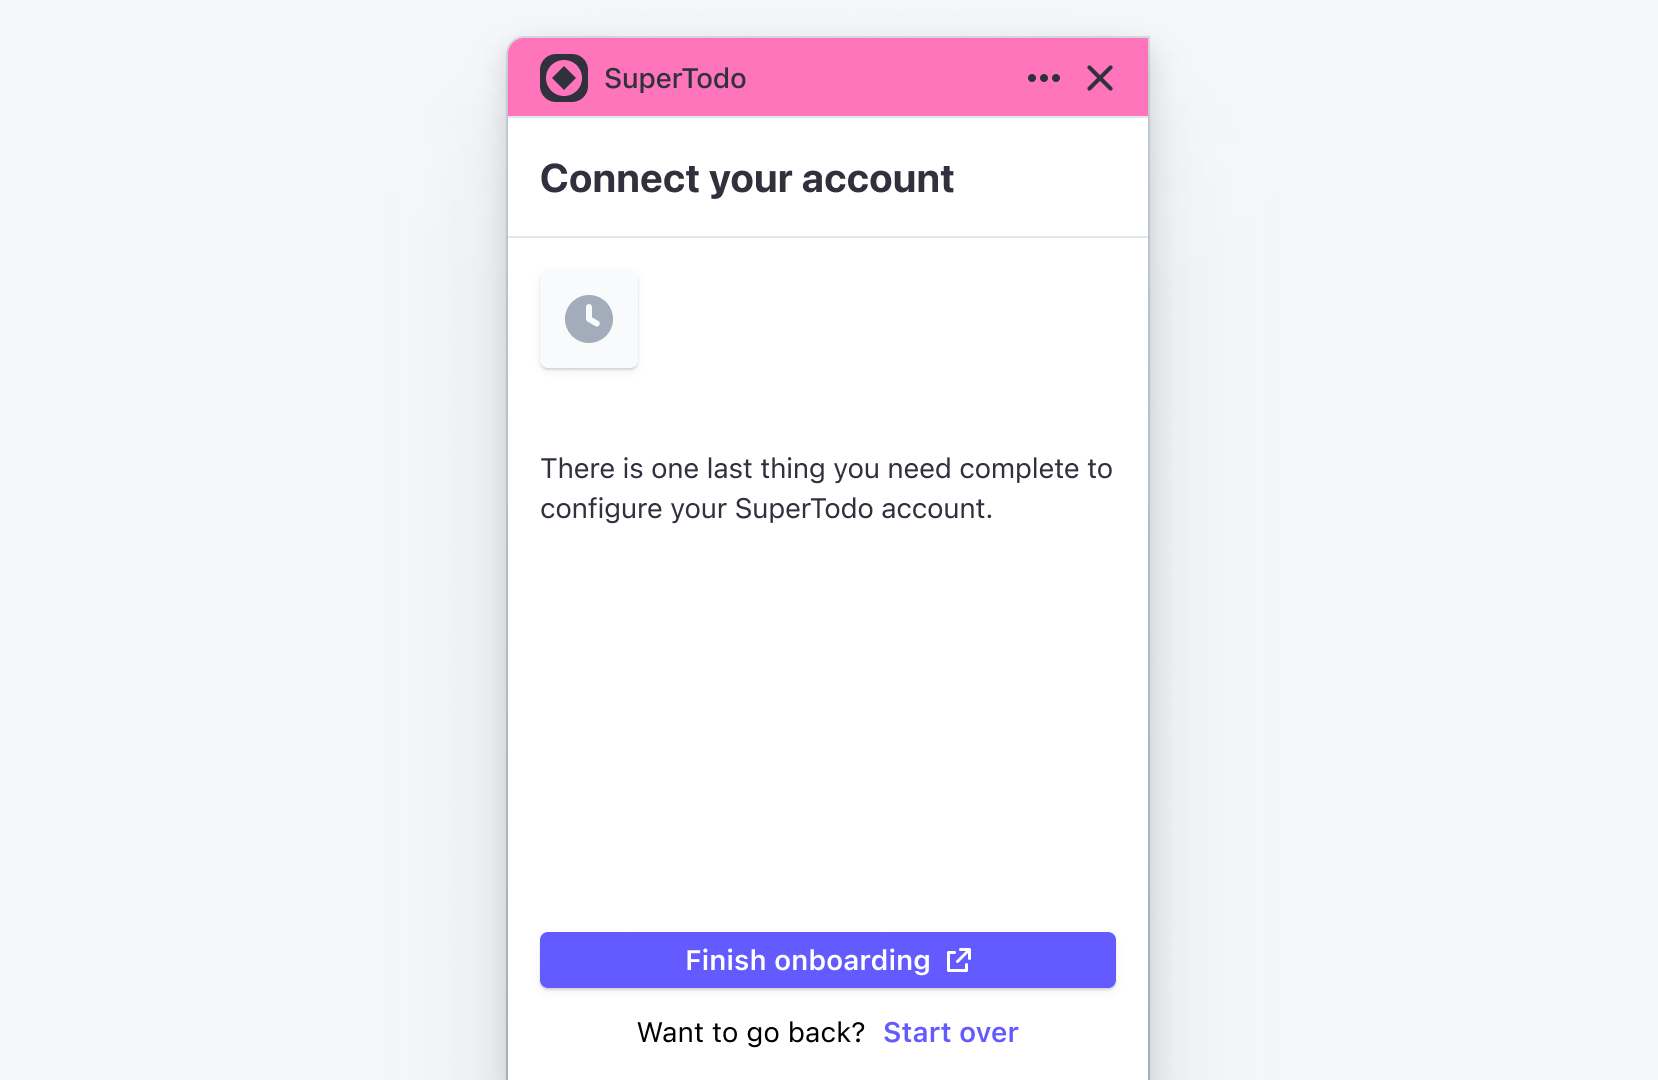
- If you must take users outside of Stripe to connect to your account (not recommended), use a waiting screen that clearly communicates this transition. For example:

Example
The following sample shows a waiting screen built in a ContextView component:
import {
  Box,
  Button,
  ContextView,
  Icon,
  Inline,
  Link,
} from "@stripe/ui-extension-sdk/ui";
const WaitingScreen = () => {
  return (
    <ContextView
      title="Finish onboarding"
      footerContent={
        <Box>
          <Button type="primary" css={{ width: "fill" }}>
            Finish onboarding
          </Button>
          <Box
            css={{
              marginTop: "small",
              textAlign: "center",
              stack: "x",
              alignX: "center",
              gap: "small",
            }}
          >
            <Box>Want to go back?</Box>
            <Link>Start over.</Link>
          </Box>
        </Box>
      }
    >
      <Box css={{ marginBottom: "xlarge" }}>
        <Inline
          css={{
            backgroundColor: "container",
            keyline: "neutral",
            borderRadius: "small",
            paddingX: "small",
            paddingTop: "small",
            paddingBottom: "xsmall",
          }}
        >
          <Icon name="clock" css={{ fill: "secondary" }} />
        </Inline>
      </Box>
      <Box>Please finish onboarding to SuperTodo.</Box>
    </ContextView>
  );
};