Apple Pay
Allow customers to securely make payments using Apple Pay on their iPhone, iPad, or Apple Watch.
Apple Pay is compatible with most Stripe products and features. Stripe users can accept Apple Pay in iOS applications in iOS 9 and above, and on the web in Safari starting with iOS 10 or macOS Sierra. There are no additional fees to process Apple Pay payments, and pricing is the same as for other card transactions.
Apple Pay is available to cardholders at participating banks in supported countries. For more information, refer to Apple’s participating banks documentation.
Payment flow
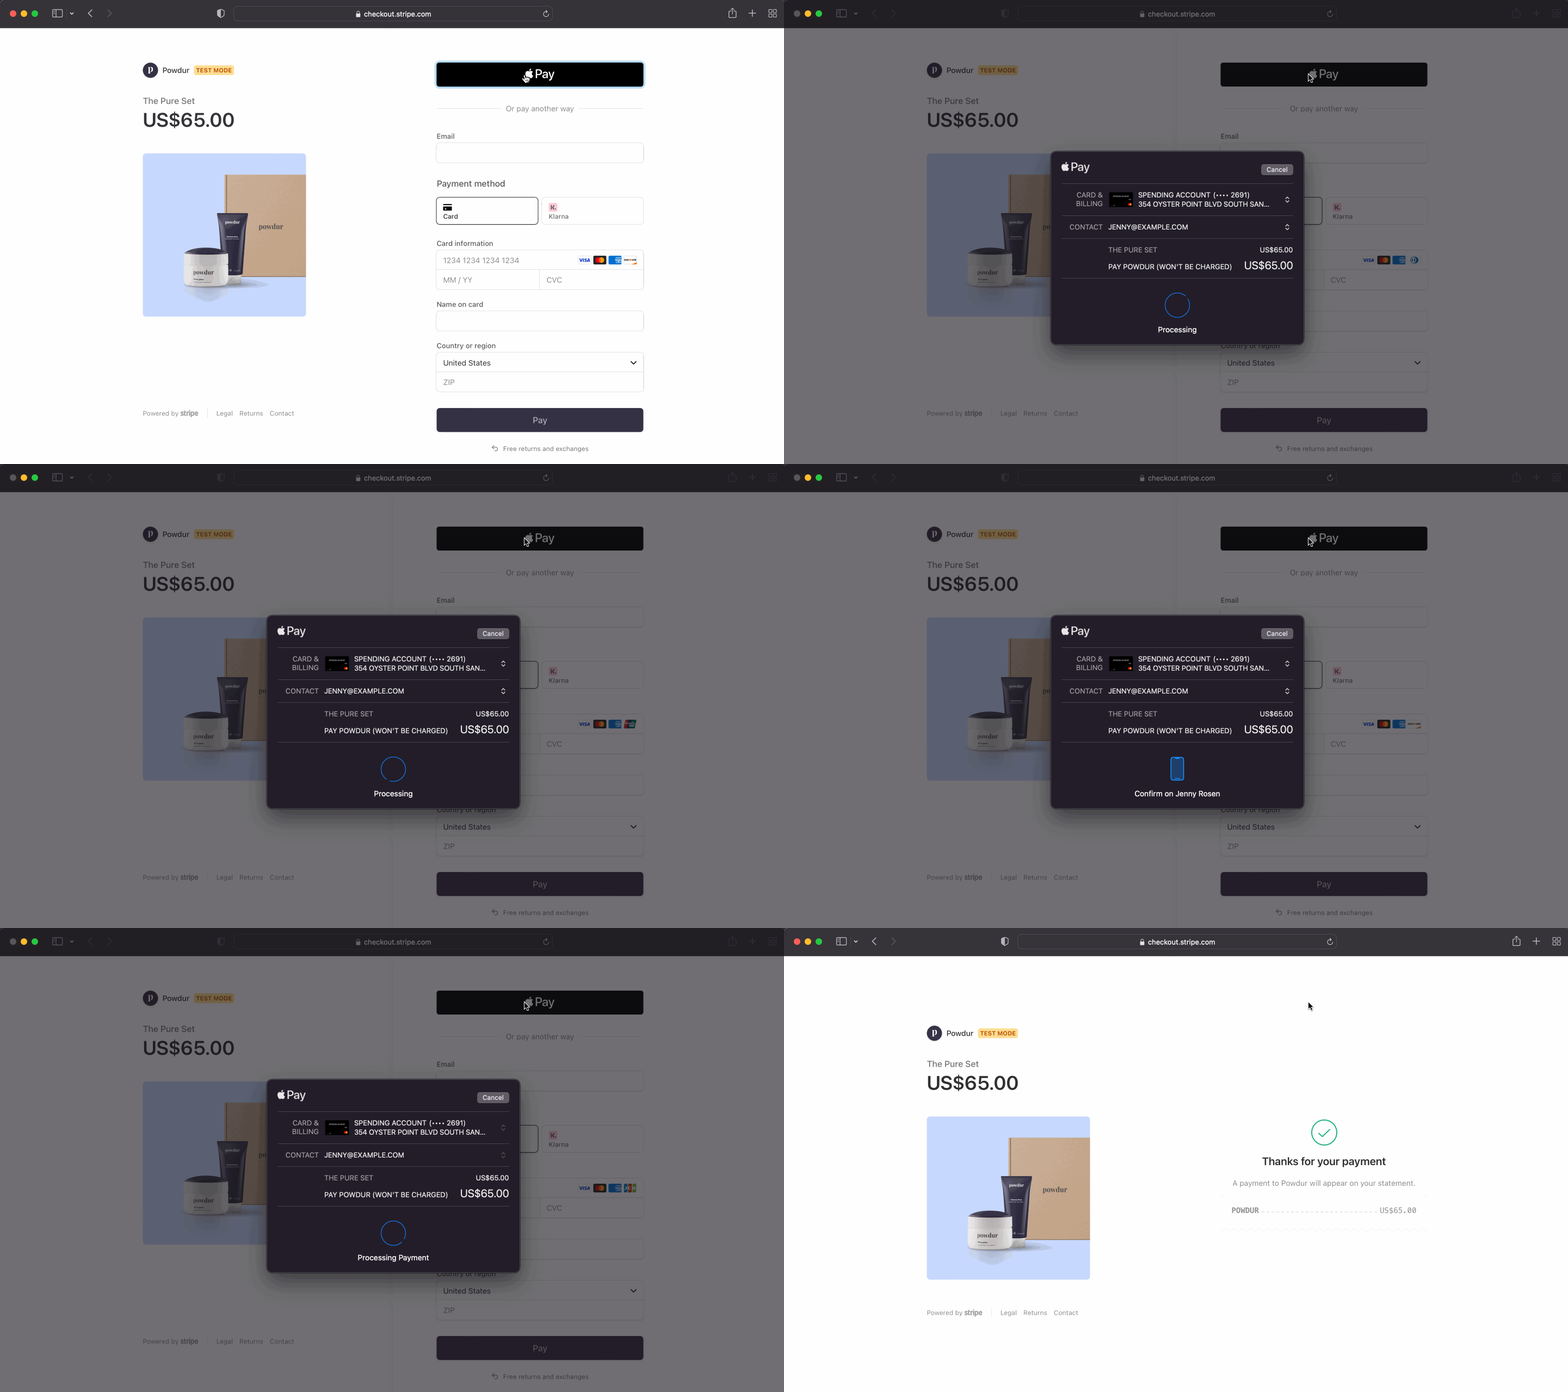
Below is a demonstration of the Apple Pay payment flow from your checkout page:

Using Stripe and Apple Pay versus in-app purchases
For sales of physical goods, services, and certain other things, your app can accept Apple Pay or any other Stripe-supported payment method. Those payments are processed through Stripe, and you only need to pay Stripe’s processing fees. In some countries, you can link to an external website, such as Stripe Checkout, to accept payments on iOS for sales of digital products, content, and subscriptions.
Accept Apple Pay 
Stripe offers a variety of methods to add Apple Pay as a payment method. For integration details, select the method you prefer:
You can accept Apple Pay payments on the Web using Checkout or Elements. No additional configuration is required to use Apple Pay in Checkout. For Elements, refer to the Express Checkout Element or Accept a payment guides to learn how to add Apple Pay to your site.
Web integration considerations
- Using an iframe with Elements: When using an iframe, its origin must match the top-level origin (except for Safari 17+ when specifying
allow="payment"attribute). Two pages have the same origin if the protocol, host (full domain name), and port (if specified) are the same for both pages. - Top-level domain and iframe domain: If the top-level domain differs from the iframe domain, the top-level domain and the iframe’s source domain must both be registered payment method domains on the associated account.
- Existing Stripe.js v2 integrations: Upgrade to Checkout or Elements at your earliest convenience.
- Using Checkout with ui_mode set to
embedded: Supports only Safari version 17 or later and iOS version 17 or later.
Use of Apple Pay on the Web is subject to the Apple Pay on the Web terms of service.
Register your domain with Apple Pay 
To use Apple Pay, you must register all of your web domains that show an Apple Pay button with Apple. That includes top-level domains (for example, stripe.com) and subdomains (for example, shop.stripe.com), in production and testing.
Subdomains
www is a subdomain (for example, www.stripe.com) that you must also register.
Stripe handles Apple merchant validation for you, including creating an Apple Merchant ID and Certificate Signing Request. Don’t follow the merchant validation process in the Apple Pay documentation. Instead, follow this step:
- Tell Stripe to register your domain with Apple. You can do this on the Payment methods domains page in the Dashboard, or by using the API with your live secret key as shown below. Don’t register your domain more than once per account.
When using direct charges with Connect, you need to configure the domain for each connected account using the API. This isn’t a requirement for connected accounts using other charge types.
After registering your domains, you can make payments on your site with your live API keys.
Recurring payments
We recommend implementing Apple Pay merchant tokens to enable merchant initiated transactions (MIT) such as recurring and deferred payments and automatic reloads. Merchant tokens (MPANs) connect your business with your customer’s Apple Wallet payment method, so they work across multiple devices and keep payment information active in a new device even when its removed from a lost or stolen device. See ApplePay merchant tokens for integration details.
Test Apple Pay 
To test Apple Pay, you must use a real credit card number and your test API keys. Stripe recognizes that you’re testing and returns a successful test card token for you to use, so you can make test payments on a live card without charging it.
You can’t save Stripe test cards or Apple Pay test cards to Apple Pay wallets to test Apple Pay.
If you don’t meet device and integration requirements, Stripe doesn’t show Apple Pay as a payment option. Use our test page to help you troubleshoot.