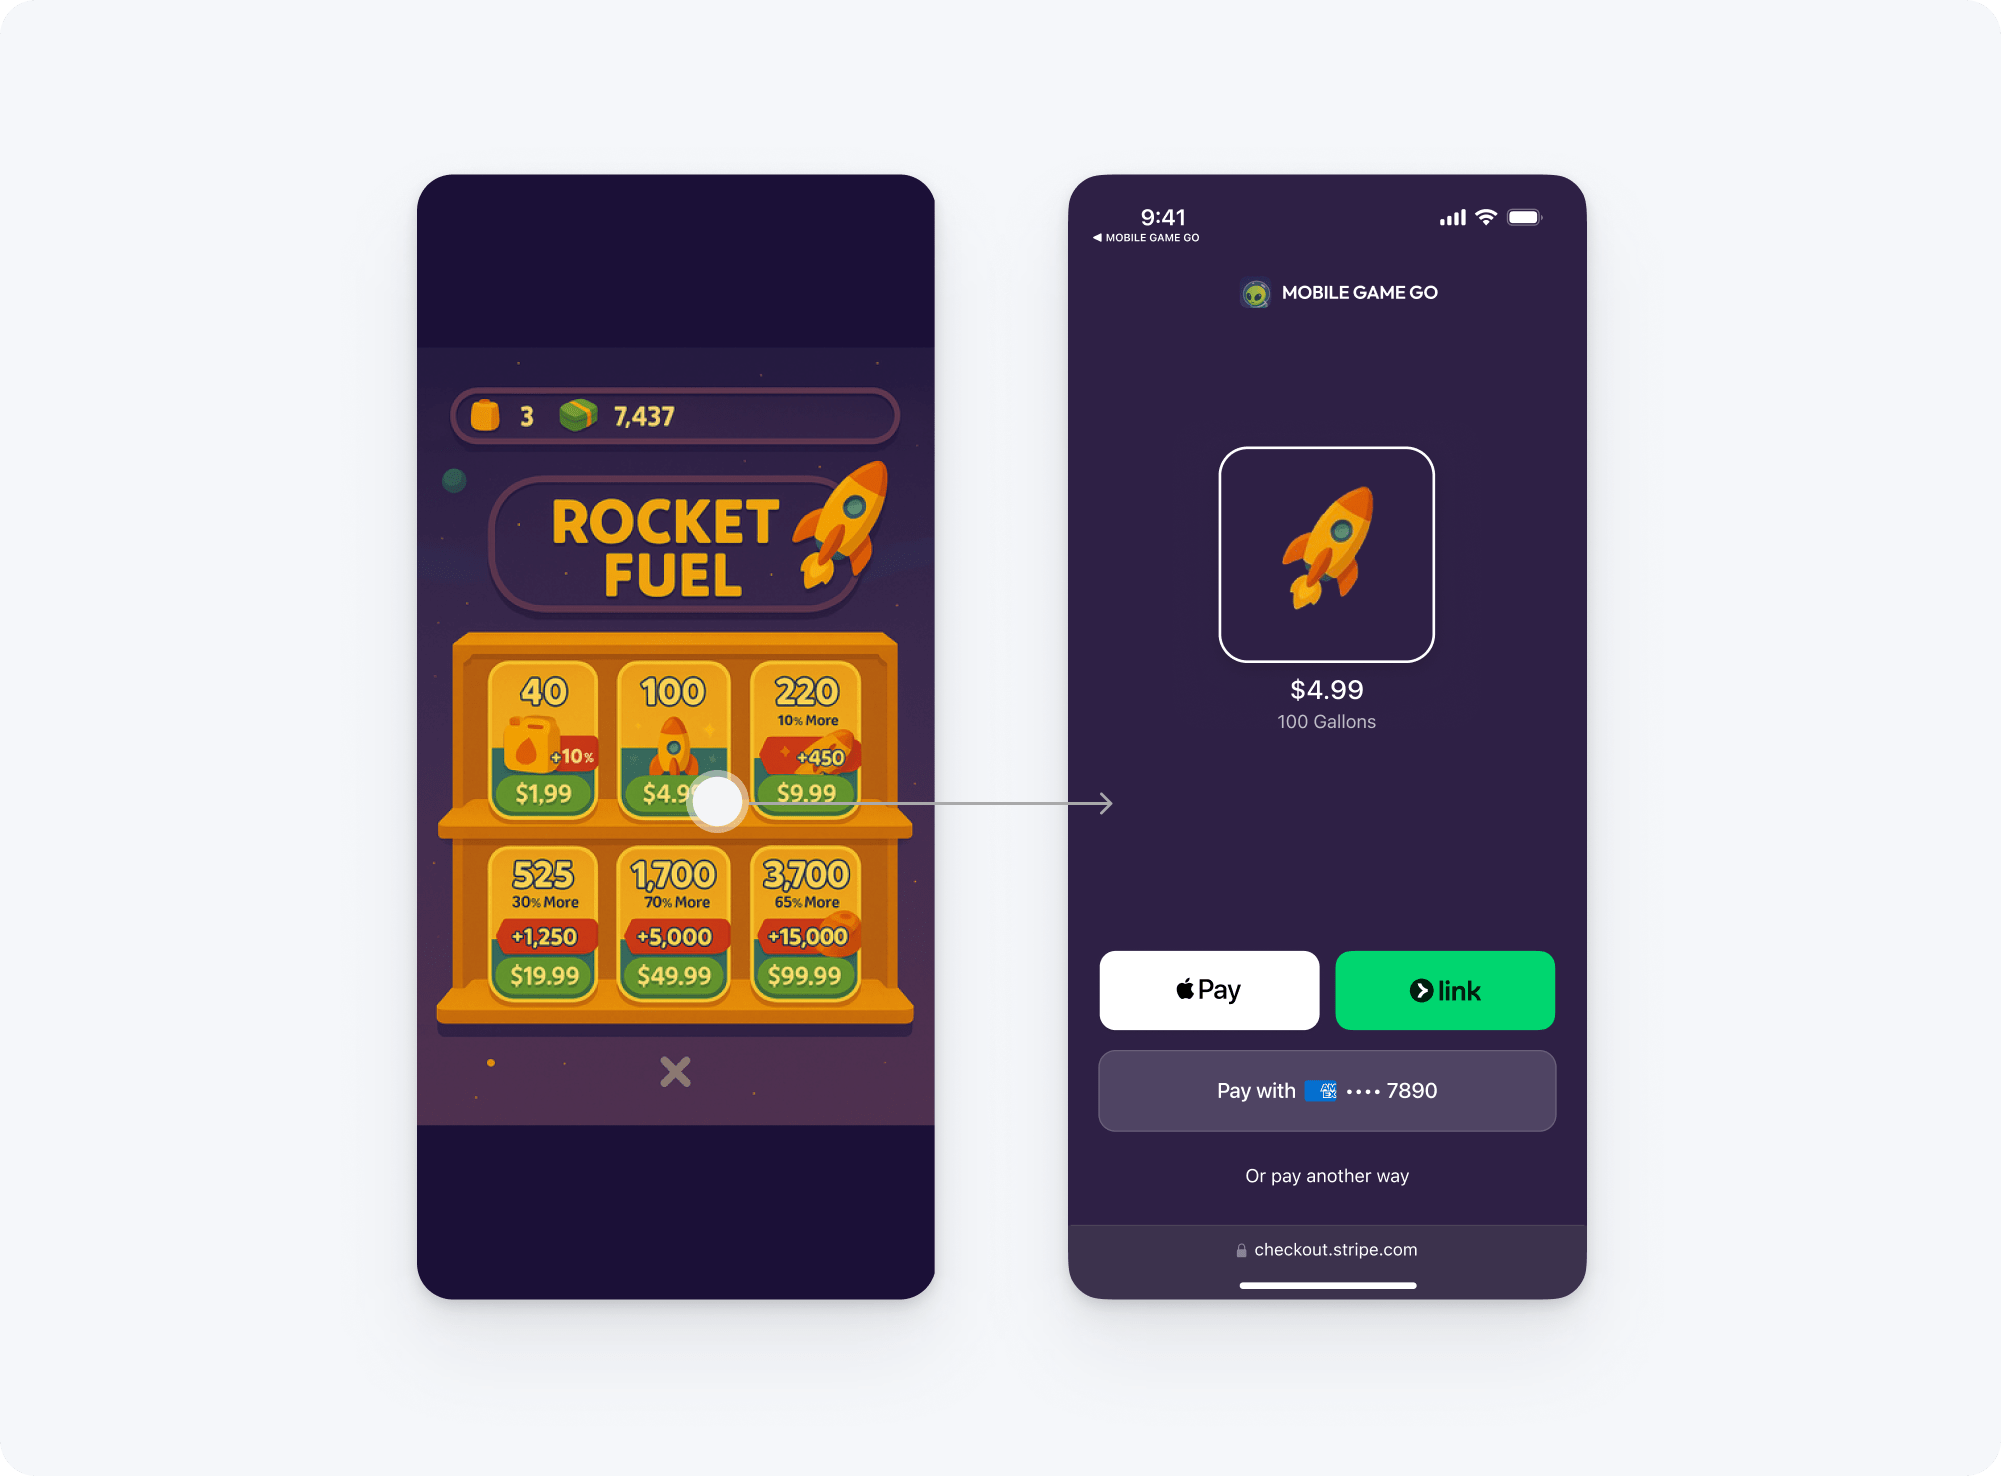
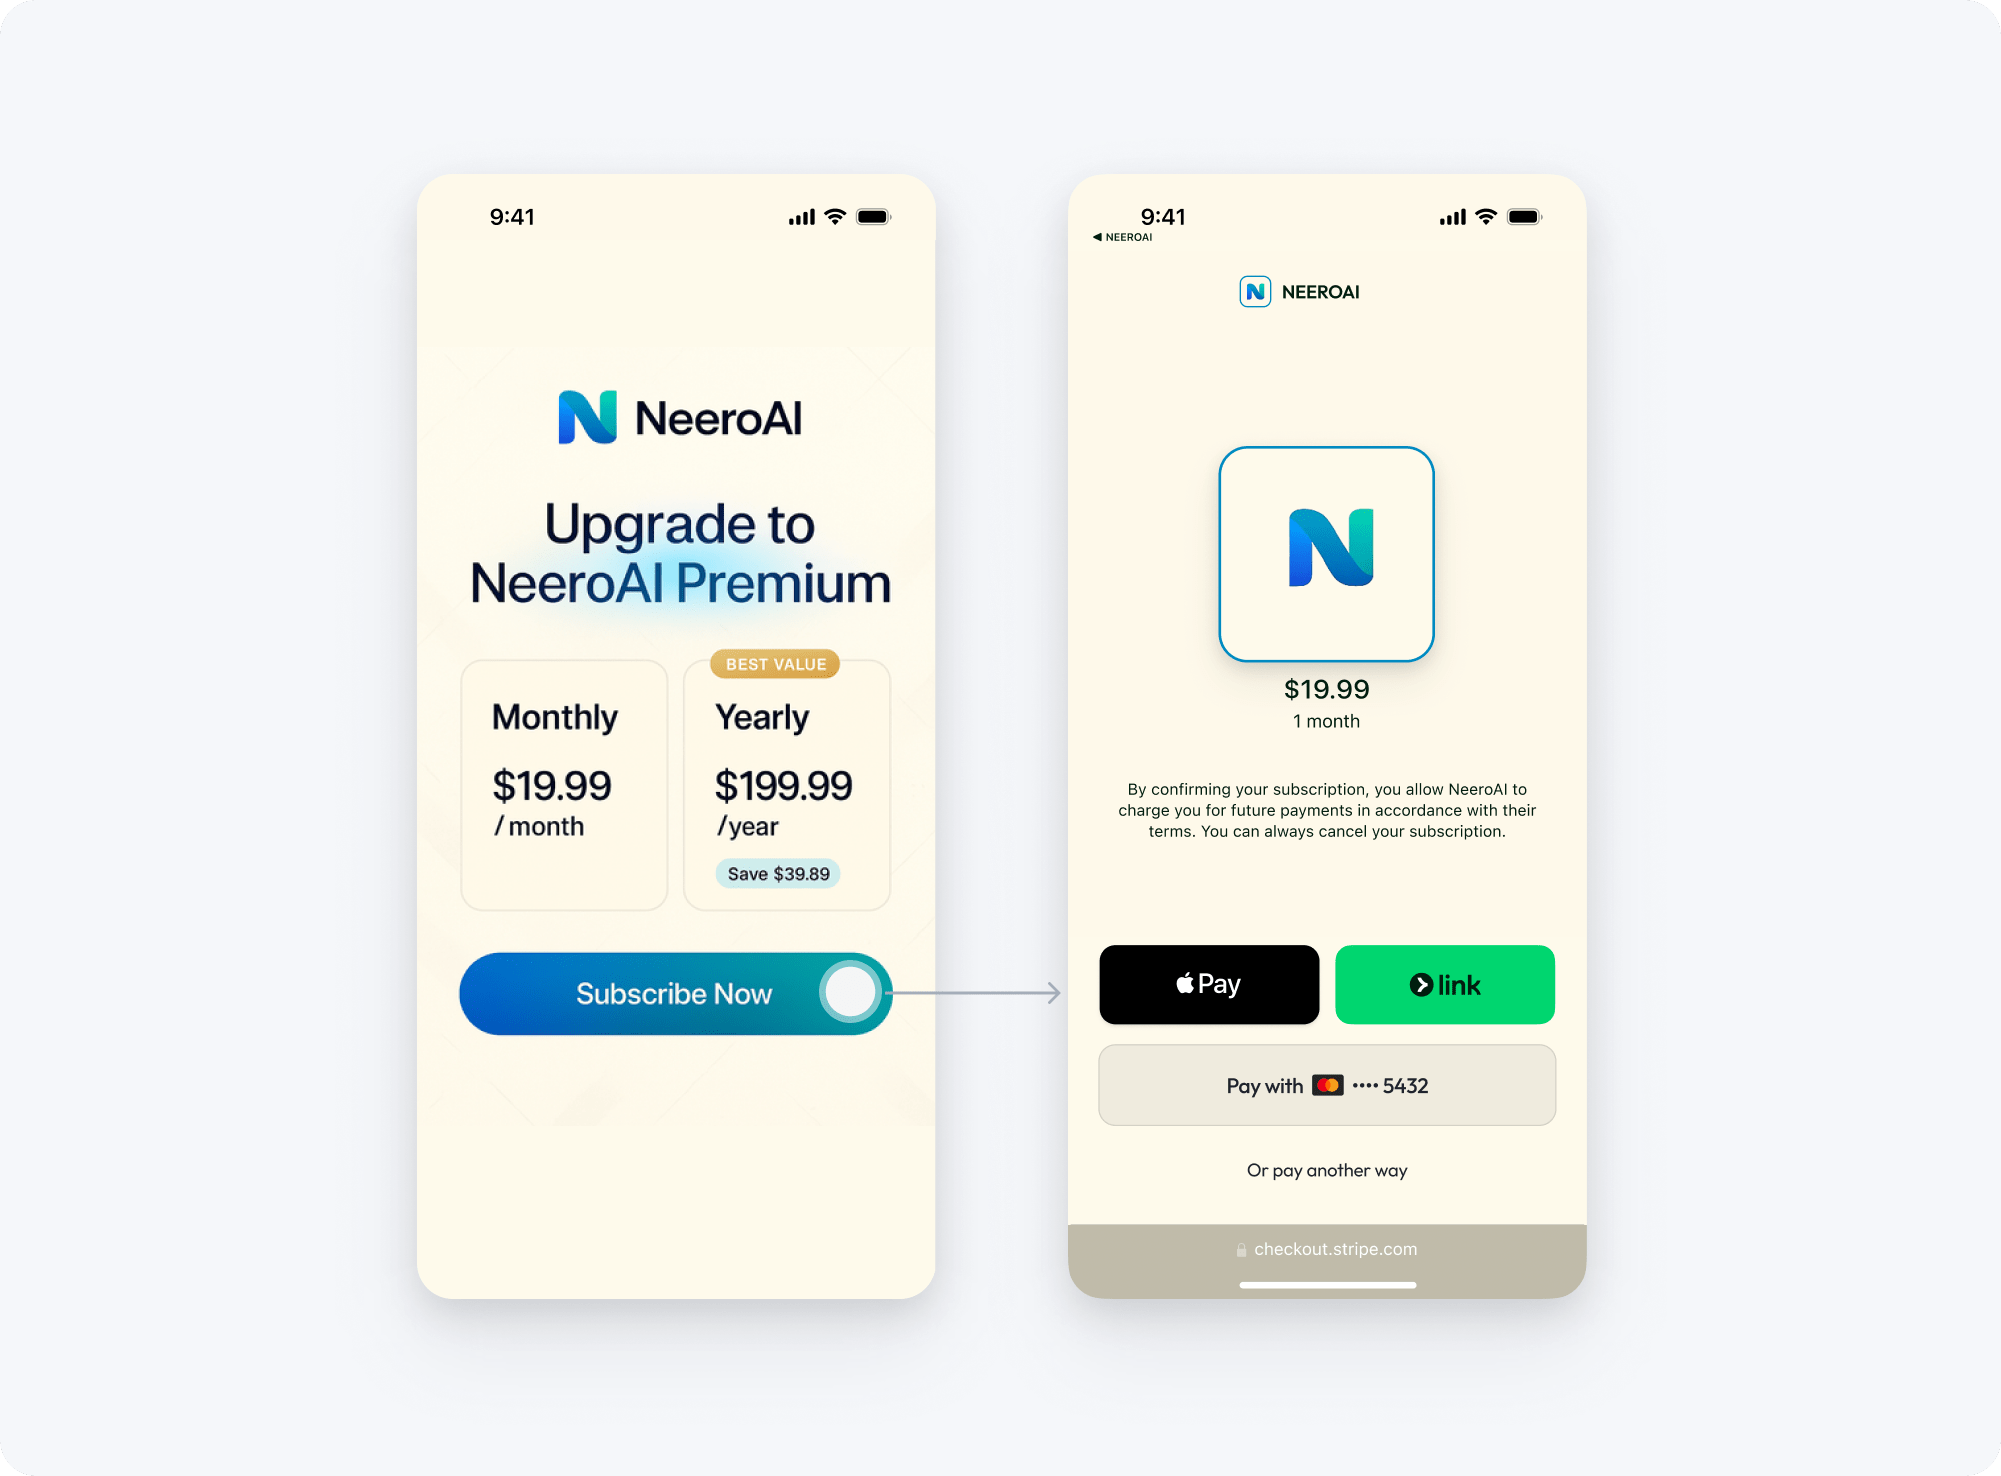
Accept payments for digital goods on iOS with a prebuilt payment page
Open Stripe Checkout in a browser to sell in-app digital goods or subscriptions.
Catatan
For iOS apps selling digital products, content, and subscriptions in the US, you can redirect customers to an external payment page to accept payments using Stripe Checkout. This guide describes how to accept payments for purchasing credits in your iOS app by redirecting customers to a Stripe-hosted payment page.
For Android developers in the US, you can process payments directly in-app with a third party payment processor. To accept payments directly in-app with Stripe, see In-app payments.
This guide only describes the process for iOS developers selling in-app digital goods. Use the native app payment guide if you sell:
- Physical items
- Goods and services intended for consumption outside your app
- Real-time person-to-person services between two individuals
Panduan ini menunjukkan kepada Anda cara:
- Collect payment information with Checkout.
- Model your credit packages with Products, Prices, and Customers.
- Use Universal Links to redirect directly to your app from Checkout.
- Monitor webhooks to update your customer’s in-app currency balance.

Link out of app for one-time payments

Link out of app for recurring or subscription payments
What isn’t covered
This guide demonstrates how to add Stripe Checkout alongside your existing in-app purchase system. It doesn’t cover:
- User authentication. If you don’t have an existing authentication provider, you can use a third-party provider, such as Sign in with Apple or Firebase Authentication.
- Native in-app purchases. To implement in-app purchases using StoreKit, visit Apple’s in-app purchase guide.
Siapkan StripeSisi server
Pertama, mendaftarlah untuk akun Stripe.
Then add the Stripe API library to your backend:
Next, install the Stripe CLI. The CLI provides the webhook testing you’ll need, and you can run it to create your products and prices.
Untuk opsi instalasi tambahan, lihat Memulai Stripe CLI.
Create products and prices
Create your products and their prices in the Dashboard or with the Stripe CLI. You can model digital goods using one-off prices and subscriptions using recurring prices. You can also let your customer pay what they want (for example, to decide how many credits to buy), by selecting Customers choose what to pay.
This example uses a single product and price to represent a 100 coin bundle.
Create customersSisi server
Each time you create a Checkout session, create a Customer object for your user if one doesn’t already exist.
Peringatan
Make sure to store an association on your server between the user account and the Stripe customer ID. Without a way to associate a customer with a purchase, your customers can’t recover their purchases.
If your app doesn’t have an existing authentication provider, you can use Sign in with Apple.
You can save payment method details to have Checkout automatically attach the payment method to the Customer for future reuse.
Set up universal linksSisi klienSisi server
Universal links allow Checkout to deep link into your app. To configure a universal link:
- Add an
apple-app-site-associationfile to your domain. - Add an Associated Domains entitlement to your app.
- Add a fallback page for your Checkout redirect URLs.
Define the associated domains
Add a file to your domain at .well-known/apple-app-site-association to define the URLs your app handles. Prepend your App ID with your Team ID, which you can find on the Membership page of the Apple Developer Portal.
{
  "applinks": {

      "apps": [],
      "details": [
           {
             "appIDs": [ "A28BC3DEF9.com.example.MyApp1",
                         "A28BC3DEF9.com.example.MyApp1-Debug" ],
             "components": [
               {
                  "/": "/checkout_redirect*",
                  "comment": "Matches any URL whose path starts with /checkout_redirect"
               }
             ]
           }
       ]
   }
}
You must serve the file with MIME type application/json. Use curl -I to confirm the content type.
curl -I https://example.com/.well-known/apple-app-site-association
See Apple’s page on supporting associated domains for more details.
Add an Associated Domains entitlement to your app
- Open the Signing & Capabilities pane of your app’s target.
- Click + Capability, then select Associated Domains.
- Add an entry for
applinks:example.to the Associated Domains list.com
For more information on universal links, see Apple’s Universal Links for Developers page.
Although iOS intercepts links to the URLs defined in your apple-app-site-association file, you might encounter situations where the redirect fails to open your app.
Make sure to create a fallback page at your success_. For example, you can define a custom URL scheme for your app and use it to link back in case the universal link fails.
Create a Checkout sessionSisi server
A Checkout Session is the programmatic representation of what your customer sees when they’re redirected to the payment form. Checkout Sessions expire 24 hours after creation. Configure it with:
- The customer ID
- The product ID (either a one time payment or subscription)
- An
origin_set tocontext mobile_to opt in to a UI that is optimized for app-to-web purchases.app - A
success_, a universal link to redirect your customer to your app after they complete the payment.url
Kesalahan umum
Create the Checkout Session with origin_ to opt in to a UI that is optimized for app-to-web purchases.
After creating a Checkout Session, return the URL from the response to your app.
Catatan
Apple Pay is enabled by default and automatically appears in Checkout when a customer uses a supported device. You can accept additional payment methods by using dynamic payment methods.
Open Checkout in SafariSisi client
Add a checkout button to your app. This button:
- Calls your server-side endpoint to create a Checkout session.
- Returns the Checkout session to the client.
- Opens the session URL in Safari.
import Foundation
import SwiftUI
import StoreKit

struct BuyCoinsView: View {
    @EnvironmentObject var myBackend: MyServer
    @State var paymentComplete = false

    var body: some View {
        // Check if payments are blocked by Parental Controls on this device.
        if !SKPaymentQueue.canMakePayments() {
            Text("Payments are disabled on this device.")
        } else {
            if paymentComplete {
                Text("Payment complete!")
            } else {
                Button {
                    myBackend.createCheckoutSession { url in
                        UIApplication.shared.open(url, options: [:], completionHandler: nil)
                    }
                } label: {
                    Text("Buy 100 coins")
                }.onOpenURL { url in
                    // Handle the universal link from Checkout.
                    if url.absoluteString.contains("success") {
                        // The payment was completed. Show a success
                        // page and fetch the latest customer entitlements
                        // from your server.
                        paymentComplete = true
                    }
                }
            }
        }
    }
}
Fetch the Checkout URL on the client
Use your server endpoint to fetch the checkout session.
class MyServer: ObservableObject {
  // The cached login token
  var token: String?

  func createCheckoutSession(completion: @escaping (URL) -> Void) {
    // Send the login token to the `/create_checkout_session` endpoint
    let request = URLRequest(url: URL(string: "https://example.com/create-checkout-session?token=\(self.token)")!)

    let task = URLSession.shared.dataTask(with: request, completionHandler: { (data, response, error) in
      guard let unwrappedData = data,
            let json = try? JSONSerialization.jsonObject(with: unwrappedData, options: []) as? [String : Any],
            let urlString = json["url"] as? String,
            let url = URL(string: urlString) else {
        // Handle error
        return
      }

      DispatchQueue.main.async {
        // Call the completion block with the Checkout session URL returned from the backend
        completion(url)
      }
    })
    task.resume()
  }

  func login() {
    // Login using the server and set the login token.
    let request = URLRequest(url: URL(string: "https://example.com/login")!)

    let task = URLSession.shared.dataTask(with: request, completionHandler: { (data, response, error) in
      guard let unwrappedData = data,
            let json = try? JSONSerialization.jsonObject(with: unwrappedData, options: []) as? [String : Any],
            let token = json["token"] as? String else {
        // Handle error
        return
      }
      self.token = token
    })
    task.resume()
  }
}
Tangani pemenuhan pesananSisi server
After the purchase succeeds, Stripe sends you a checkout. webhook. When you receive this event, you can add the coins to the customer on your server.
Checkout redirects your customer to the success_ when you acknowledge you received the event. In scenarios where your endpoint is down or the event isn’t acknowledged properly, Checkout redirects the customer to the success_ 10 seconds after a successful payment.
For testing purposes, you can monitor events in the Dashboard or using the Stripe CLI. For production, set up a webhook endpoint and subscribe to appropriate event types. If you don’t know your STRIPE_ key, click the webhook in the Dashboard to view it.
Mencoba
Test your checkout button that redirects your customer to Stripe Checkout.
- Click the checkout button, which redirects you to the Stripe Checkout payment form.
- Enter the test number , a three-digit CVC, a future expiration date, and any valid postal code.
- Tap Pay.
- The
checkout.webhook fires, and Stripe notifies your server about the transaction.session. completed - You’re redirected back to your app.
If your integration isn’t working, see the additional testing resources section below.
OpsionalSumber daya percobaan tambahan
Ada beberapa kartu percobaan yang dapat Anda gunakan untuk memastikan integrasi Anda siap untuk produksi. Gunakan dengan CVC, kode pos, dan tanggal kedaluwarsa mendatang.
| Nomor | Deskripsi |
|---|---|
| Berhasil dan segera memproses pembayaran. | |
| Selesaikan 3D Secure 2 agar pembayaran berhasil. | |
Selalu gagal dengan kode tolakan insufficient_. |
For the full list of test cards see the testing guide.
Testing universal links
If your universal link doesn’t redirect from Checkout to your app, check the SharedWebCredentials logs for errors.
Add a debug parameter to the Associated Domains entitlement
- Open the Signing & Capabilities pane of your app’s target.
- Add the
?mode=developerflag to the entry for your associated domain. (Example:applinks:example.)com?mode=developer
Set the device to developer mode.
- Run an app from Xcode on your device to enable the developer menu.
- On your iPhone, open Settings, tap Developer, and enable Associated Domains Development.
Delete and reinstall your app. This causes iOS to re-fetch the apple-app-site-association file.
Complete the checkout flow in your app.
Checkout redirects you to your app. If it doesn’t, take a sysdiagnose.
Simultaneously press the volume up, volume down, and power buttons for 1 second, then release. You’ll feel a short vibration, but you won’t see any visual feedback.
Wait 5 minutes, then go to Settings > Privacy > Analytics & Improvement > Analytics Data, and scroll to the last sysdiagnose file in the list.
Tap the share button to AirDrop the file to your computer.
Open the sysdiagnose archive, then open
swcutil_show. txt Search this file for your app’s ID. You’ll see a section with debugging information for your app, including an error if available.
Service:              applinks
App ID:               Y28TH9SHX7.com.stripe.FruitStore
App Version:          1.0
App PI:               <LSPersistentIdentifier 0x115e1a390> { v = 0, t = 0x8, u = 0xc98, db = E335D78F-D49E-4F19-A150-F657E50DEDAE, {length = 8, bytes = 0x980c000000000000} }
Domain:               example.com?mode=developer
User Approval:        unspecified
Site/Fmwk Approval:   unspecified
Flags:                developer
Last Checked:         2021-09-23 18:16:58 +0000
Next Check:           2021-09-23 21:21:34 +0000
Error:                Error Domain=NSCocoaErrorDomain Code=3840 "JSON text did not start with array or object and option to allow fragments not set. around line 1, column 0." UserInfo={NSDebugDescription=JSON text did not start with array or object and option to allow fragments not set. around line 1, column 0., NSJSONSerializationErrorIndex=0}
Retries:              1
OpsionalIn-app purchases with Managed Payments
Accept payments with Managed Payments, which can handle many business functions (such as tax and disputes) on your behalf. Learn more about how to use Managed Payments, Stripe’s merchant of record solution, for in-app purchases.