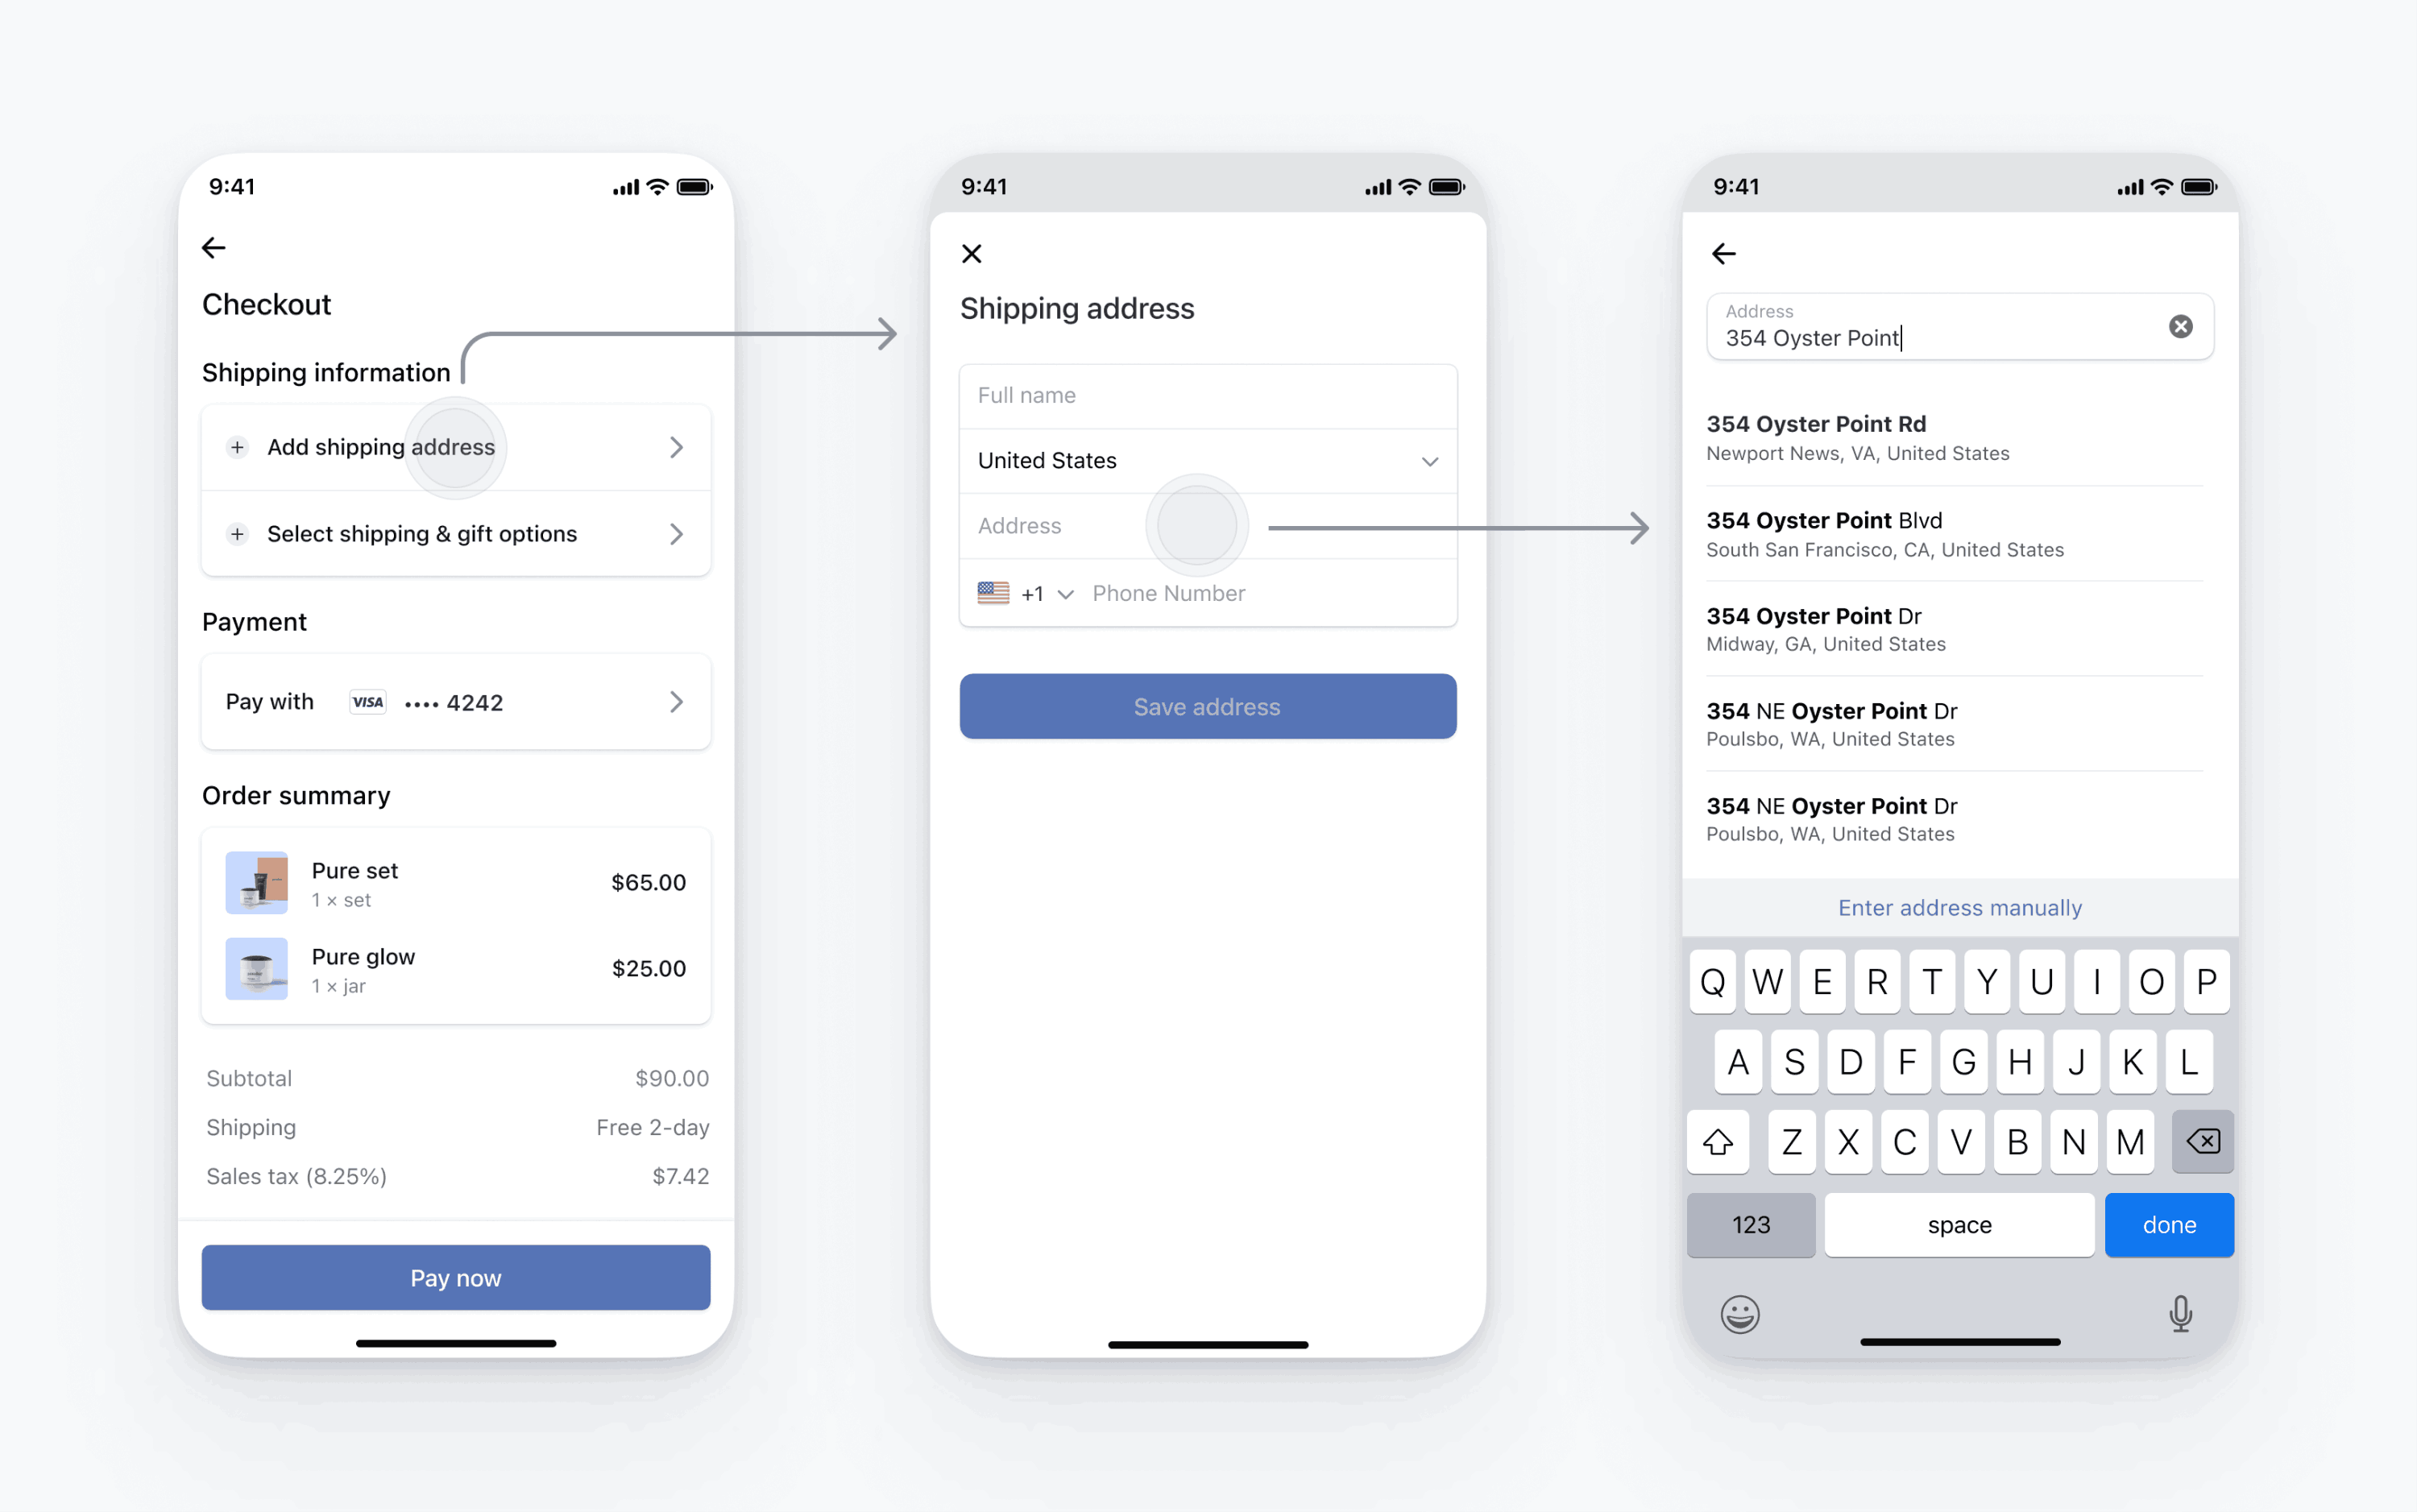
Collect physical addresses and phone numbers
Learn how to collect customer addresses and phone numbers in your mobile app with the Address Element.
To collect complete addresses for billing or shipping, use the Address Element.
You can also use the Address Element to:
- Collect customer phone numbers
- Utilize autocomplete (enabled by default in iOS)
- Prefill billing information in the Payment Element by passing in a shipping address
Stripe combines the collected address information and the payment method to create a PaymentIntent.

Set up StripeServer-sideClient-side
First, you need a Stripe account. Register now.
The Stripe iOS SDK is open source, fully documented, and compatible with apps supporting iOS 13 or above.
Note
For details on the latest SDK release and past versions, see the Releases page on GitHub. To receive notifications when a new release is published, watch releases for the repository.
Configure the SDK with your Stripe publishable key on app start. This enables your app to make requests to the Stripe API.
Set up address autocomplete suggestions
Autocomplete is enabled by default on iOS.
Configure the Address Element
You can configure the Address Element with details such as displaying default values, setting allowed countries, customizing the appearance, and so on. Refer to AddressViewController.Configuration for the complete list of configuration options.
let addressConfiguration = AddressViewController.Configuration(
  additionalFields: .init(phone: .required),
  allowedCountries: ["US", "CA", "GB"],
  title: "Shipping Address"
)
Retrieve address details
Retrieve the address details by conforming to AddressViewControllerDelegate and then using addressViewControllerDidFinish to dismiss the view controller. The address value is either a valid address or nil.
extension MyViewController: AddressViewControllerDelegate {
    func addressViewControllerDidFinish(_ addressViewController: AddressViewController, with address: AddressViewController.AddressDetails?) {
        addressViewController.dismiss(animated: true)
        self.addressDetails = address
    }
}
Present the Address Element
Create an AddressViewController using the address configuration and delegate from the previous steps. You can either present it in a navigation controller or push it onto a navigation controller.
self.addressViewController = AddressViewController(configuration: addressConfiguration, delegate: self)
let navigationController = UINavigationController(rootViewController: addressViewController)

present(navigationController, animated: true)
OptionalPrefill shipping addresses in the Payment Element
If you use the mobile Payment Element, set PaymentSheet.Configuration.shippingDetails to the address collected by the address element. When shippingDetails is populated, users have their billing address prefilled and they see a Billing address is the same as shipping checkbox. Confirmed PaymentIntents with shippingDetails populated also have the shipping intent property populated when the PaymentIntent is confirmed.
var configuration = PaymentSheet.Configuration()
// ...
configuration.shippingDetails = { [weak self] in
    return self?.addressDetails
}
OptionalCustomize the appearance
Now that you’ve added the Address Element to your app, you can customize the appearance to fit with the design of the rest of your app. You can configure the appearance with the Appearance API using AddressViewController.Configuration.appearance.
OptionalSet default billing details
To set default values for billing details collected in the payment sheet, configure the defaultBillingDetails property. The PaymentSheet pre-populates its fields with the values that you provide.
var configuration = PaymentSheet.Configuration()
configuration.defaultBillingDetails.address.country = "US"
configuration.defaultBillingDetails.email = "foo@bar.com"
OptionalCustomize billing details collection
Use billingDetailsCollectionConfiguration to specify how you want to collect billing details in the payment sheet.
You can collect your customer’s name, email, phone number, and address.
If you only want to billing details required by the payment method, set billingDetailsCollectionConfiguration. to true. In that case, the PaymentSheet. are set as the payment method’s billing details.
If you want to collect additional billing details that aren’t necessarily required by the payment method, set billingDetailsCollectionConfiguration. to false. In that case, the billing details collected through the PaymentSheet are set as the payment method’s billing details.
var configuration = PaymentSheet.Configuration()
configuration.defaultBillingDetails.email = "foo@bar.com"
configuration.billingDetailsCollectionConfiguration.name = .always
configuration.billingDetailsCollectionConfiguration.email = .never
configuration.billingDetailsCollectionConfiguration.address = .full
configuration.billingDetailsCollectionConfiguration.attachDefaultsToPaymentMethod = true
Note
Consult with your legal counsel regarding laws that apply to collecting information. Only collect phone numbers if you need them for the transaction.