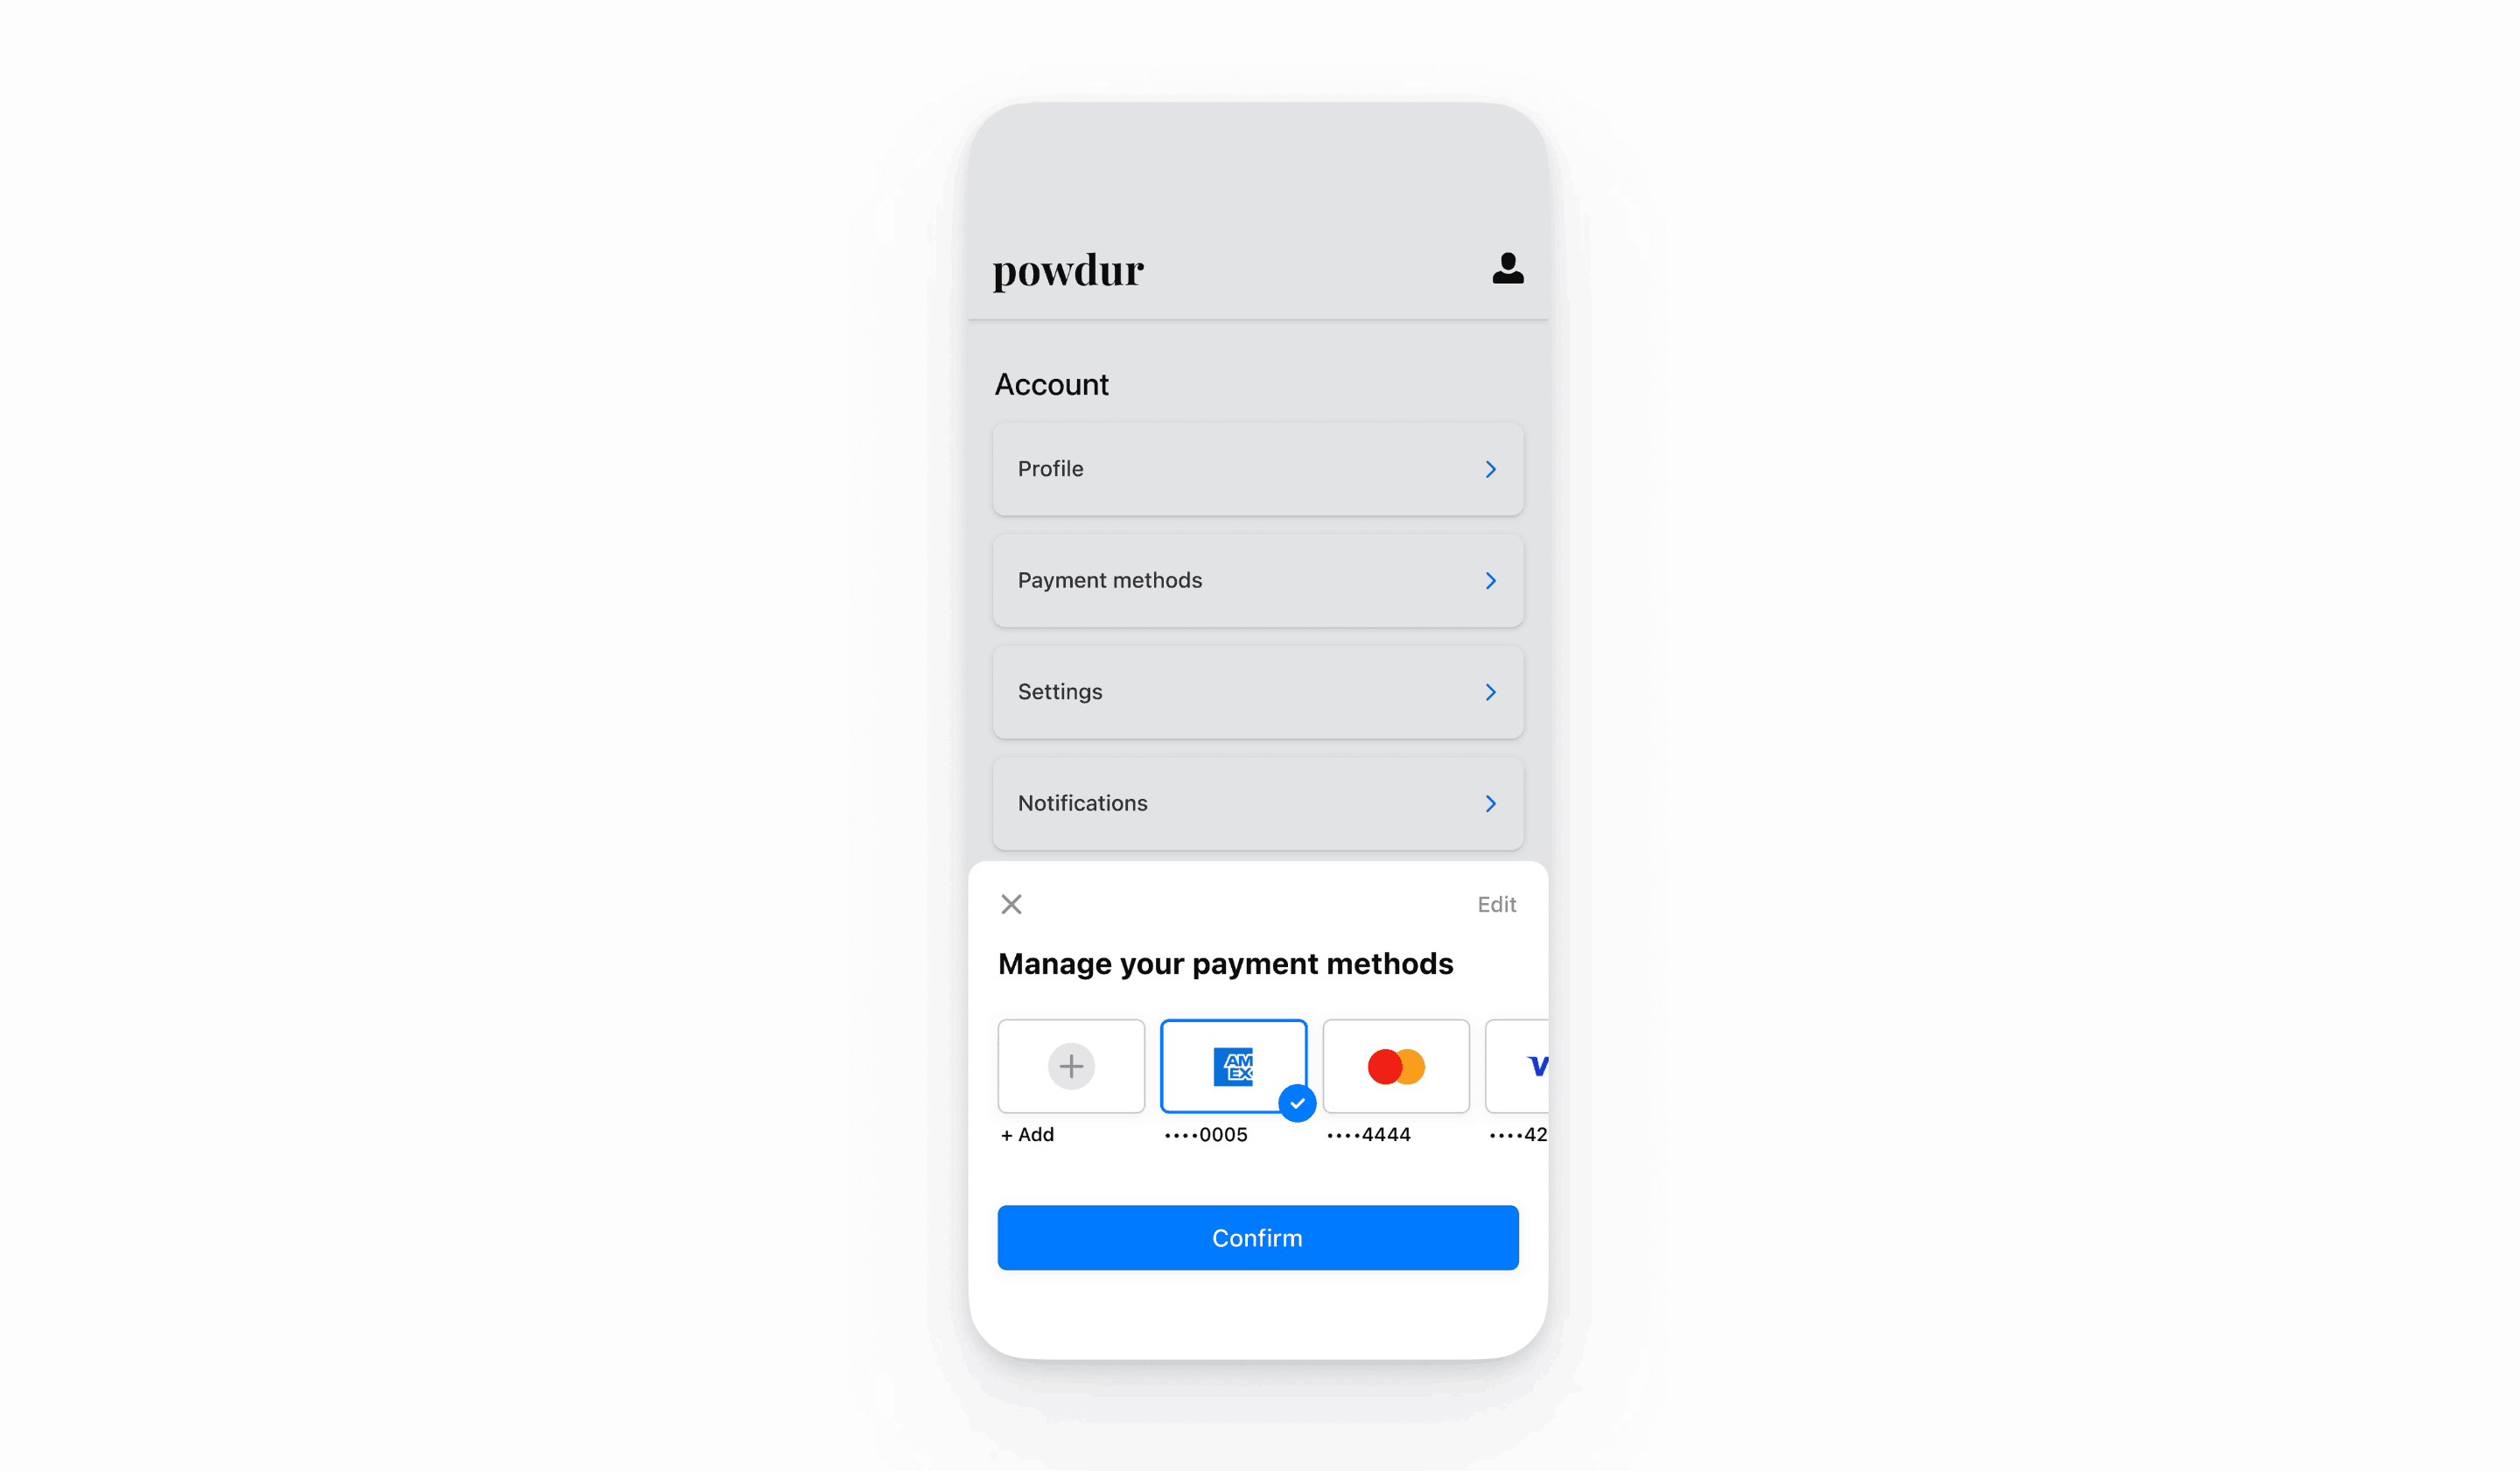
Manage payment methods in settings
Use the Payment Method Settings Sheet to let your customers manage their payment methods in your app settings page.
Note
The Payment Method Settings Sheet is intended for use on an app settings page. For checkout and payments, use the In-app Payments, which also has built-in support for saving and displaying payment methods and supports more payment methods than the Payment Method Settings Sheet.
Note
In code, this component is referenced as CustomerSheet for historical reasons. Throughout the documentation, when you see CustomerSheet in code examples, this refers to the Payment Method Settings Sheet.
The Payment Method Settings Sheet is a prebuilt UI component that lets your customers manage their saved payment methods. You can use the Payment Method Settings Sheet UI outside of a checkout flow, and the appearance and styling is customizable to match the appearance and aesthetic of your app. Customers can add and remove payment methods, which get saved to the customer object, and set their default payment method stored locally on the device. Use both the In-app Payments and the Payment Method Settings Sheet to provide customers a consistent end-to-end solution for saved payment methods.

The CustomerSession object grants the SDK temporary access to the Customer and provides additional configuration options. These configuration options allow you to customize the behavior of CustomerSheet. A complete list of features exposed on the CustomerSession are in our API docs.
Set up Stripe
First, you need a Stripe account. Register now.
The Stripe iOS SDK is open source, fully documented, and compatible with apps supporting iOS 13 or above.
Note
For details on the latest SDK release and past versions, see the Releases page on GitHub. To receive notifications when a new release is published, watch releases for the repository.
Configure the SDK with your Stripe publishable key on app start. This enables your app to make requests to the Stripe API.
Enable payment methods
View your payment methods settings and enable the payment methods you want to support. You need at least one payment method enabled to create a SetupIntent.
By default, Stripe enables cards and other prevalent payment methods that can help you reach more customers, but we recommend turning on additional payment methods that are relevant for your business and customers. See Payment method support for product and payment method support, and our pricing page for fees.
Note
CustomerSheet only supports cards, US bank accounts, and SEPA Direct Debit.
Add Customer endpointsServer-side
Create two endpoints on your server: one for fetching a CustomerSession client secret, and one to create a SetupIntent for saving a new payment method to the Customer.
- Create an endpoint to return a Customer ID and a CustomerSession client secret.
Note
Integrations with legacy customer ephemeral keys results in saved payment methods having an allow_ value of unspecified. To display these payment methods in addition to payment methods saved while using Customer Sessions, set payment_ to ["unspecified", "always"]. For more information, see CustomerSessions.
- Create an endpoint to return a SetupIntent configured with the Customer ID.
If you only plan to use the payment method for future payments when your customer is present during the checkout flow, set the usage parameter to on_session to improve authorization rates.
Configure the sheet
Next, configure the Payment Method Settings Sheet using the CustomerSheet class with an IntentConfiguration, CustomerSessionClientSecretProvider and a CustomerSheet.Configuration.
var configuration = CustomerSheet.Configuration()

// Configure settings for the CustomerSheet here. For example:
configuration.headerTextForSelectionScreen = "Manage your payment method"

let intentConfiguration = CustomerSheet.IntentConfiguration(setupIntentClientSecretProvider: {
  let json = try await myBackend.createSetupIntent()
  return json["setupIntentClientSecret"]!
})

let customerSheet = CustomerSheet(
      configuration: configuration,
      intentConfiguration: intentConfiguration,
      customerSessionClientSecretProvider: {
        let json = try await myBackend.createCustomerSessionClientSecret()
        return .init(customerId: json["customerId"]!, clientSecret: json["customerSessionClientSecret"]!)
      })
OptionalEnable ACH payments
To enable ACH debit payments:
- Include
StripeFinancialConnectionsas a dependency for your app. - Enable US Bank Account as a payment method in the settings section of the Dashboard.
OptionalFetch the selected payment method
To fetch the default payment method without presenting the Payment Method Settings Sheet, call retrievePaymentOptionSelection() on the CustomerSheet.
let paymentMethodOption = try await customerSheet.retrievePaymentOptionSelection()

// Configure your UI based on the payment option
self.paymentLabel.text = paymentOption?.displayData().label ?? "None"

// Send the selected payment method ID to your backend
switch paymentOption {
case .paymentMethod(paymentMethod: let paymentMethod, paymentOptionDisplayData: let paymentOptionDisplayData):
    try await MyBackend.setDefaultPaymentMethod(paymentMethod.stripeId)
case .applePay(paymentOptionDisplayData: let paymentOptionDisplayData):
    try await MyBackend.setDefaultPaymentMethodIsApplePay()
}
OptionalCustomize the sheet
Appearance
Customize the colors, fonts, and other appearance attributes to match the look and feel of your app by using the appearance API.
Note
fetchPaymentMethods can filter out saved payment methods from being shown, but won’t impact the type of payment methods that are addable.
Default billing details
To set default values for billing details collected in the payment sheet, configure the defaultBillingDetails property. The CustomerSheet pre-populates its fields with the values that you provide.
var configuration = CustomerSheet.Configuration()
configuration.defaultBillingDetails.address.country = "US"
configuration.defaultBillingDetails.email = "foo@bar.com"
Billing details collection
Use billingDetailsCollectionConfiguration to specify how you want to collect billing details in the payment sheet.
You can collect your customer’s name, email, phone number, and address.
To attach values that aren’t collected by CustomerSheet, add them to the defaultBillingDetails property and set billingDetailsCollectionConfiguration. to true. Make sure that you complete this step if you don’t plan to collect values required by the payment method.
var configuration = CustomerSheet.Configuration()
configuration.defaultBillingDetails.email = "foo@bar.com"
configuration.billingDetailsCollectionConfiguration.name = .always
configuration.billingDetailsCollectionConfiguration.email = .never
configuration.billingDetailsCollectionConfiguration.address = .full
configuration.billingDetailsCollectionConfiguration.attachDefaultsToPaymentMethod = true
Note
Consult with your legal team regarding laws that apply to collecting information. Only collect phone numbers if you need them for the transaction.