Design your app
Get started with design tools, guidelines, and philosophy.
Stripe Apps lets you build your own app on top of Stripe’s platform. You can give your app a user interface in the Stripe Dashboard by building a UI extension. If you do create a user interface for your app, use the provided tools and guidelines to simplify the design process.
Available tools
Stripe Apps provides UI components, common design patterns, and a Figma UI toolkit.
Brand expression and custom styling
Custom styling
Custom styling of UI elements is intentionally limited. This is to maintain platform consistency with core UI elements and to ensure a high accessibility bar. In particular, we limit the colors you can use for each element because color contrast is an important aspect of accessible UI.
Branding elements
To make your app visually distinctive, use the app indicator, a color bar and icon at the top of the app that helps users quickly identify which app they’re in. Unlike other UI elements, you can select any color for the app indicator.
Select your brand’s primary color and a simple icon or logo to match with it. Specify the color and icon using the brandIcon and brandColor props of your app’s ContextView component.
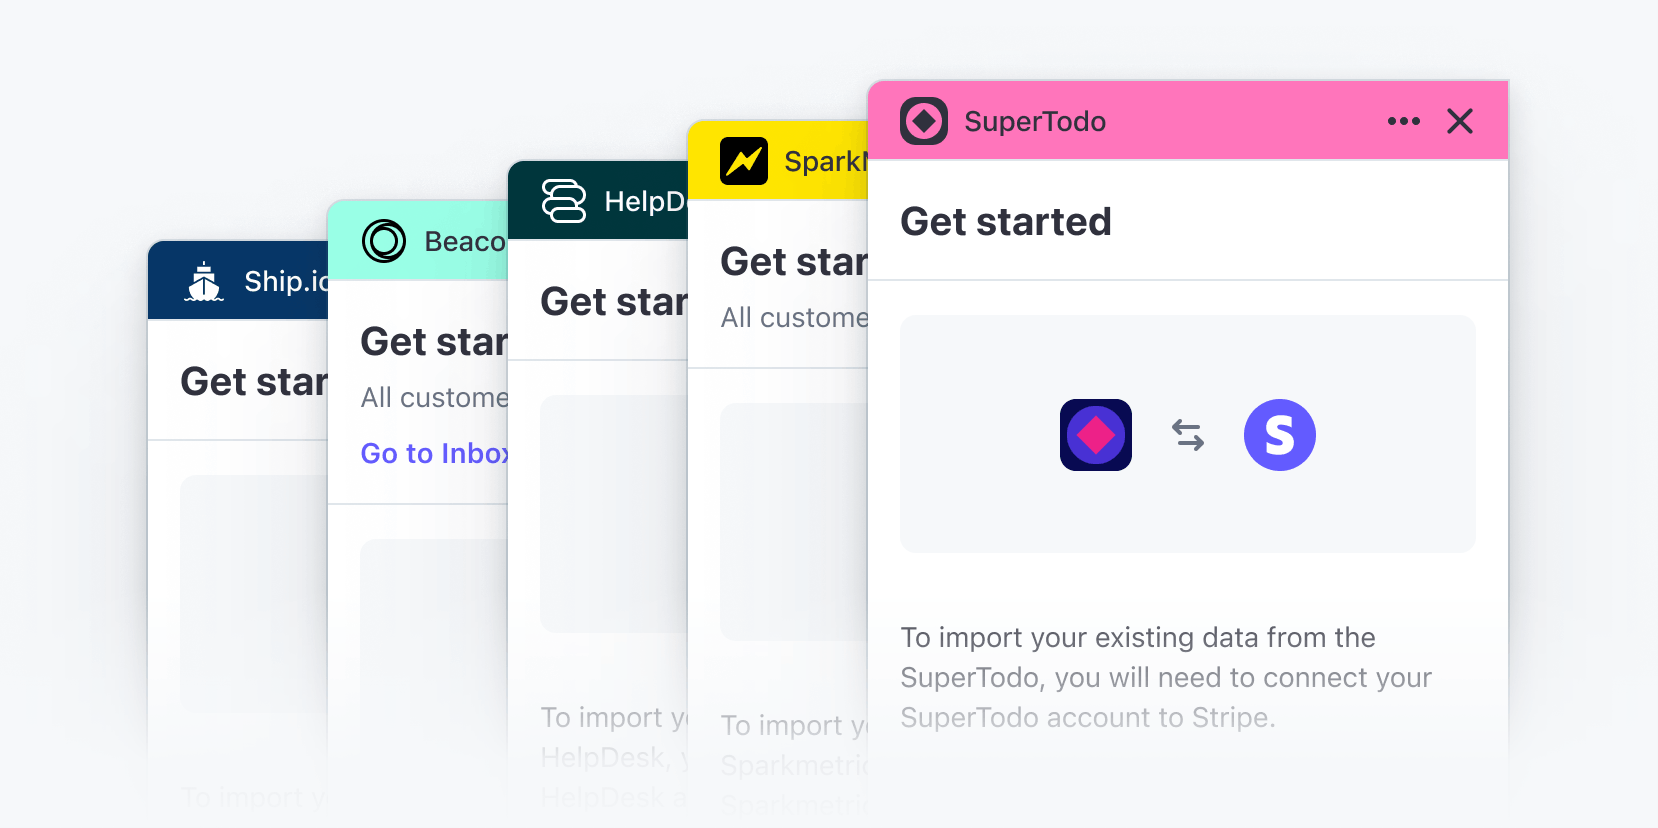
How your brand color and icon choices appear to users
Components and patterns
Stripe Apps provides a range of UI components you can combine to create more complex UIs.
Patterns are compositions of components that demonstrate how to use the latest UI components effectively. Using recommended patterns to build your app is the fastest way to make sure users have a high quality, consistent experience. It also speeds up the app review process.
Figma UI toolkit
The Figma UI toolkit contains every component, pattern, and a few example apps. It’s available at @stripedesign on Figma Community.
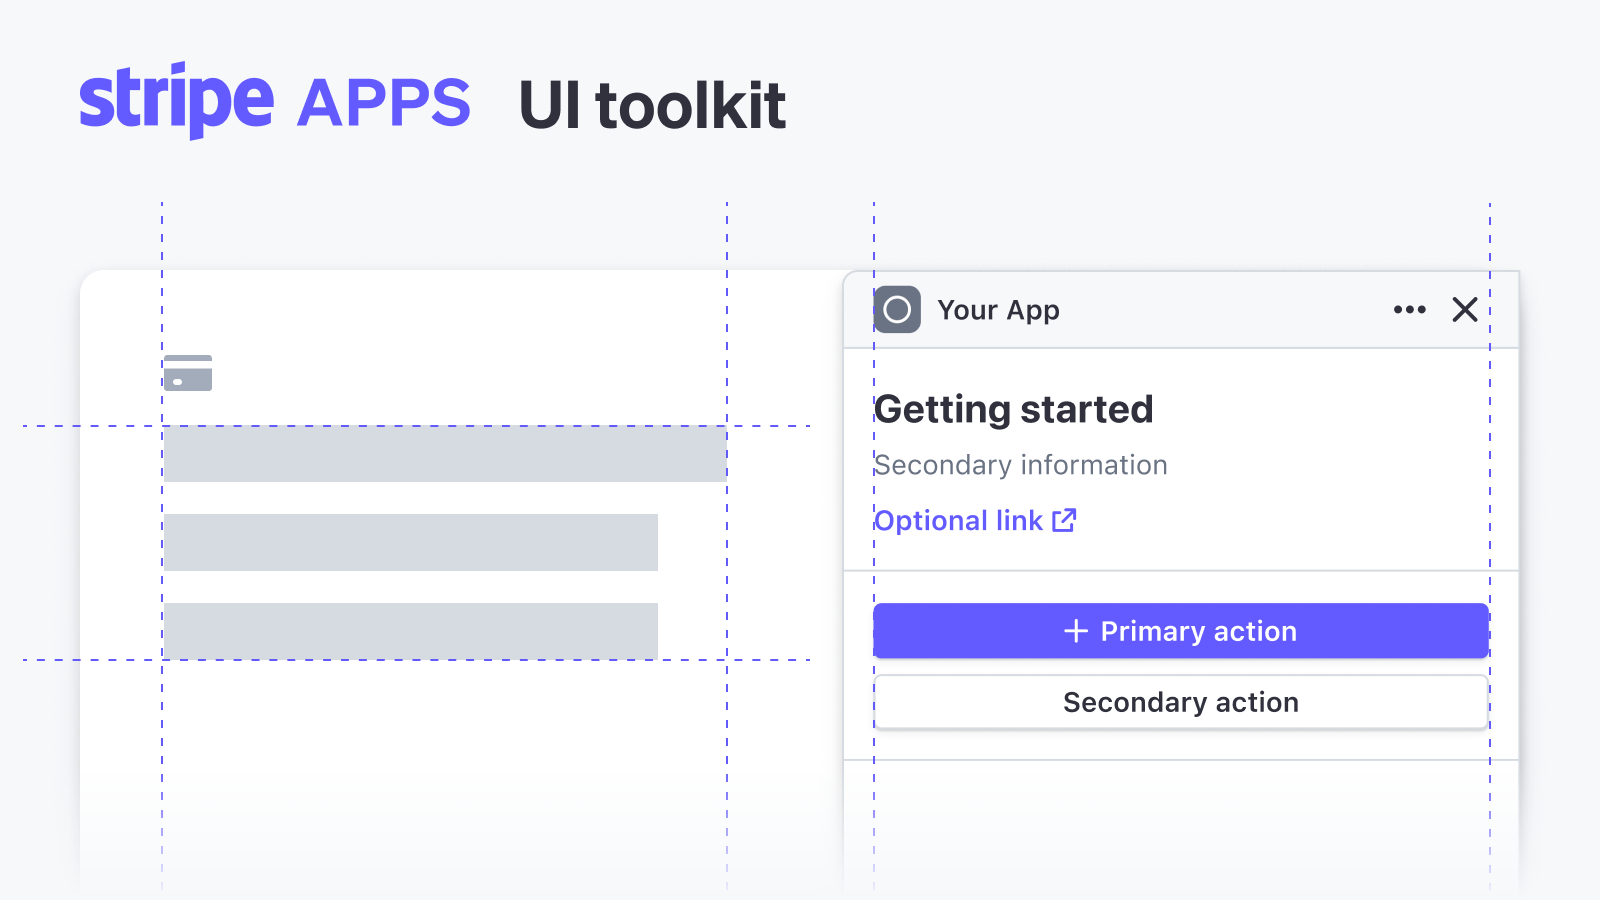
The Figma UI toolkit
UI components
Stripe users expect a consistent look and feel across the Stripe Dashboard, and Stripe Apps provides UI components to help you create them. These components are in an expandable drawer for Stripe Apps in the Dashboard.
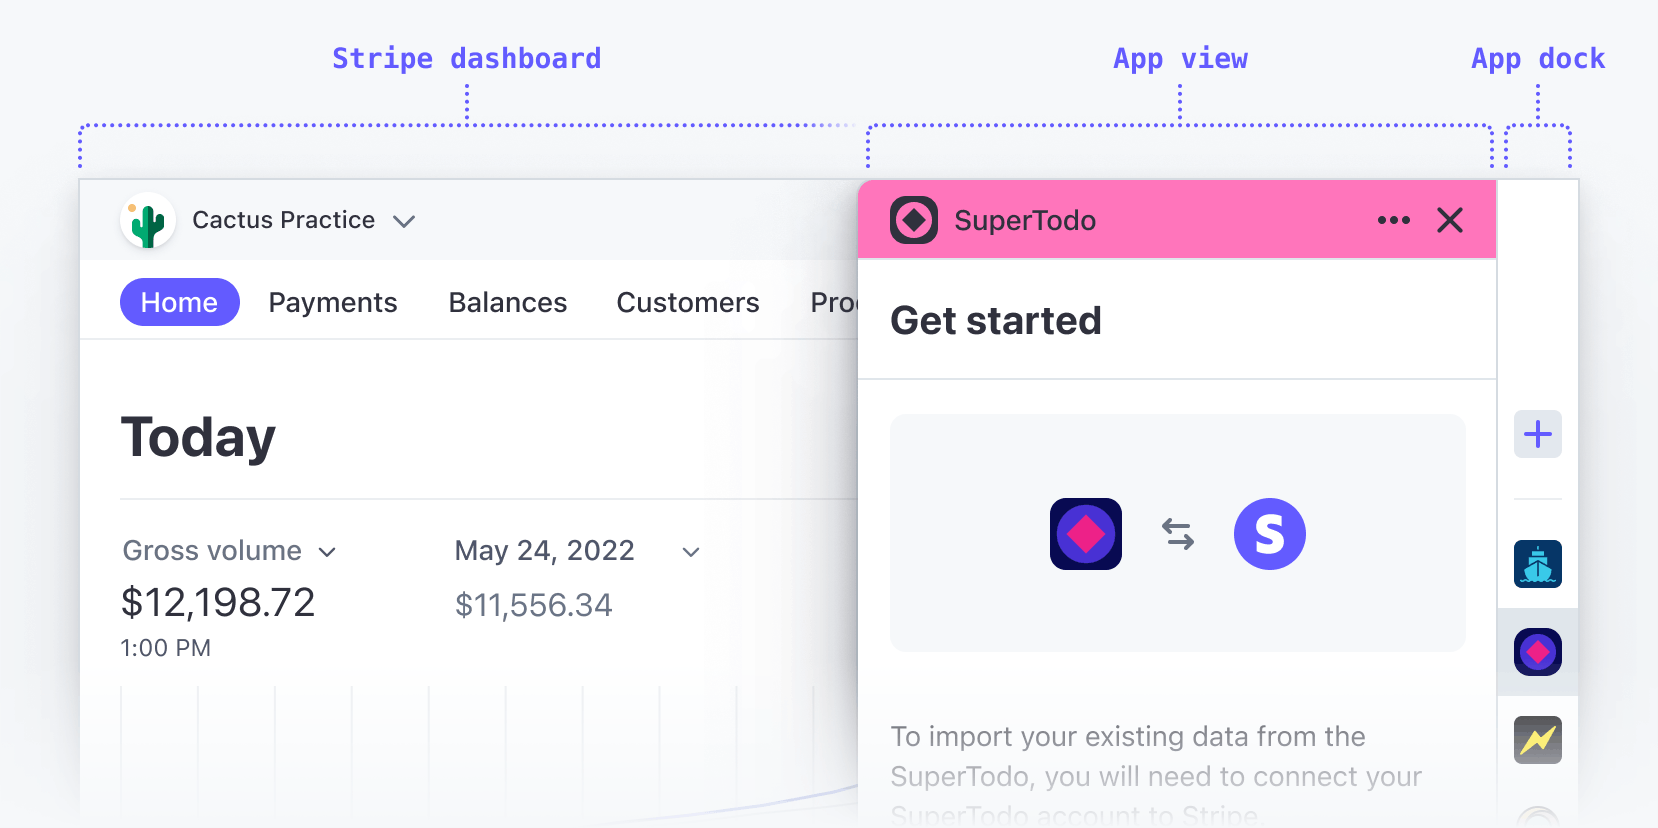
Users see your app’s UI extension in the Stripe Dashboard
When users install an app that uses UI extensions, the app appears in a dock. When they click the dock, a drawer opens to show details about your app and actions users can take.
Available surfaces
The app drawer serves as the entry point for all apps a user has installed. You can display it on several surfaces. A surface is a viewport corresponding to a page on the Stripe Dashboard.
Details pages
Details pages give a detailed look into a particular Stripe object—for example, a details page for a single payment, invoice, subscription, customer, or product. On a details page, your app can access information about the current object using the UI extensions SDK. For security reasons, this requires permission. For more information, see Permissions.
Consider the Stripe objects that best correspond to your product, and build relevant apps across each one of them. Stripe Apps is an opportunity to build a contextual app that meets users in their existing workflows.
List pages
List pages give an overview of activity on your account: for example, the Customers page lists all customers, and the Payments page lists all payments.
Not every app needs to have a view for list pages. Only build for list pages if you have features to offer that don’t relate to a specific object.
Home
The Stripe Dashboard homepage gives users a quick overview of their business and routes them to core workflows. Consider building apps for the home surface if you can showcase a relevant overview of the user’s business, corresponding to your product and its intersection with Stripe.
Not every app needs to have a view for the home surface. Only build for home if you have relevant overview material to show incoming users.
App anatomy
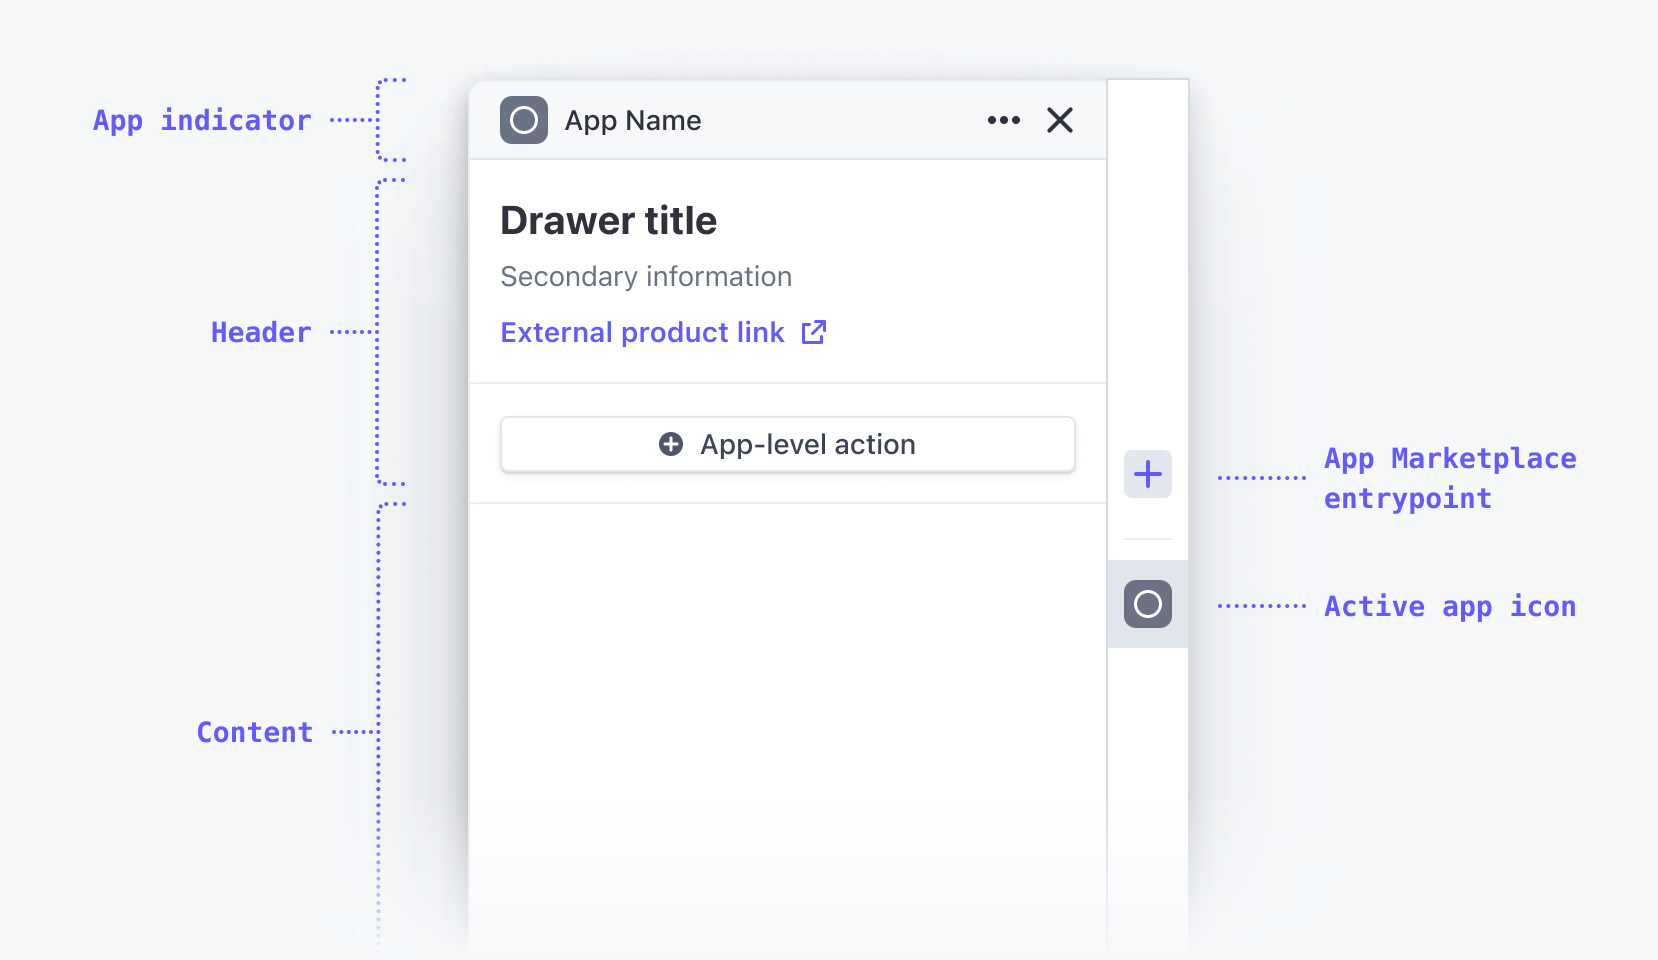
The parts of a Stripe app
App indicator helps users identify which app they’re in. It contextually appears on the pages that you’ve built an app for. Users identify and invoke your app by seeing and clicking the app icon.
Header houses your app name, view name, external link to your product, and a few top level actions that the user can perform on your app.
Content is the blank canvas for your app that you can compose using the available set of UI components.
App Marketplace entrypoint is the entry point for exploring and adding new apps. When a user adds a new app from the App Marketplace, the dock updates to show the new app’s icon.
Active app icon is an icon that represents the currently selected app. If the user has other apps installed, their app icons appear above or below in the app dock. To set your app icon, use the app manifest reference documentation.
Types of views
An app can be built of three different view types:
The view determines what the user sees at different points to engage with your app. Views are similar to the different HTML pages of a website.
ContextView is the default view of your app. SettingsView is for the settings page. Both of these views are view root components, meaning they serve as base containers for other components to populate. Every component must have a view root component.
ContextView
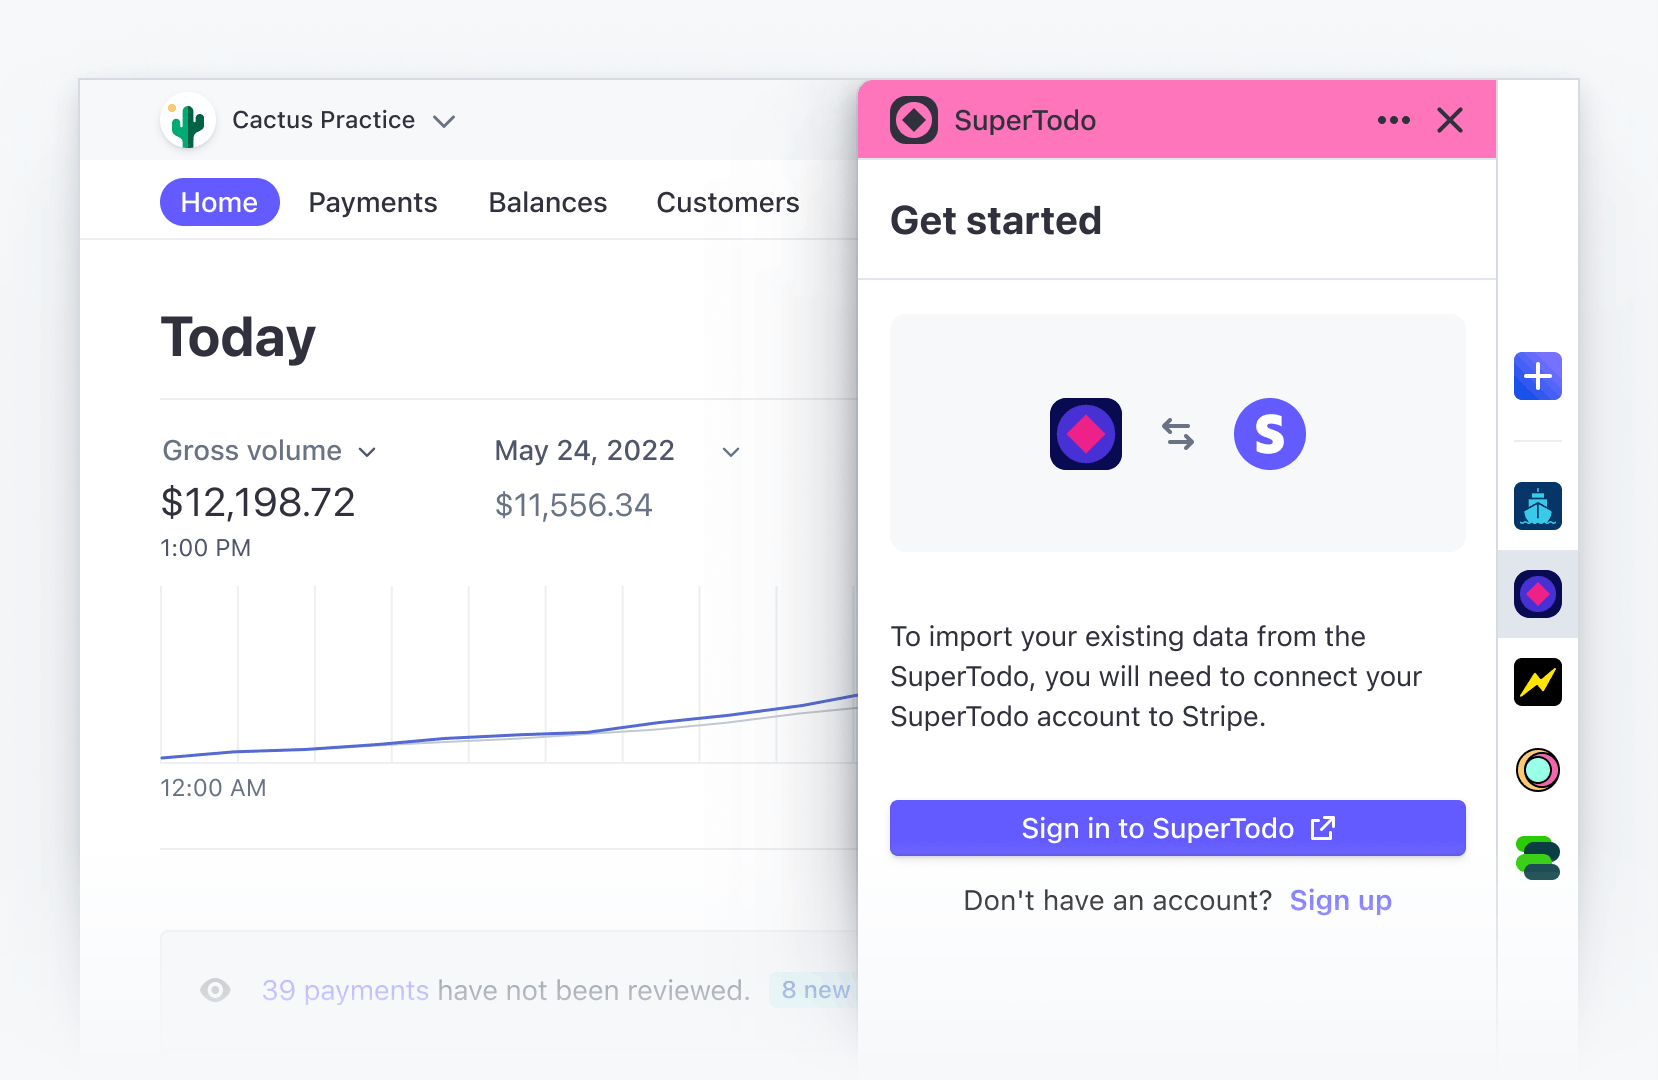
What ContextView looks like
The first view of the app must be a ContextView.
ContextView allows apps to render next to Stripe content in a drawer, so users can look at them side-by-side and share context across your app and the Stripe content.
These in-context modules allow the app to meet users in their existing workflows and augment them with contextual information and actions.
A user’s interaction with an app always begins with a ContextView. Each app must have at least one ContextView (per viewport), which acts as the default view when it loads—similar to the index. of a website).
FocusView
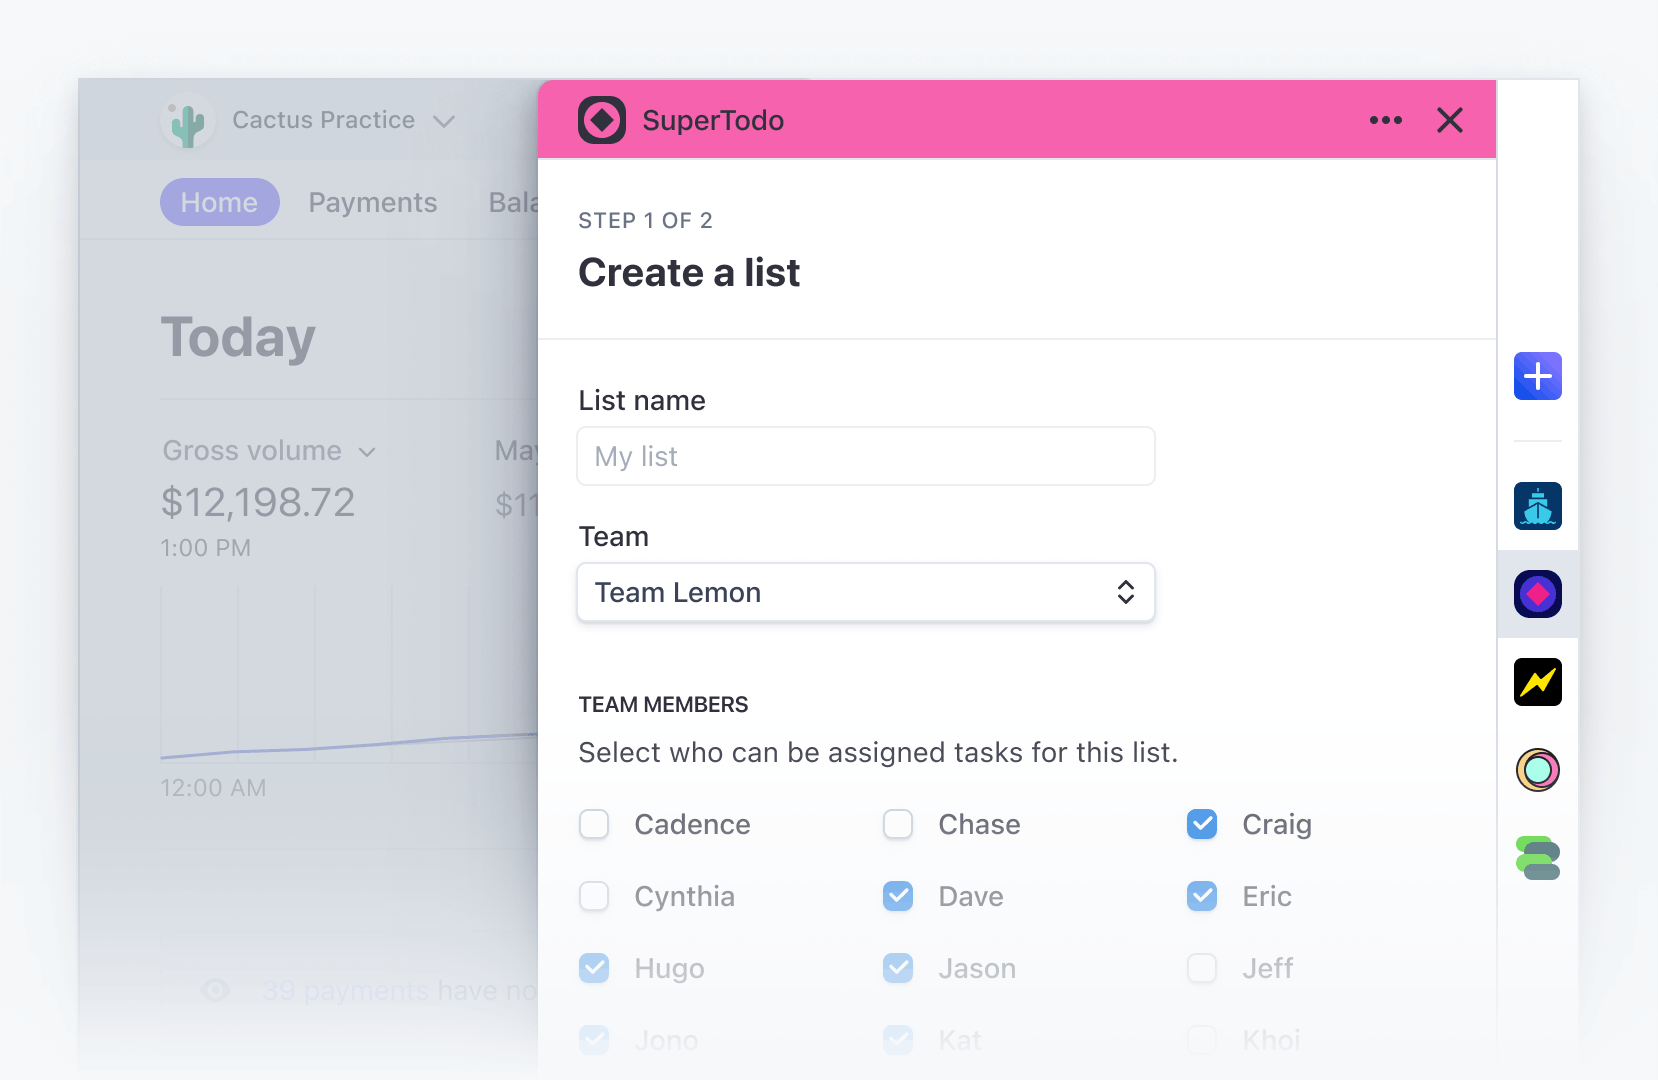
What FocusView looks like
A FocusView is for deeper or longer workflows, triggered from a ContextView.
In FocusView, a blocking backdrop is applied to the rest of the page to focus the user’s attention on the current view, reinforcing their purpose for any focused, start-to-finish tasks.
The backdrop doesn’t allow the user to interact with the contents of the page behind the drawer.
Choose FocusView when:
- Your user is filling a form or performing a workflow that doesn’t need the immediate context of the Stripe page, and shouldn’t be easily interrupted
- You need a wider canvas to show a more complex view (for example, to preview a foreign object, like a support ticket).
Not sure which view?
When choosing between ContextView and FocusView, default to ContextView. This view provides users with Stripe content and your app’s content side-by-side.
Choose FocusView when it’s important for the user to complete a focused task, from start to finish, or when you need a wider canvas to show a more complex view.
SettingsView
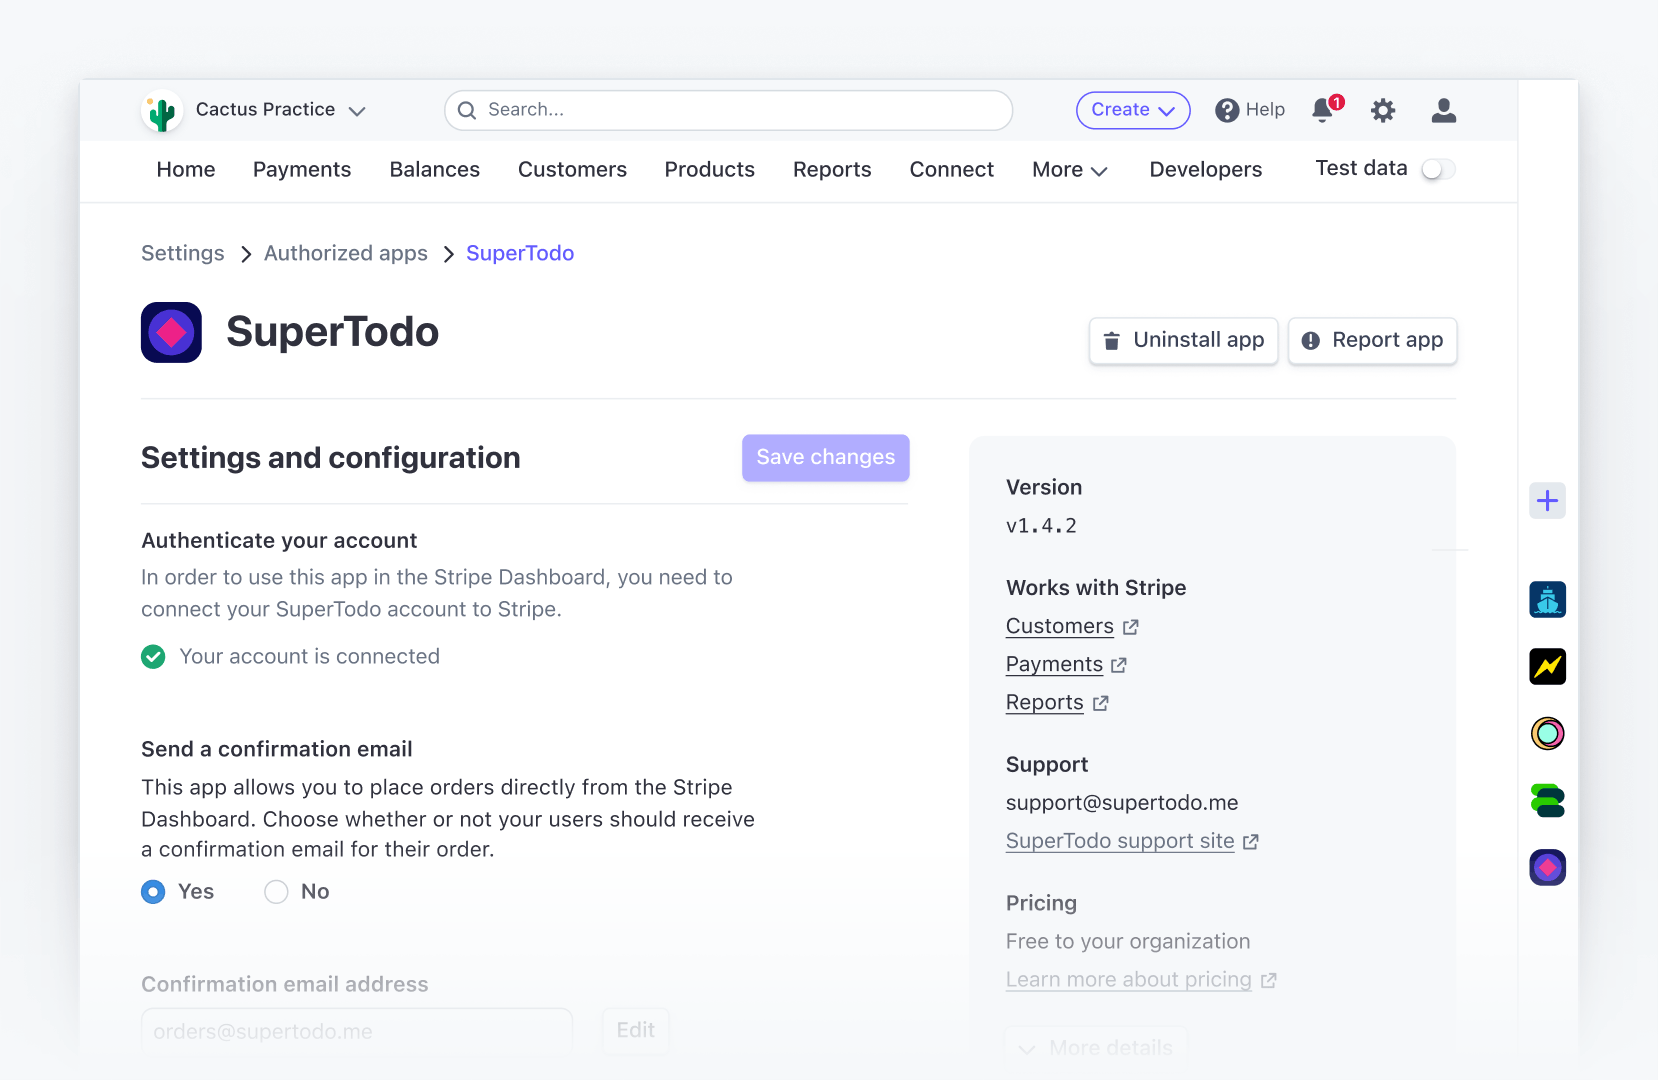
What SettingsView looks like
A SettingsView appears on your app’s configuration page to let you provide custom settings for your app. Learn how to add an app settings page.