Restricted API key authentication
Generate a permissioned restricted API key (RAK) when a user installs your app.
Stripe Apps can use restricted API keys (RAKs) for authenticating with Stripe APIs. These apps provide users with a RAK with specific permissions after they install the app.
If your integration previously relied on users to provide their secret key, you might be able to use a RAK Stripe App as a replacement. Because RAKs work in the same manner as secret keys, using them for authorization might require no changes to your back-end code.
RAK authentication benefits
- The key generated by the app contains only the necessary permissions for the app to function, which gives users more secure control of their account’s data.
- Because the app already has defined permissions, installing users don’t need to manually select permissions to add it to the restricted key. Users only need to install the app and click a button to generate the key.
RAK authentication limitations
- Using RAK authentication requires at least some user interaction. Users must generate the key through the app and provide it to a partner or an integration.
- When using RAK authentication for your app, UI extensions might not function properly. It supports the app settings page, but UI Extensions won’t have access to additional Dashboard context.
Installation
A user installing a Stripe App that uses RAK authentication follows these steps:
- From the App Marketplace or through an install link, the user selects the appropriate account and accepts permissions for installing the app.
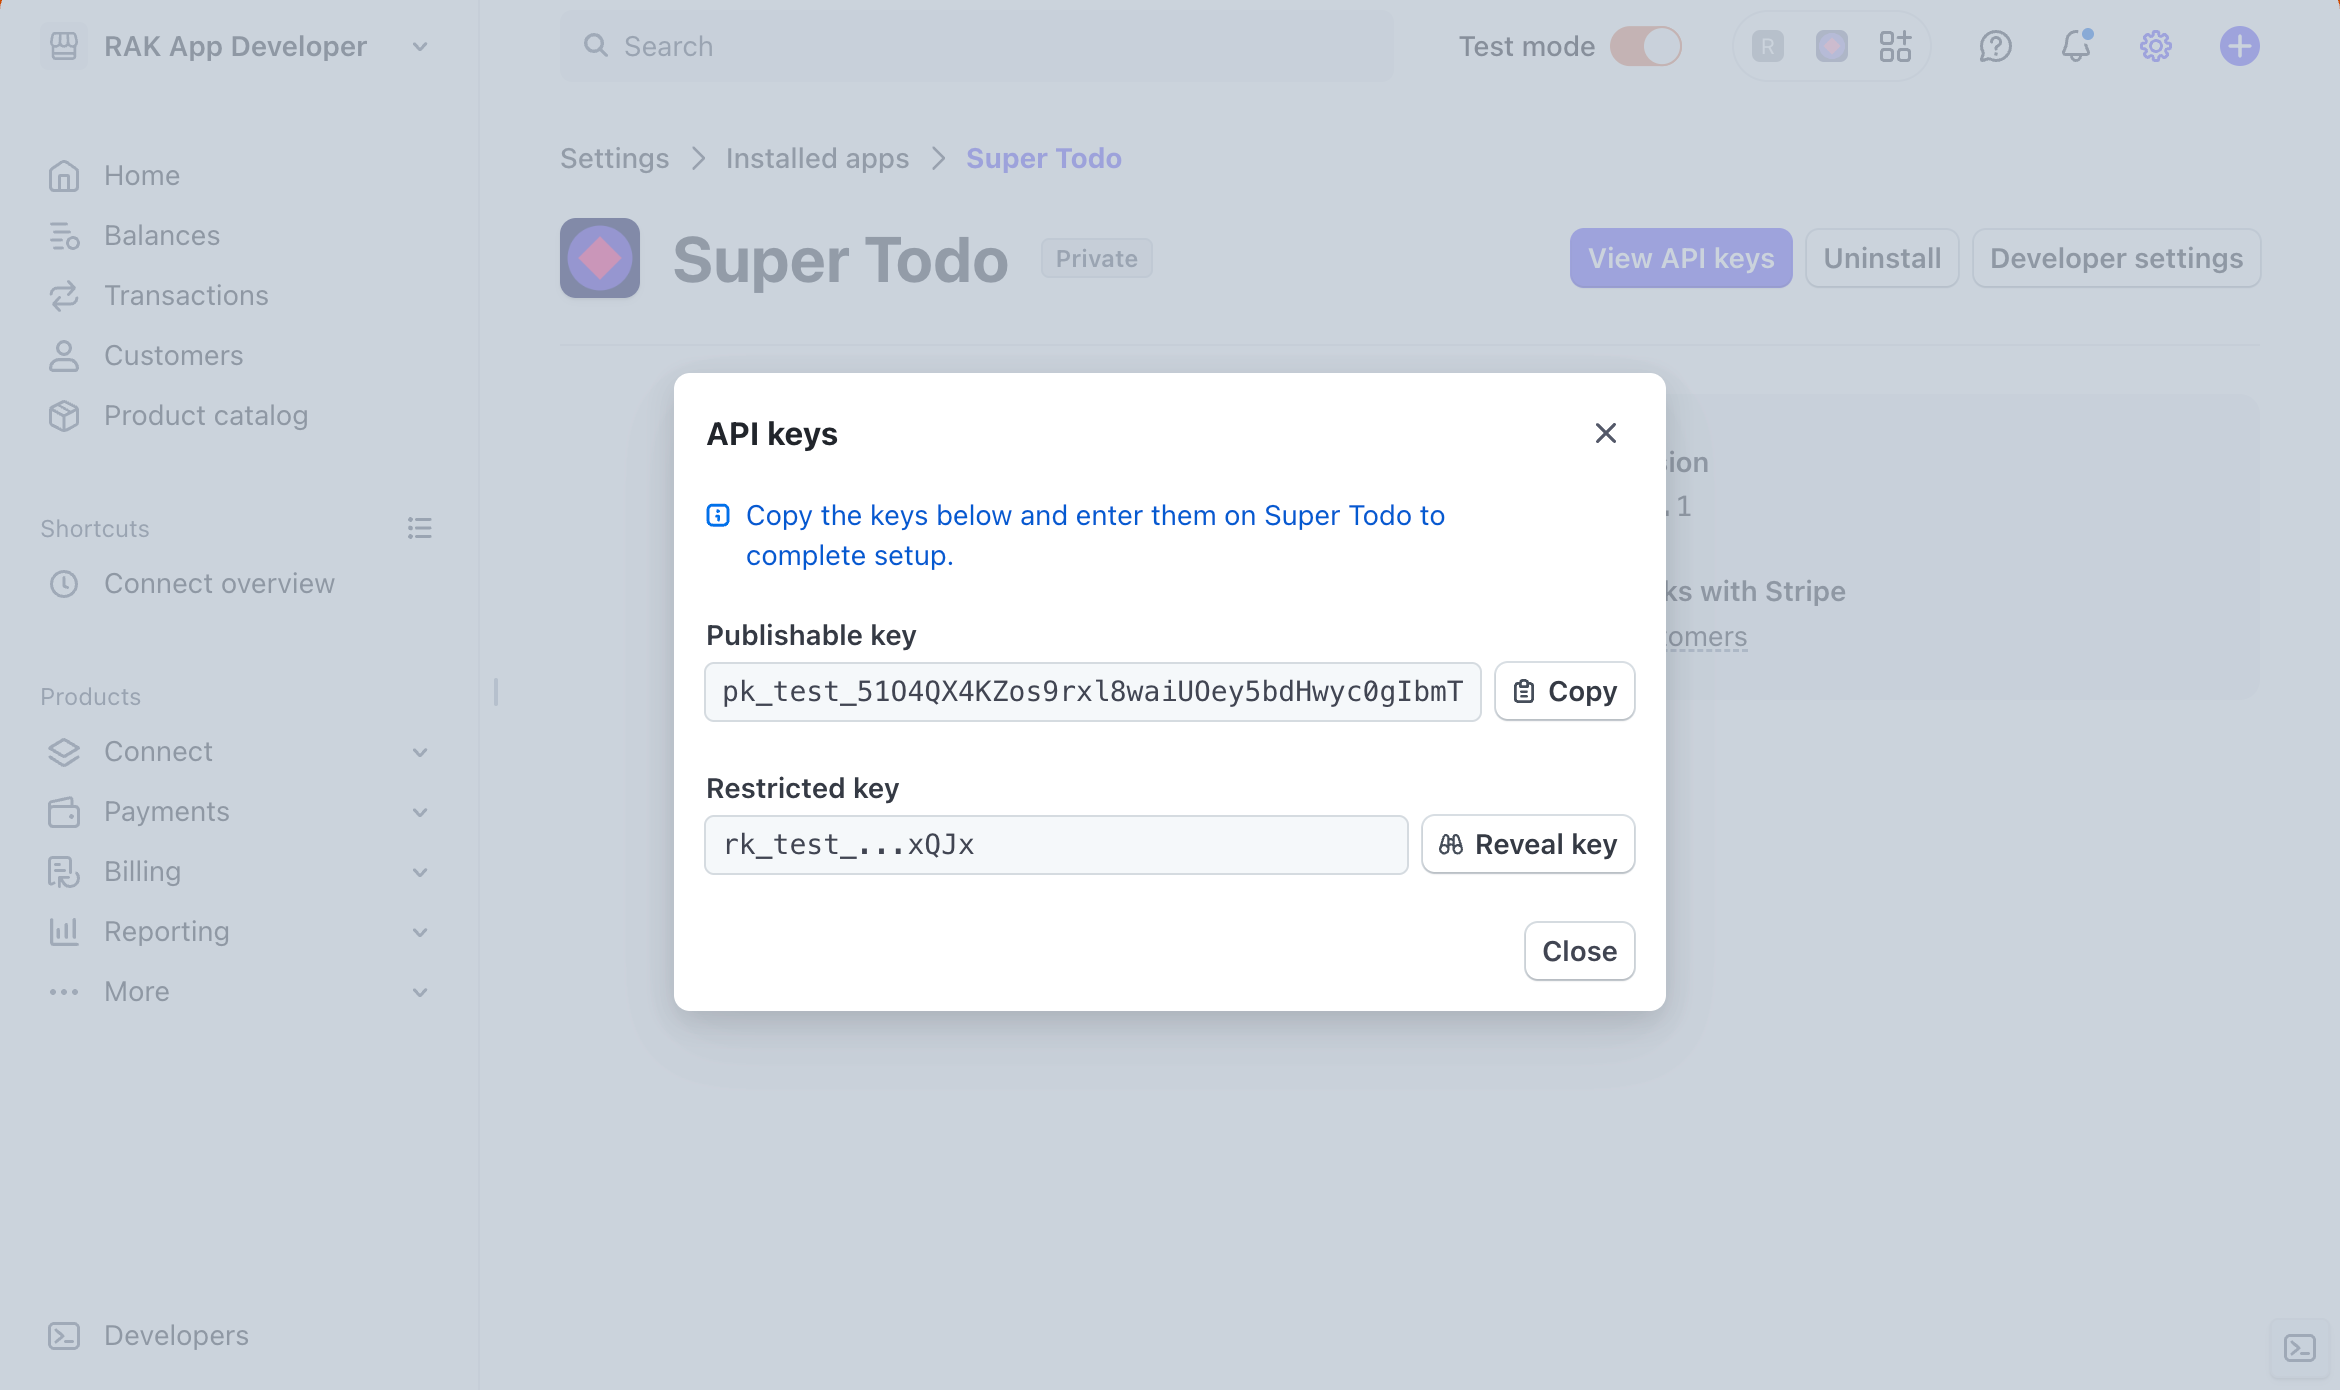
- After installing the app, we redirect the user to the settings page for the app to generate a restricted API key, provisioned with the proper permissions.
- The user copies the generated key and provides the key to your site.
Develop your app
Install the Stripe Apps CLI plugin (if you haven’t already done so).
Create your app using our template.
Command Linestripe apps create <app-name> --template restricted-api-key-appIf you have an existing app, run this command in Stripe CLI:
Command Linestripe apps set api-access-type restricted_api_keyAdd all the permissions that your app requires.
Edit your app settings page. If you use the template above, a settings view is automatically created. We recommend adding instructions or links to your own documentation on this page for users to reference when setting up your app.
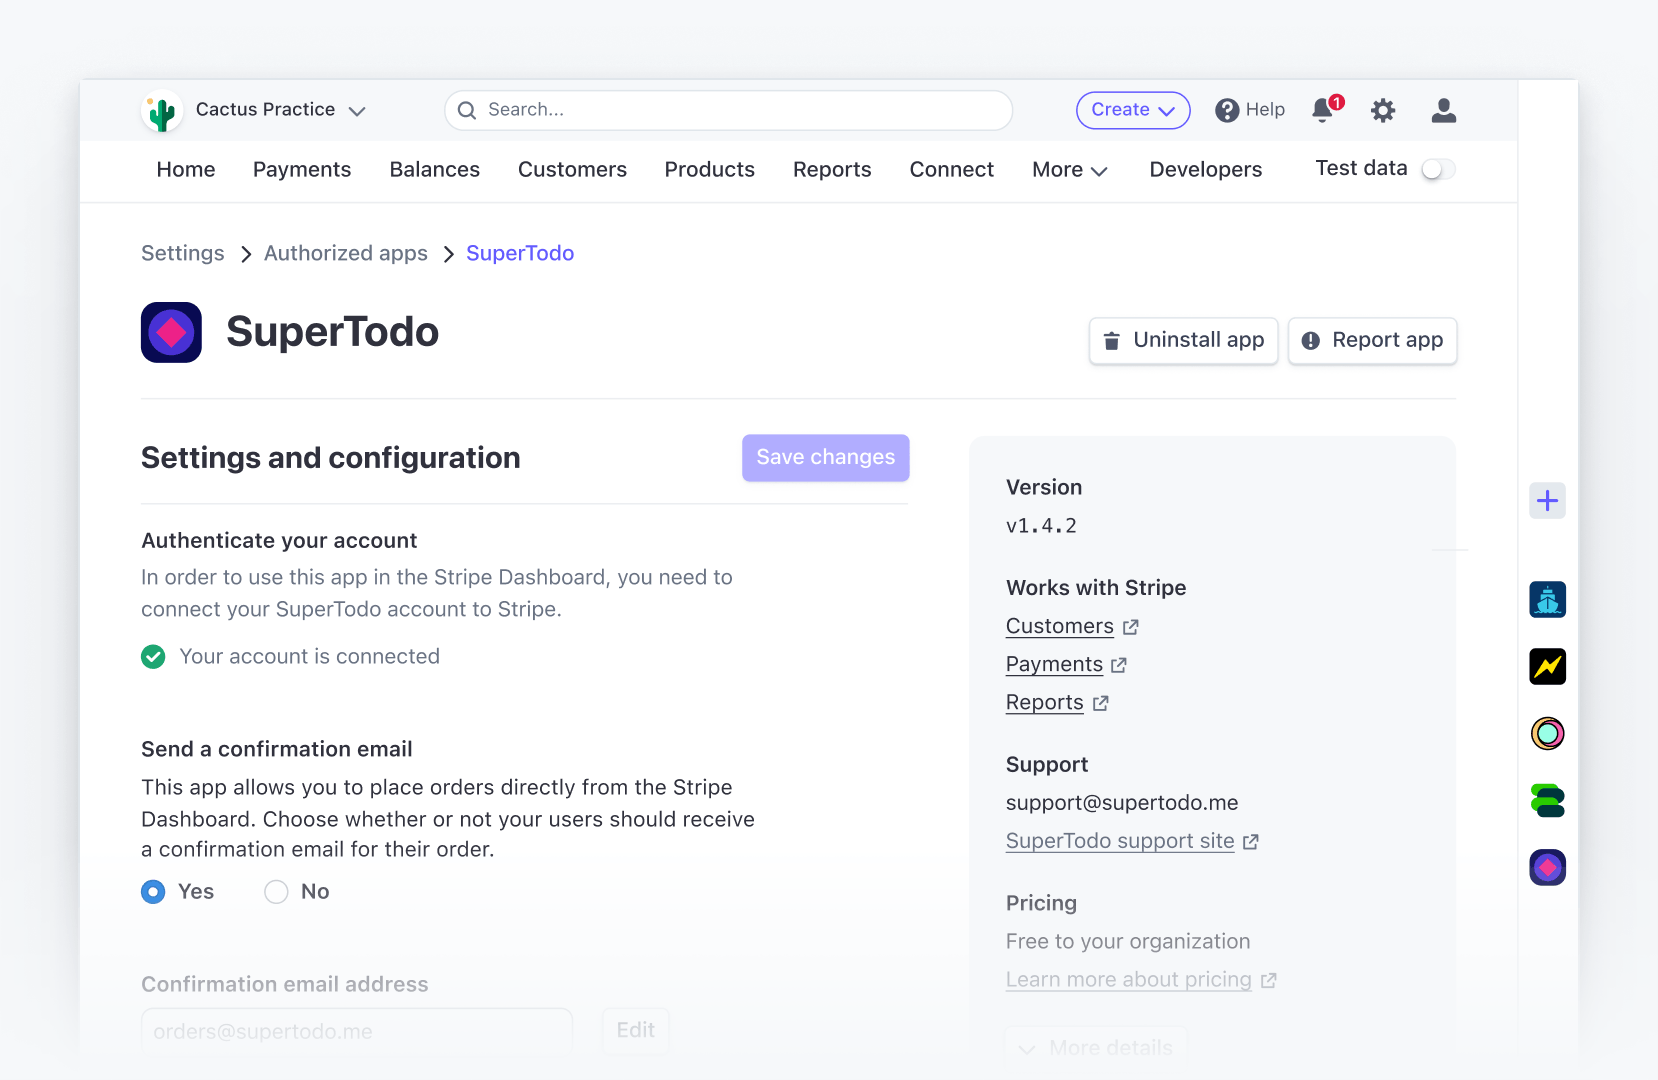
Example app settings page
Upload your app to Stripe.
Nota
After you upload your RAK app, you can’t change the API authentication method.
Command Linestripe apps upload
Test your app
You can test the RAK authentication on your own account.
- Install your app in test mode on your account. You can also configure the app manifest to enable installation in sandbox environments.
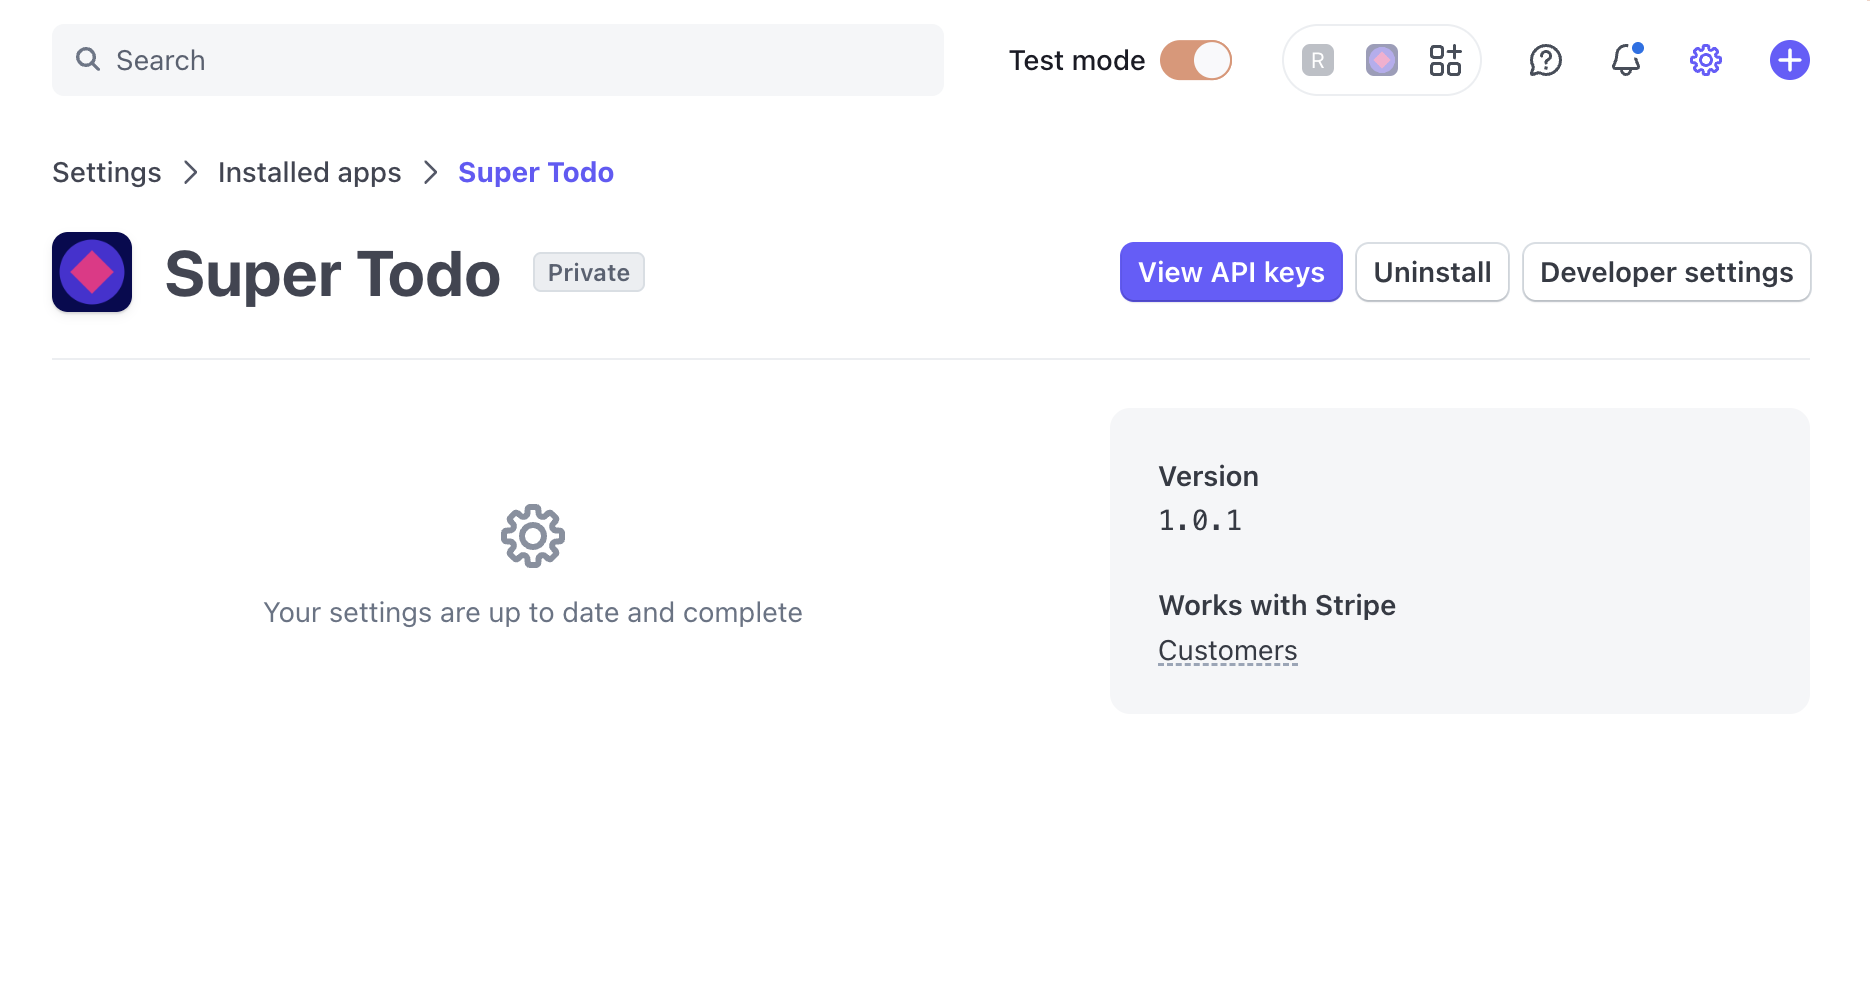
- Go to your installed apps page in settings and click your recently installed app.
- From the app settings page, click View API keys. Copy this secret key to test your integration.
To test your app on a different Stripe account than the one used to develop your app, use external testing.