After a payment link payment
Learn what you can do after receiving a payment link payment.
After you receive a payment through a payment link, you can track payments, manage fulfillment automatically, view payment link metrics, and more.
Track payments
Automatically handle fulfillment
You can automatically handle fulfillment through a Stripe partner or programmatically with the Stripe API:
Automation with a Stripe partner: To automate post-purchase activities like order fulfillment, emailing customers, and recording data to a spreadsheet, you can use a Stripe partner, like Zapier, to connect Stripe data to other applications.
Handle fulfillment programmatically: If you’re interested in handling fulfillment programmatically using the Stripe API and webhooks, learn how to fulfill orders after a customer pays.
Change confirmation behavior
Use payment links with Connect
With Stripe Connect, you can split a payment with a connected account by taking application fees. Learn how to use payment links with Connect.
Let customers manage their subscriptions
Create a link that you can send to customers, letting them log in and manage their subscriptions using the customer portal.
Send email receipts
Stripe can automatically send email receipts to your customers after successful payments. You can enable this feature with the email customers for successful payments option in your email receipt settings. To customize your receipt color and logo, go to the Branding settings.
To display custom text, use the description attribute on the PaymentIntent object. Some examples include:
- Description of goods or services provided
- Authorization code
- Subscription information
- Cancellation policies
Automatically send paid invoices
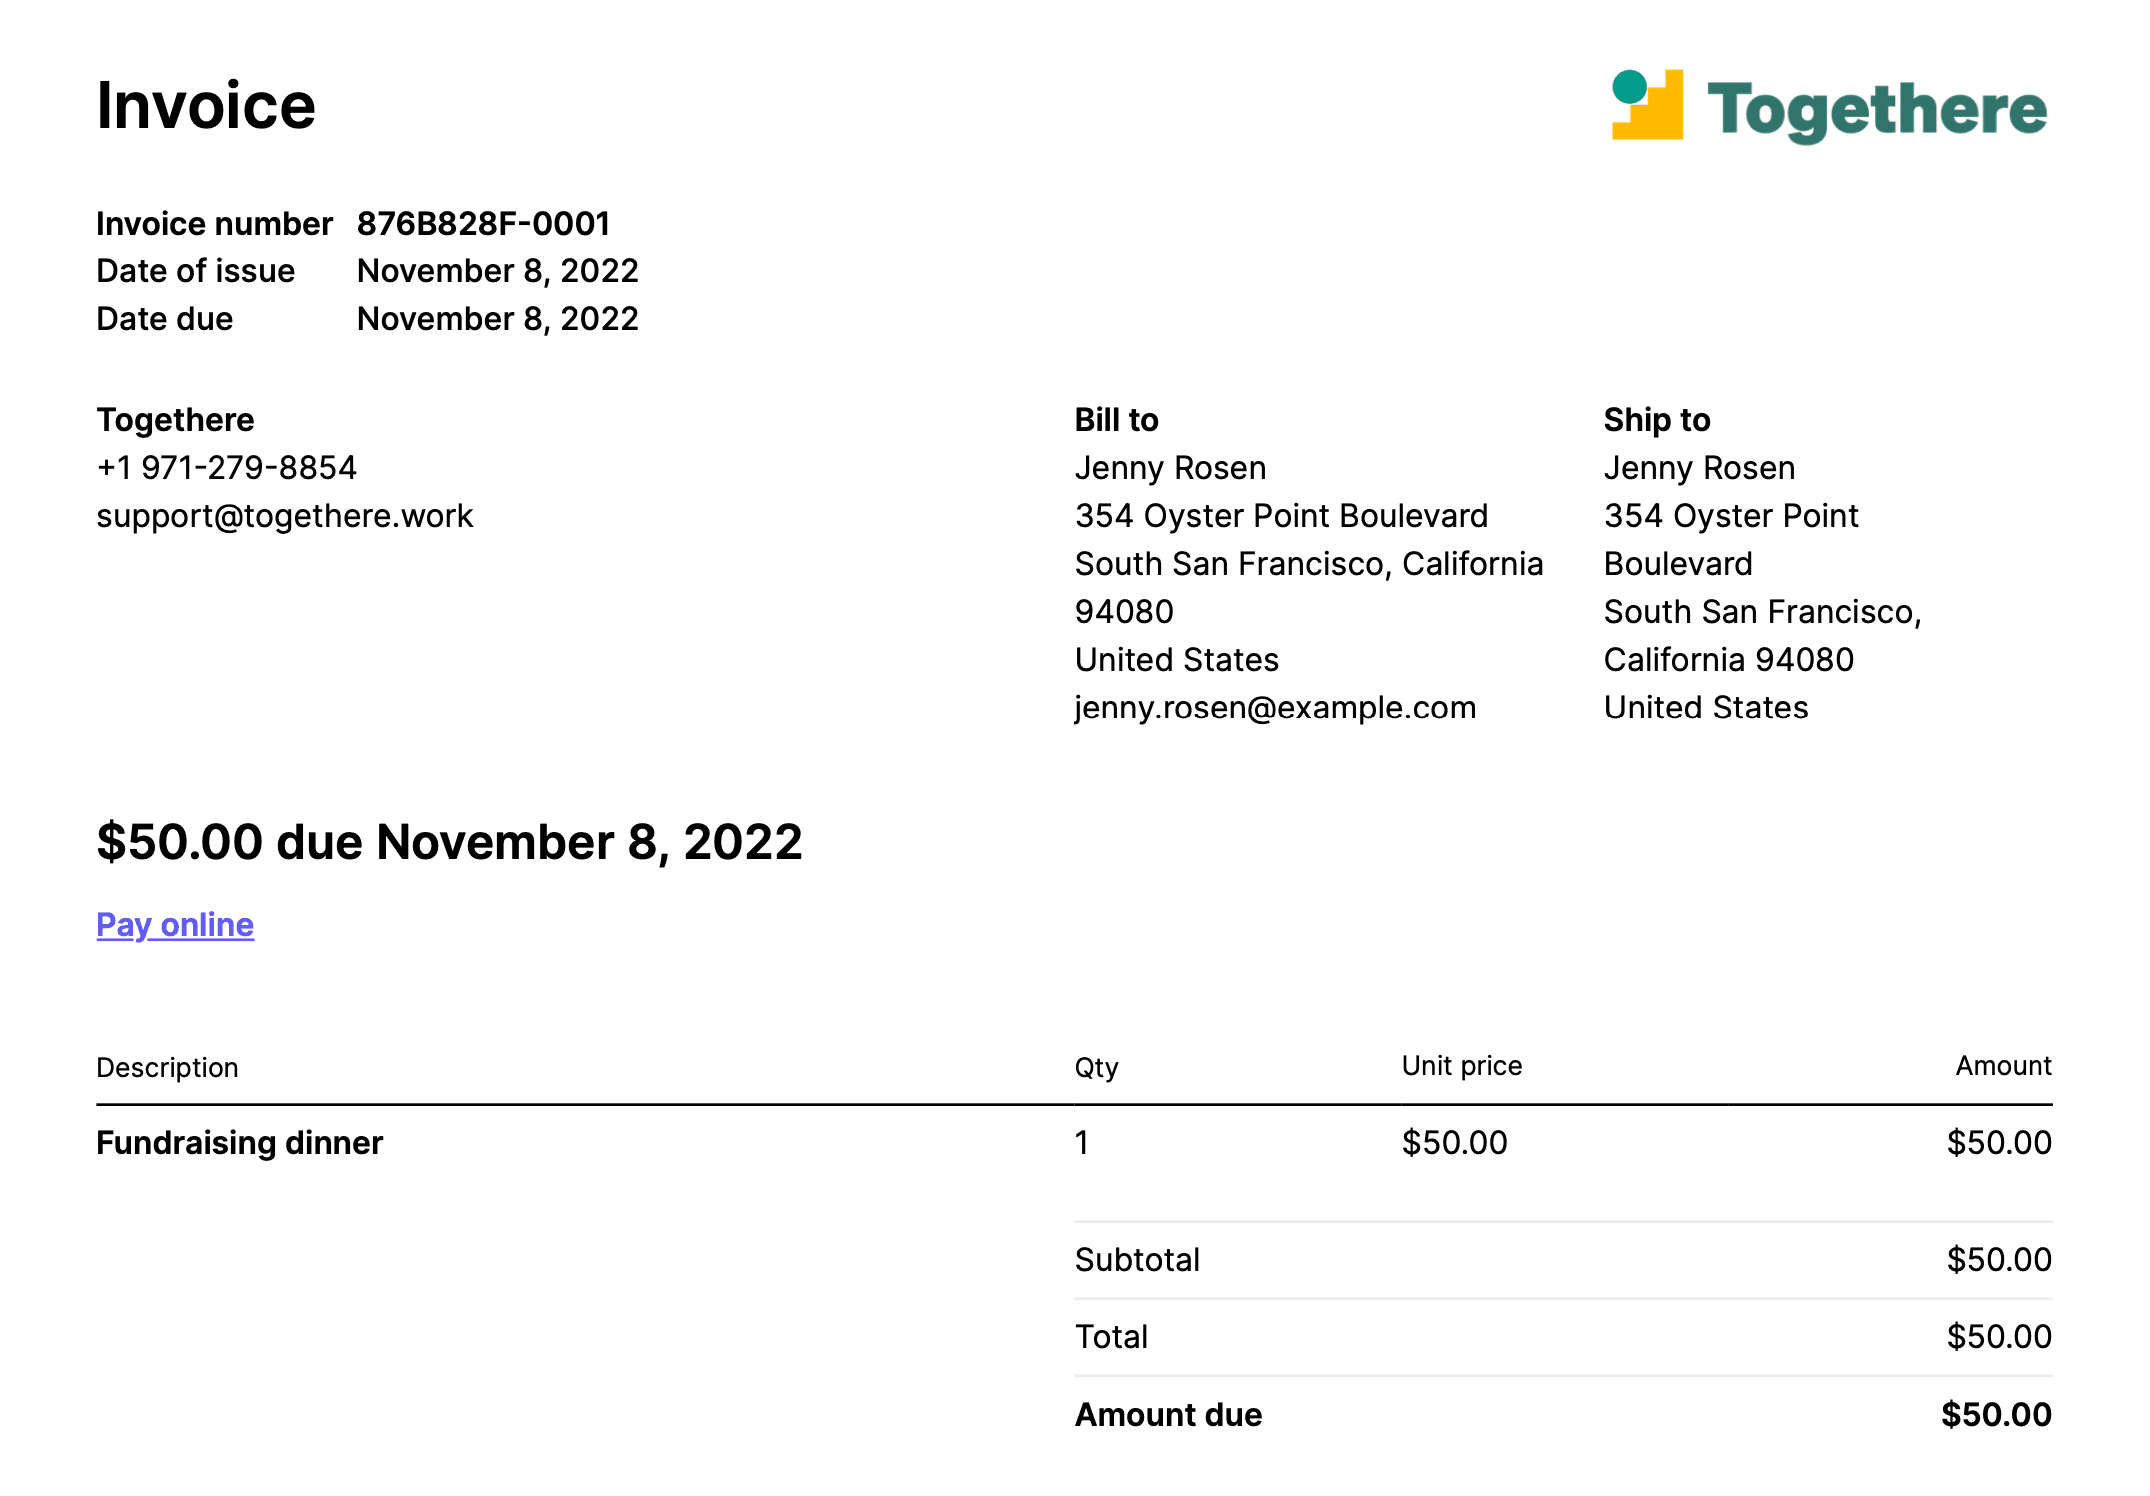
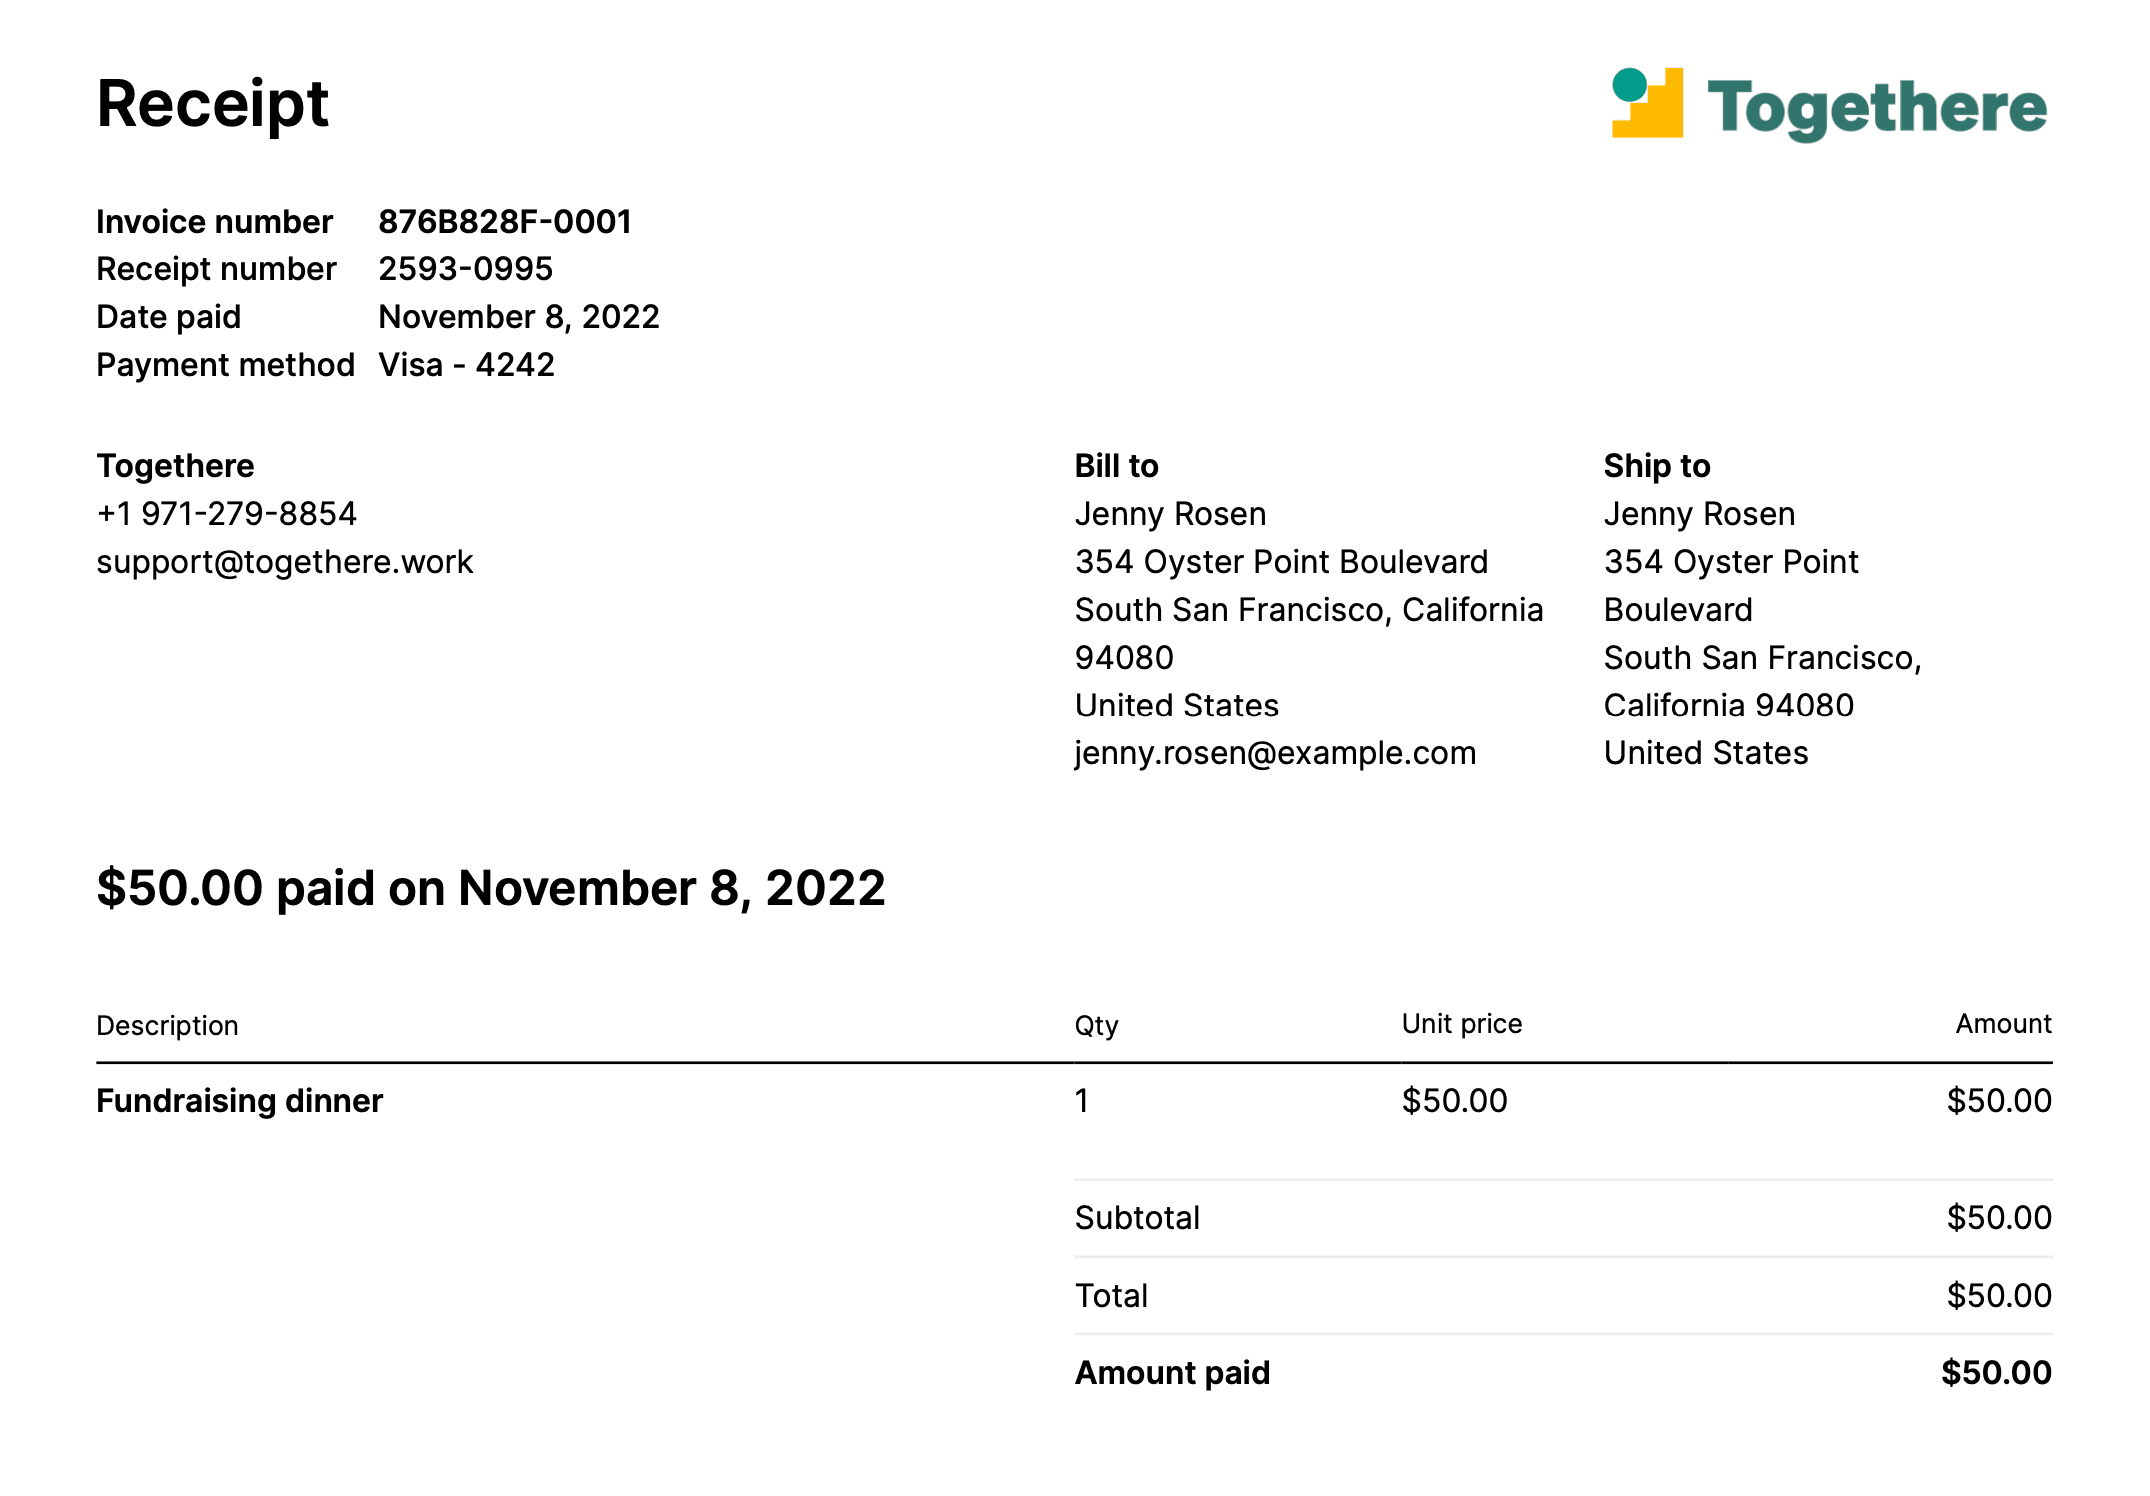
In addition to ordinary receipts, Payment Links can generate paid invoices as proof of payment. Invoices have more information than receipts. For subscriptions, Stripe generates invoices automatically, but for one-time payments, you need to enable them.
Caution
Invoices for delayed notification payment methods such as Bacs Direct Debit, Bank transfers, Boleto, Canadian pre-authorized debits, Konbini, OXXO, Pay by Bank, SEPA Direct Debit, or ACH Direct Debit might take longer to send because we send the invoice after successful payment, not upon checkout session completion.

The downloadable invoice PDF

The downloadable invoice receipt

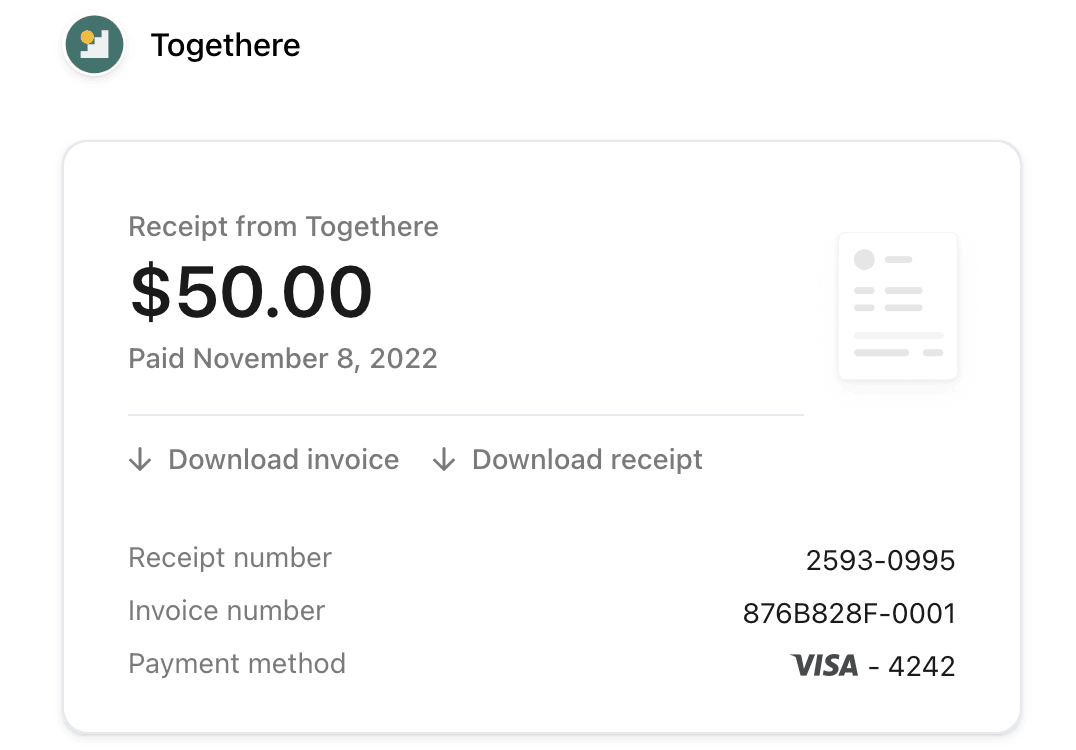
The customer email with links to the invoice PDF and receipt
Localization
When using Payment Links, the following factors determine the language of the receipt and invoice:
- If the session creates a Customer object (for example, through the
customer_parameter orcreation subscriptionmode), the browser locale of the user opening the Payment Link URL determines the language of the receipt and invoice. - If the session doesn’t create a Customer, the language setting from your Stripe Dashboard is applied instead.
View payment link metrics
You can see metrics such as views, sales, and revenue from a given payment link by clicking the Payments and analytics tab after selecting a payment link from the list view. Note that Stripe can delay data for up to 18 hours, and isn’t available in a sandbox. Analytics aren’t supported for links that include recurring prices.
You can use this data to better understand how your link is performing and what its conversion rate is:
- Views: The number of times your payment link was opened.
- Sales: The number of times the payment link was used to complete a purchase.
- Revenue: The gross sales volume that the link generated and is always in your default currency regardless of the presentment currency. Stripe converts the amounts using the exchange rate on the day the payment occurs.
Refund payment links
To refund a payment using the Dashboard:
- Find the payment you want to refund in the Payments page.
- Click the overflow menu () to the right of the payment, then select Refund payment.
- By default, you issue a full refund. For a partial refund, enter a different refund amount.
- Select a reason for the refund. If you select Other, you must add a note that explains the reason for the refund. Click Refund.
Alternatively, you can click a specific payment and issue a refund from its details page. You can also send refund receipts automatically or manually send a receipt for each refund.
Bulk refunds
The Dashboard supports the bulk refunding of full payments. Select what payments you want to refund by checking the box to the left of each payment—even over multiple pages of results. Then, click Refund and select a reason. You can only issue full refunds in this way; partial refunds must be issued individually.
Refund timing
It typically takes 5-10 business days for the refund to be processed and reflected on the customer’s bank statement. If there are any issues with insufficient funds in your Stripe balance, the refund might be set as pending until resolved.