Use the API to create and manage payment links
Create and manage payment links with the API.
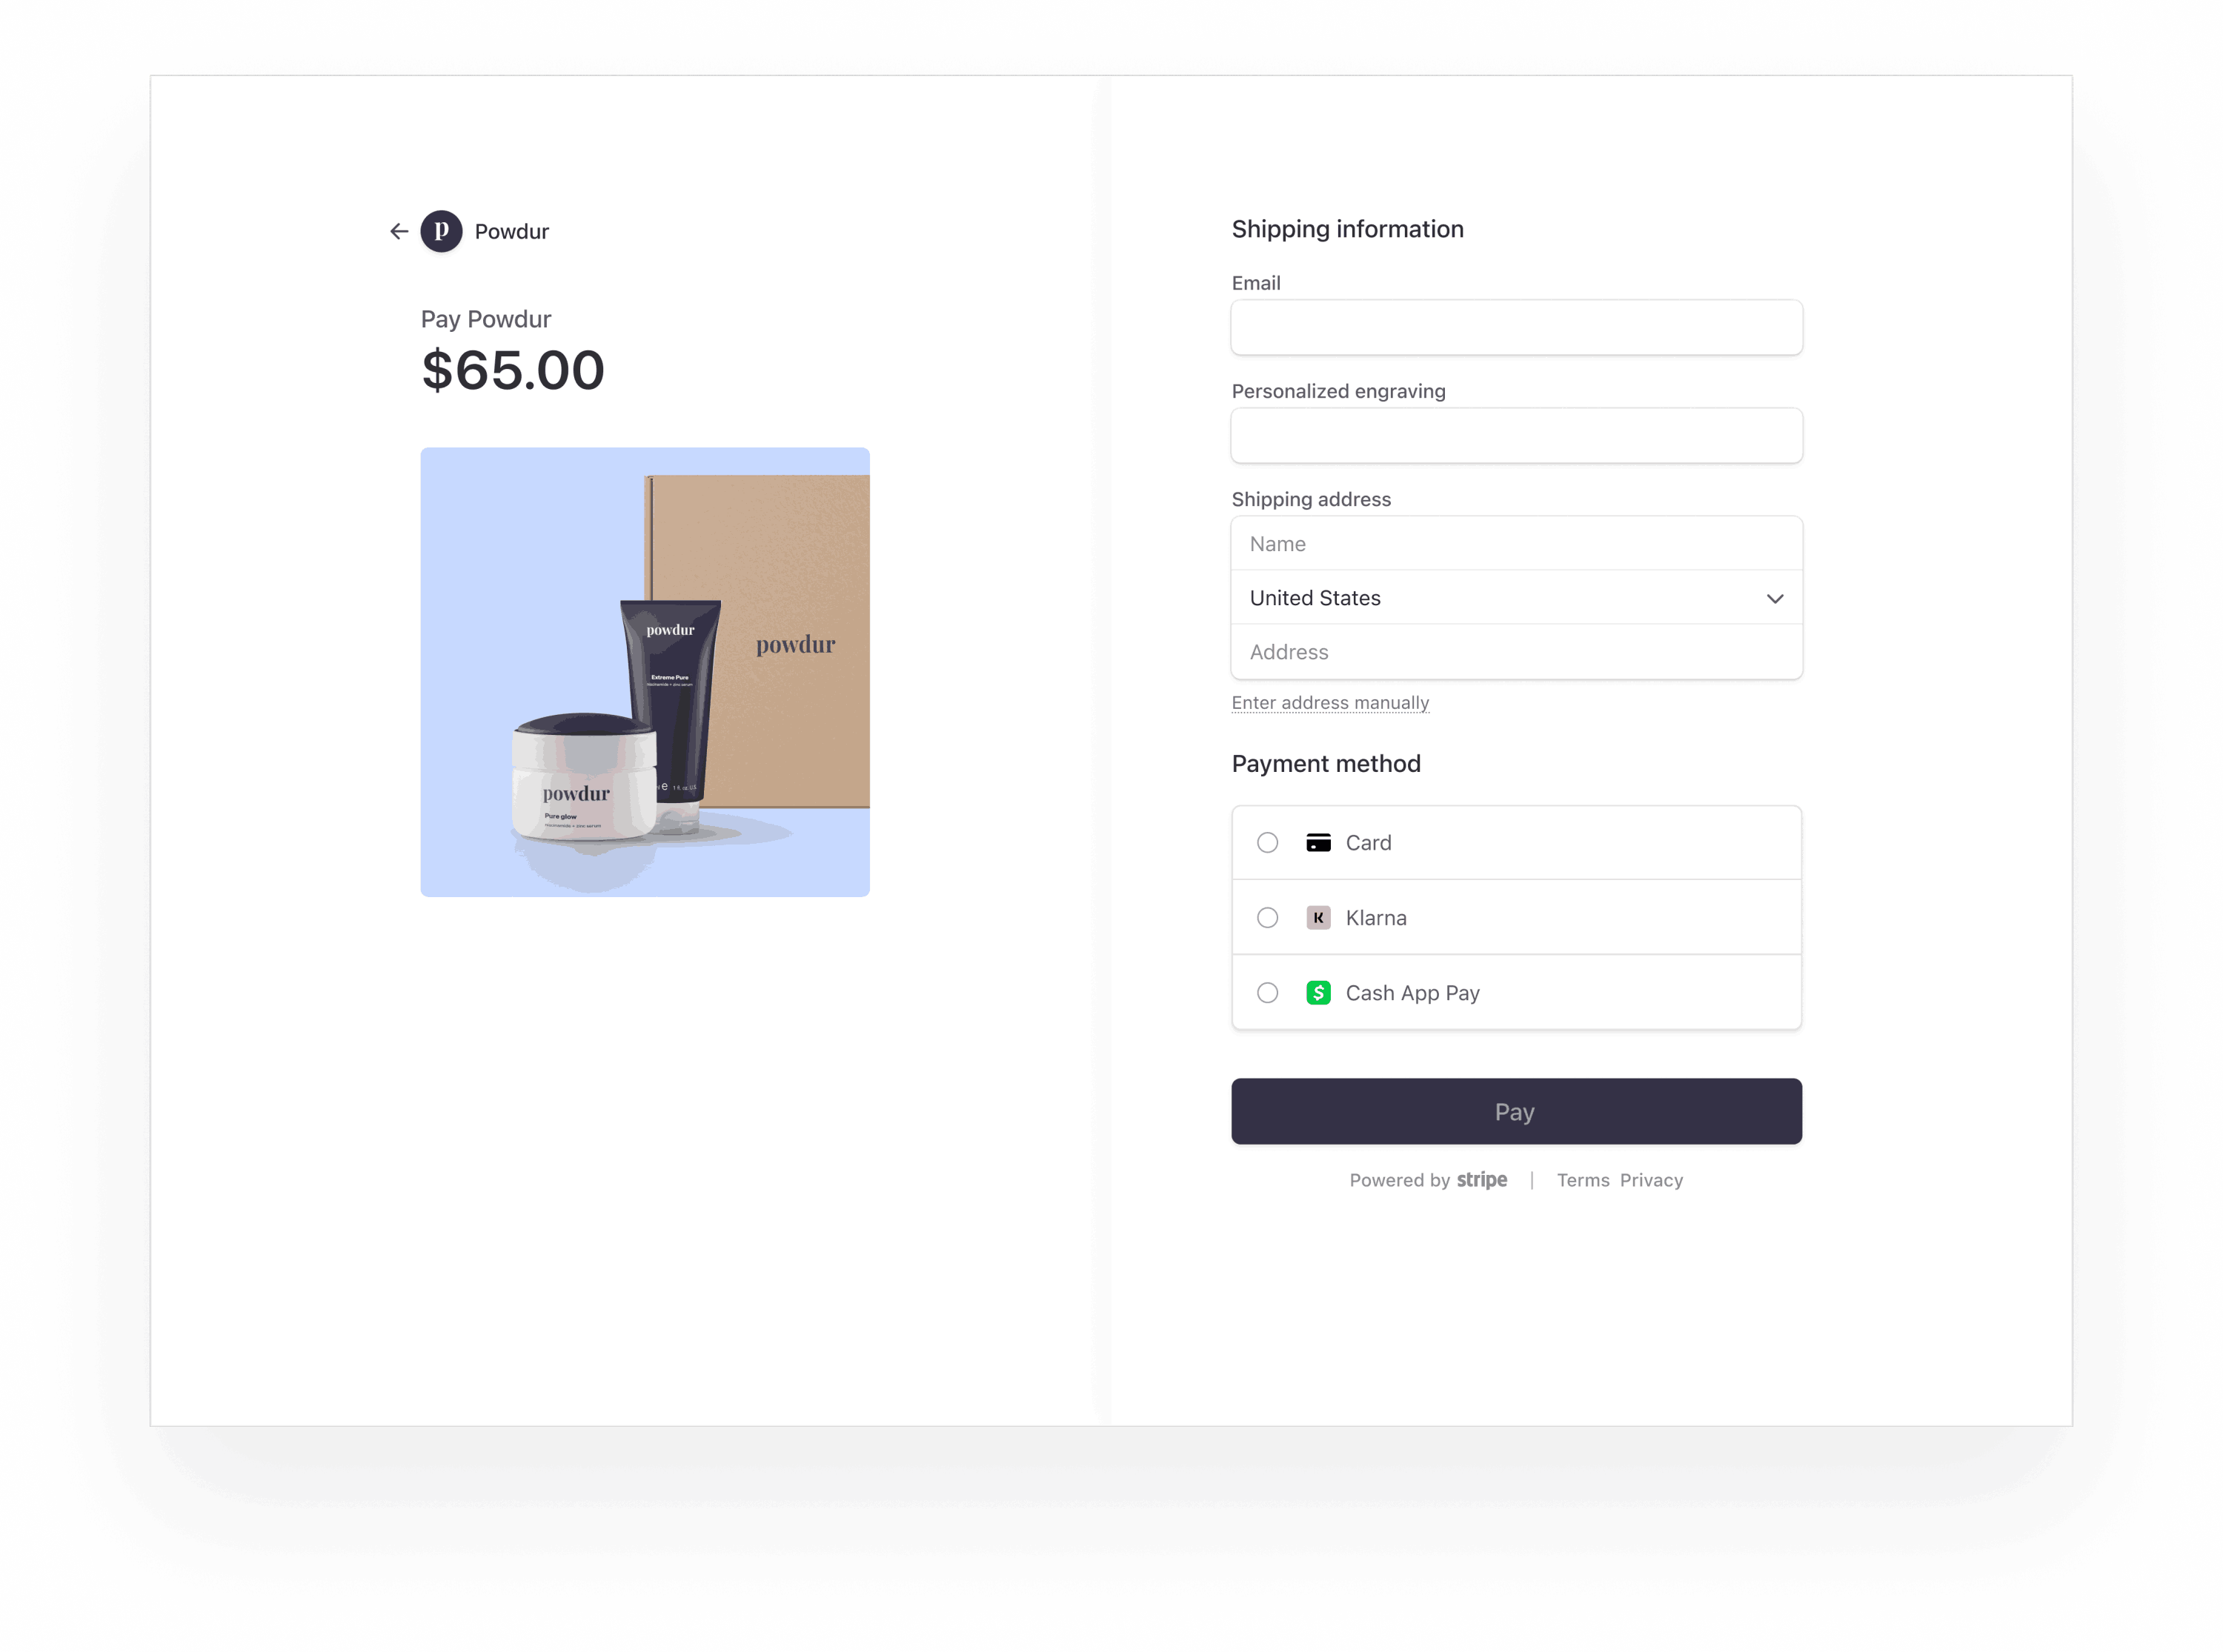
You can use the Payment Links API to create a payment link that you can share with your customers. Stripe redirects customers who open this link to a Stripe-hosted payment page.
Set up your product catalog
Payment Links use Products and Prices to model what your business is selling. To get started with Payment Links, create a product, then use that product to create a price. Alternatively, if you want to create an ad-hoc price or product for one-time use, you can skip this step and use price_data in step 2.
Payment Links supports flat rate, tiered, package and Customer chooses (letting your customer specify the price) prices. Customer choose prices currently doesn’t support recurring payments or donations.
Create a payment link
To create a payment link, pass in line_items. Each line item contains a price (or price_data) and quantity. Payment links can contain up to 20 line items when using a flat rate and 1 line item when using Customer chooses price.
Share your payment link
Each payment link contains a url that you can share with your customers through email, on social media, with a website link, in an app, or through other channels.
Track payments
When customers use a payment link to complete a payment, Stripe sends a checkout.session.completed webhook that you can use for fulfillment and reconciliation.
Make sure to listen to additional webhooks in case you’ve enabled payment methods like bank debits or vouchers, which can take 2-14 days to confirm the payment. For more information, see our guide on fulfilling orders after a customer pays.
After a customer completes a purchase, you can redirect them to a URL or display a custom message by setting after_completion on the payment link.
Deactivate a payment link
After you’ve created a payment link, you can’t delete it. What you can do is deactivate a payment link by setting the active attribute to false.
After you deactivate a link, customers can’t finalize purchases using the link anymore and are redirected to an expiration page. If you want to reuse a deactivated payment link, turn it back on by setting the active attribute to true.
Configure payment methods
By default, Stripe selects the relevant payment methods that you enabled in your Dashboard. To add supported payment methods, enable them in your Payment methods settings.
OptionalAllow coupons and promotion codes
Create and configure coupons and promotion codes for your payment links by using the Dashboard or Promotion Code API:
OptionalCollect taxes on your payment link
Payment Links work with Stripe Tax to let you calculate and collect tax on your payments. Stripe Tax is a paid product that automatically calculates tax on your transactions without the need to define the rates and rules.
To get started, activate Stripe Tax in your Dashboard. After you set up Stripe Tax, you can enable it on a new payment link:
To learn more about how to set up your product catalog to work with Stripe Tax, see Specify product tax codes and tax behavior.
OptionalCollect billing and shipping addresses
Payment links automatically collect your customer’s billing address when it’s required for completing the purchase. You can also update your payment link to always collect the billing address with billing_address_collection. Or you can collect your customer’s shipping address by specifying the supported countries with shipping_address_collection:
If you’re collecting shipping addresses, you can also add shipping rates to your payment link by passing an array of shipping_options:
OptionalAllow adjustable quantities
To allow your customers to update the quantity of the items they purchase, specify adjustable_quantity for the line item. You can also set the minimum and maximum quantities that customers can purchase:
OptionalCreate subscriptions
To create a subscription using a payment link, specify a price with type=recurring for line_. You can use subscription_data to specify the configuration for the subscriptions created from the payment link, including trials:
OptionalSpecify the payment methods you want to accept
To specify a different set of payment methods, set the payment_method_types parameter when you create the payment link:
Some payment methods like bank debits or vouchers might take between 2 and 14 days to confirm the payment. Set up webhooks to send you notifications once the payment gets cleared so you can begin fulfillment.
Your customers will see Apple Pay or Google Pay options if they’ve activated those methods on their device. The payment methods your customers see also depend on the browser they’re using.
OptionalCollect a terms of service agreement
Collect terms of service agreement from your customers by setting consent_collection.terms_of_service to required. This displays a checkbox for collecting the customer’s terms of service agreement, and links the customer to the terms of service URL set in your Stripe Dashboard’s Public details.
If you set consent_collection.terms_of_service to none, Checkout won’t display the checkbox and won’t require customers to accept your terms of service.
Before requiring agreement to your terms, set your terms of service URL in your business’s Public details. Setting a privacy policy URL is optional—Checkout also links to your privacy policy when a URL to your Privacy policy is set in your Public details.
OptionalAdd custom fields
Caution
Don’t use custom fields to collect protected or sensitive data, or information restricted by law.
Create a payment link while specifying an array of custom fields. Each field must have a unique key that your integration uses to reconcile it. Also provide a label for the field that you display to your customer. Labels for custom fields aren’t translated, but you can use the locale URL parameter to set the language of your payment link to match the same language as your labels.
After your customer completes the Checkout Session, the fields are available in the payments details page in the Dashboard or you can retrieve the completed custom fields.

OptionalCollect application fees using Connect
You can collect an application fee for every payment made with a Payment Link. Refer to our guide on how to collect application fees with the Payment Links API.
OptionalSend post-payment invoices
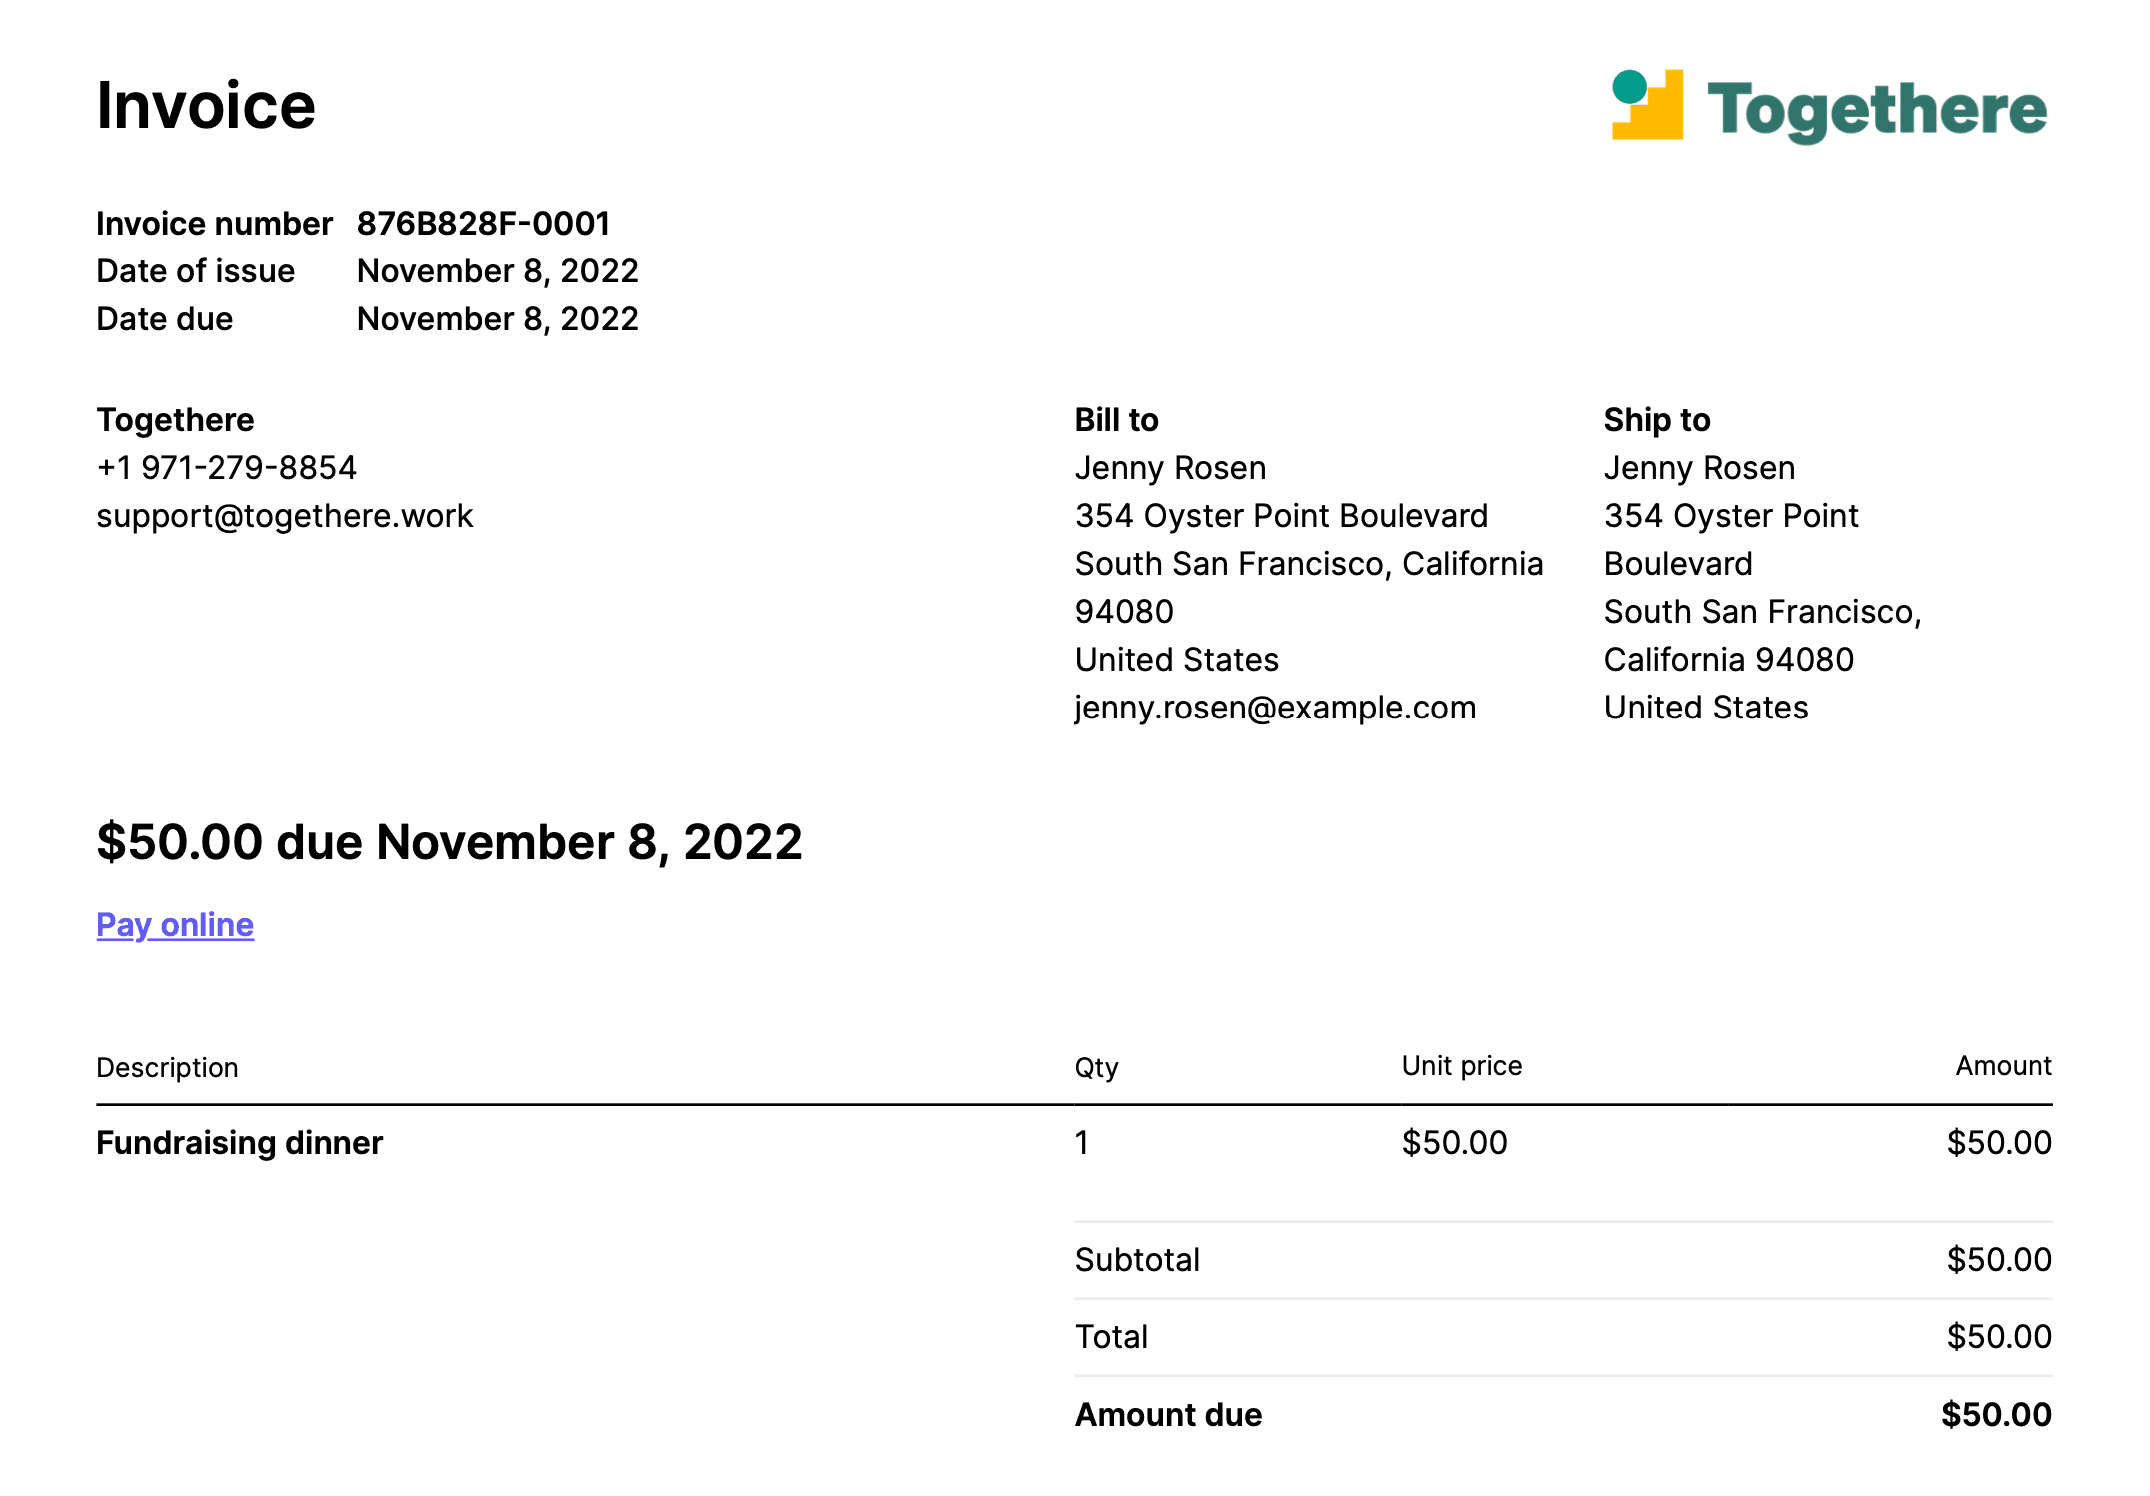
You can configure Payment Links to send detailed Invoices to your customers for successful one-time payments. Invoice creation for one-time payments in Payment Links is an Invoicing feature, and is priced separately.
Note
Payment Links for subscriptions create invoices automatically, and require no additional configuration.
To enable invoice creation on a Payment Link, set invoice_creation[enabled] to true:
You can use the invoice_data hash inside invoice_ to customize the invoice:
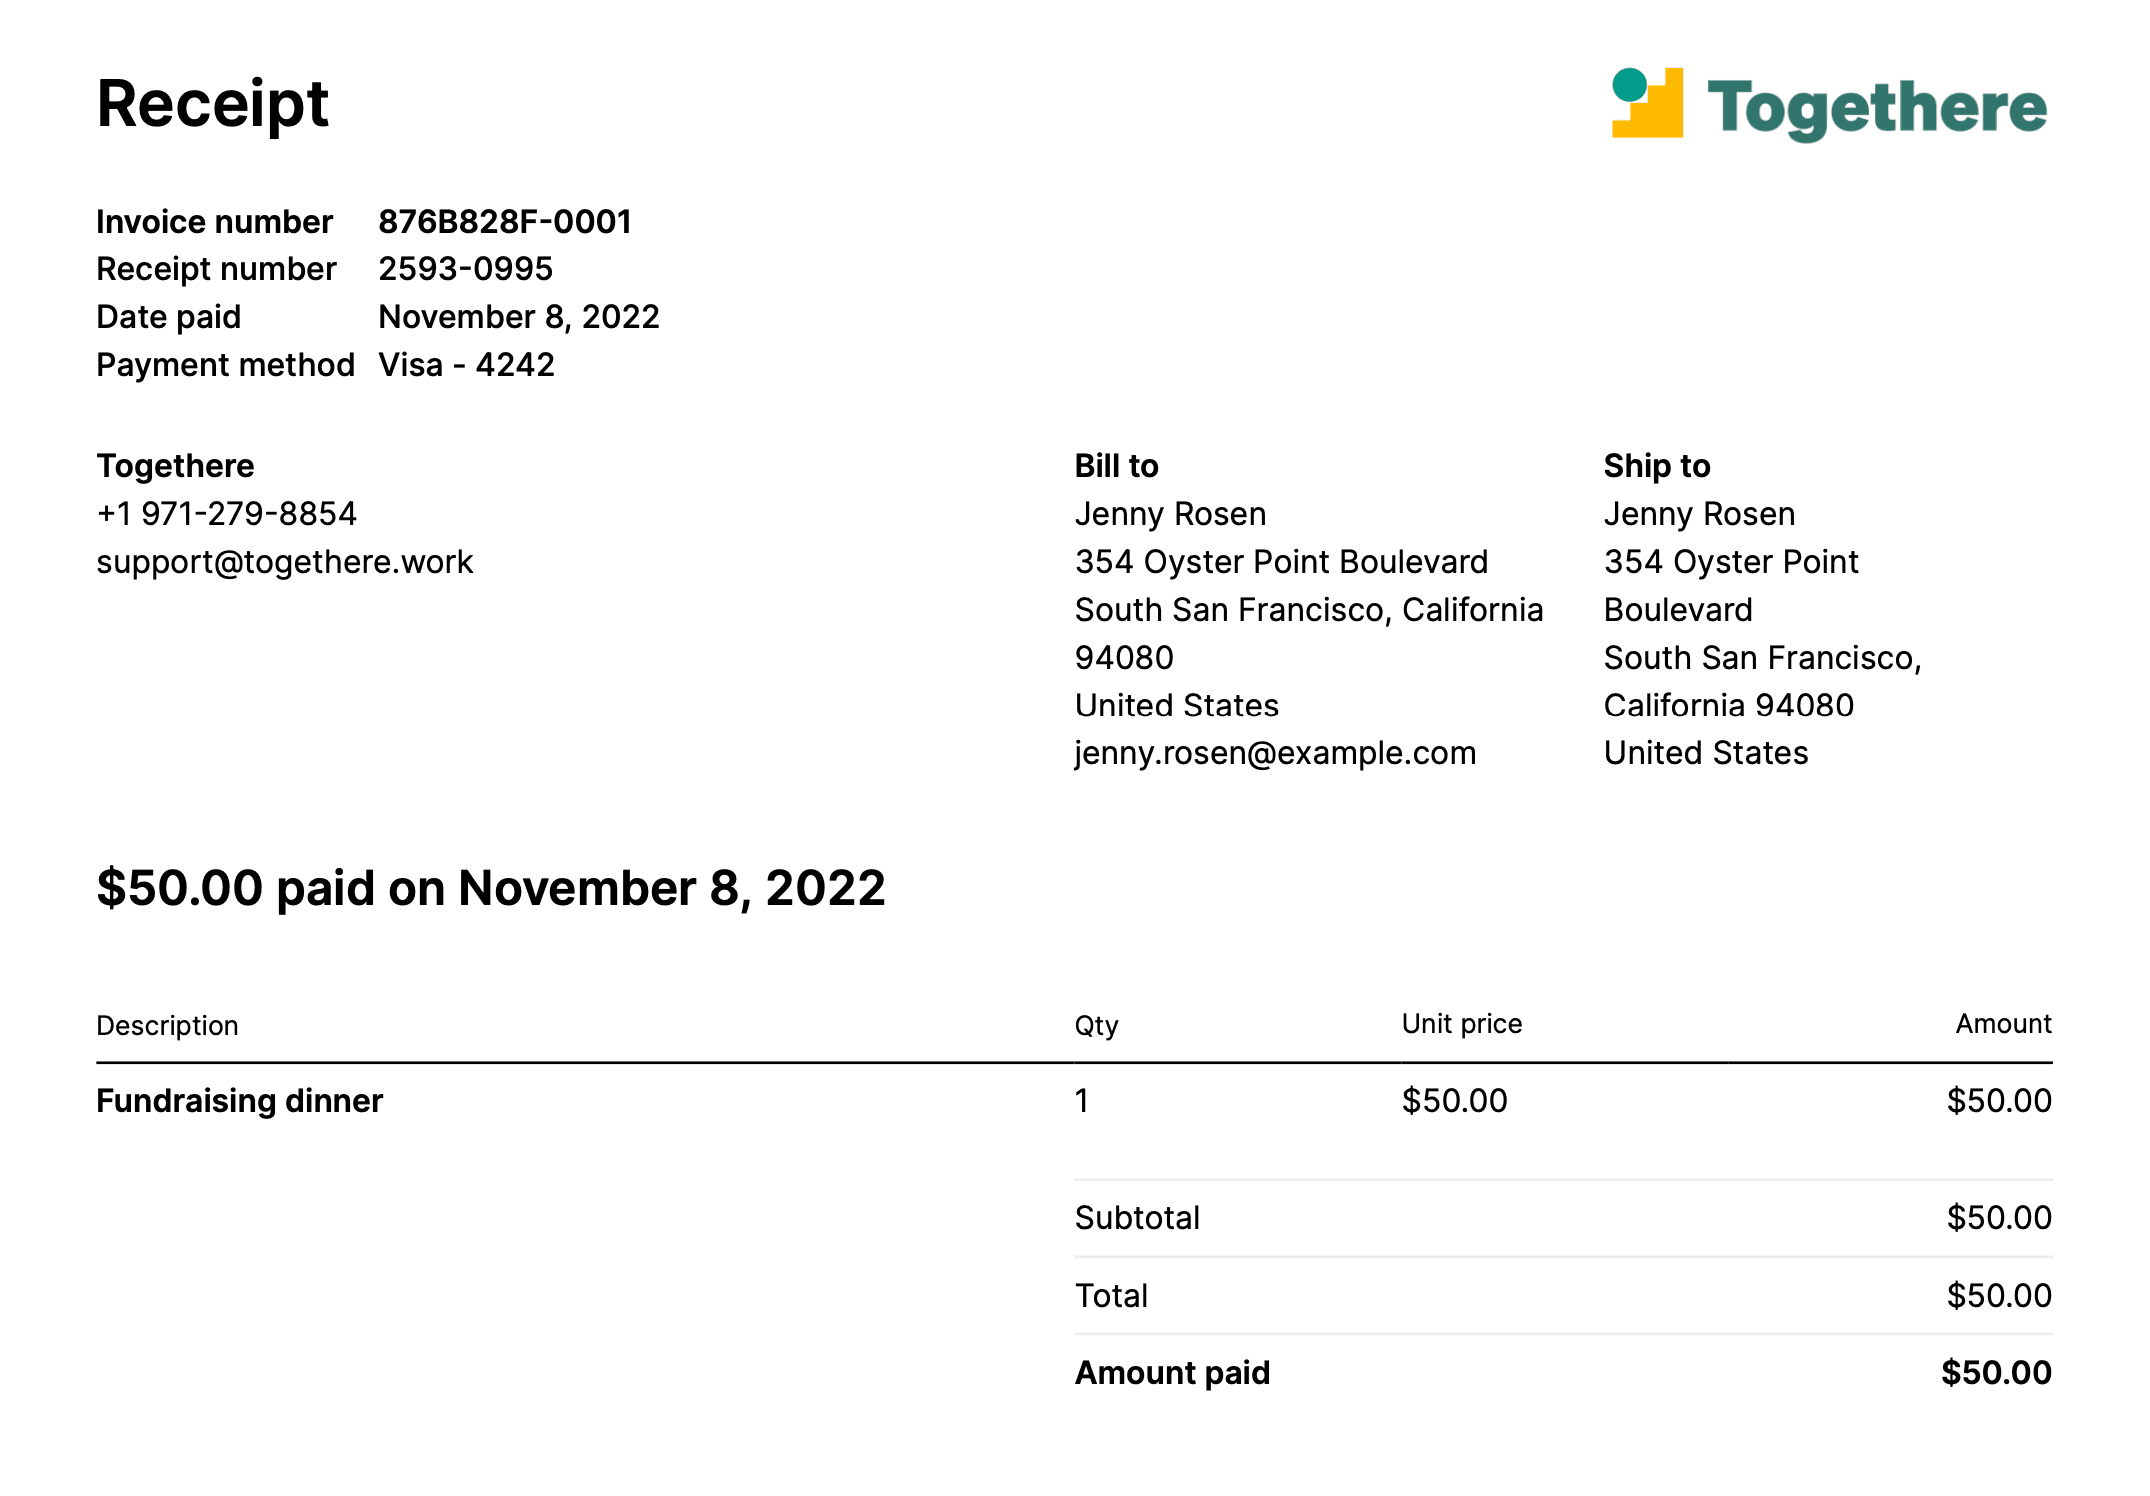
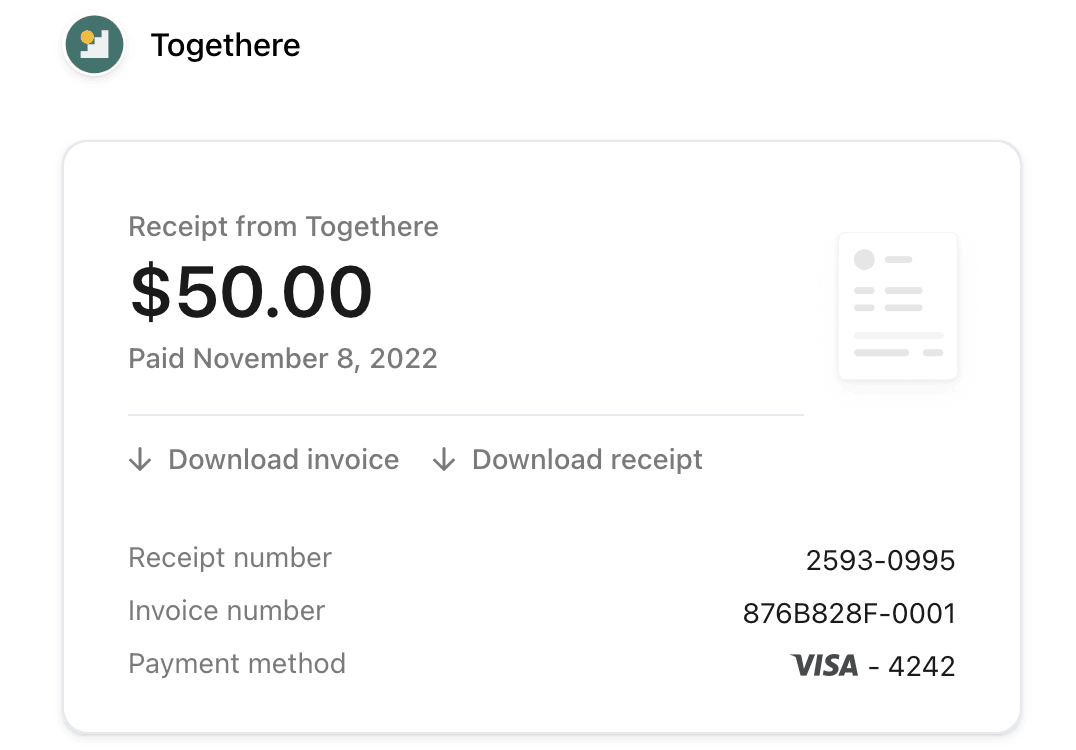
After the session, Stripe sends an invoice summary to the email address your customer provides during checkout. The invoice summary contains links to download the invoice PDF and invoice receipt.
Receipts for payments created with your test API keys aren’t sent automatically. View or manually send a receipt using the Dashboard.

Let your customers download the invoice PDF

Let your customers download the invoice receipt

Email links to download the invoice PDF or receipt