Email receipts and paid invoices
Send receipts for payments and refunds automatically.
You can manually or automatically send customized email receipts or paid invoices. Learn more about receipts for payments.
Automatically send receipts
To enable automated receipts, toggle Successful payments on in your Customer emails settings. Receipts are only sent when a successful payment has been made—no receipt is sent if the payment fails or is declined.
Customize receipts
Alter the appearance and functionality of your receipts with the following customization options:
- Branding: Modify the logo and colors in your Branding settings. The upper limit for a custom logo image file size is 512KB. Ideally, the logo should be a square image exceeding 128 x 128 pixels. JPG, PNG, and GIF file types are supported.
- Public information: Specify the public information you want to include, such as your contact number or website address, in your Public details settings.
To display custom text, use the payment_intent_data.description attribute on the Checkout Session. Some examples include:
- Description of goods or services provided
- Authorization code
- Subscription information
- Cancellation policies
You can see a real-time preview of your email receipt on your Dashboard Branding settings page. To send a test receipt, hover over the preview image and click Send test receipt, then enter your email address.
Caution
Receipts pull data from the Charge object generated when the PaymentIntent is confirmed. To update receipt data such as the description after the charge is generated, you must update the Charge. Changes to a confirmed PaymentIntent don’t appear on receipts.
Automatically send paid invoices
In addition to ordinary receipts, Checkout can generate paid invoices as proof of payment. Invoices have more information than receipts. For subscriptions, Stripe generates invoices automatically, but for one-time payments, you need to enable them.
Note
Invoice creation for one-time payments through the Checkout Sessions API is not an Invoicing feature, and is priced separately. Review this support article to learn more.
To generate invoices, first, in your Customer emails settings, under Email customers about, select Successful payments. Then, when creating a Checkout session, set invoice_creation[enabled] to true.
Note
Enabling invoice_ isn’t supported if you set payment_ to manual.
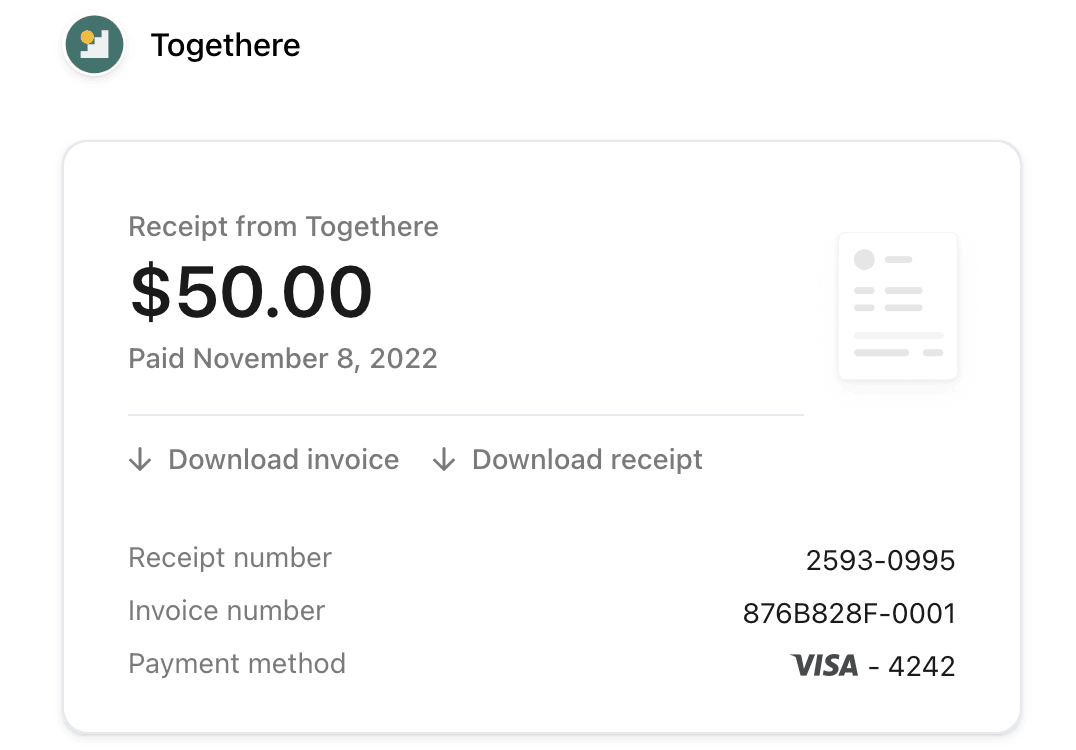
After the payment completes, Stripe sends an invoice summary with links to download the invoice PDF and invoice receipt to the email address your customer provides during checkout.
Caution
Invoices for delayed notification payment methods might take longer to send because we send the invoice after successful payment, not upon checkout session completion. These methods include: Bacs Direct Debit, Bank transfers, Boleto, Canadian pre-authorized debits, Konbini, OXXO, Pay by Bank, SEPA Direct Debit, and ACH Direct Debit.

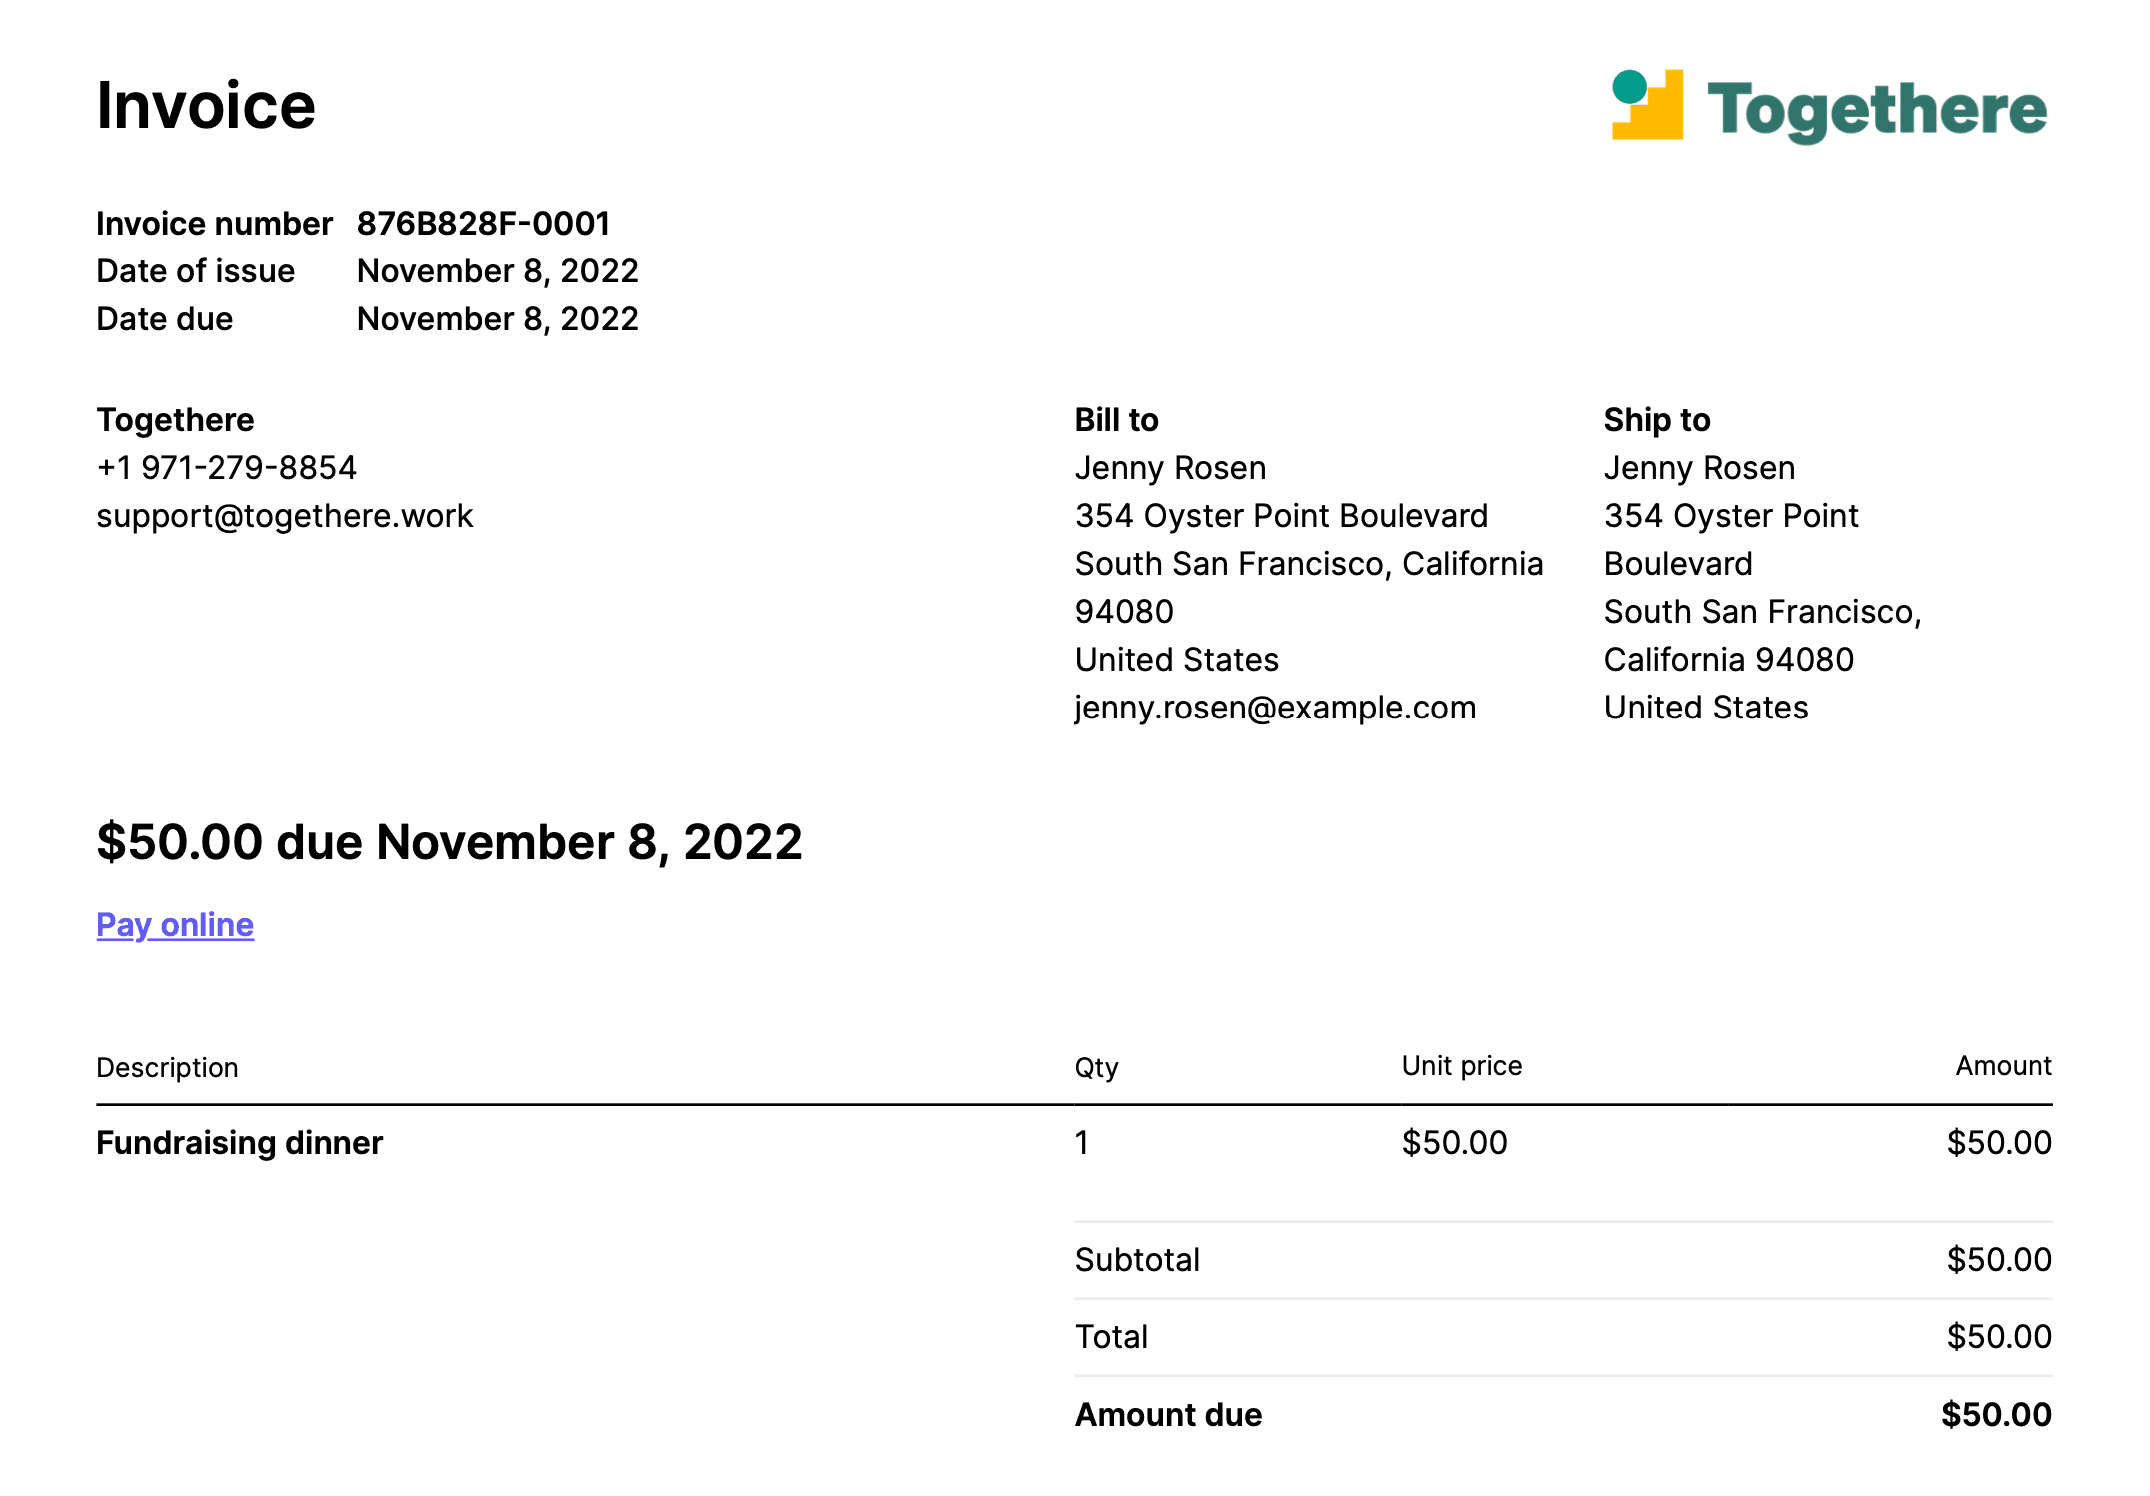
The downloadable invoice PDF

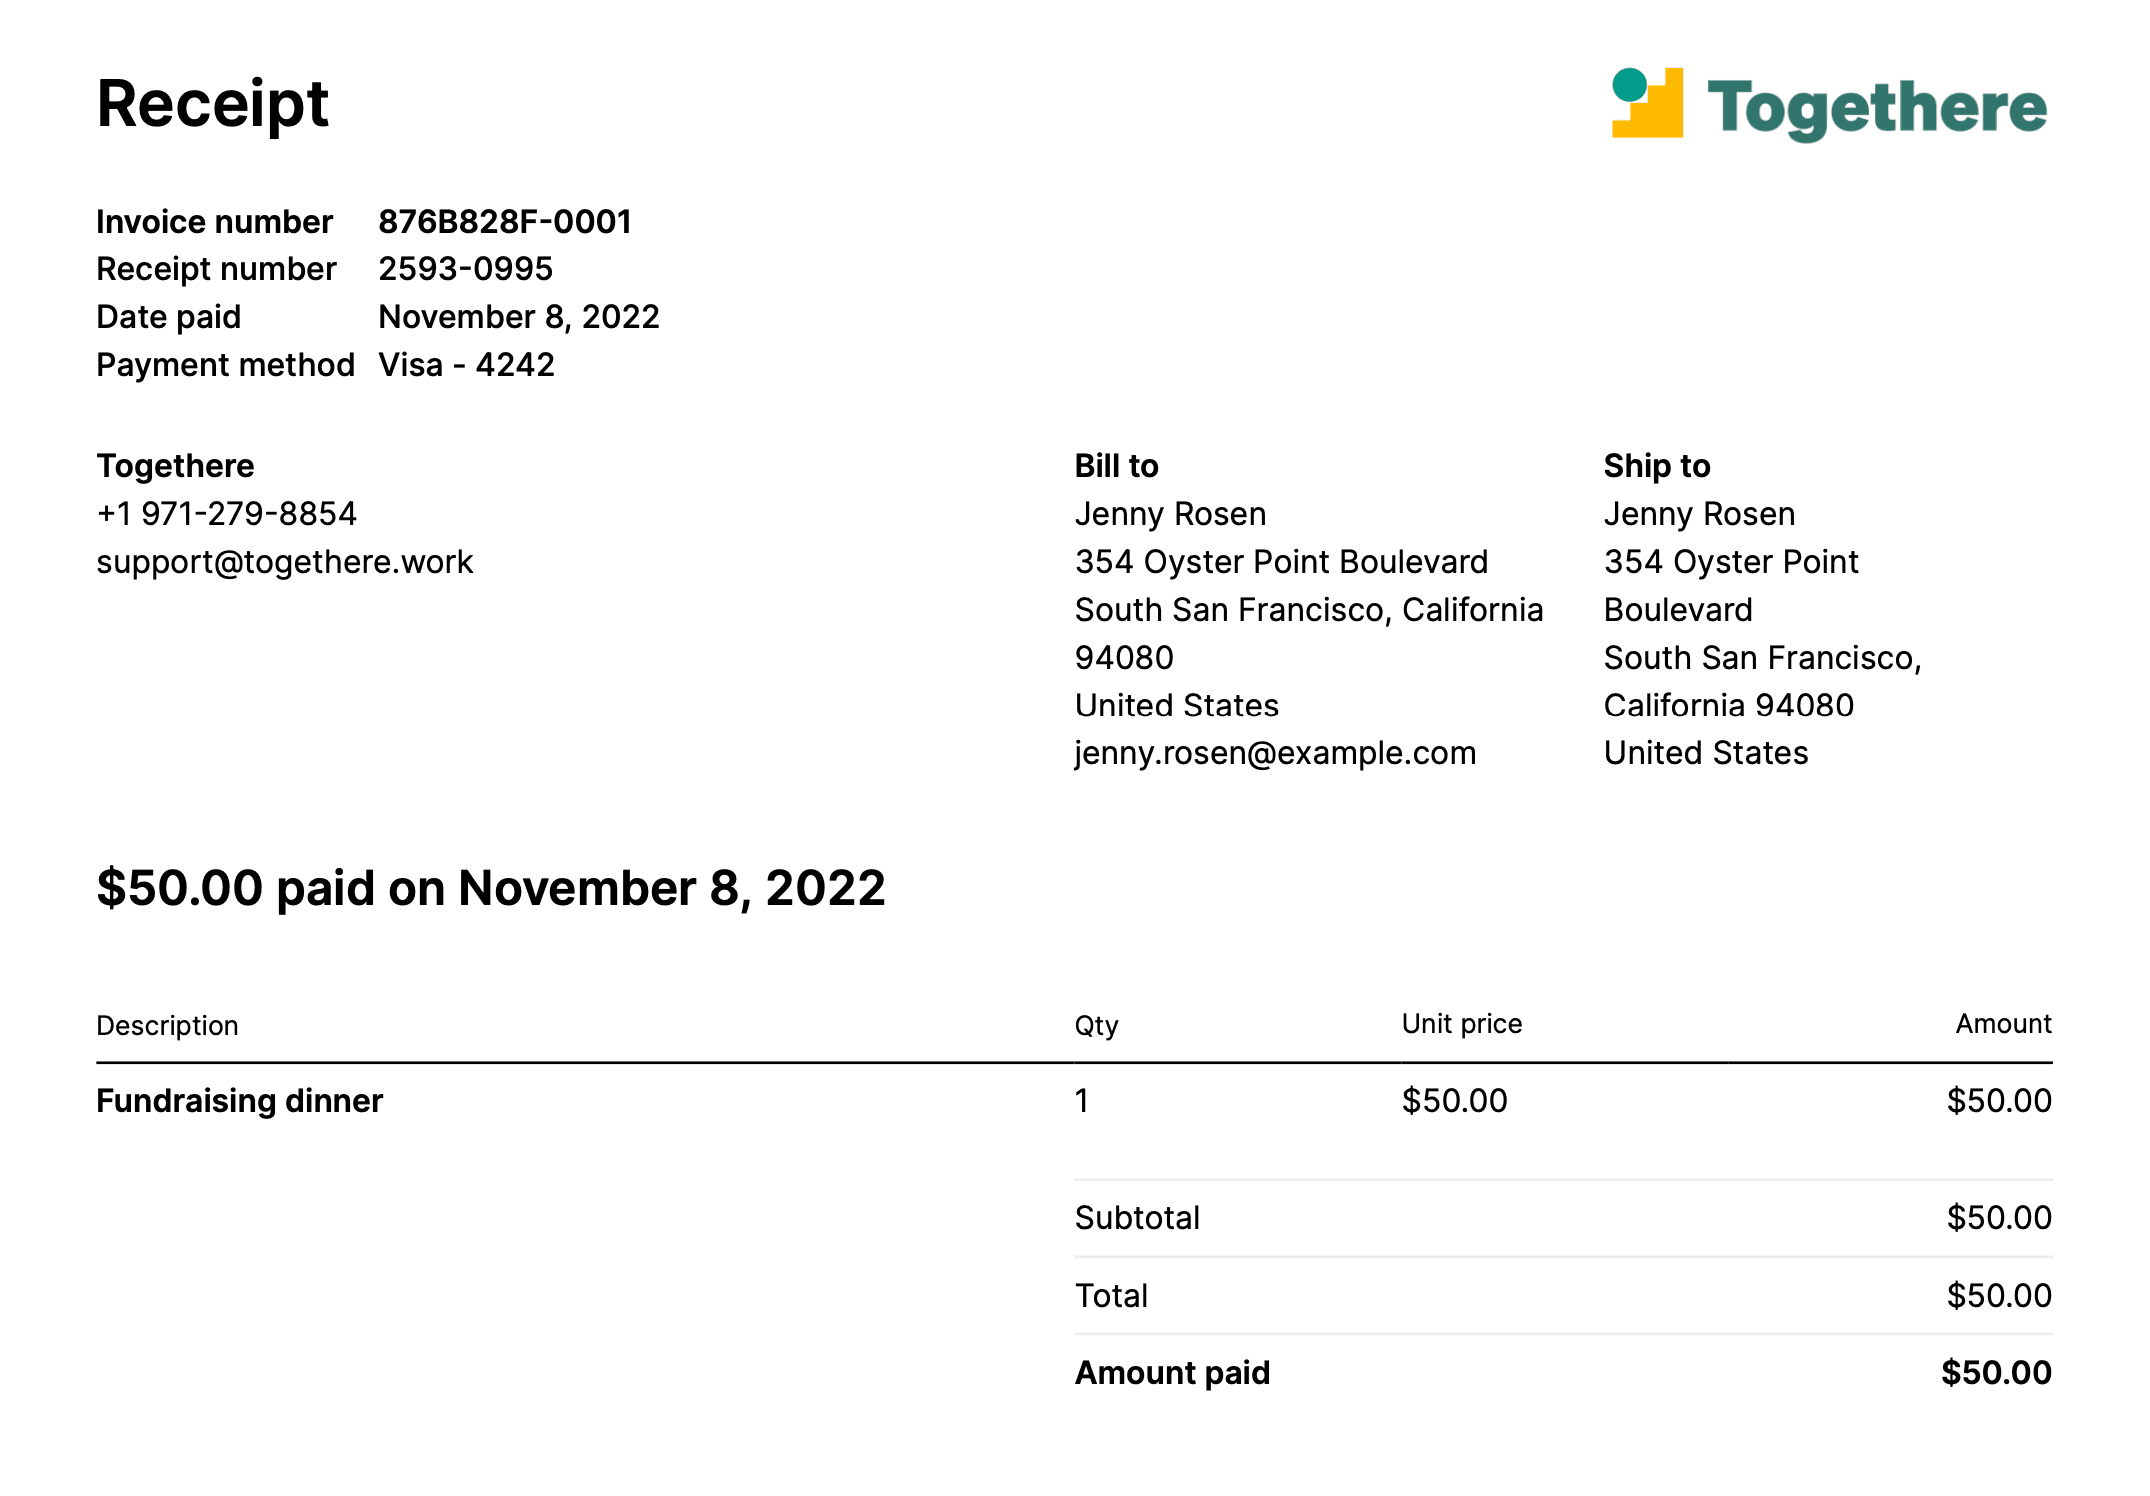
The downloadable invoice receipt

The customer email with links to the invoice PDF and receipt
You can also view the invoice in the Dashboard or access it programmatically by listening to the invoice.paid event through an event destination.
You can use the invoice_ hash inside invoice_ to further customize the invoice generated by the Checkout Session.
Review invoice best practices for your region to make sure you’re collecting the right information from your customers. Information like the customer’s billing and shipping addresses, phone number and tax ID appear on the resulting invoice.
Localization
When using Checkout Sessions, the language of the receipt and invoice is determined by several factors:
- If a Customer is set, their preferred locale are used if available.
- If a Customer is set without any preferred locales, the language setting from the Stripe Dashboard is applied.
- If no Customer is set, the language defaults to the browser locale of the user opening the Checkout Session URL.