Add one-click payment buttons
Use one-click payment options, such as Apple Pay or Google Pay.
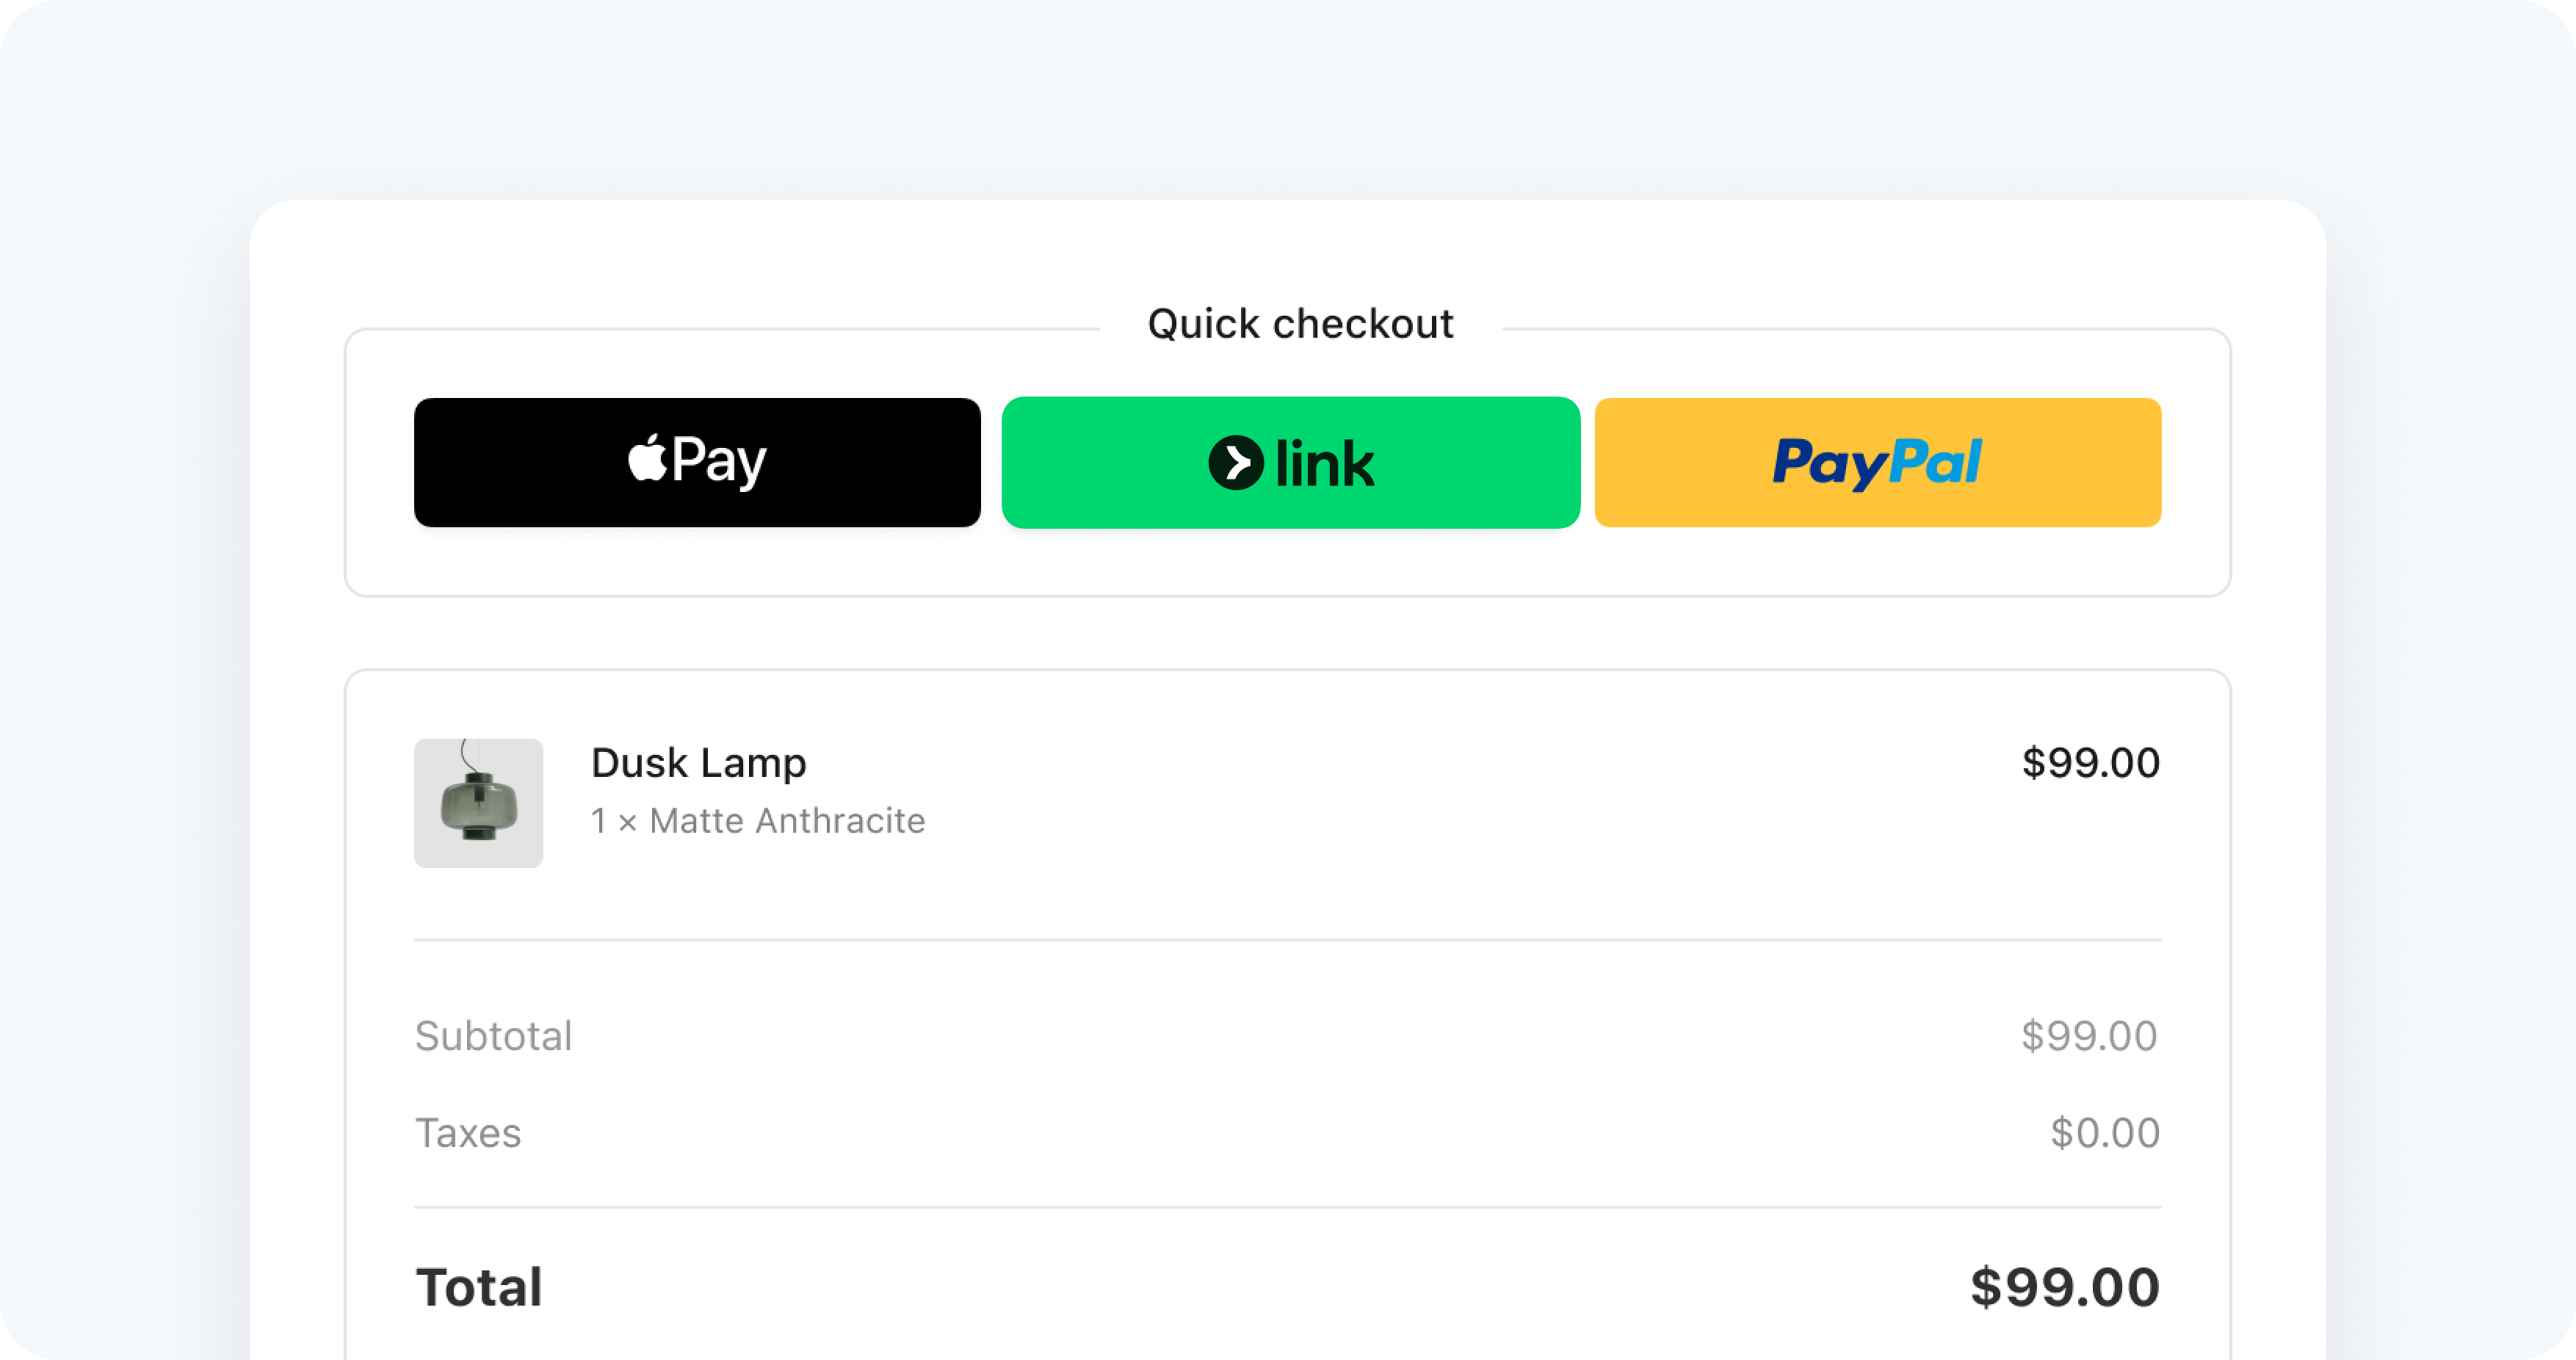
The Express Checkout Element is an integration for accepting payments through one-click payment methods buttons. Supported payment methods include Link, Apple Pay, Google Pay, PayPal, Klarna, and Amazon Pay.
Try the demo 
In the following demo, you can toggle some of the prebuilt options to change the background color, layout, size, and shipping address collection of the payment interface. The demo displays Google Pay and Apple Pay only on their available platforms. Payment Method buttons are only shown in their supported countries.
If you don’t see the demo, try viewing this page in a supported browser.
Prerequisites
Before you start, you must:
- Enable Link, Apple Pay, Google Pay, PayPal, or Amazon Pay in the Dashboard.
- Add a payment method to your browser. For example, you can add a card to your Google Pay account or to your Wallet for Safari.
- Serve your application over HTTPS. This is required in development and in production. You can use a service such as ngrok.
- Register your domain in both your testing environment and live mode.
Handle one-click payments
The Express Checkout Element emits the confirm event when your customer finalizes their payment. Create a handler that responds to the event by calling confirm and pass it to the Express Checkout Element.
The event also contains the following fields:
- expressPaymentType: One of
'apple_,pay' 'google_,pay' 'link','paypal','klarna', or'amazon_.pay' - billingDetails: Object containing information about the customer’s billing details.
- shippingAddress: Object containing information about the customer’s shipping address.
- shippingRate: Object containing information about the selected shipping rate.
PayPal customer information
PayPal normally doesn’t provide the customer’s billing address (except for the country) or phone number. If they aren’t provided, the confirm event has empty strings for those properties. If you require the customer’s billing address or phone number, then the Express Checkout Element doesn’t display the PayPal button unless that information is available.
The following options are also supported:
- buttonHeight
- buttonTheme
- layout
- paymentMethodOrder
- paymentMethods
- Note: Both your Dashboard configuration and Checkout configuration affect the availability of payment methods in the Express Checkout Element. By default, it displays all available payment methods based on both configurations. If you set the
paymentMethodsoption, the Express Checkout Element merges your specified options with the default logic to determine the final set of payment methods displayed.
- Note: Both your Dashboard configuration and Checkout configuration affect the availability of payment methods in the Express Checkout Element. By default, it displays all available payment methods based on both configurations. If you set the
Collect additional customer details
You can collect additional information from the Express Checkout Element by configuring options on your Checkout Session, such as phone_number_collection, shipping_address_collection, and shipping_options.