Design a subscriptions integration
Learn about the configuration options for a subscriptions integration.
Use this guide to learn the different ways to build your subscriptions integration and follow the links to in-depth, step-by-step guides. You’ll need to consider the following:
- How you want to charge customers
- How you want your customers to check out and provide their payment information
- When you want customers to pay for the subscription
Decide how you want to charge customers
Compare the following pricing models and determine how you want to charge your customers for the subscription to your product or service:
- Flat rate: Charge customers a flat rate for the service tier they choose.
- Per-seat: Charge customers for each pricing unit, which represents one user or seat.
- Tiered: Charge customers a varied amount for each pricing unit (such as a user or seat), based on quantity or usage.
- Usage-based: Charge customers based on their usage of your product or service.
| Pricing model | Description | |||||||||||||||
|---|---|---|---|---|---|---|---|---|---|---|---|---|---|---|---|---|
Flat rate | In the following example, you offer three different service levels: basic, starter, and enterprise. For each service level, you specify a monthly and yearly price. 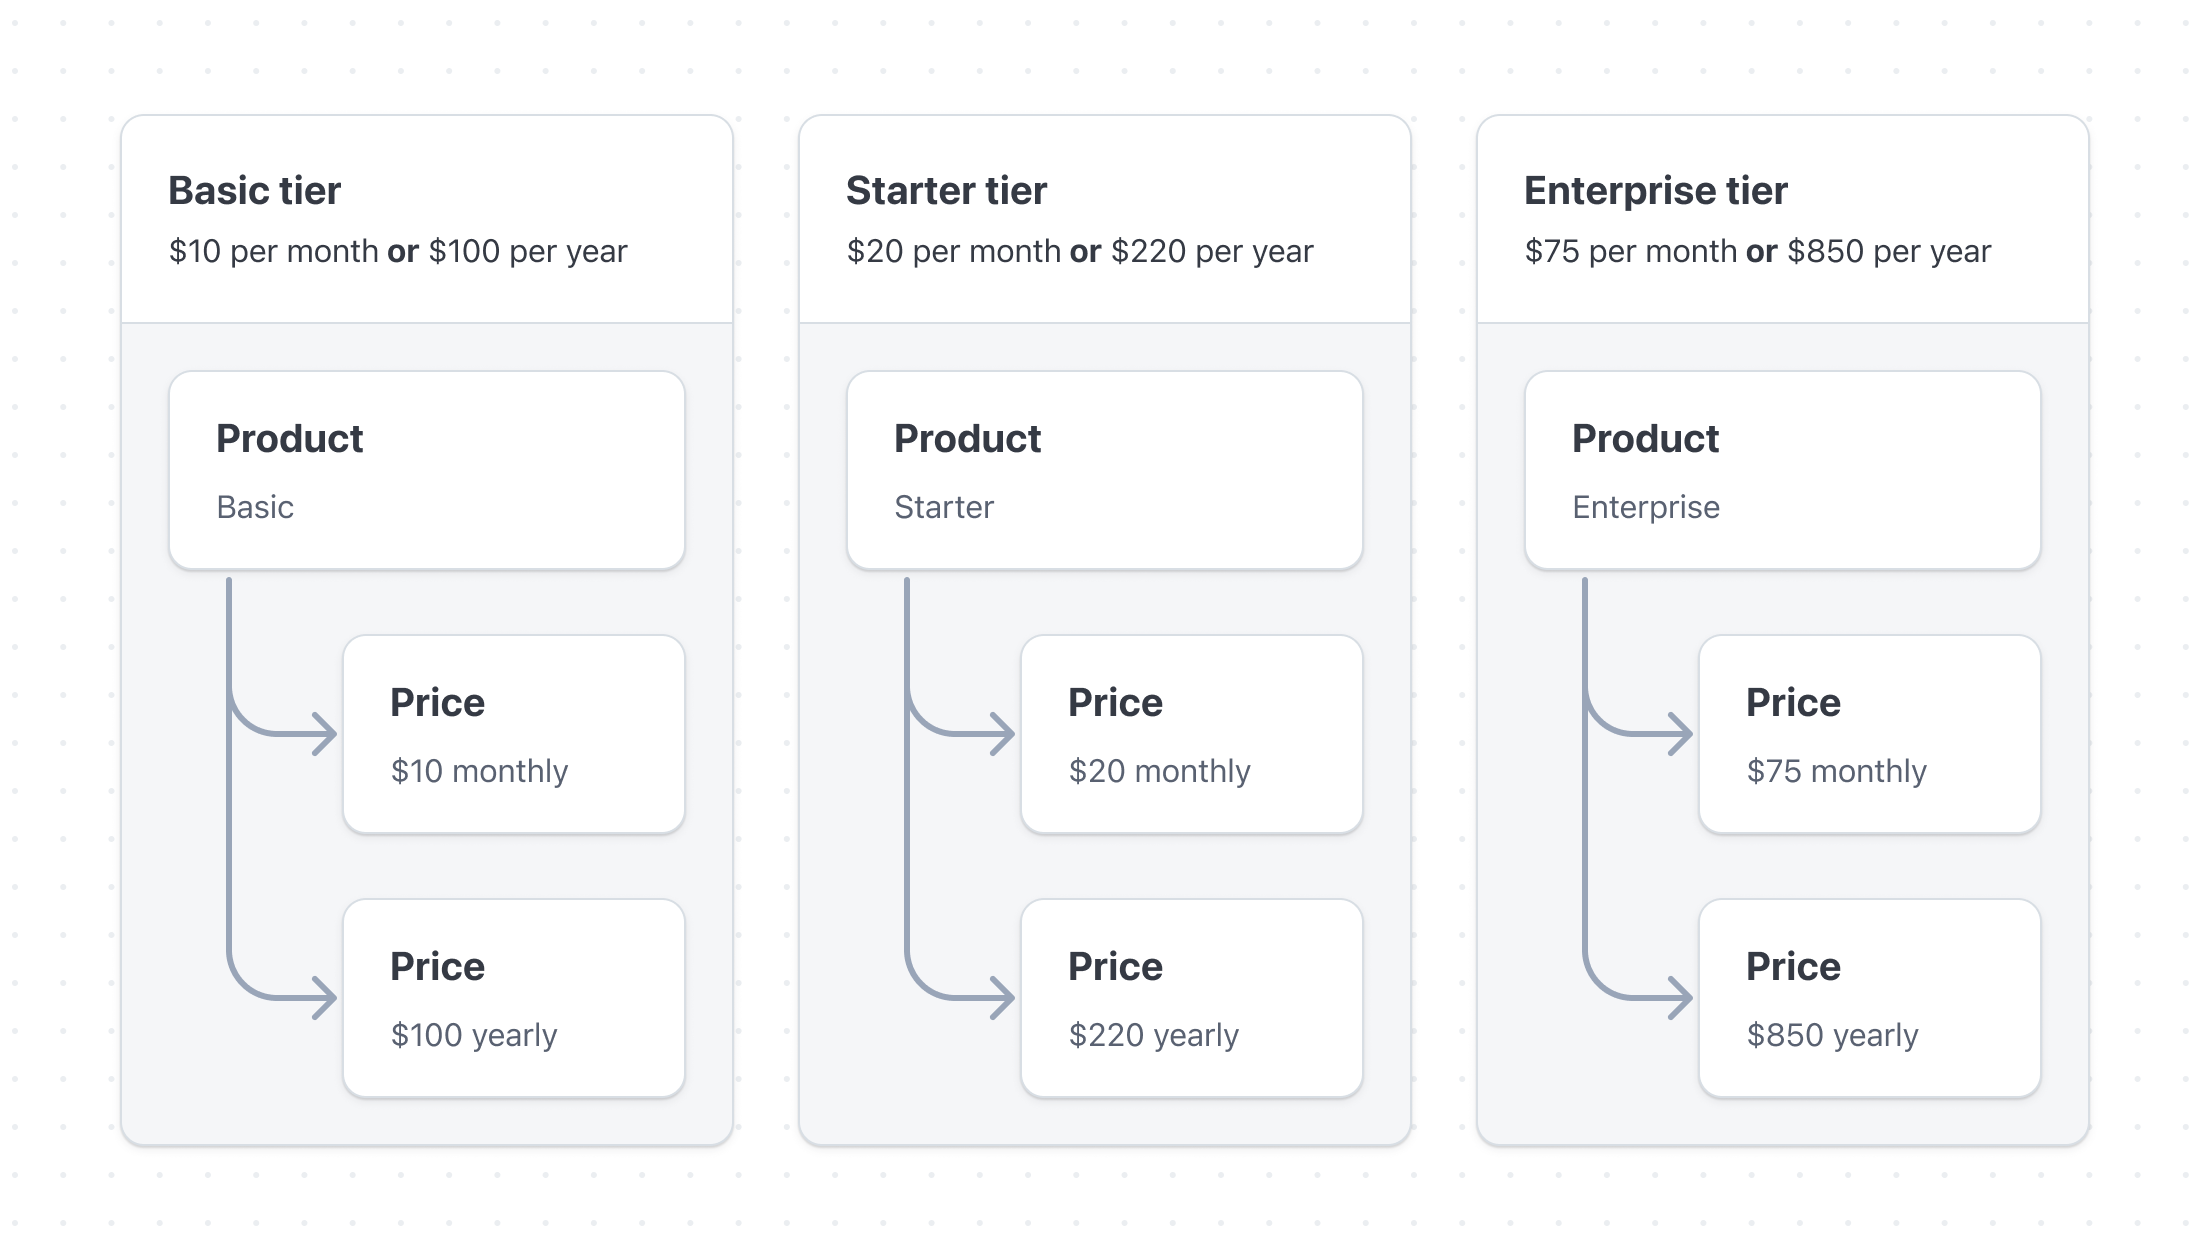 | |||||||||||||||
Per-seat | In the following example, you offer a per-seat plan for software licenses. For each user, you charge a specific amount for their license. 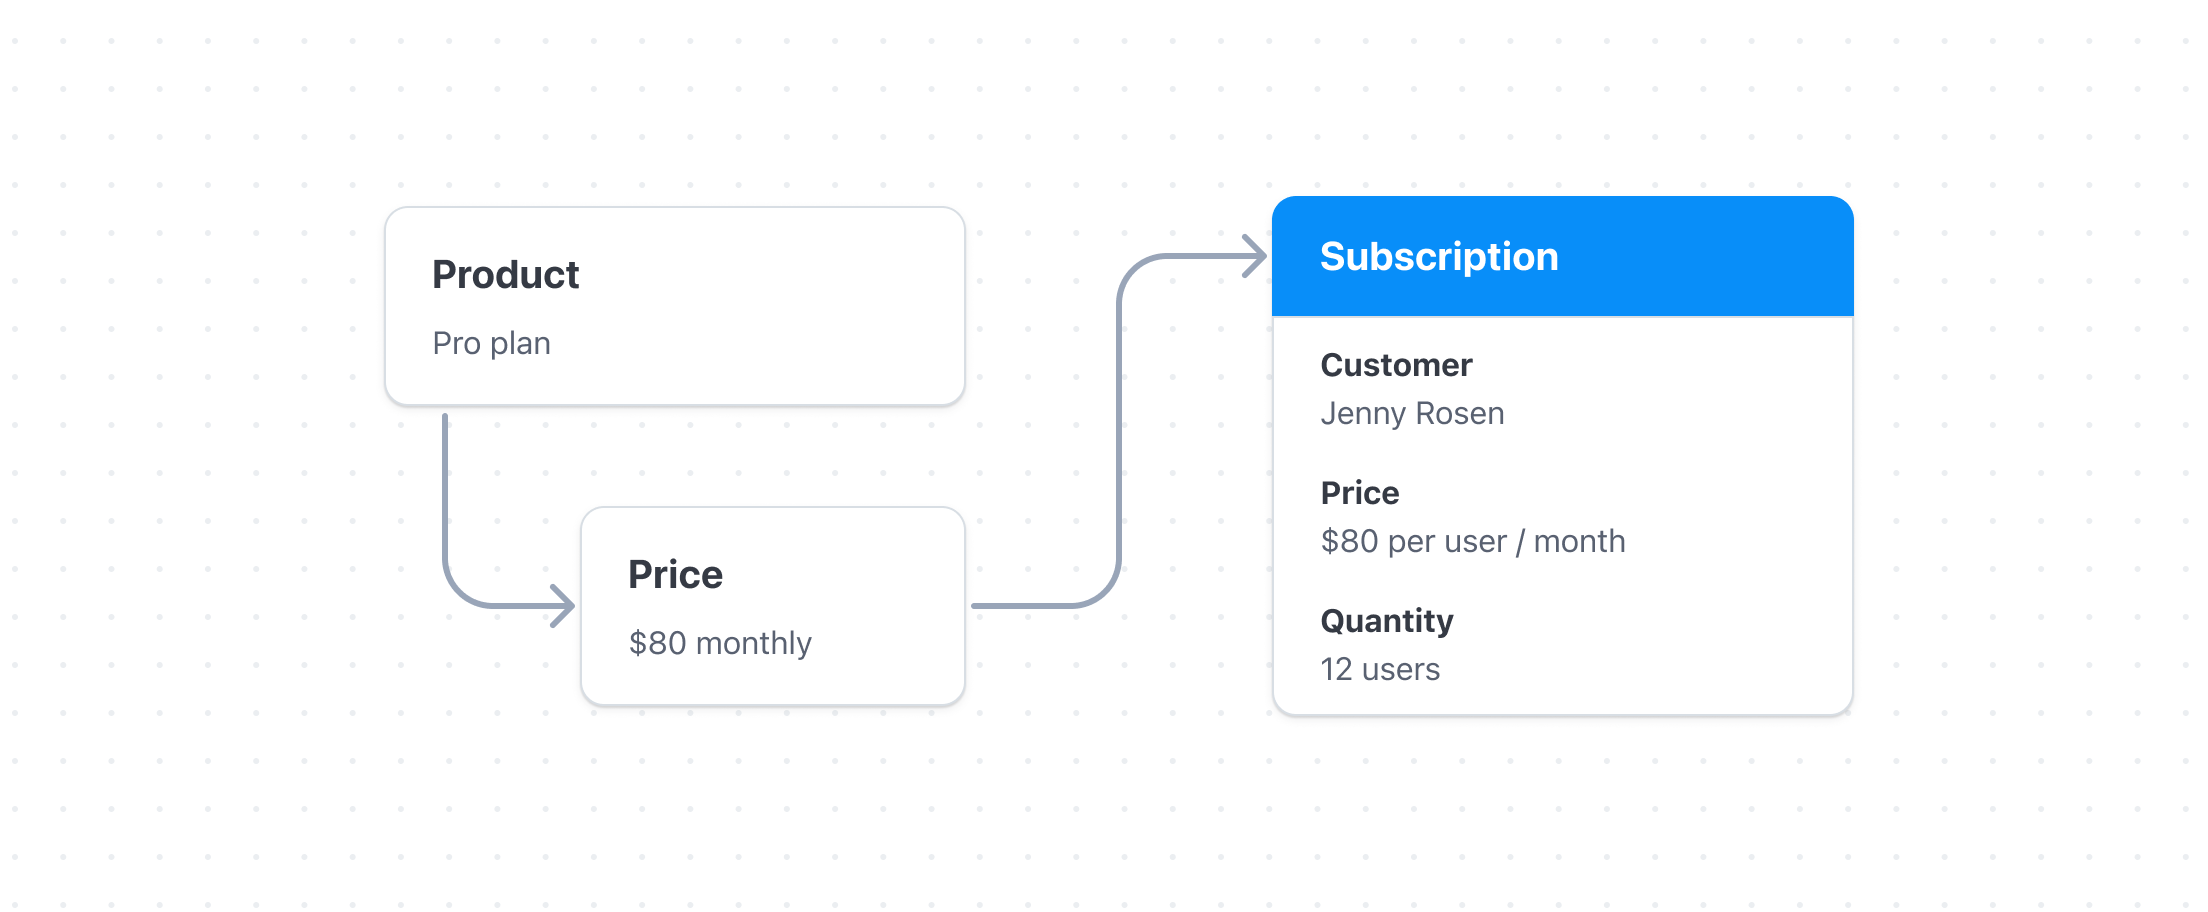 | |||||||||||||||
Tiered | Volume-based pricing: You multiply the quantity by the unit cost of the tier that corresponds to the usage at the end of the period. Graduated pricing: You multiply the usage for each tier used during the period and then sum the totals for each tier. This differs from volume-based pricing, which only uses the tier from the end of the period. In the following example, you offer lower rates for customers who use more projects per month, with tiers that you can adjust based on volume or graduated pricing.
| |||||||||||||||
Usage-based | Fixed fee and overage pricing: You charge a flat fee per month for your product or service. The flat fee has some included usage entitlement, and you charge any additional usage (overage) at the end of the period. Pay as you go pricing: You charge for usage tracked over a specific period. You can use any of the following pricing: per unit, per package, volume-based, or graduated. Credit burndown pricing: You collect prepayment for your usage-based product or service, and allow customers to apply billing credits as they use your product or service. In the following example, you charge a flat rate per month for your service that includes a set number of tokens. You charge any usage above the included tokens at an additional rate per token.
|
Decide how customers check out
Compare the following checkout interfaces and determine how you want your customers to provide their payment information for the subscription to your product or service.
| Interface | Description | Example |
|---|---|---|
Stripe-hosted page | Use a payment page that’s pre-built and hosted by Stripe. Benefits:
UI customisation: 20 preset fonts, 3 preset border radiuses, custom background and border colour and custom logo | 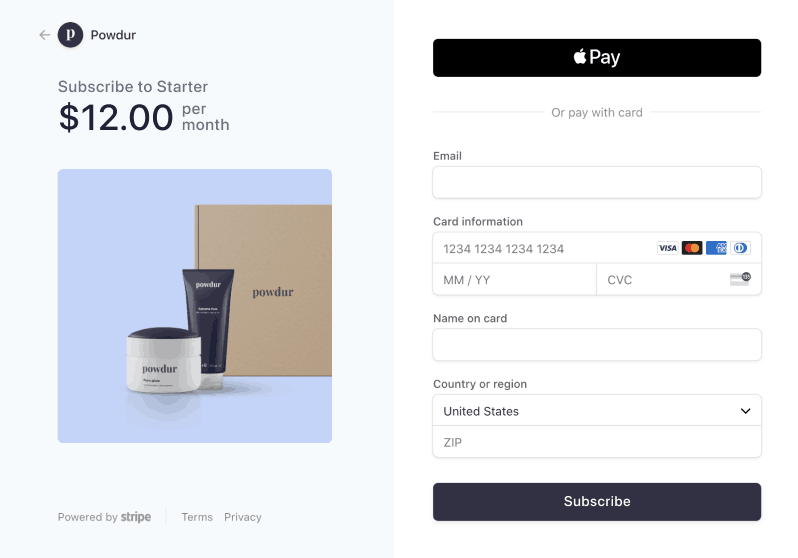 |
Embedded payment form | Embed a payment form that’s pre-built and hosted by Stripe directly into your site. Benefits:
UI customisation: 20 preset fonts, 3 preset border radiuses, custom background and border colour and custom logo | 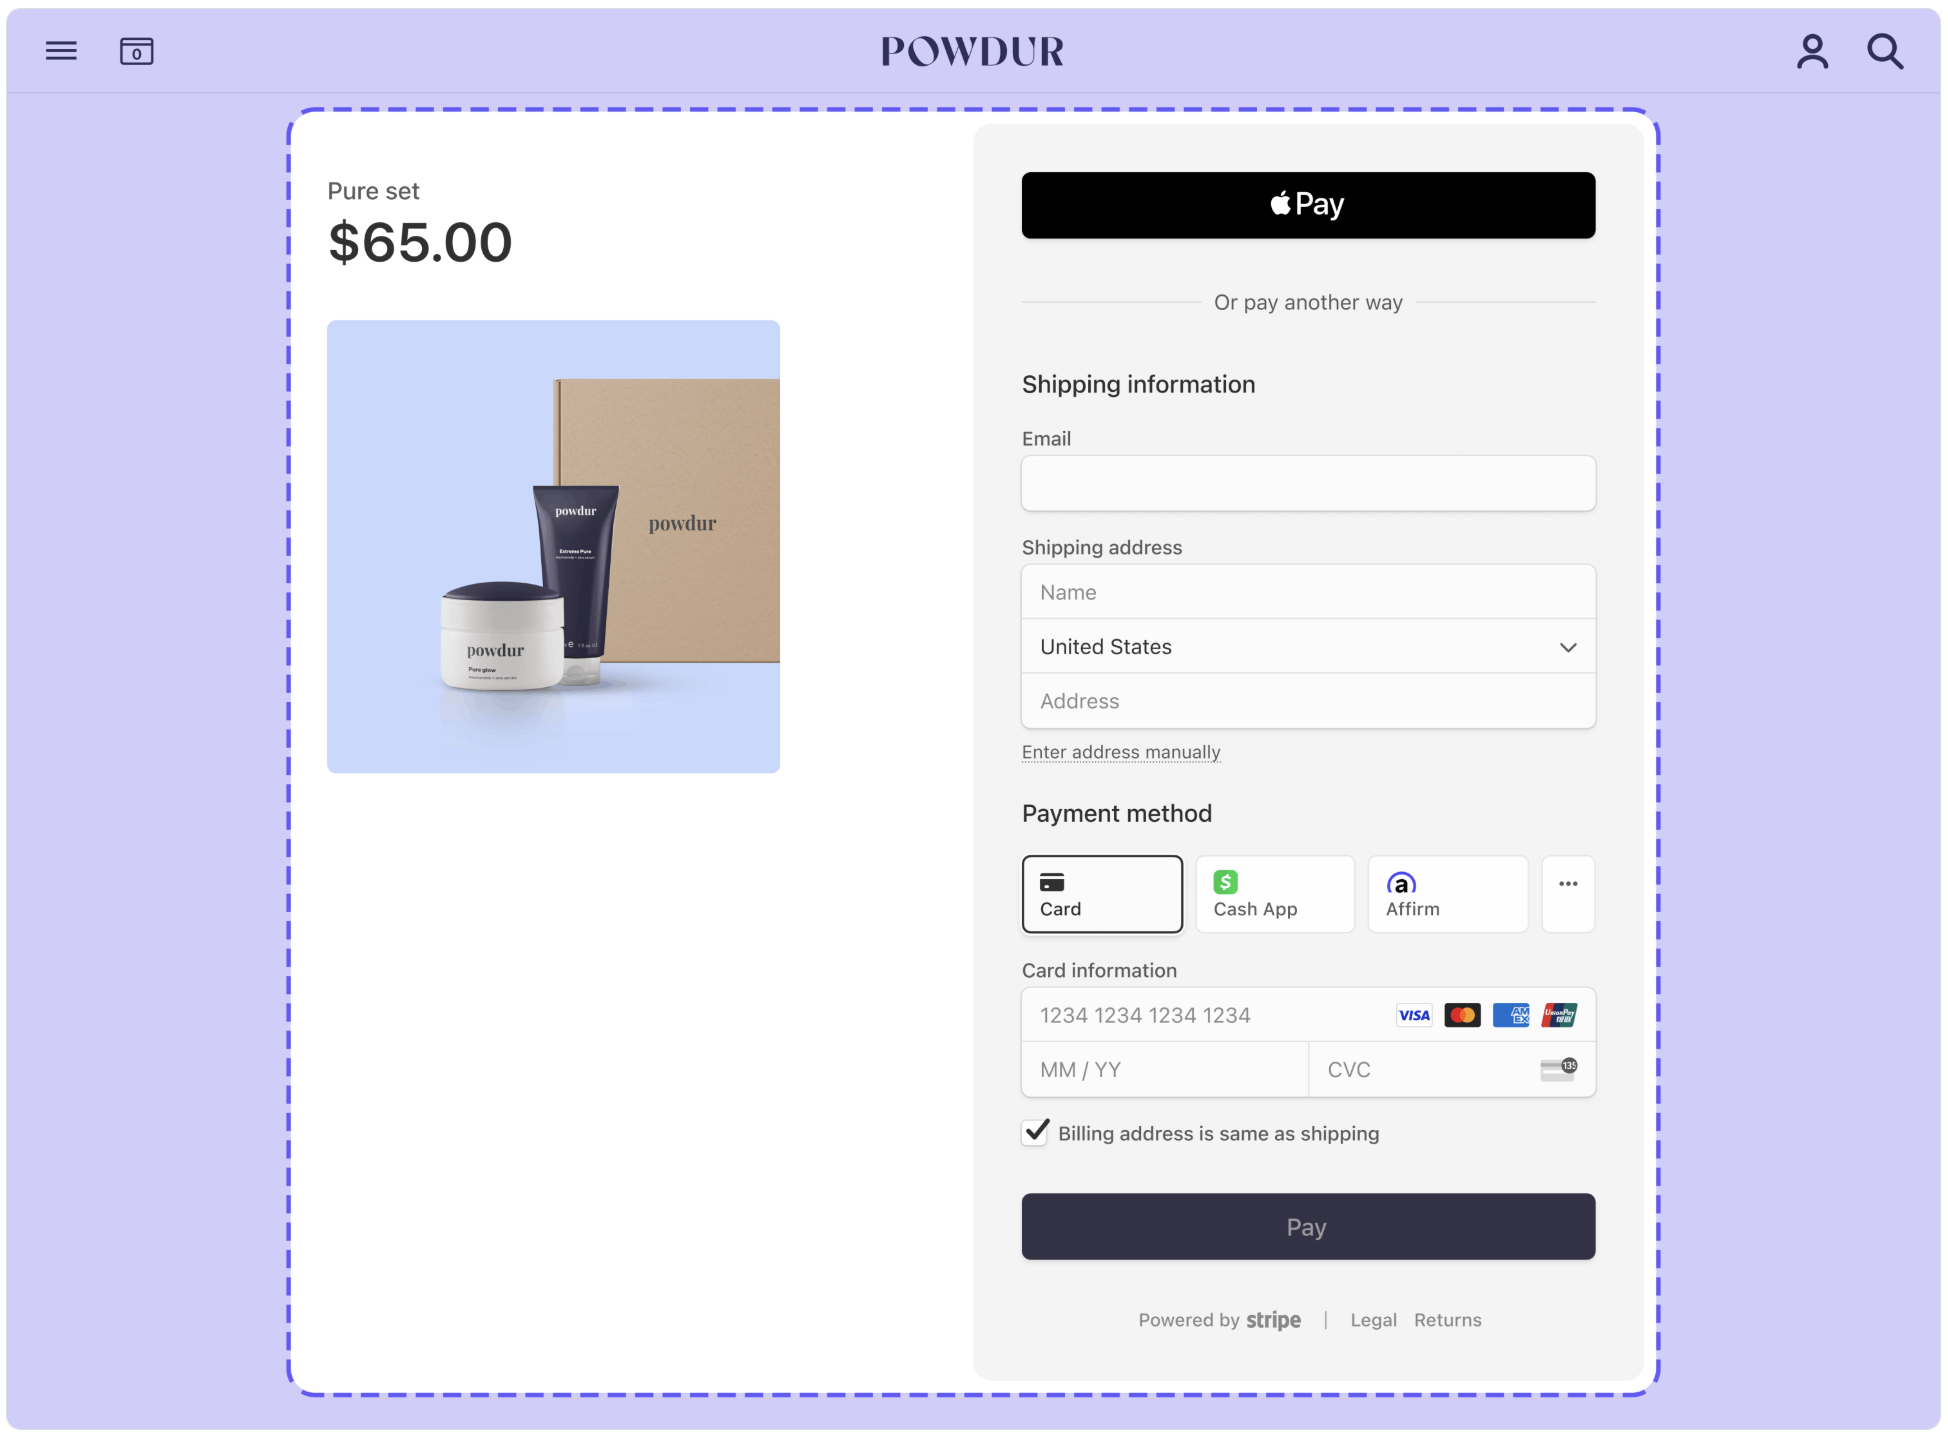 |
Custom payment form | Build a custom payment form using UI components that you can integrate on your website. Benefits:
UI customisation: Customise the look and feel of the payment form with the Appearance API. | 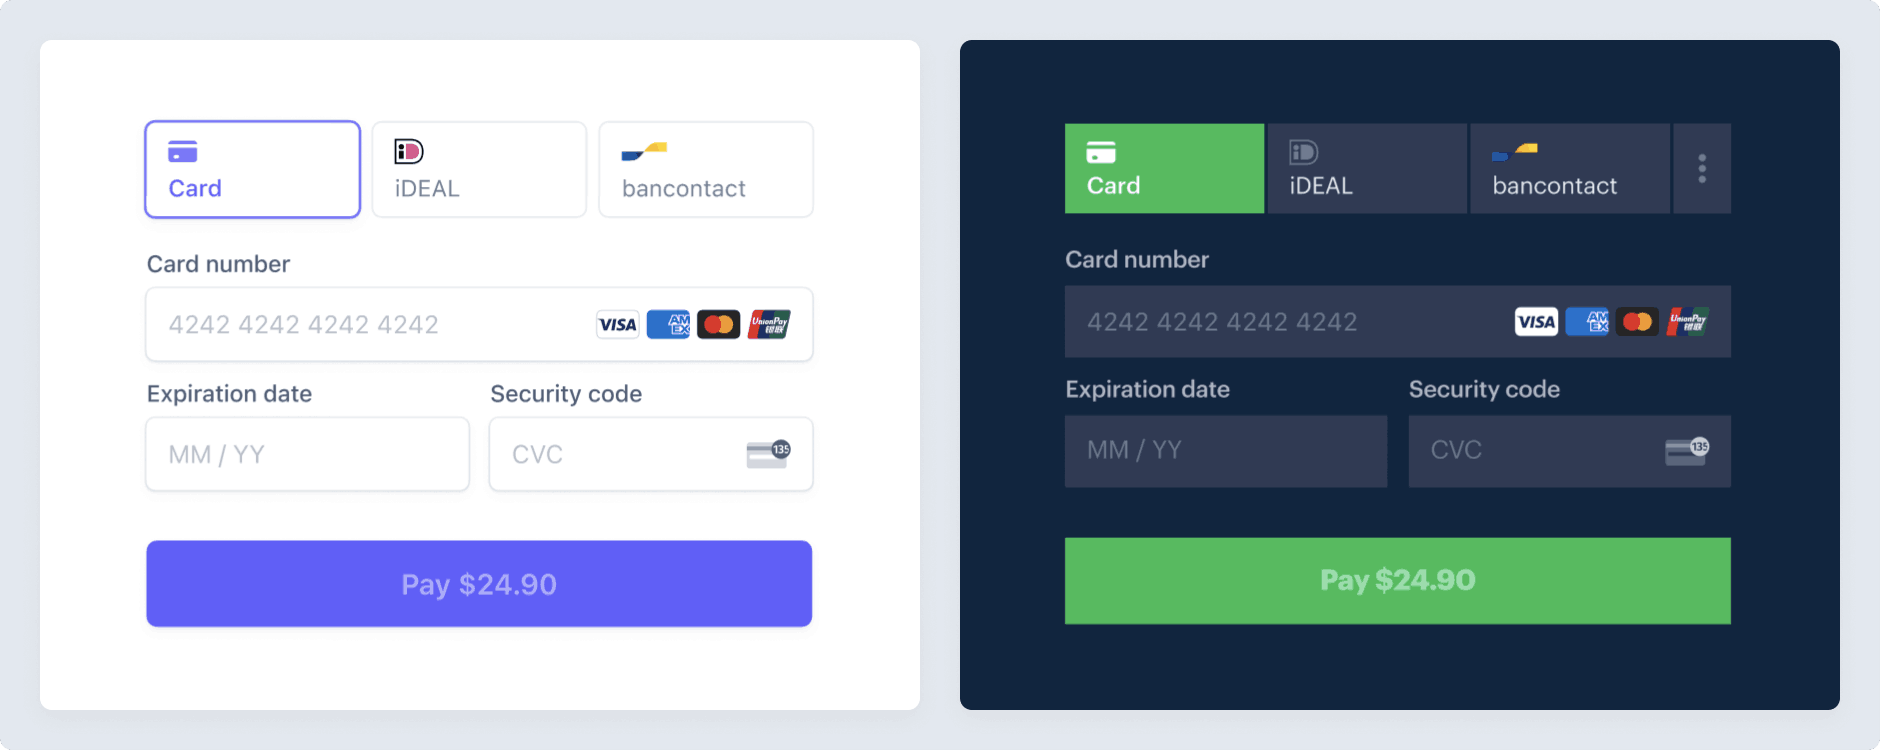 |
Pricing table | Embed a pricing table on your website to show pricing information for subscriptions. Benefits:
UI customisation: Customise the button layout, text and appearance. | 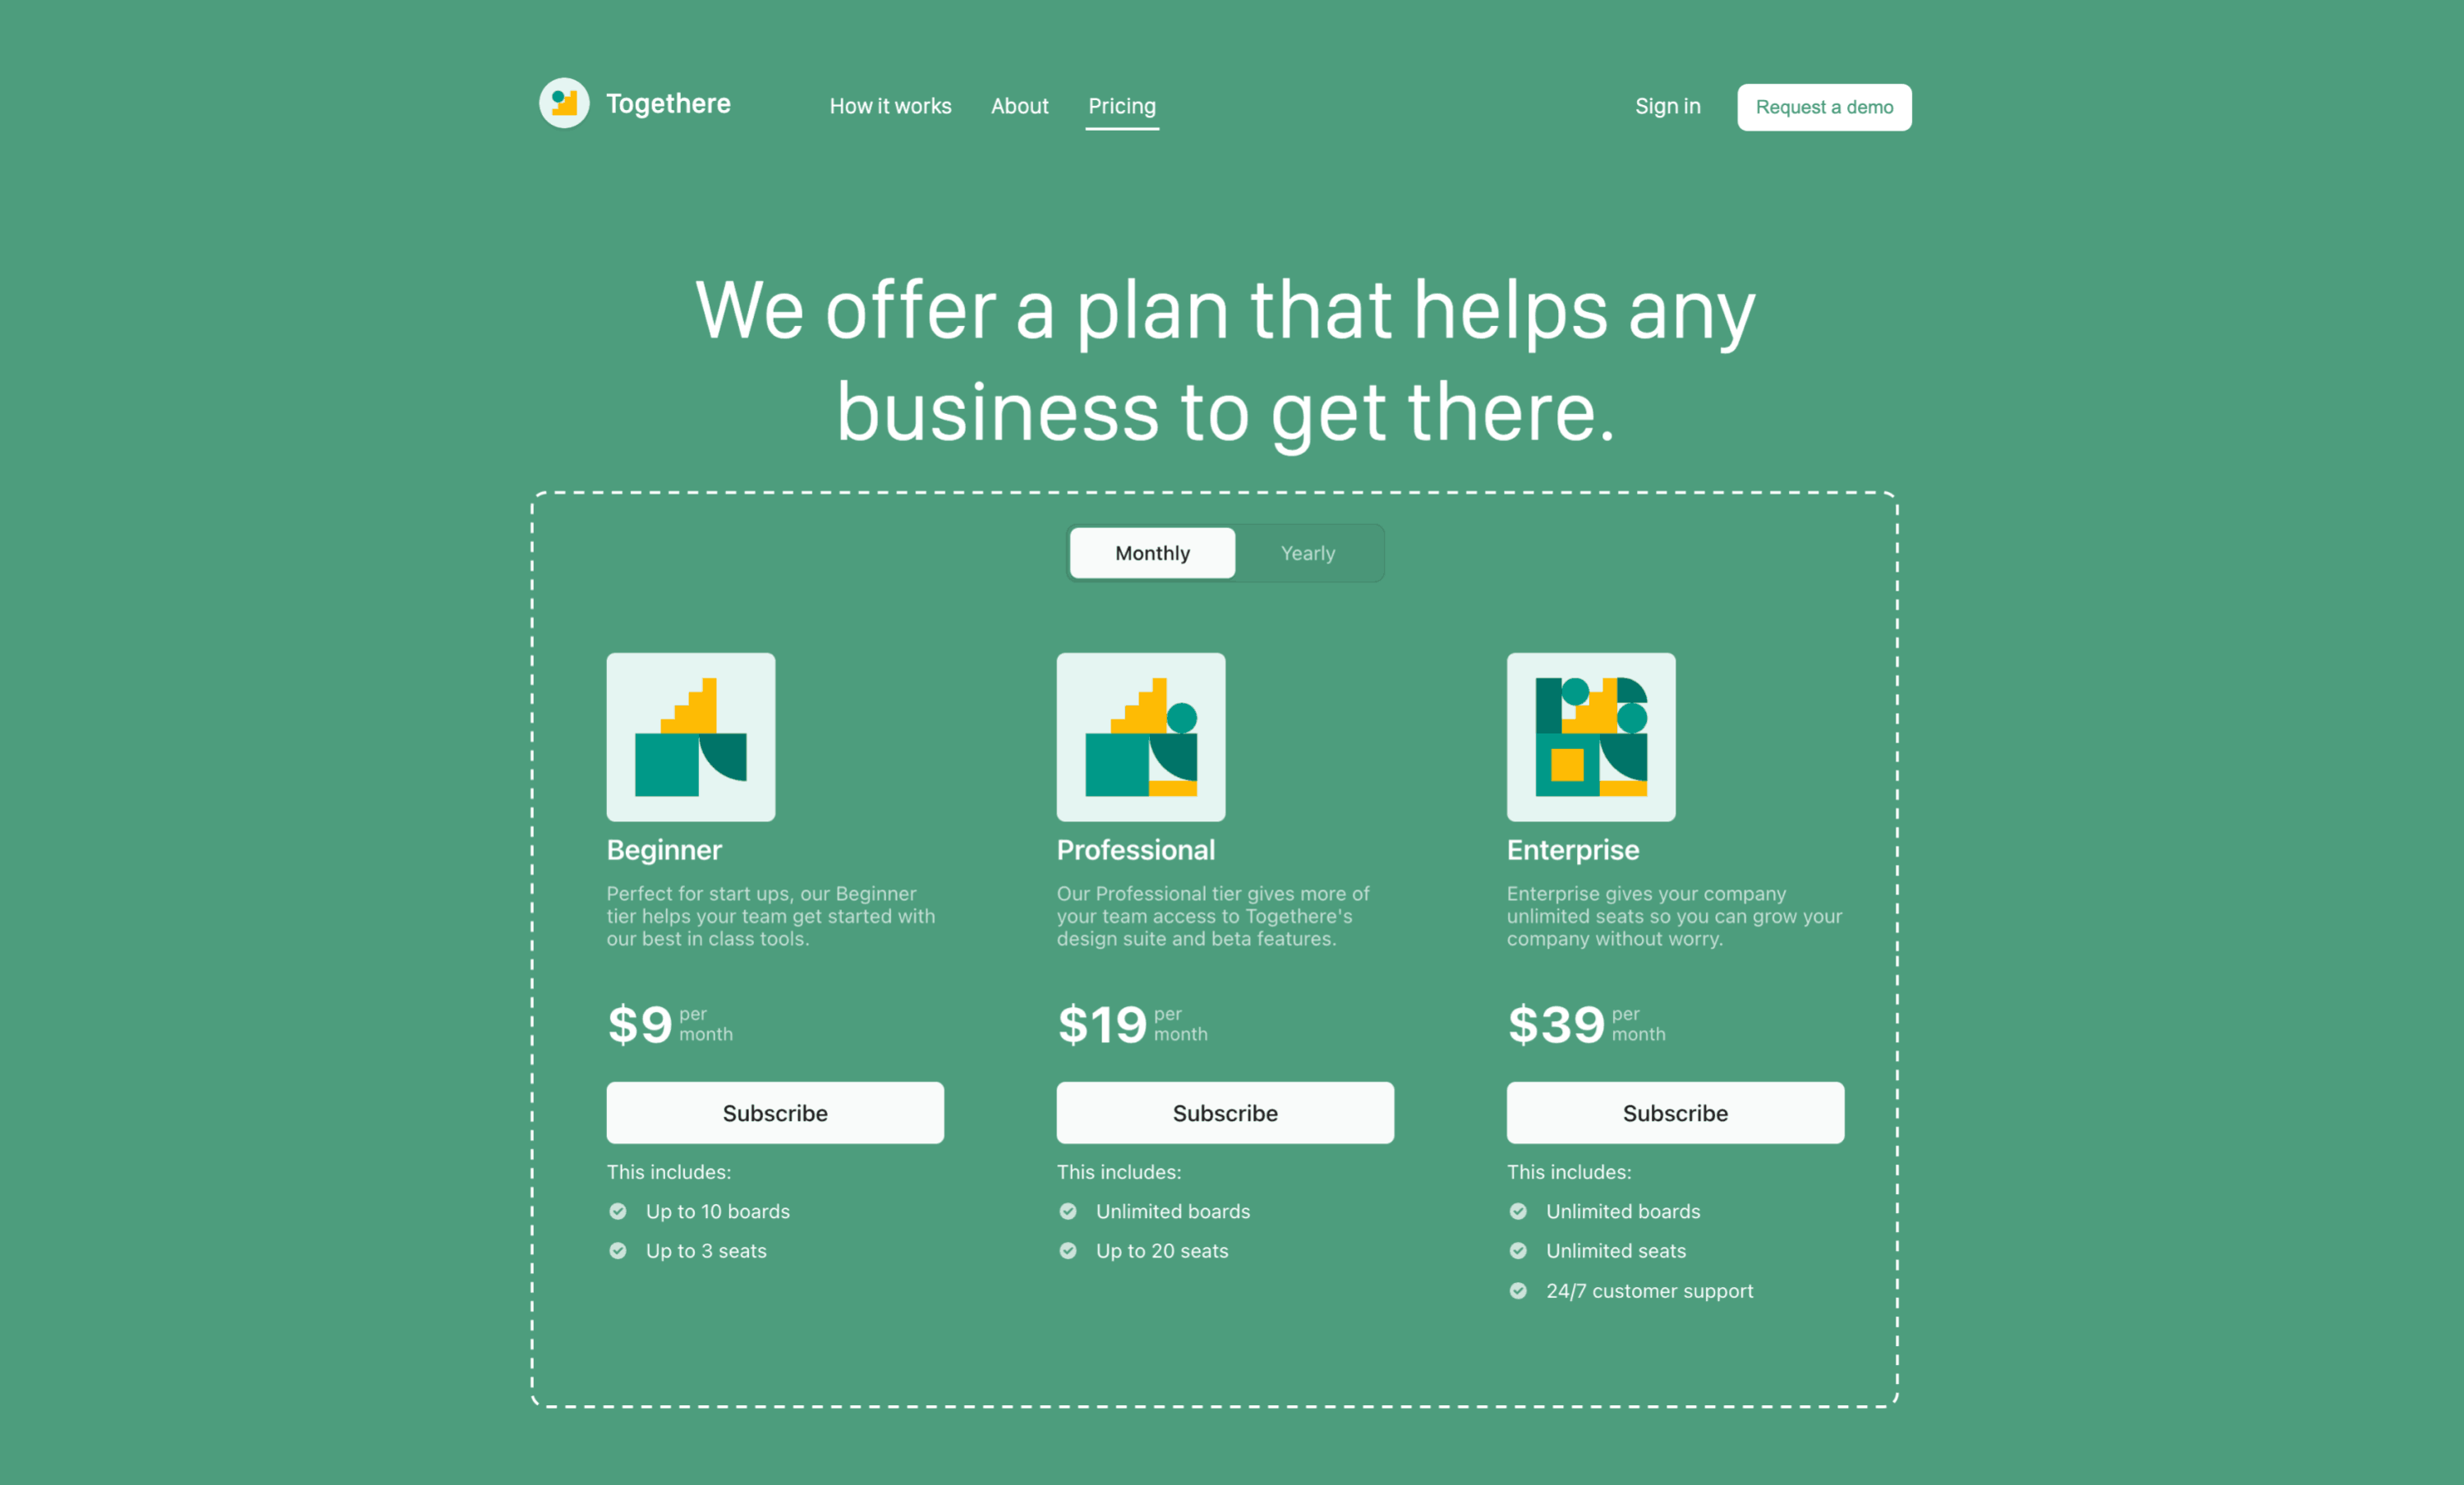 |
One-click payment button | Accept payments through one-click payment buttons for various payment methods. Benefits:
UI customisation: Customise the button layout, text and appearance. | 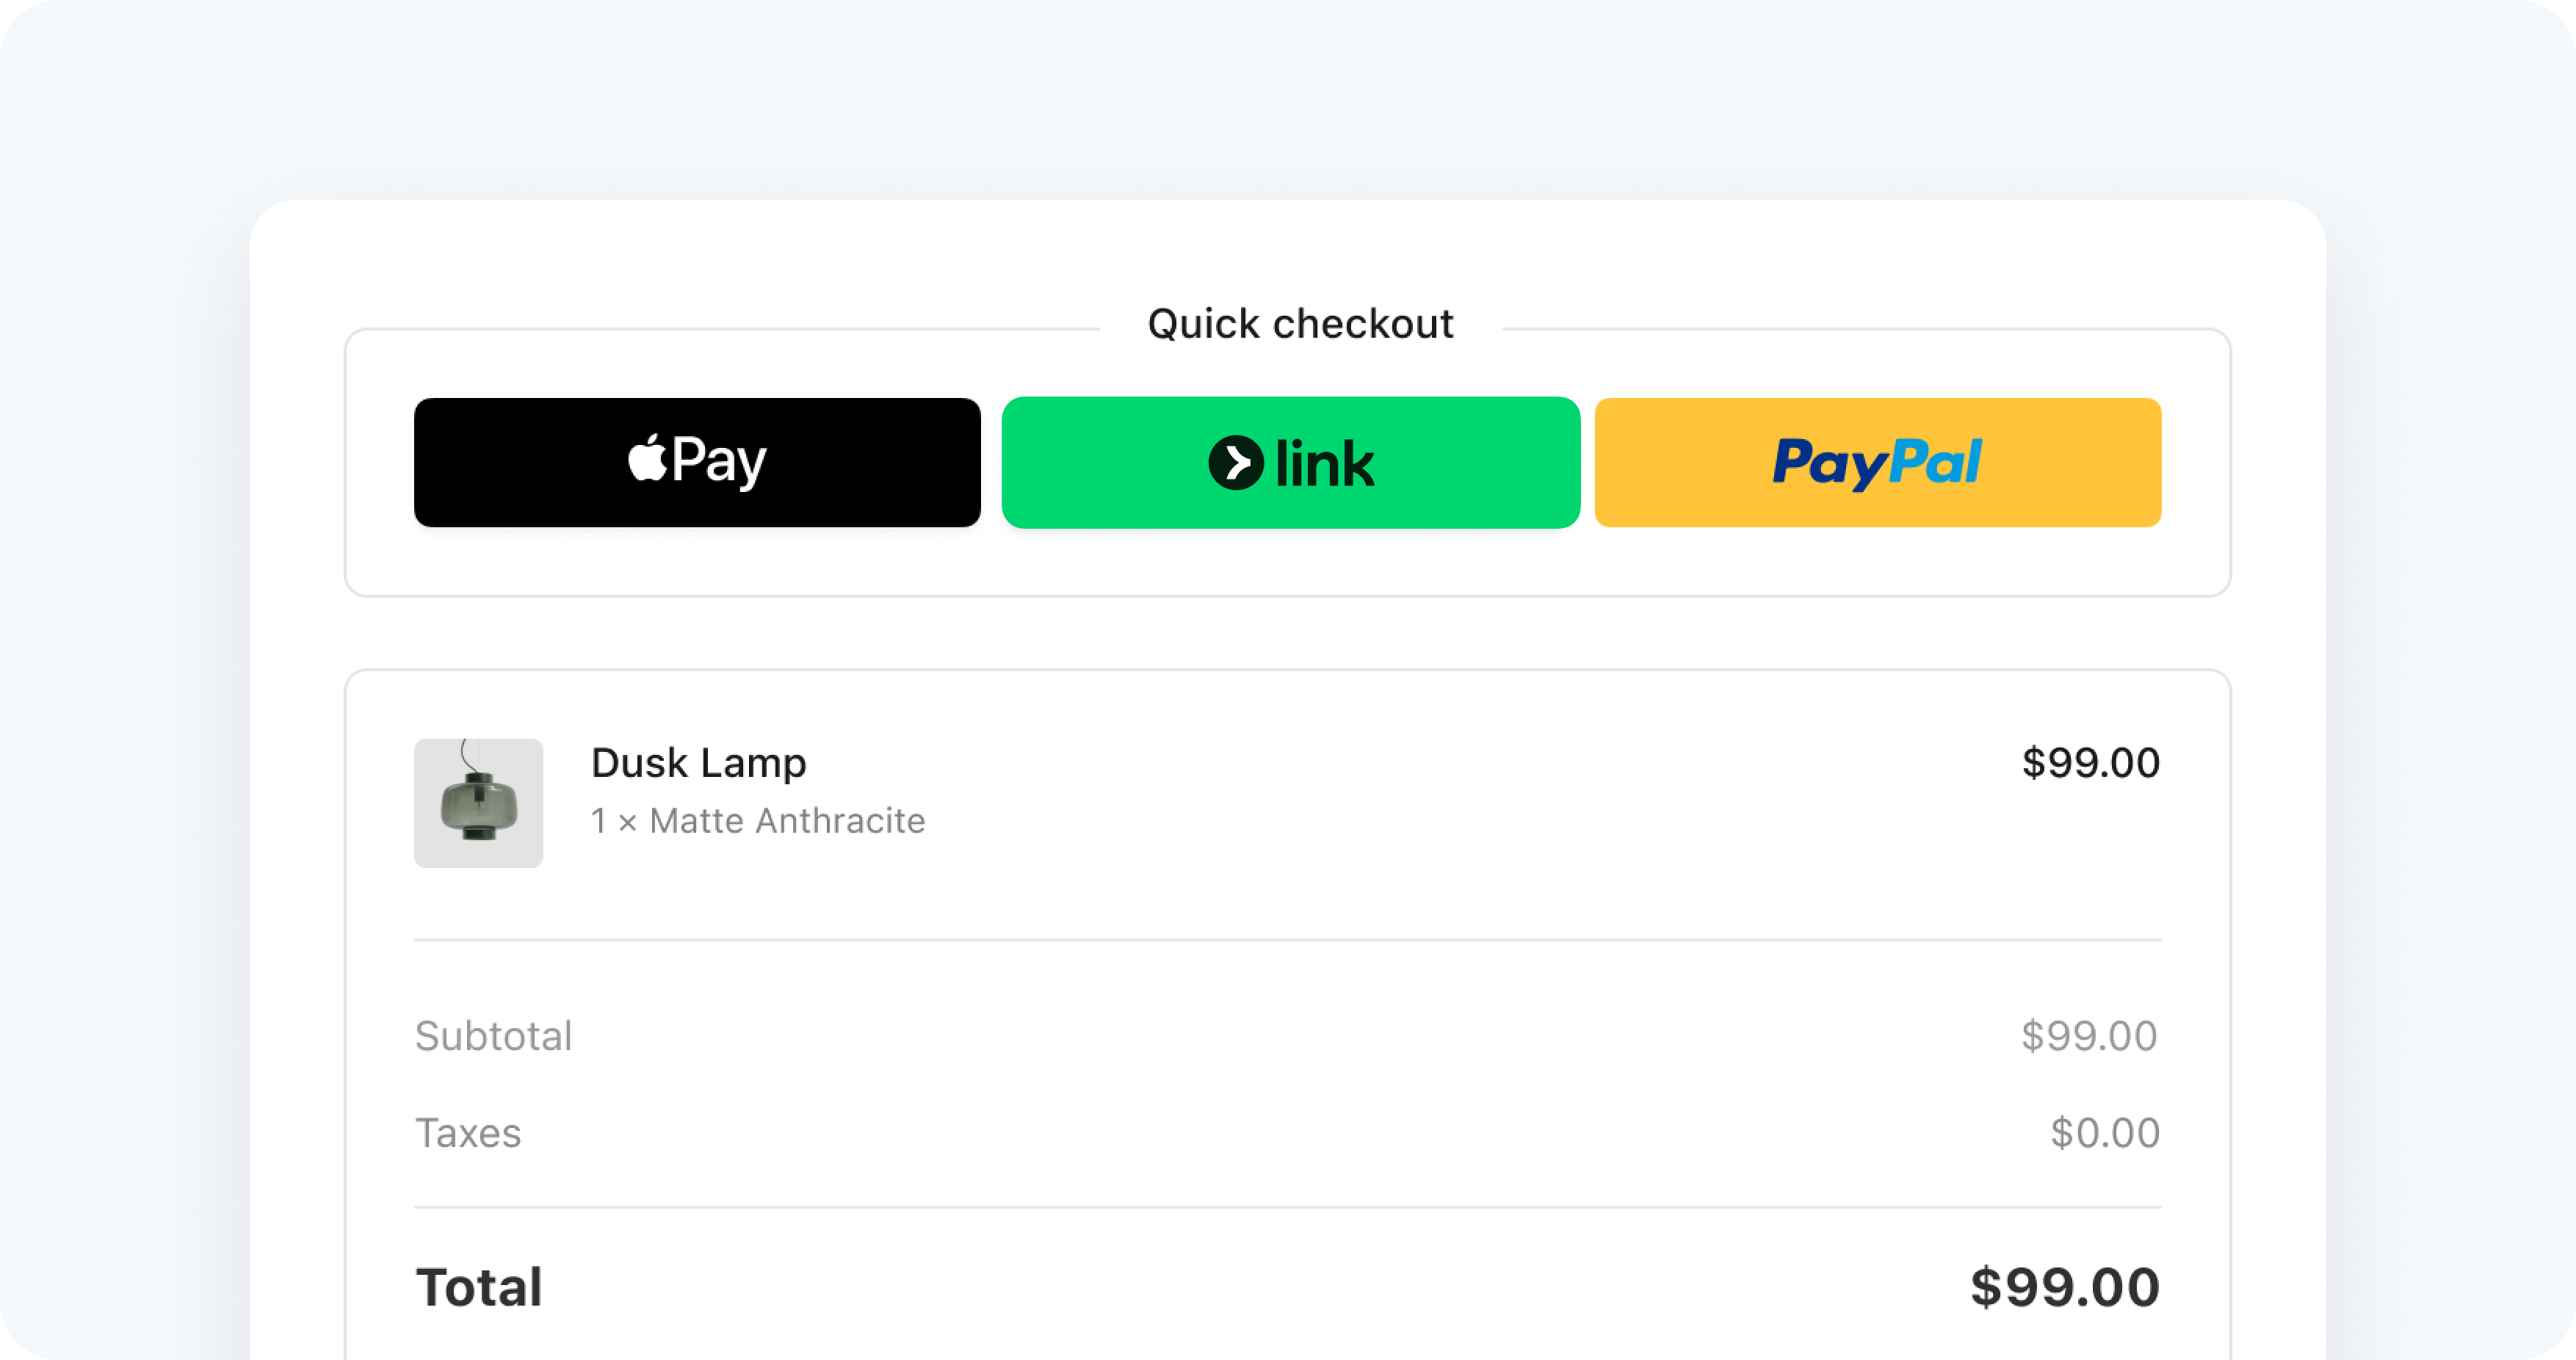 |
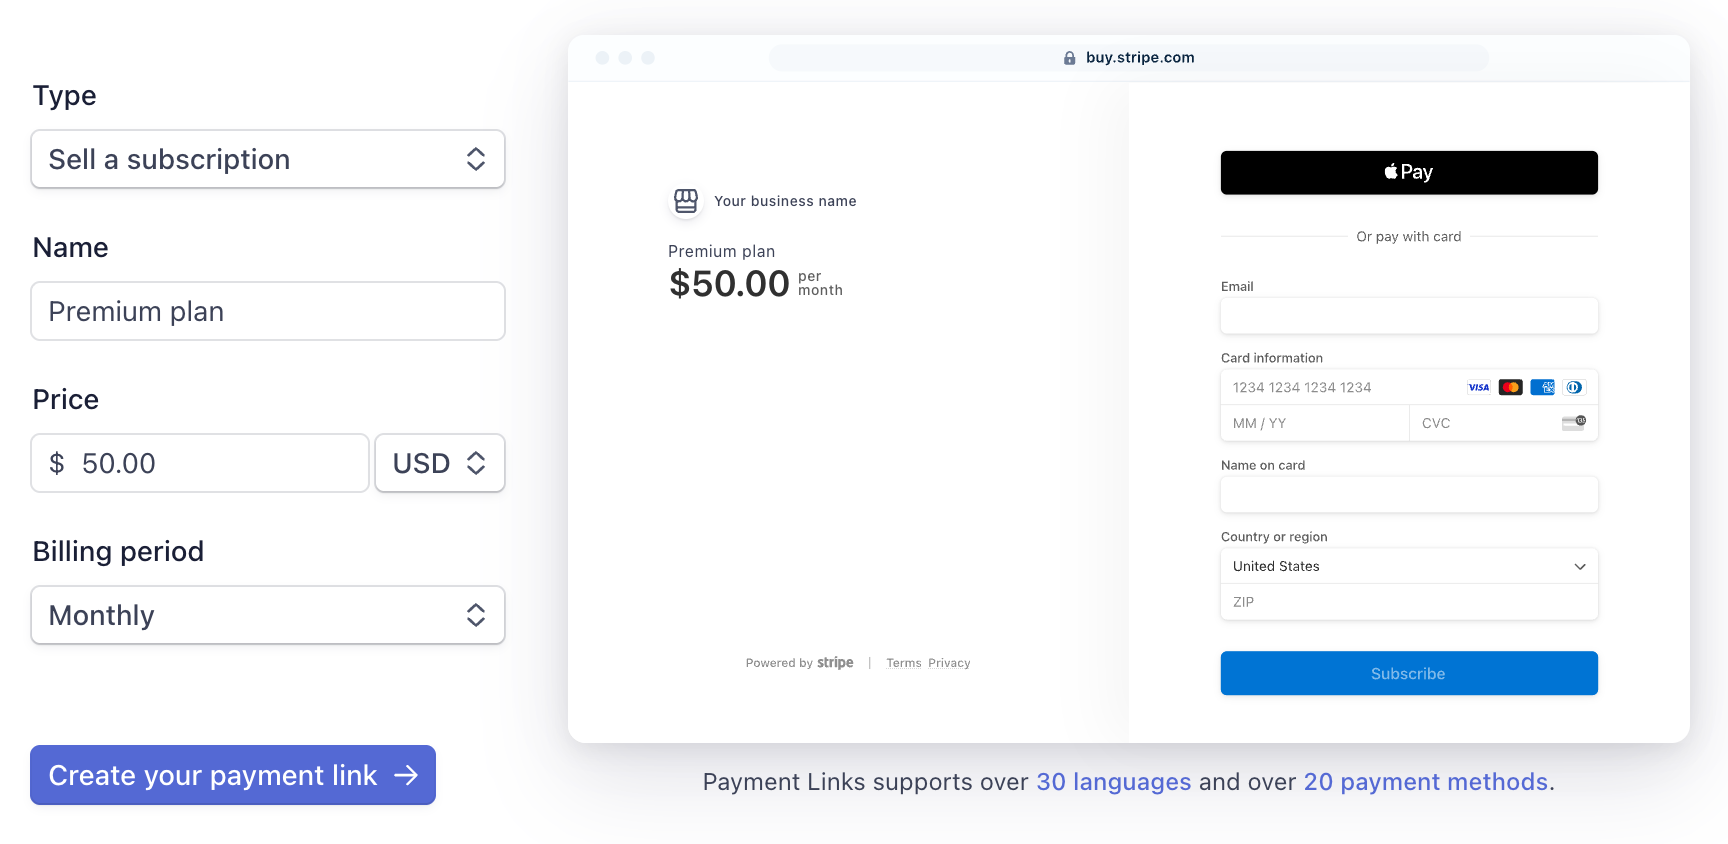
Payment Link | Create a payment link that you can share directly with customers. When customers click the payment link, they’re redirected to a Stripe-hosted payment page.1 Benefits:
|  |
Mobile app | Use a payment form that’s pre-built and hosted by Stripe in your mobile app. Benefits:
UI customisation: Customise the look and feel of the payment form with the Appearance API. | 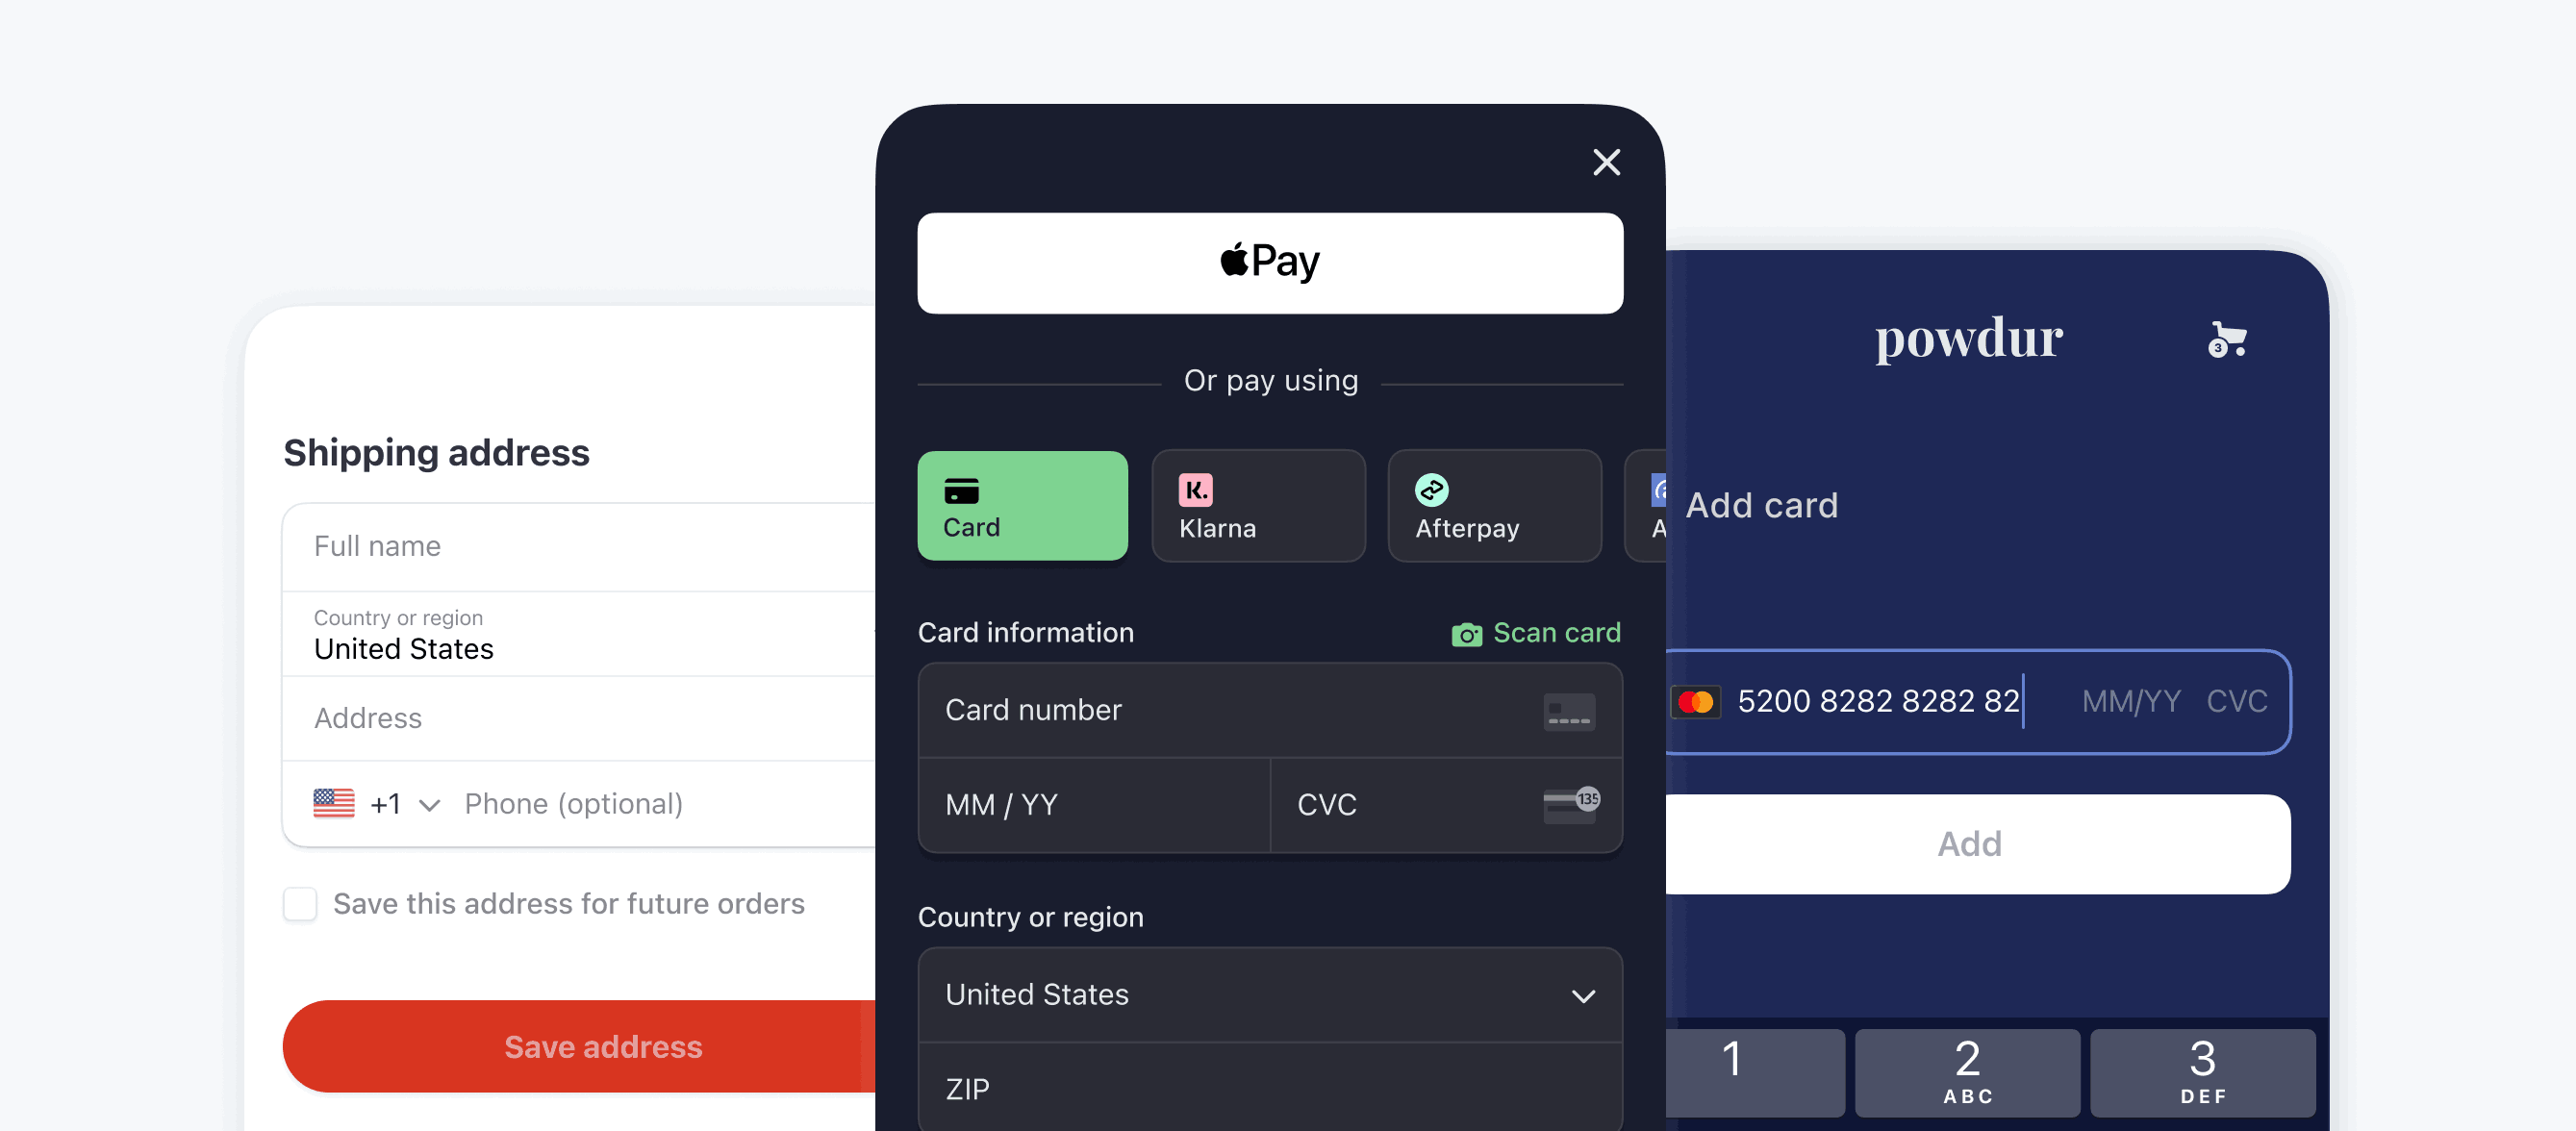 |
1Payment links aren’t supported for usage-based billing.
Decide when you want customers to pay
Compare the following models and determine when you want your customers to pay for the subscription to your product or service.
| Billing model | Description |
|---|---|
Pay upfront | Require that your customers pay before you provide access to your product or service. A typical flow looks like this:
|
Free trial | Offer your customers a free trial period for your product or service before billing them. A typical flow looks like this:
|
Freemium | Allow customers access to your product or service without requesting payment information. A typical flow looks like this:
|
Build your subscriptions integration
| Pricing model | Checkout interface | Billing model | Use case | Instructions |
|---|---|---|---|---|
| Flat rate | Payment page or embedded form | Free trial | You want to offer a free trial period for your subscription and collect a payment method to use after the trial ends. Use either a Stripe-hosted page, a Stripe-hosted payment form that’s embedded in your checkout flow, or your custom payment form. | Start a free trial period using a Stripe-hosted page, an embedded payment form or a custom payment form |
| Usage-based | Payment page, embedded form, or mobile app | You want to charge customers based on their usage of your product or service. Collect payment information using either a Stripe-hosted page, a Stripe-hosted payment form that’s embedded in your checkout flow, your custom payment form, or a payment form in your mobile app. | Set up usage-based billing | |
| Flat rate, per-seat, or tiered | Pricing table | Free trial | You want to display different subscription pricing levels in a pricing table that’s embedded on your website. You can offer a flat rate, per-seat or tiered pricing, or a free trial. After choosing a pricing level, customers can provide their payment information in a prebuilt payment form. | Create and embed a pricing table on your website |
| Flat rate | Payment link | Pay up front | You want to sell subscriptions for a flat rate, and collect payment information using a payment link that you share with your customers. The payment link redirects to a Stripe-hosted payment page.2 | Create your subscription and then create a payment link for your subscription |
| Flat rate | Mobile app | Pay up front | You want to sell subscriptions for a flat rate. Collect payment information using a custom payment form that’s embedded in your mobile app. | Create and embed a payment form in your iOS app, Android app, or React Native app |
| Flat rate | One-click payment buttons | Pay up front | You want to sell subscriptions for a flat rate. Collect payment information using one-click payment buttons on either a Stripe-hosted payment page, a Stripe-hosted payment form that’s embedded in your checkout flow, or your custom payment form. | Add one-click payment buttons on your checkout page |
2Payment links aren’t supported for usage-based billing.