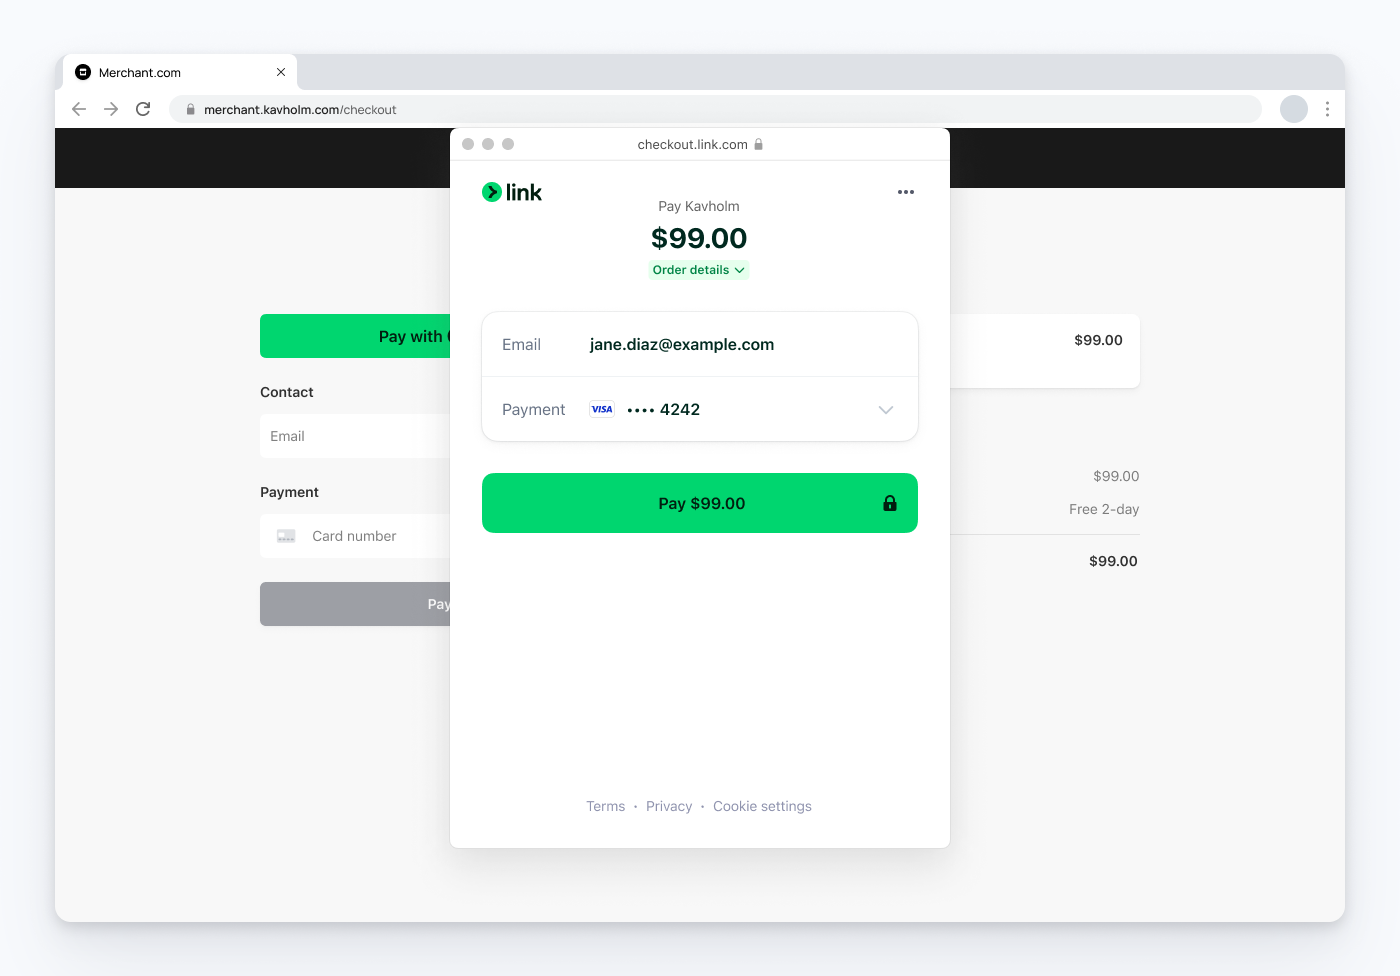
Link in the Payment Request Button
Let your customers check out faster with Link and the Payment Request Button.
Caution
Stripe no longer recommends using the Payment Request Button as part of your Web Elements integration. To integrate Link, use one of our preferred Elements: the Link Authentication Element, Express Checkout Element, or Payment Element.
When new customers come to your site, they can use Link in the Payment Request Button to pay with their saved payment details. With Link, they don’t need to manually enter their payment information.
Additionally, Link is fully compatible with the other features you receive from card payments (for example, subscriptions), and there’re no additional fees. To turn Link off or on, go to your payment method settings.

Completing payment using Link with the Payment Request Button
Returning Link customers
Returning customers can authenticate by clicking the Link button and entering an SMS or email code. After they authenticate, Link loads their previously saved payment details, allowing them to make payments with a single click. If they previously authenticated their account in the last 90 days, either on your site or through a different Link-enabled business, they can pay instantly without re-authenticating. New Link customers are prompted to save their information in a Link account when they click the Link button.
Link and Connect platforms
Link is automatically available through the Payment Request Button to any connected accounts that access the Payment Request Button through a Connect platform integration.
- If you’re a Connect platform, you can manage Link for your connected accounts through the payment method settings page.
- If you’re a connected account processing payments through a Connect platform, your platform manages Link for you when payments are processed through the platform. For payments processed without a platform, you can use the payment method settings page in your Dashboard to manage Link for the Payment Request Button.