Build a custom checkout page that includes Link
Integrate Link using the Payment Element or Link Authentication Element.
This guide walks you through how to accept payments with Link using the Payment Intents API and either the Payment Element or Link Authentication Element.
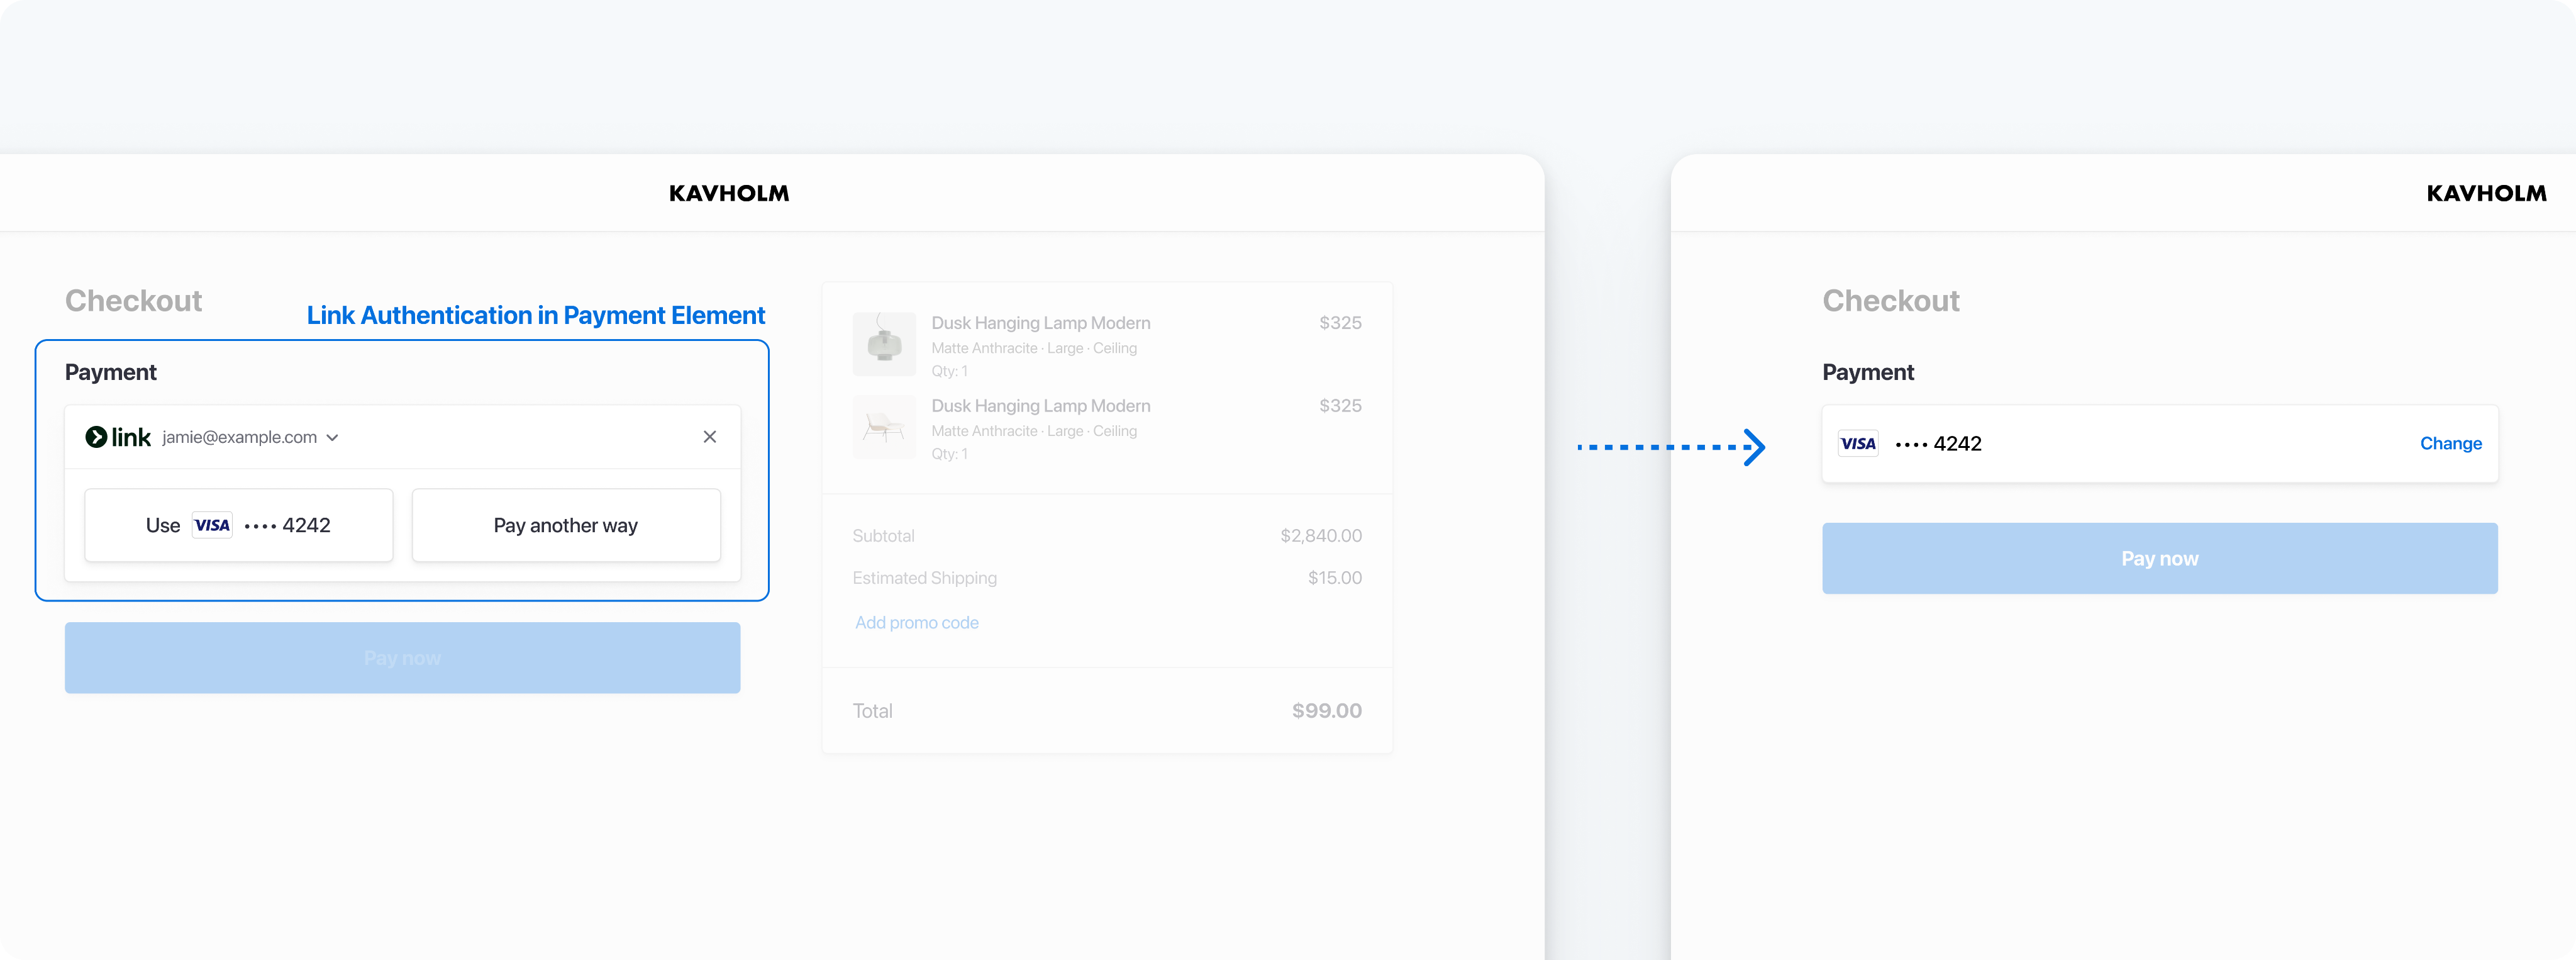
There are three ways you can secure a customer email address for Link authentication and enrollment:
- Pass in an email address: You can pass an email address to the Payment Element using defaultValues. If you’re already collecting the email address and or customer’s phone number in the checkout flow, we recommend this approach.
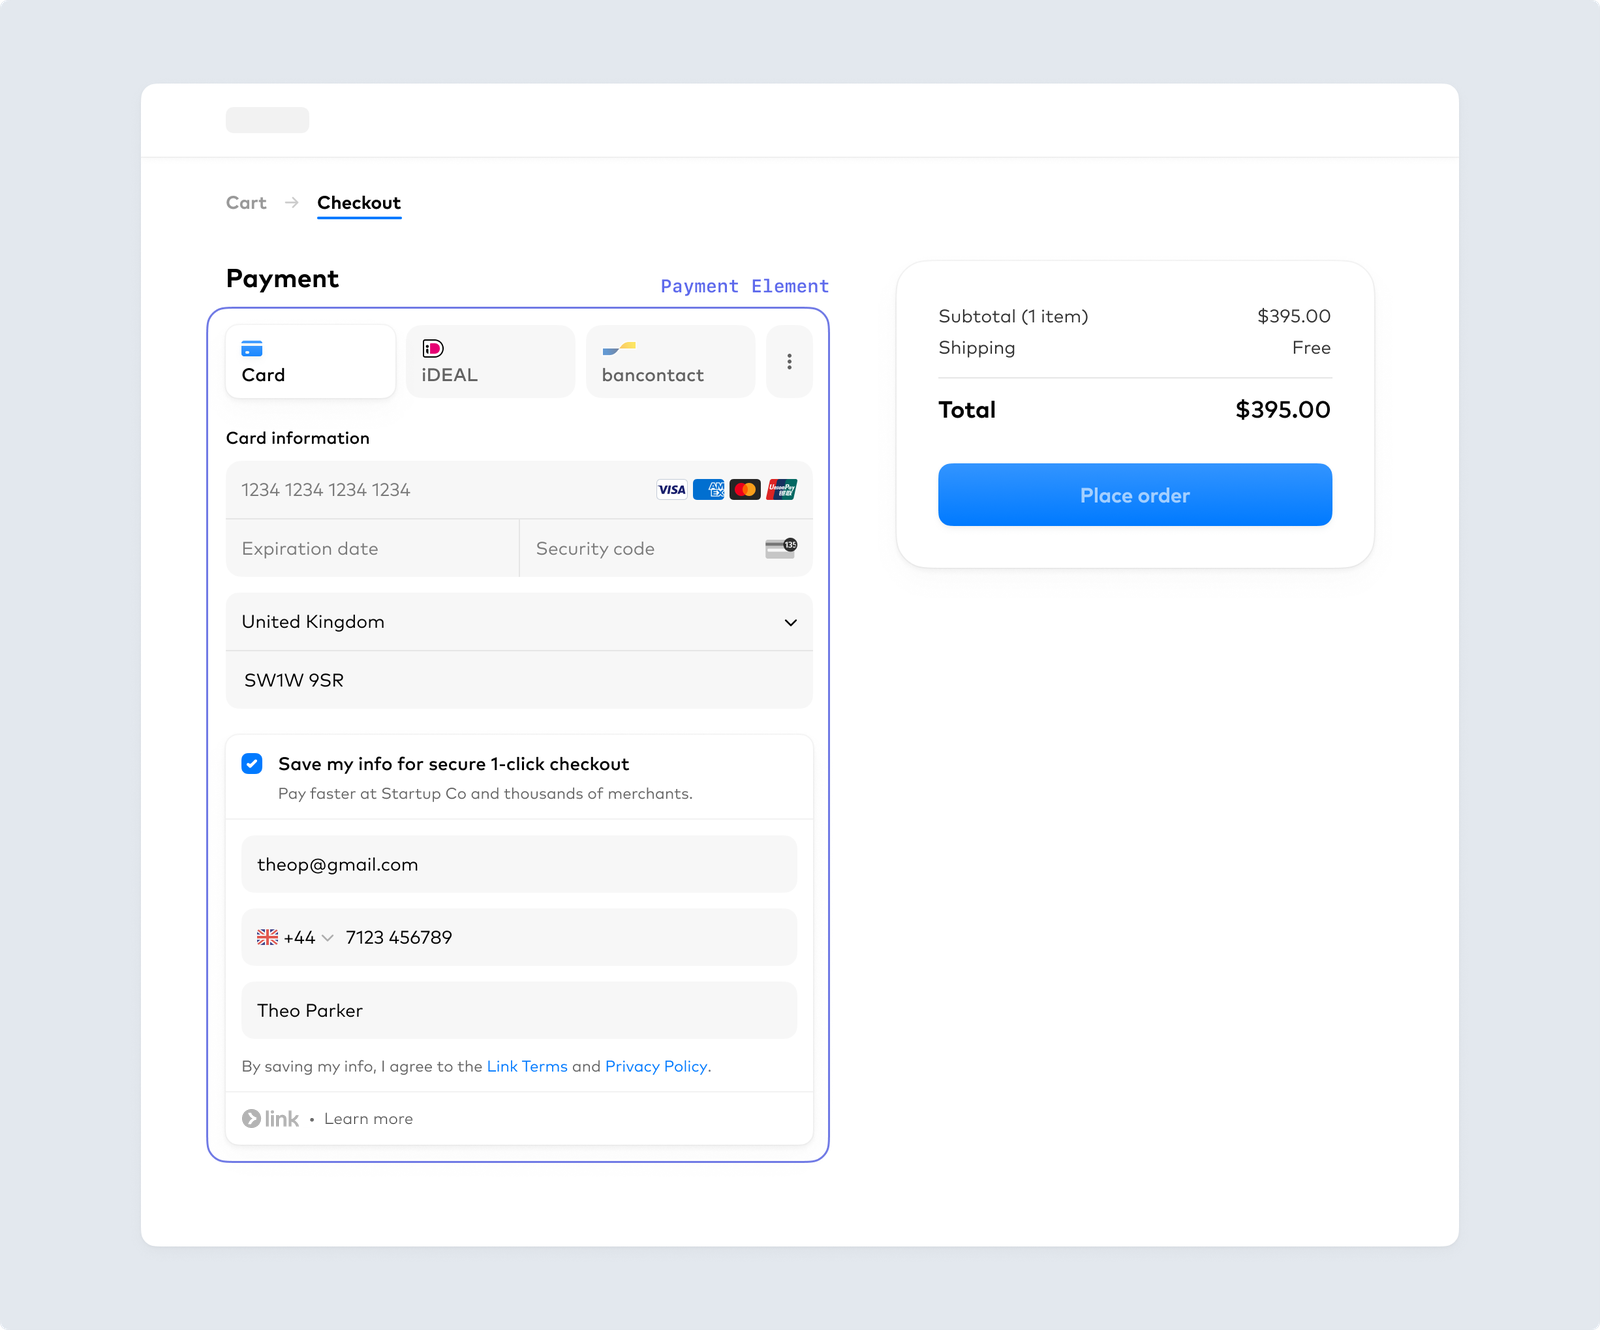
- Collect an email address: You can collect an email address directly in the Payment Element. If you’re not collecting the email address anywhere in the checkout flow, we recommend this approach.
- Link Authentication Element: You can use the Link Authentication Element to create a single email input field for both email collection and Link authentication. We recommend doing this if you use the Address Element.

Collect a customer email address for Link authentication or enrollment
Set up StripeServer-side
First, create a Stripe account or sign in.
Use our official libraries to access the Stripe API from your application:
Create a PaymentIntentServer-side
Stripe uses a PaymentIntent object to represent your intent to collect payment from a customer, tracking charge attempts and payment state changes throughout the process.
If you collect card details for future usage with Setup Intents, list payment methods manually instead of using dynamic payment methods. To use Link without dynamic payment methods, update your integration to pass link to payment_.
When you create a PaymentIntent, dynamically offer your customers the most relevant payment methods, including Link, by using dynamic payment methods. To use dynamic payment methods, don’t include the payment_ parameter. Optionally, you can also enable automatic_.
Note
When your integration doesn’t set the payment_ parameter, some payment methods turn on automatically, including cards and wallets.
To add Link to your Elements integration using dynamic payment methods:
- In your Dashboard payment method settings, turn on Link.
- If you have an existing integration that manually lists payment methods, remove the payment_method_types parameter from your integration.
Retrieve the client secret
The PaymentIntent includes a client secret that the client side uses to securely complete the payment process. You can use different approaches to pass the client secret to the client side.
Collect customer email
Link authenticates a customer by using their email address. Depending on your checkout flow, you have the following options: pass an email to the Payment Element, collect it directly within the Payment Element, or use the Link Authentication Element. Of these, Stripe recommends passing a customer email address to the Payment Element if available.
Set up your payment formClient-side
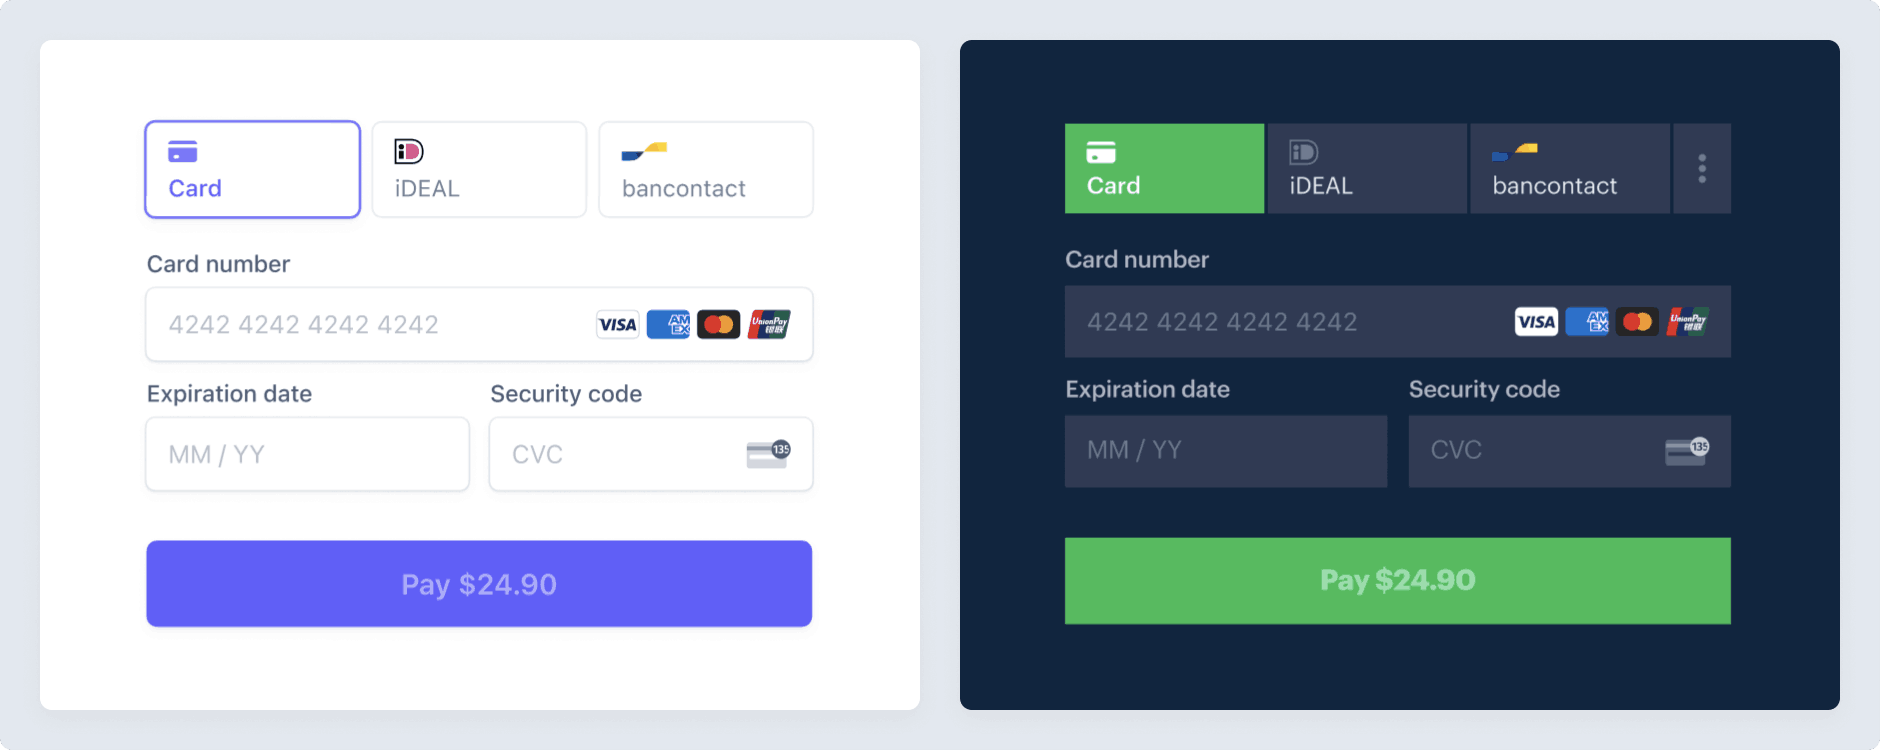
Now you can set up your custom payment form with the Elements prebuilt UI components. Your payment page address must start with https:// rather than http:// for your integration to work. You can test your integration without using HTTPS. Enable HTTPS when you’re ready to accept live payments.
OptionalPrefill additional customer dataClient-side
If you have it, prefilling customer information further streamlines the checkout process and reduces manual data entry.
OptionalCustomize the appearanceClient-side
After you add these Elements to your page, you can customize their appearance to make them fit with the rest of your design:

Customize the appearance of your Elements
Submit the payment to StripeClient-side
Use stripe.confirmPayment to complete the payment with details collected from your customer in the different Elements forms. Provide a return_url to this function to indicate where Stripe redirects the user after they complete the payment.
Your user might be first redirected to an intermediate site, like a bank authorization page, before Stripe redirects them to the return_.
By default, card and bank payments immediately redirect to the return_ when a payment is successful. If you don’t want to redirect to the return_, you can use if_required to change the behavior.
The return_ corresponds to a page on your website that provides the payment status of the PaymentIntent when you render the return page. When Stripe redirects the customer to the return_, you can use the following URL query parameters to verify payment status. You can also append your own query parameters when providing the return_. These query parameters persist through the redirect process.
| Parameter | Description |
|---|---|
payment_ | The unique identifier for the PaymentIntent |
payment_ | The client secret of the PaymentIntent object. |
OptionalSeparate authorization and captureServer-side
Link supports separate authorization and capture. You must capture an authorized Link payment within 7 days of the authorization. Otherwise, the authorization is automatically canceled and you can’t capture that payment.
Tell Stripe to authorize only
To indicate that you want separate authorization and capture, set capture_method to manual when creating the PaymentIntent. This parameter instructs Stripe to only authorize the amount on the customer’s payment method.
Capture the funds
After the authorization succeeds, the PaymentIntent status transitions to requires_. To capture the authorized funds, make a PaymentIntent capture request. The total authorized amount is captured by default—you can’t capture more than this, but you can capture less.
Optional Cancel the authorization
If you need to cancel an authorization, you can cancel the PaymentIntent.
Handle post-payment eventsServer-side
Stripe sends a payment_intent.succeeded event when the payment completes. Use a webhook to receive these events and run actions, like sending an order confirmation email to your customer, logging the sale in a database, or starting a shipping workflow.
Configure your integration to listen for these events rather than waiting on a callback from the client. When you wait on a callback from the client, the customer can close the browser window or quit the app before the callback executes. Setting up your integration to listen for asynchronous events enables you to accept different types of payment methods with a single integration.
In addition to handling the payment_ event, you can also handle two other important events when collecting payments with the Payment Element:
| Event | Description | Action |
|---|---|---|
| payment_intent.succeeded | Sent from Stripe when a customer has successfully completed a payment. | Send the customer an order confirmation and fulfill their order. |
| payment_intent.payment_failed | Sent from Stripe when a customer attempted a payment, but the payment didn’t succeed. | If a payment transitioned from processing to payment_, offer the customer another attempt to pay. |
Test the integration
Caution
Don’t store real user data in sandbox Link accounts. Treat them as if they’re publicly available, because these test accounts are associated with your publishable key.
Currently, Link only works with credit cards, debit cards, and qualified US bank account purchases. Link requires domain registration.
You can create sandbox accounts for Link using any valid email address. The following table shows the fixed one-time passcode values that Stripe accepts for authenticating sandbox accounts:
| Value | Outcome |
|---|---|
| Any other 6 digits not listed below | Success |
| 000001 | Error, code invalid |
| 000002 | Error, code expired |
| 000003 | Error, max attempts exceeded |
For testing specific payment methods, refer to the Payment Element testing examples.
Multiple funding sources
As Stripe adds additional funding source support, you don’t need to update your integration. Stripe automatically supports them with the same transaction settlement time and guarantees as card and bank account payments.
Card authentication and 3D Secure
Link supports 3D Secure 2 (3DS2) authentication for card payments. 3DS2 requires customers to complete an additional verification step with the card issuer when paying. Payments that have been successfully authenticated using 3D Secure are covered by a liability shift.
To trigger 3DS2 authentication challenge flows with Link in a sandbox, use the following test card with any CVC, postal code, and future expiration date: .
In a sandbox, the authentication process displays a mock authentication page. On that page, you can either authorize or cancel the payment. Authorizing the payment simulates successful authentication and redirects you to the specified return URL. Clicking the Failure button simulates an unsuccessful attempt at authentication.
For more details, refer to the 3D Secure authentication page.
Note
When testing 3DS flows, only test cards for 3DS2 will trigger authentication on Link.
OptionalDisplay customer-saved dataServer-sideClient-side
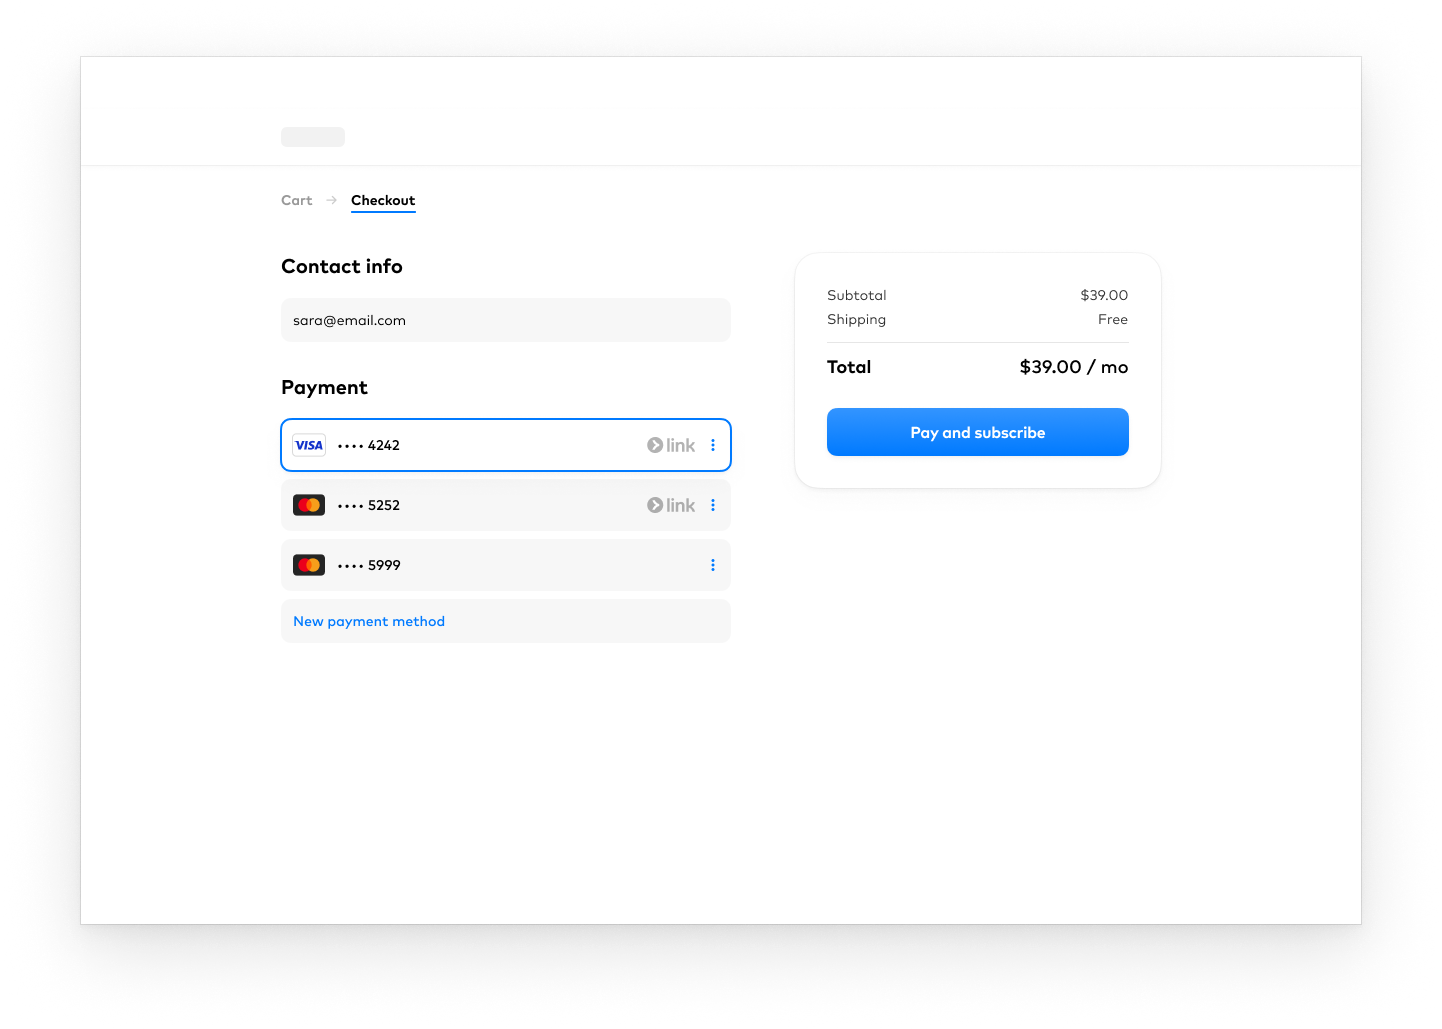
In addition to displaying your own saved addresses and payment methods for a customer, you can display their Link-saved data.
If a customer has more than one saved payment method, Stripe displays the three most recently used cards saved to the Customer object in addition to any payment methods the customer has saved with Link.

To accomplish this, create an Ephemeral Key and send it to your frontend along with the Customer ID. Information on the customer object is sensitive—you can’t retrieve it directly within Stripe.js. An Ephemeral Key grants temporary access to customer data.
On the client-side, fetch the customerOptions with clientSecret.
(async () => {
  const response = await fetch('/secret');
  const {clientSecret, customerOptions} = await response.json();
})
Then, pass the customerOptions. and customerOptions. values to the customerOptions option on the Elements group. You must also pass the elements_ beta flag when loading the Stripe instance.
OptionalSave Link payment methodsServer-sideClient-side
You can save Link payment methods for future off-session payments or subscriptions, but not for future on-session payments. To do so, you must attach it to a Customer. Create a customer object when your customer creates an account with your business. Then, specify the customer when creating your PaymentIntent.
When a new customer has their first transaction with your business, create a customer object in Stripe to store their data for future use.
In the latest version of the API, specifying the automatic_ parameter is optional because Stripe enables its functionality by default.
When you’re ready to charge your customer again, use the customer and resulting PaymentMethod ID to create a new PaymentIntent. Set off_session to true. This causes the PaymentIntent to send an error if authentication is required when your customer isn’t actively using your site or app.
Disclose Stripe to your customers
Stripe collects information on customer interactions with Elements to provide services to you, prevent fraud, and improve its services. This includes using cookies and IP addresses to identify which Elements a customer saw during a single checkout session. You’re responsible for disclosing and obtaining all rights and consents necessary for Stripe to use data in these ways. For more information, visit our privacy center.


