Link Authentication Element
Use the Link Authentication Element to integrate Link.
Link saves and autofills customer payment and shipping information. Customers can use different funding sources to pay with Link, including credit cards, debit cards, and US bank accounts. Learn more at link.com.
Use the Link Authentication Element to create a single email input field for both email collection and Link authentication.
| Option | Description |
|---|---|
| Theme | Use the dropdown to choose a theme or customize the theme with the Elements Appearance API. |
| Desktop and mobile size | Use the dropdown to set the max pixel width of the parent element that the Address Element is mounted to. You can set it to 750px (Desktop) or 320px (Mobile). |
| Customer location | Use the dropdown to choose a location for accepting complete addresses. Changing the location localizes the UI language and displays locally relevant payment methods. |
| Layout | Use the dropdown to display the element using tabs (displayed horizontally) or accordion (displayed vertically) layouts. |
Start with examples
To see the Link Authentication Element in action, start with one of these examples:
Before you begin
Before you start, you need to register your domain.
Create the Link Authentication Element
The following code creates an instance of the Link Authentication Element and mounts it to the DOM:
Retrieving email address
You can retrieve the email address details using the onChange prop on the linkAuthenticationElement component. The onChange handler fires whenever the user updates the email field, or when a saved customer email is autofilled.
linkAuthenticationElement.on('change', (event) => {
  const email = event.value.email;
});
Prefill customer data
The Link Authentication Element accepts an email address. Providing a customer’s email address starts the Link authentication flow as soon as the customer lands on the payment page using the defaultValues option:
// Create the Link Authentication Element with the defaultValues option
const linkAuthenticationElement = elements.create("linkAuthentication", {defaultValues: {email: "foo@bar.com"}});

// Mount the Link Authentication Element to its corresponding DOM node
linkAuthenticationElement.mount("#link-authentication-element");
If you want to prefill additional customer data, add the defaultValues.billingDetails object to the Payment Element. This prefills a customer’s name, phone number, and shipping addresses. By prefilling as much of your customer’s information as possible, you simplify Link account creation and reuse.
The following code shows a Payment Element with all of its values prefilled:
Combine Elements
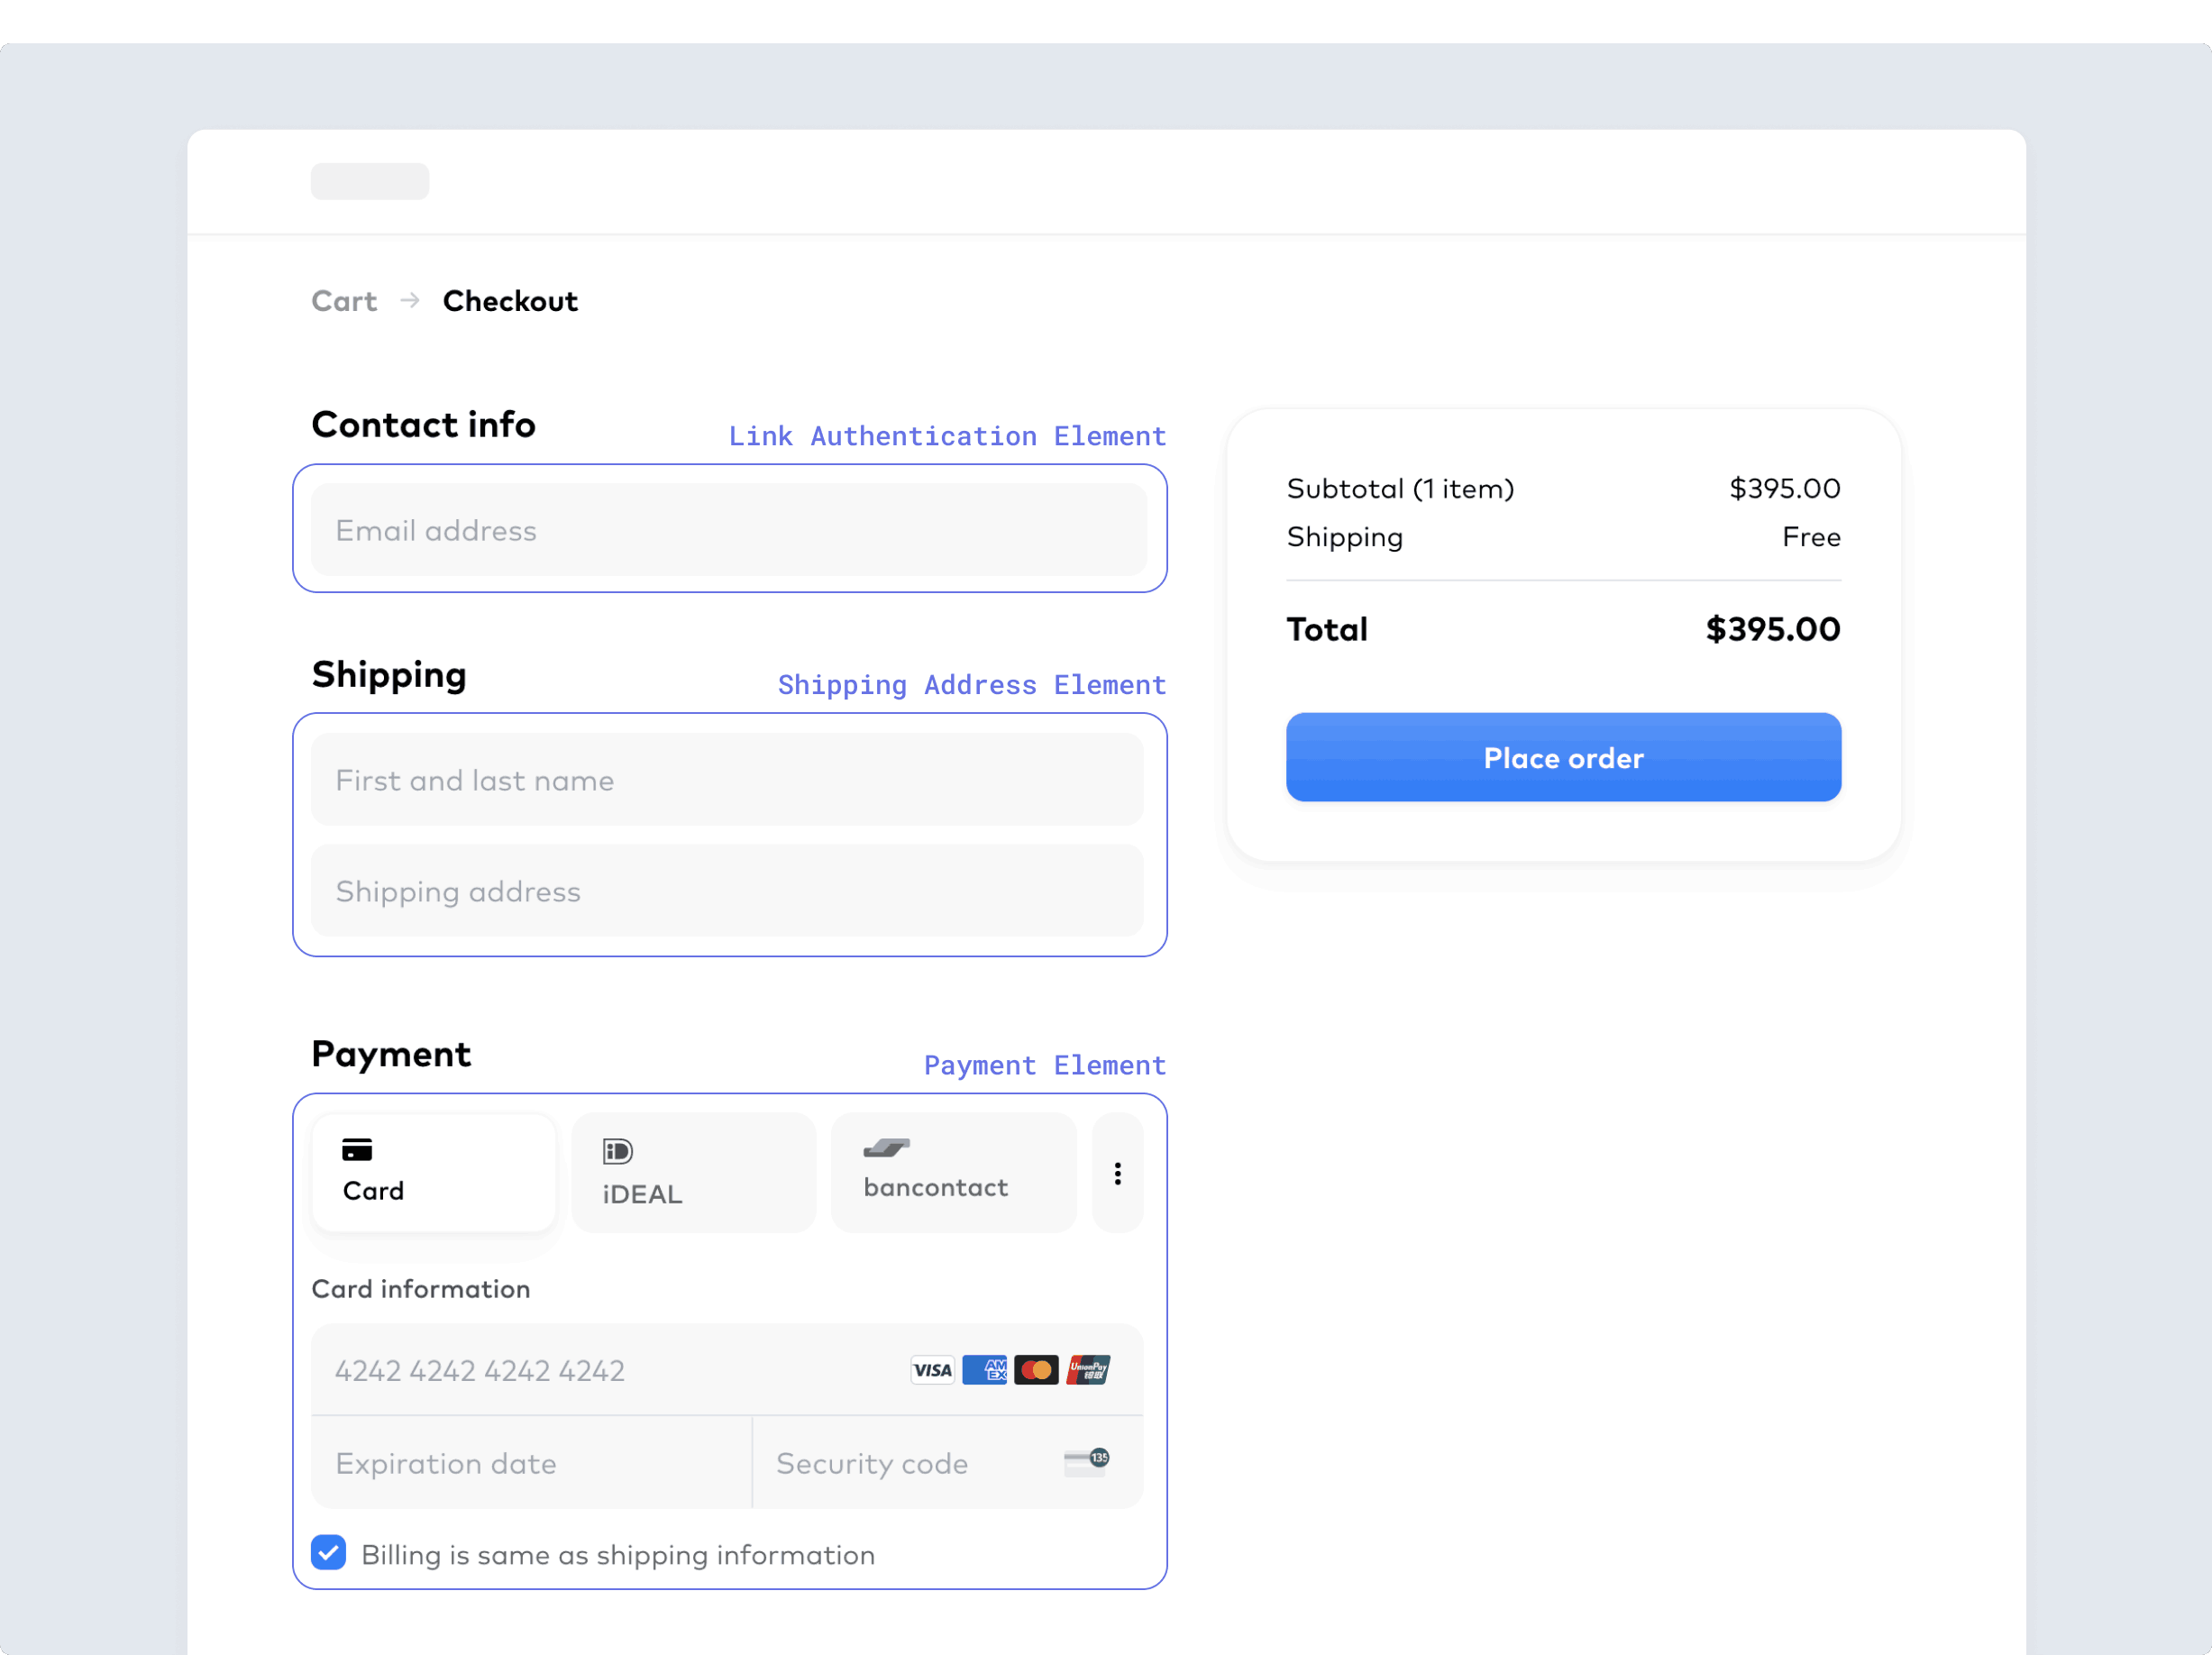
The Link Authentication Element only interacts with the Payment Element by prefilling payment information for returning Link users. However, it can still be displayed with other elements as well, like the following example with the Link Authentication Element, Address Element, and Payment Element:

Use the Link Authentication Element with other Elements to compose your checkout page
Appearance
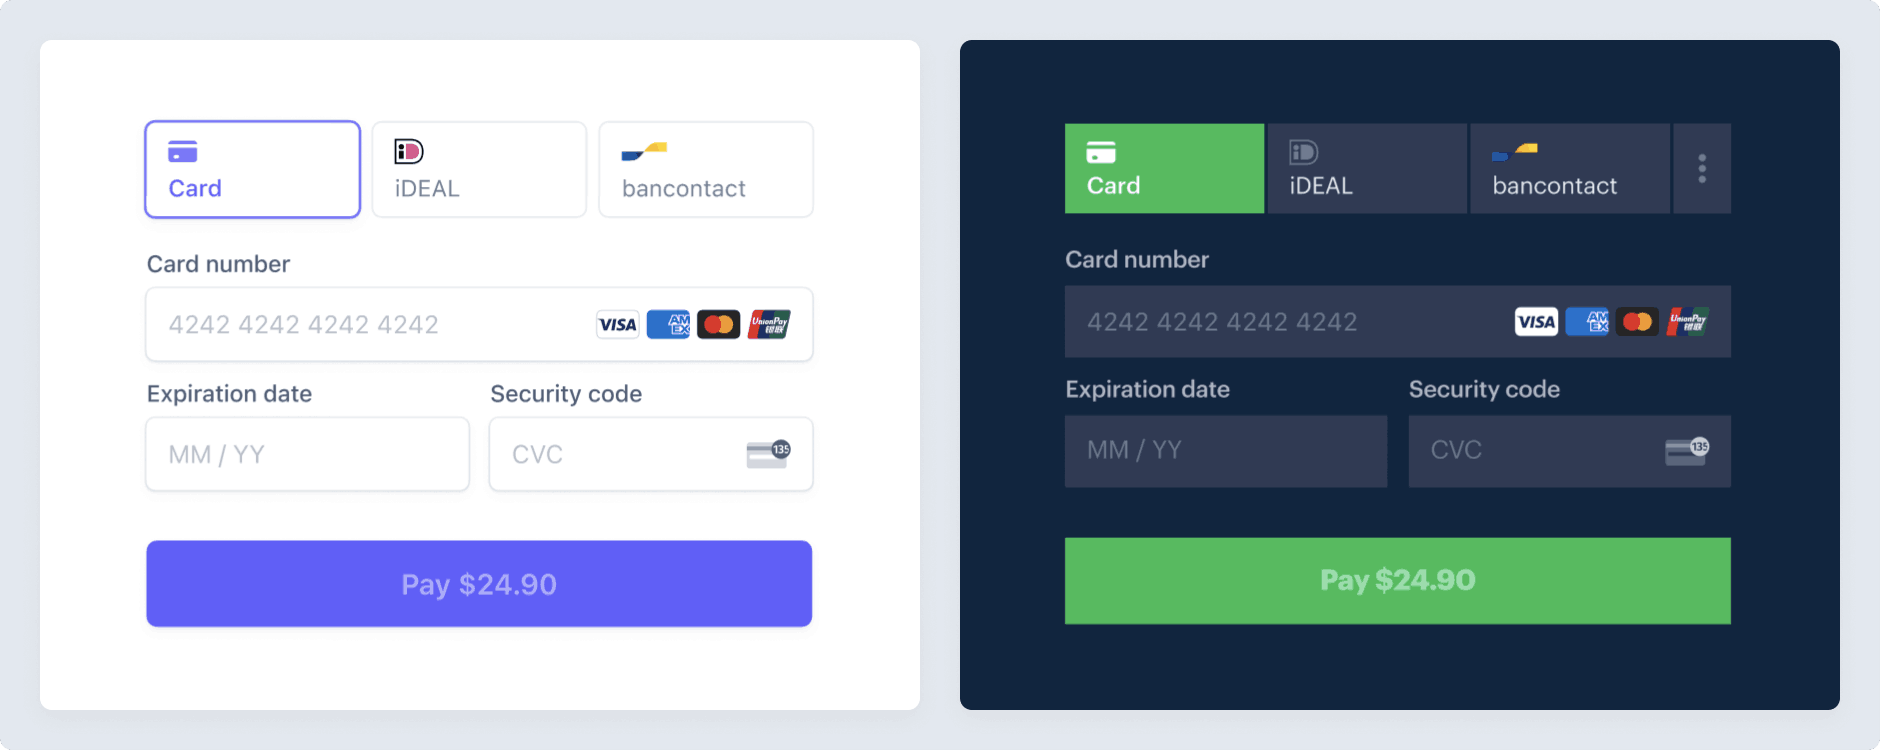
You can use the Appearance API to control the style of all elements. Choose a theme or update specific details.

Use the Appearance API to change the look and style of your Elements
In the following example, the “flat” theme overrides the default text color used for Elements:
const stripe = Stripe(); const appearance = { theme: 'flat' variables: { colorPrimaryText: '#262626' } };'pk_test_TYooMQauvdEDq54NiTphI7jx'