# Set your secret key. Remember to switch to your live secret key in production.# See your keys here: https://dashboard.stripe.com/apikeysStripe.api_key =
'sk_test_BQokikJOvBiI2HlWgH4olfQ2'
post '/create-intent-and-customer-session'do
intent =Stripe::PaymentIntent.create({
amount:1099,
currency:'usd',# In the latest version of the API, specifying the `automatic_payment_methods` parameter# is optional because Stripe enables its functionality by default.
automatic_payment_methods:{enabled:true},
customer:
// Set your publishable key: remember to change this to your live publishable key in production// See your keys here: https://dashboard.stripe.com/apikeysconst stripe =Stripe(
'pk_test_TYooMQauvdEDq54NiTphI7jx'
);
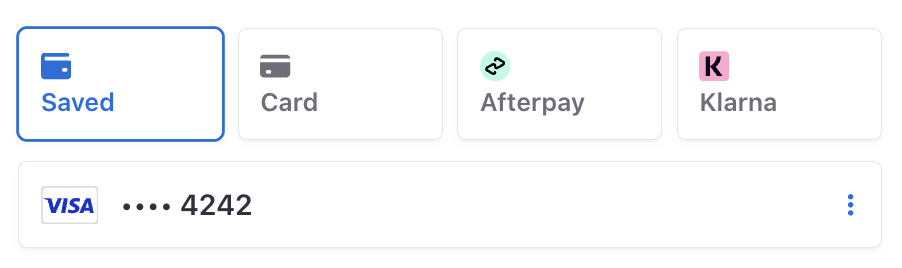
Payment Element を支払いページに追加
Payment Element を決済ページに配置する場所が必要です。決済フォームで、一意の ID を持つ空の DOM ノード (コンテナー) を作成します。
checkout.html
<formid="payment-form"><divid="payment-element"><!-- Elements will create form elements here --></div><buttonid="submit">Submit</button><divid="error-message"><!-- Display error message to your customers here --></div></form>
前のステップで 2 つの clients_secret を取得して、Element を初期化します。次に、Payment Element を作成してマウントします。
checkout.js
// Fetch the two `client_secret`const response =awaitfetch('/create-intent-and-customer-session',{ method:"POST"});const{ client_secret, customer_session_client_secret }=await response.json();// Initialize Elementsconst elements = stripe.elements({
clientSecret: client_secret,
customerSessionClientSecret: customer_session_client_secret,});// Create and mount the Payment Elementconst paymentElementOptions ={ layout:'accordion'};const paymentElement = elements.create('payment', paymentElementOptions);
paymentElement.mount('#payment-element');
const form = document.getElementById('payment-form');
form.addEventListener('submit',async(event)=>{
event.preventDefault();const{error}=await stripe.confirmPayment({//`Elements` instance that was used to create the Payment Element
elements,
confirmParams:{
return_url:'https://example.com/order/123/complete',},});if(error){// This point will only be reached if there is an immediate error when// confirming the payment. Show error to your customer (for example, payment// details incomplete)const messageContainer = document.querySelector('#error-message');
messageContainer.textContent= error.message;}else{// Your customer will be redirected to your `return_url`. For some payment// methods like iDEAL, your customer will be redirected to an intermediate// site first to authorize the payment, then redirected to the `return_url`.}});
// Initialize Stripe.js using your publishable keyconst stripe =Stripe(
'pk_test_TYooMQauvdEDq54NiTphI7jx'
);// Retrieve the "payment_intent_client_secret" query parameter appended to// your return_url by Stripe.jsconst clientSecret =newURLSearchParams(window.location.search).get('payment_intent_client_secret');// Retrieve the PaymentIntent
stripe.retrievePaymentIntent(clientSecret).then(({paymentIntent})=>{const message = document.querySelector('#message')// Inspect the PaymentIntent `status` to indicate the status of the payment// to your customer.//// Some payment methods will [immediately succeed or fail][0] upon// confirmation, while others will first enter a `processing` state.//// [0]: https://stripe.com/docs/payments/payment-methods#payment-notificationswitch(paymentIntent.status){case'succeeded':
message.innerText='Success! Payment received.';break;case'processing':
message.innerText="Payment processing. We'll update you when payment is received.";break;case'requires_payment_method':
message.innerText='Payment failed. Please try another payment method.';// Redirect your user back to your payment page to attempt collecting// payment againbreak;default:
message.innerText='Something went wrong.';break;}});