Payments for existing customers
Learn how to charge an existing payment method while a customer is on-session.
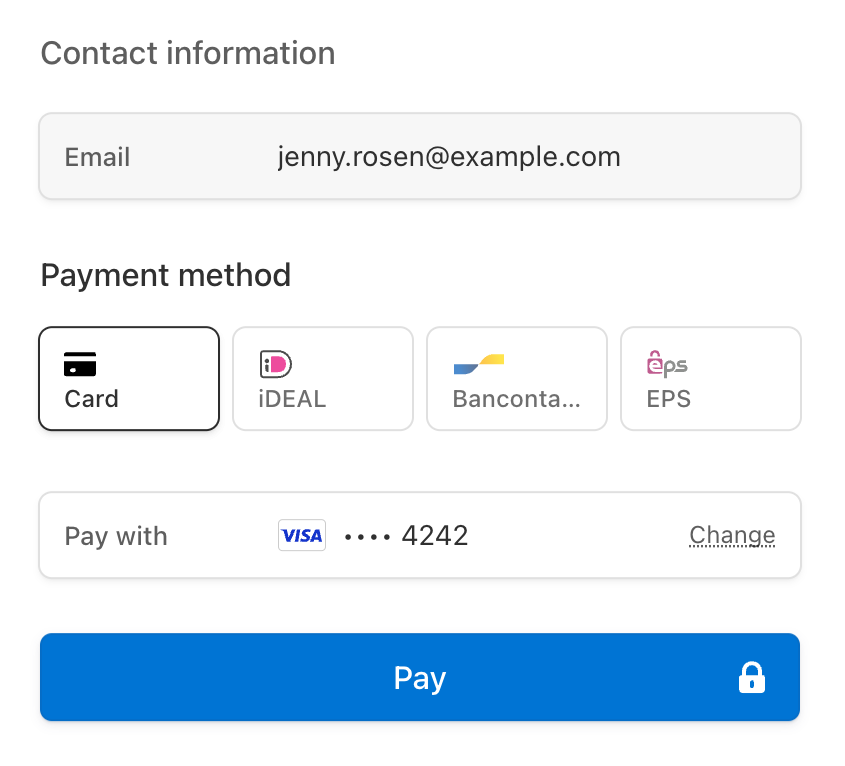
A Checkout Session allows buyers to enter their payment details. If the buyer is an existing customer, you can configure the Checkout Session to prefill the details with one of the customer’s saved cards. The Checkout Session displays up to 50 saved cards that a customer can choose to pay with.
Compare Customers v1 and Accounts v2 references
If your customer is an Accounts v2 entity, use our guide to replace Customer and event references in your code with the equivalent Accounts v2 API references.

Create a Checkout SessionServer-side
Checkout supports reusing existing Customer objects with the customer parameter. When reusing existing customers, all objects created by Checkout, such as PaymentIntents and Subscriptions, are associated with that Customer object.
From your server, create a Checkout Session and set the ui_mode to embedded.
To return customers to a custom page that you host on your website, specify that page’s URL in the return_url parameter. Include the {CHECKOUT_ template variable in the URL to retrieve the session’s status on the return page. Checkout automatically substitutes the variable with the Checkout Session ID before redirecting.
Read more about configuring the return page and other options for customising redirect behaviour.
After you create the Checkout Session, use the client_ returned in the response to mount Checkout.
OptionalDisplay additional saved payment methodsServer-side
Compliance
You’re responsible for your compliance with all applicable laws, regulations, and network rules when saving a customer’s payment details. When rendering past payment methods to a customer for future purchases, make sure you’ve collected consent to save the payment method details for this specific future use.
By default, we only show payment methods set to always allow redisplay.
You can’t reuse Apple Pay and Google Pay during a Checkout Session, so these payment methods don’t appear in the list of saved options. You must display the Google Pay and Apple Pay UI, and the payment request button UI, each time the Checkout Session is active.
You can display other previously saved payment methods by including other redisplay values in the Checkout Session, or by updating a payment method’s allow_ setting to always.
Use the
allow_parameter to specify which saved payment methods to show in Checkout. You can set any of the valid values:redisplay_ filters limited,unspecifiedandalways.If you specify redisplay filtering in your Checkout Session, it overrides the default behaviour, so you must include the
alwaysvalue to see those saved payment methods.- Update the Payment Method to set the
allow_value on individual payment methods.redisplay
Mount CheckoutClient-side
Checkout renders in an iframe that securely sends payment information to Stripe over an HTTPS connection.
Common mistake
Avoid placing Checkout within another iframe because some payment methods require redirecting to another page for payment confirmation.
Customize appearance
Customise Checkout to match the design of your site by setting the background colour, button colour, border radius, and fonts in your account’s branding settings.
By default, Checkout renders with no external padding or margin. We recommend using a container element such as a div to apply your desired margin (for example, 16px on all sides).
Prefill fields on payment page
If all the following conditions are true, Checkout prefills the email, name, card, and billing address fields on the payment page using details from the Customer’s saved card:
- Checkout is in
paymentorsubscriptionmode;setupmode doesn’t support pre-filling fields. - The customer has a saved card. Checkout only supports pre-filling card payment methods.
- The saved card has
allow_set toredisplay alwaysor you adjusted the default display setting. - The payment method includes
billing_required by the Checkout Session’sdetails billing_value:address_ collection autorequires values foremail,name, andaddress[country]. US, CA, and GB billing addresses also requireaddress[postal_.code] requiredrequires values foremail,name, and alladdressfields.
If your Customer has multiple saved cards, Checkout prefills details from the card matching the following prioritisation:
- In
paymentmode, Stripe prefills the fields using the Customer’s newest saved card. - In
subscriptionmode, Stripe prefills the Customer’s default payment method if it’s a card. Otherwise, Stripe prefills the newest saved card.
When Checkout is collecting a shipping address, Checkout prefills shipping address fields if the Customer’s shipping.address meets the Checkout Session’s supported countries.
To let your customers remove saved cards during a Checkout Session, set save_payment_method_options[payment_method_remove] to enabled.
Pre-fill timeout
The pre-filled payment method displays for 30 minutes following Checkout Session creation. After it expires, loading the same Checkout Session doesn’t pre-fill the payment method any more for security reasons.
Handle post-payment eventsServer-side
Stripe sends a checkout.session.completed event when a customer completes a Checkout Session payment. Use the Dashboard webhook tool or follow the webhook guide to receive and handle these events, which might trigger you to:
- Send an order confirmation email to your customer.
- Log the sale in a database.
- Start a shipping workflow.
Listen for these events rather than waiting for your customer to be redirected back to your website. Triggering fulfilment only from your Checkout landing page is unreliable. Setting up your integration to listen for asynchronous events allows you to accept different types of payment methods with a single integration.
Learn more in our fulfilment guide for Checkout.
Handle the following events when collecting payments with the Checkout:
| Event | Description | Action |
|---|---|---|
| checkout.session.completed | Sent when a customer successfully completes a Checkout Session. | Send the customer an order confirmation and fulfill their order. |
| checkout.session.async_payment_succeeded | Sent when a payment made with a delayed payment method, such as ACH direct debt, succeeds. | Send the customer an order confirmation and fulfill their order. |
| checkout.session.async_payment_failed | Sent when a payment made with a delayed payment method, such as ACH direct debt, fails. | Notify the customer of the failure and bring them back on-session to attempt payment again. |