Kumpulkan nomor telepon dan alamat fisik
Pelajari cara mengumpulkan alamat pelanggan dan nomor telepon di aplikasi seluler Anda dengan Elemen Alamat.
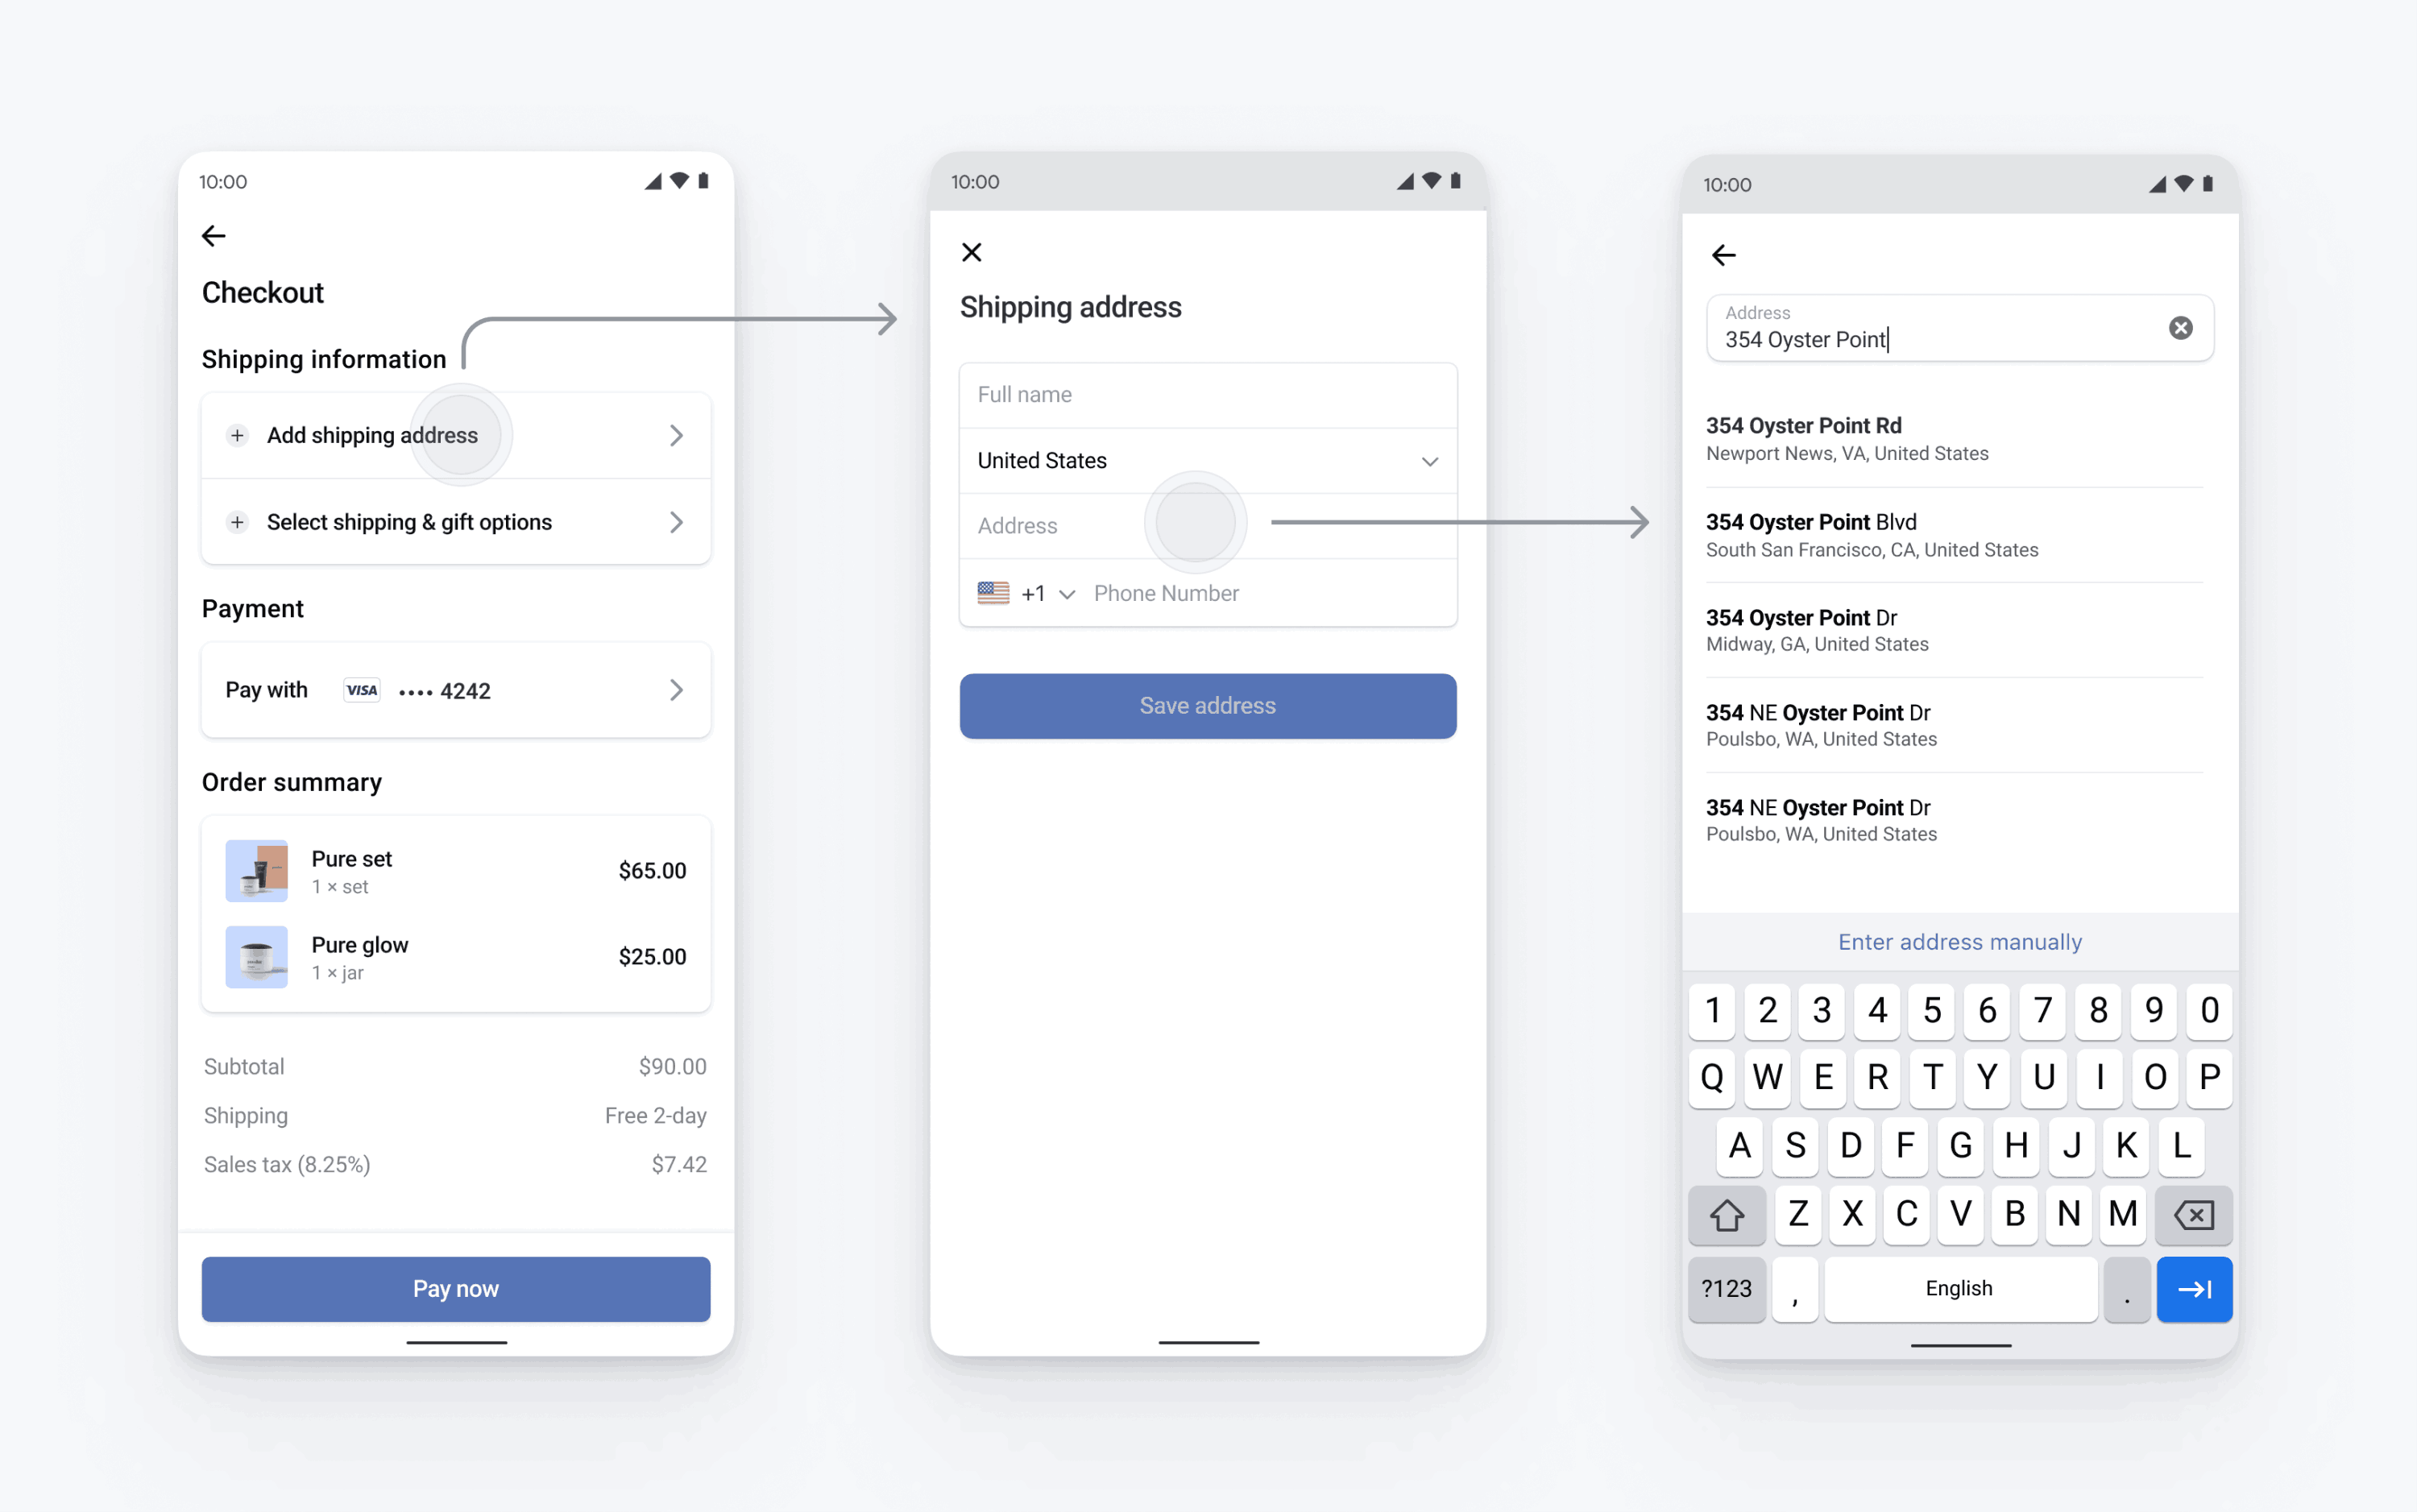
Untuk mengumpulkan alamat lengkap untuk penagihan atau pengiriman, gunakan Address Element.
Anda juga dapat menggunakan Address Element untuk:
- Kumpulkan nomor telepon pelanggan
- Aktifkan pengisian otomatis
- Isikan otomatis informasi tagihan di Payment Element dengan meneruskan alamat pengiriman
Stripe mengombinasikan informasi alamat yang dikumpulkan dan metode pembayaran untuk membuat PaymentIntent.
Siapkan StripeSisi serverSisi klien
Pertama, Anda membutuhkan akun Stripe. Daftar sekarang.
Stripe Android SDK adalah sumber terbuka dan didokumentasikan lengkap.
Untuk menginstal SDK, tambahkan stripe-androidke blokdependencies` file app/build.gradle Anda:
Catatan
Untuk detail mengenai rilis SDK terbaru dan versi sebelumnya, lihat halaman Rilis di GitHub. Untuk menerima notifikasi bila rilis baru diterbitkan, lihat rilis untuk repositori.
Konfigurasikan SDK dengan kunci yang dapat dipublikasikan Stripe agar dapat membuat permintaan ke API Stripe, seperti di subkelas Application Anda:
Catatan
Gunakan kunci percobaan Anda saat mencoba serta mengembangkan, dan kunci mode live bila Anda memublikasikan aplikasi.
Siapkan saran pengisian alamat otomatis
Elemen alamat menggunakan Google Places SDK untuk mengambil saran pengisian otomatis alamat. Untuk mengaktifkan saran pengisian otomatis, Anda perlu menyertakan dependensi SDK Google Places ke build. aplikasi.
Saran pengisian alamat otomatis memerlukan kunci Google Places API. Ikuti panduan penyiapan Google Places SDK untuk membuat kunci API Anda.
Konfigurasikan Address Element
Anda dapat mengonfigurasi Address Element dengan detail, seperti menampilkan nilai default, mengatur negara yang diizinkan, menyesuaikan tampilan, dan sebagainya. Lihat AddressLauncher.Configuration untuk daftar lengkap opsi konfigurasi.
val addressConfiguration = AddressLauncher.Configuration(
  additionalFields: AddressLauncher.AdditionalFieldsConfiguration(
    phone: AdditionalFieldsConfiguration.FieldConfiguration.Required
  ),
  allowedCountries: setOf("US", "CA", "GB"),
  title: "Shipping Address",
  googlePlacesApiKey = "(optional) YOUR KEY HERE"
)
Ambil detail alamat
Ambil detail alamat dengan membuat instance AddressLauncher di metode siklus hidup onCreate dari Activity atau Fragment Anda dan membuat metode callback yang mengimplementasikan antarmuka AddressLauncherResultCallback.
private lateinit var addressLauncher: AddressLauncher
private var shippingDetails: AddressDetails? = null

override fun onCreate(savedInstanceState: Bundle?) {
    addressLauncher = AddressLauncher(this, ::onAddressLauncherResult)
}

private fun onAddressLauncherResult(result: AddressLauncherResult) {
    // TODO: Handle result and update your UI
    when (result) {
        is AddressLauncherResult.Succeeded -> {
            shippingDetails = result.address
        }
        is AddressLauncherResult.Canceled -> {
            // TODO: Handle cancel
        }
    }
}
AddressLauncherResult dapat Succeeded atau Canceled. Lihat selengkapnya detail implementasi.
Catatan
Stripe mengharuskan Anda membuat instance AddressLauncher selama kejadian siklus hidup onCreate dan bukan setelahnya. Jika tidak, callback tidak dapat didaftarkan dengan benar, dan aplikasi Anda akan mogok.
Sajikan Address Element
Sajikan elemen alamat menggunakan peluncur alamat dan konfigurasi dari langkah sebelumnya.
addressLauncher.present(
   publishableKey = publishableKey,
   configuration = addressConfiguration
)
OpsionalIsikan otomatis alamat pengiriman di Payment Element
Jika Anda menggunakan Element Pembayaran seluler, aturPaymentSheet.Configuration.shippingDetails ke alamat yang dikumpulkan oleh elemen alamat. Ketika shippingDetails diisi, pengguna akan memiliki alamat penagihan mereka yang terisi sebelumnya dan mereka akan melihat kotak centang Alamat penagihan sama dengan alamat pengiriman. PaymentIntents yang Dikonfirmasi denganshippingDetails terisi juga memiliki properti intent shipping terisi ketika PaymentIntent dikonfirmasi
val configuration = PaymentSheet.Configuration.Builder("Example, Inc.")
  // ...
  .shippingDetails(shippingDetails)
  .build()
OpsionalMenyesuaikan penampilan
Kini setelah menambahkan Address Element ke aplikasi, Anda dapat menyesuaikan tampilan agar sesuai dengan desain aplikasi Anda selengkapnya. Anda dapat mengonfigurasi penampilan dengan Appearance API menggunakan AddressLauncher.Configuration.appearance.
OpsionalAtur detail tagihan default
Untuk mengatur nilai default bagi detail tagihan yang dikumpulkan di lembar pembayaran, konfigurasikan properti defaultBillingDetails. PaymentSheet akan melengkapi bidang-bidangnya dengan nilai yang Anda berikan.
OpsionalSesuaikan pengumpulan detail tagihan
Konfigurasikan pengumpulan detail tagihan
Menggunakan BillingDetailsCollectionConfiguration untuk menentukan cara Anda ingin mengumpulkan detail tagihan di PaymentSheet.
Anda dapat mengumpulkan nama, email, nomor telepon, dan alamat pelanggan.
Jika Anda ingin melampirkan detail tagihan default ke objek PaymentMethod sekalipun bidang tersebut tidak dikumpulkan di UI, atur billingDetailsCollectionConfiguration. ke true.
Catatan
Konsultasikan dengan penasihat hukum mengenai undang-undang yang berlaku untuk mengumpulkan informasi. Hanya kumpulkan nomor telepon jika Anda memerlukannya untuk transaksi.