既存の顧客の支払い
顧客がオンセッションの間に既存の決済手段に請求する方法をご紹介します。
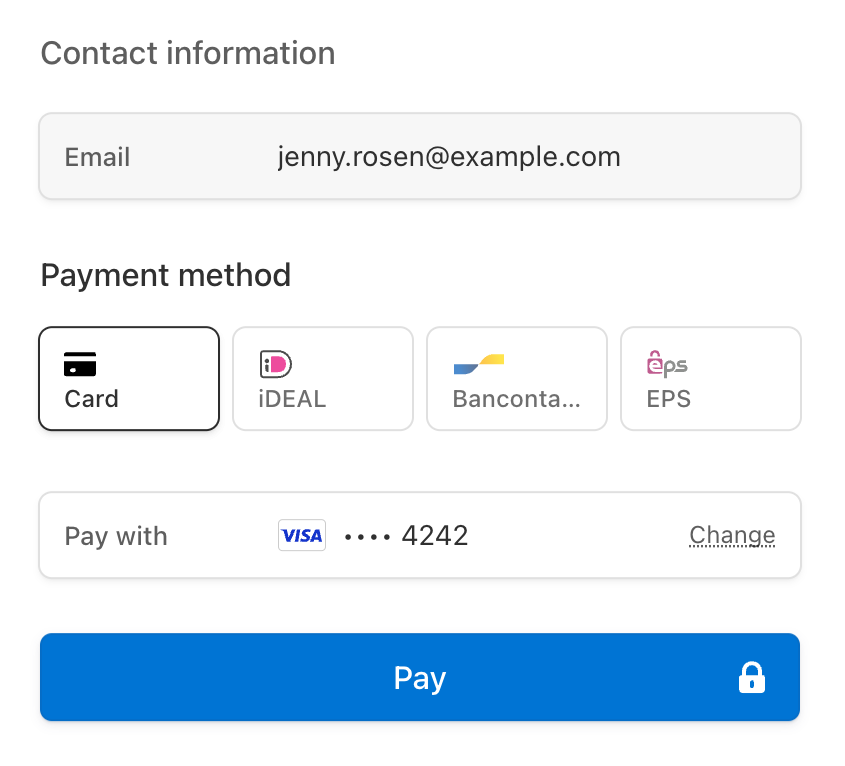
決済セッションでは、買い手が各自の決済の詳細を入力できます。買い手が既存の顧客の場合、決済セッションを設定して、顧客の保存済みカードのいずれかを使って詳細に事前入力できます。決済セッションには、顧客が決済に使用できる最大 50 枚の保存済みカードが表示されます。
Customers v1 と Accounts v2 のリファレンスを比較する
Connect プラットフォームが customer-configured Accounts を使用している場合は、Stripe の ガイドをご確認の上、コード内の Customer およびイベント参照を同等の Accounts v2 API リファレンスに置き換えてください。
Checkout セッションを作成クライアント側サーバー側
サーバー側のエンドポイントを呼び出して Checkout セッションを作成する購入ボタンをウェブサイトに追加します。
<html>
  <head>
    <title>Checkout</title>
  </head>
  <body>
    <form action="/create-checkout-session" method="POST">
      <button type="submit">Checkout</button>
    </form>
  </body>
</html>
Checkout は、customer パラメータ を使用して、既存の Customer オブジェクトの再利用に対応しています。既存顧客を再利用する場合、PaymentIntent やサブスクリプションなど、Checkout によって作成されたすべてのオブジェクトは、その Customer オブジェクトに関連付けられます。
success_ に {CHECKOUT_ テンプレート変数を追加することで、顧客が Checkout セッションを正常に完了した後でセッション ID にアクセスできます。Checkout セッションを作成したら、レスポンスで返された URL に顧客をリダイレクトします。
オプション追加の保存された支払い方法を表示するサーバー側
法令遵守
顧客の支払い情報を保存する際には、適用されるすべての法律、規制、ネットワークルールを遵守する責任を貴社が負うものとします。将来の購入時に過去の決済手段を顧客に表示する場合は、将来の購入に再利用するために決済手段の詳細を保存することの同意をあらかじめ得るようにしてください。
デフォルトでは、always allow redisplay に設定された支払い方法のみ表示されます。
Checkout セッション中に Apple Pay や Google Pay を再利用することはできないため、これらの支払い方法は保存済みオプションの一覧には表示されません。Checkout セッションが有効なたびに、Google Pay や Apple Pay の UI および Payment Request ボタンの UI を表示する必要があります。
Checkout セッションに他の再表示用の値を含めるか、支払い方法の allow_ 設定を always に変更することで、他の保存済み支払い方法を表示できます。
支払いページのフィールドを事前入力
以下の条件がすべて当てはまる場合、Checkout では、顧客の保存されたクレジットカードの詳細を使用して、決済ページのメール、名前、カード、請求先住所の各フィールドに事前入力されます。
- Checkout が
paymentモードまたはsubscriptionモードで使用されている (setupモードではフィールドの事前入力はサポートされていません)。 - 顧客がカードを保存している。カードの決済手段の事前入力のみ Checkout でサポートされている。
- 保存されているカードの
allow_がredisplay alwaysに設定されているか、デフォルトの表示設定が調整されている。 - 決済手段に、Checkout セッションの
billing_値に必要なaddress_ collection billing_が含まれている。details autoの場合、email、name、address[country]フィールドに値が必要です。アメリカ、カナダ、イギリスの請求先住所にもaddress[postal_が必要です。code] requiredの場合、email、name、addressフィールドに値が必要です。
顧客に複数のカードが保存されている場合、Checkout では、以下の優先順位に一致するカードの詳細が事前入力されます。
paymentモードでは、Stripe は顧客の最新の保存されたクレジットカードを使用してフィールドに事前入力します。サブスクリプションモードでは、顧客のデフォルトの決済手段がクレジットカードの場合は Stripe が事前入力します。それ以外の場合は、Stripe は最後に保存されたクレジットカードを事前入力します。
Checkout が配送先住所を収集する際に、顧客の配送先住所が Checkout セッションのサポート対象国のいずれかにある場合は、配送先住所フィールドが事前入力されます。
決済セッション中に顧客が保存したカードを削除できるようにするには、save_payment_method_options[payment_method_remove] を enabled に設定します。
事前入力のタイムアウト
事前入力された決済手段は、Checkout セッションの作成後 30 分間表示されます。有効期限が切れると、セキュリティ上の理由から、同じ Checkout セッションを読み込んでも決済手段が事前入力されなくなります。
支払い後のイベントを処理サーバー側
顧客が Checkout セッションの支払いを完了すると、Stripe は checkout.session.completed イベントを送信します。ダッシュボードの Webhook ツールを使用するか、Webhook ガイドに従ってこれらのイベントを受信して処理します。これにより、次のアクションがトリガーされます。
- 顧客に注文確認メールを送信します。
- 取引をデータベースに記録します。
- 配送ワークフローを開始します。
顧客がリダイレクトされ、ウェブサイトに戻るのを待たずに、これらのイベントはリッスンできます。Checkout のランディングページからのみフルフィルメントをトリガーする場合、確実性に欠けます。非同期型のイベントをリッスンするようシステムを設定すると、1 回の実装で異なるタイプの決済手段を受け付けられるようになります。
詳しくは、Checkout のフルフィルメントガイドをご覧ください。
Checkout で支払いを回収する際には、以下のイベントを処理します。
| イベント | 説明 | アクション |
|---|---|---|
| checkout.session.completed | 顧客が Checkout セッションを正常に完了すると送信されます。 | 注文確認書を顧客に送信し、注文のフルフィルメントを実行します。 |
| checkout.session.async_payment_succeeded | ACH Direct Debt など、遅延型の決済手段による支払いが成功した場合に送信されます。 | 注文確認書を顧客に送信し、注文のフルフィルメントを実行します。 |
| checkout.session.async_payment_failed | ACH Direct Debt など、遅延型の決済手段による支払いが失敗した場合に送信されます。 | 顧客に失敗を通知して、顧客をオンセッションに戻し、支払いを再試行できるようにします。 |