Personnaliser le comportement de Checkout
Personnalisez le comportement du processus de paiement pour augmenter votre taux de conversion et vos revenus.
Filtrer les marques de cartes bancaires
Vous pouvez spécifier les marques de cartes que vous souhaitez interdire à vos clients dans la session Checkout.
Pour bloquer des marques de cartes spécifiques, vous pouvez inclure le paramètrebrands_ lors de la création d’une session Checkout. Transmettez un tableau contenant l’une des valeurs de marque de carte suivantes :
visamastercardamerican_express discover_global_ network
La valeur discover_ englobe toutes les cartes du réseau Discover Global Network, à savoir Discover, Diners, JCB, UnionPay et Elo.
L’exemple de code suivant initialise la session Checkout avec le paramètre brands_ défini sur ['american_, ce qui empêche les clients d’utiliser des cartes American Express.
Si un client saisit un numéro de carte non pris en charge dans Checkout, un message d’erreur l’informe que la marque de sa carte n’est pas acceptée.
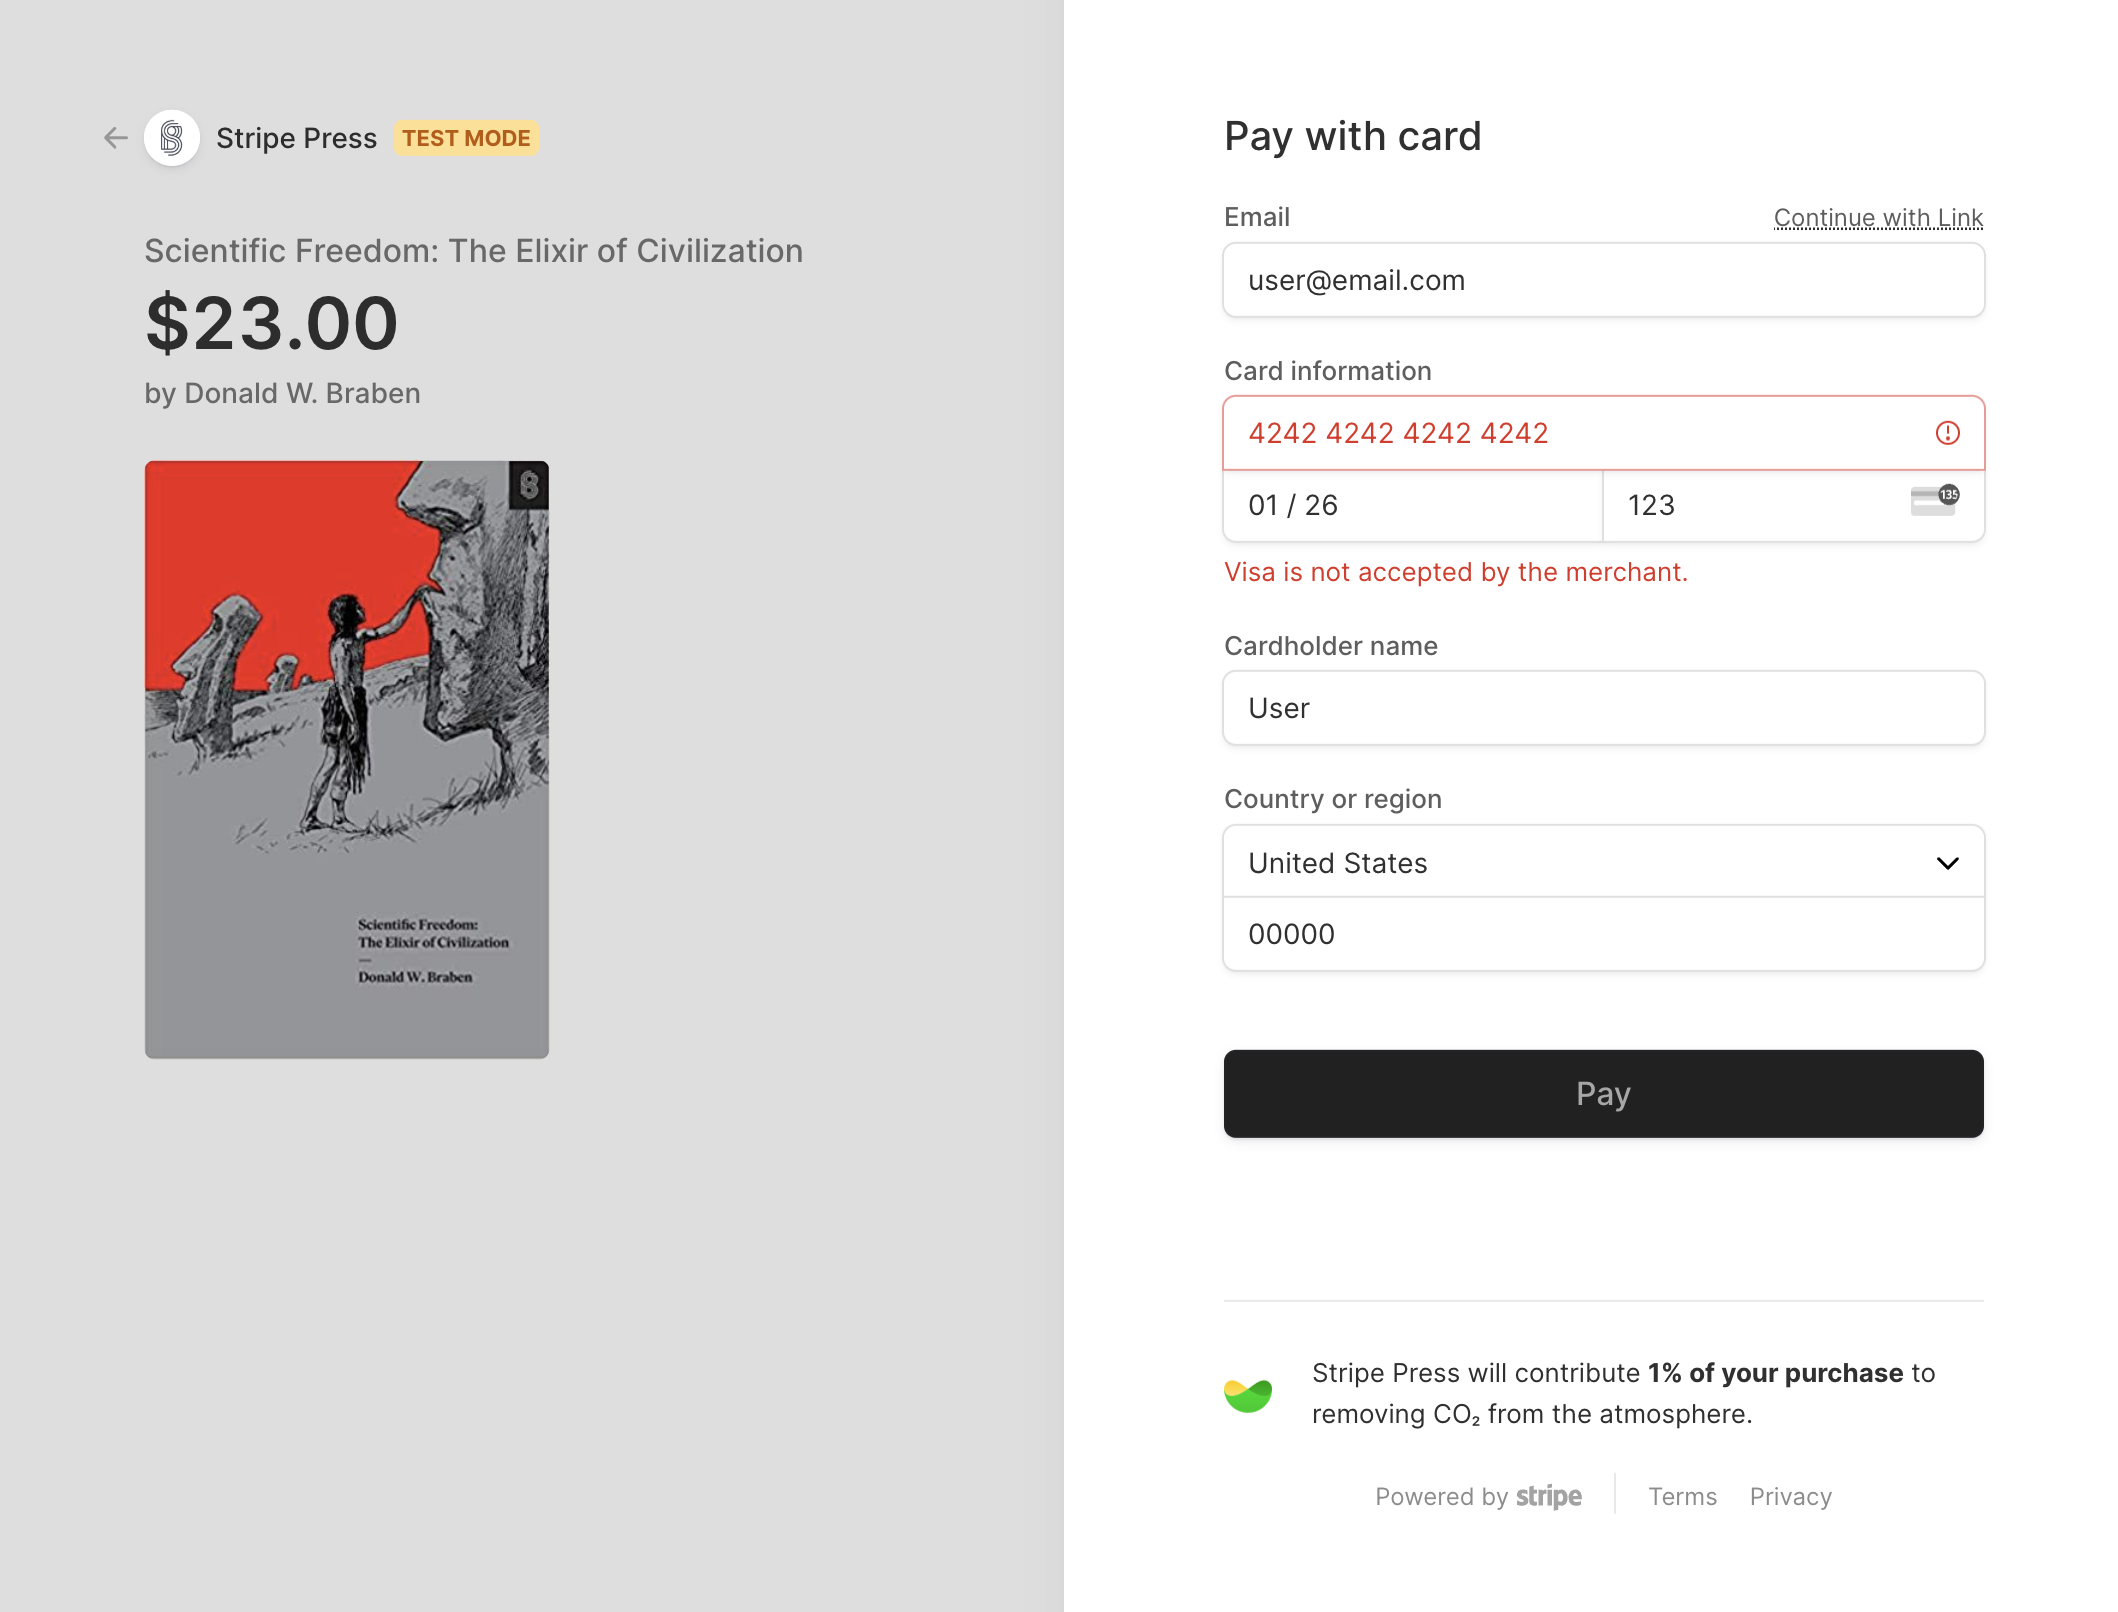
Un message d’erreur s’affiche pour indiquer au client que vous n’acceptez pas les cartes Visa (ou toute autre marque de carte que vous avez bloquée).
De plus, Link désactive également les cartes bancaires enregistrées pour les utilisateurs récurrents si la carte bancaire enregistrée est bloquée.
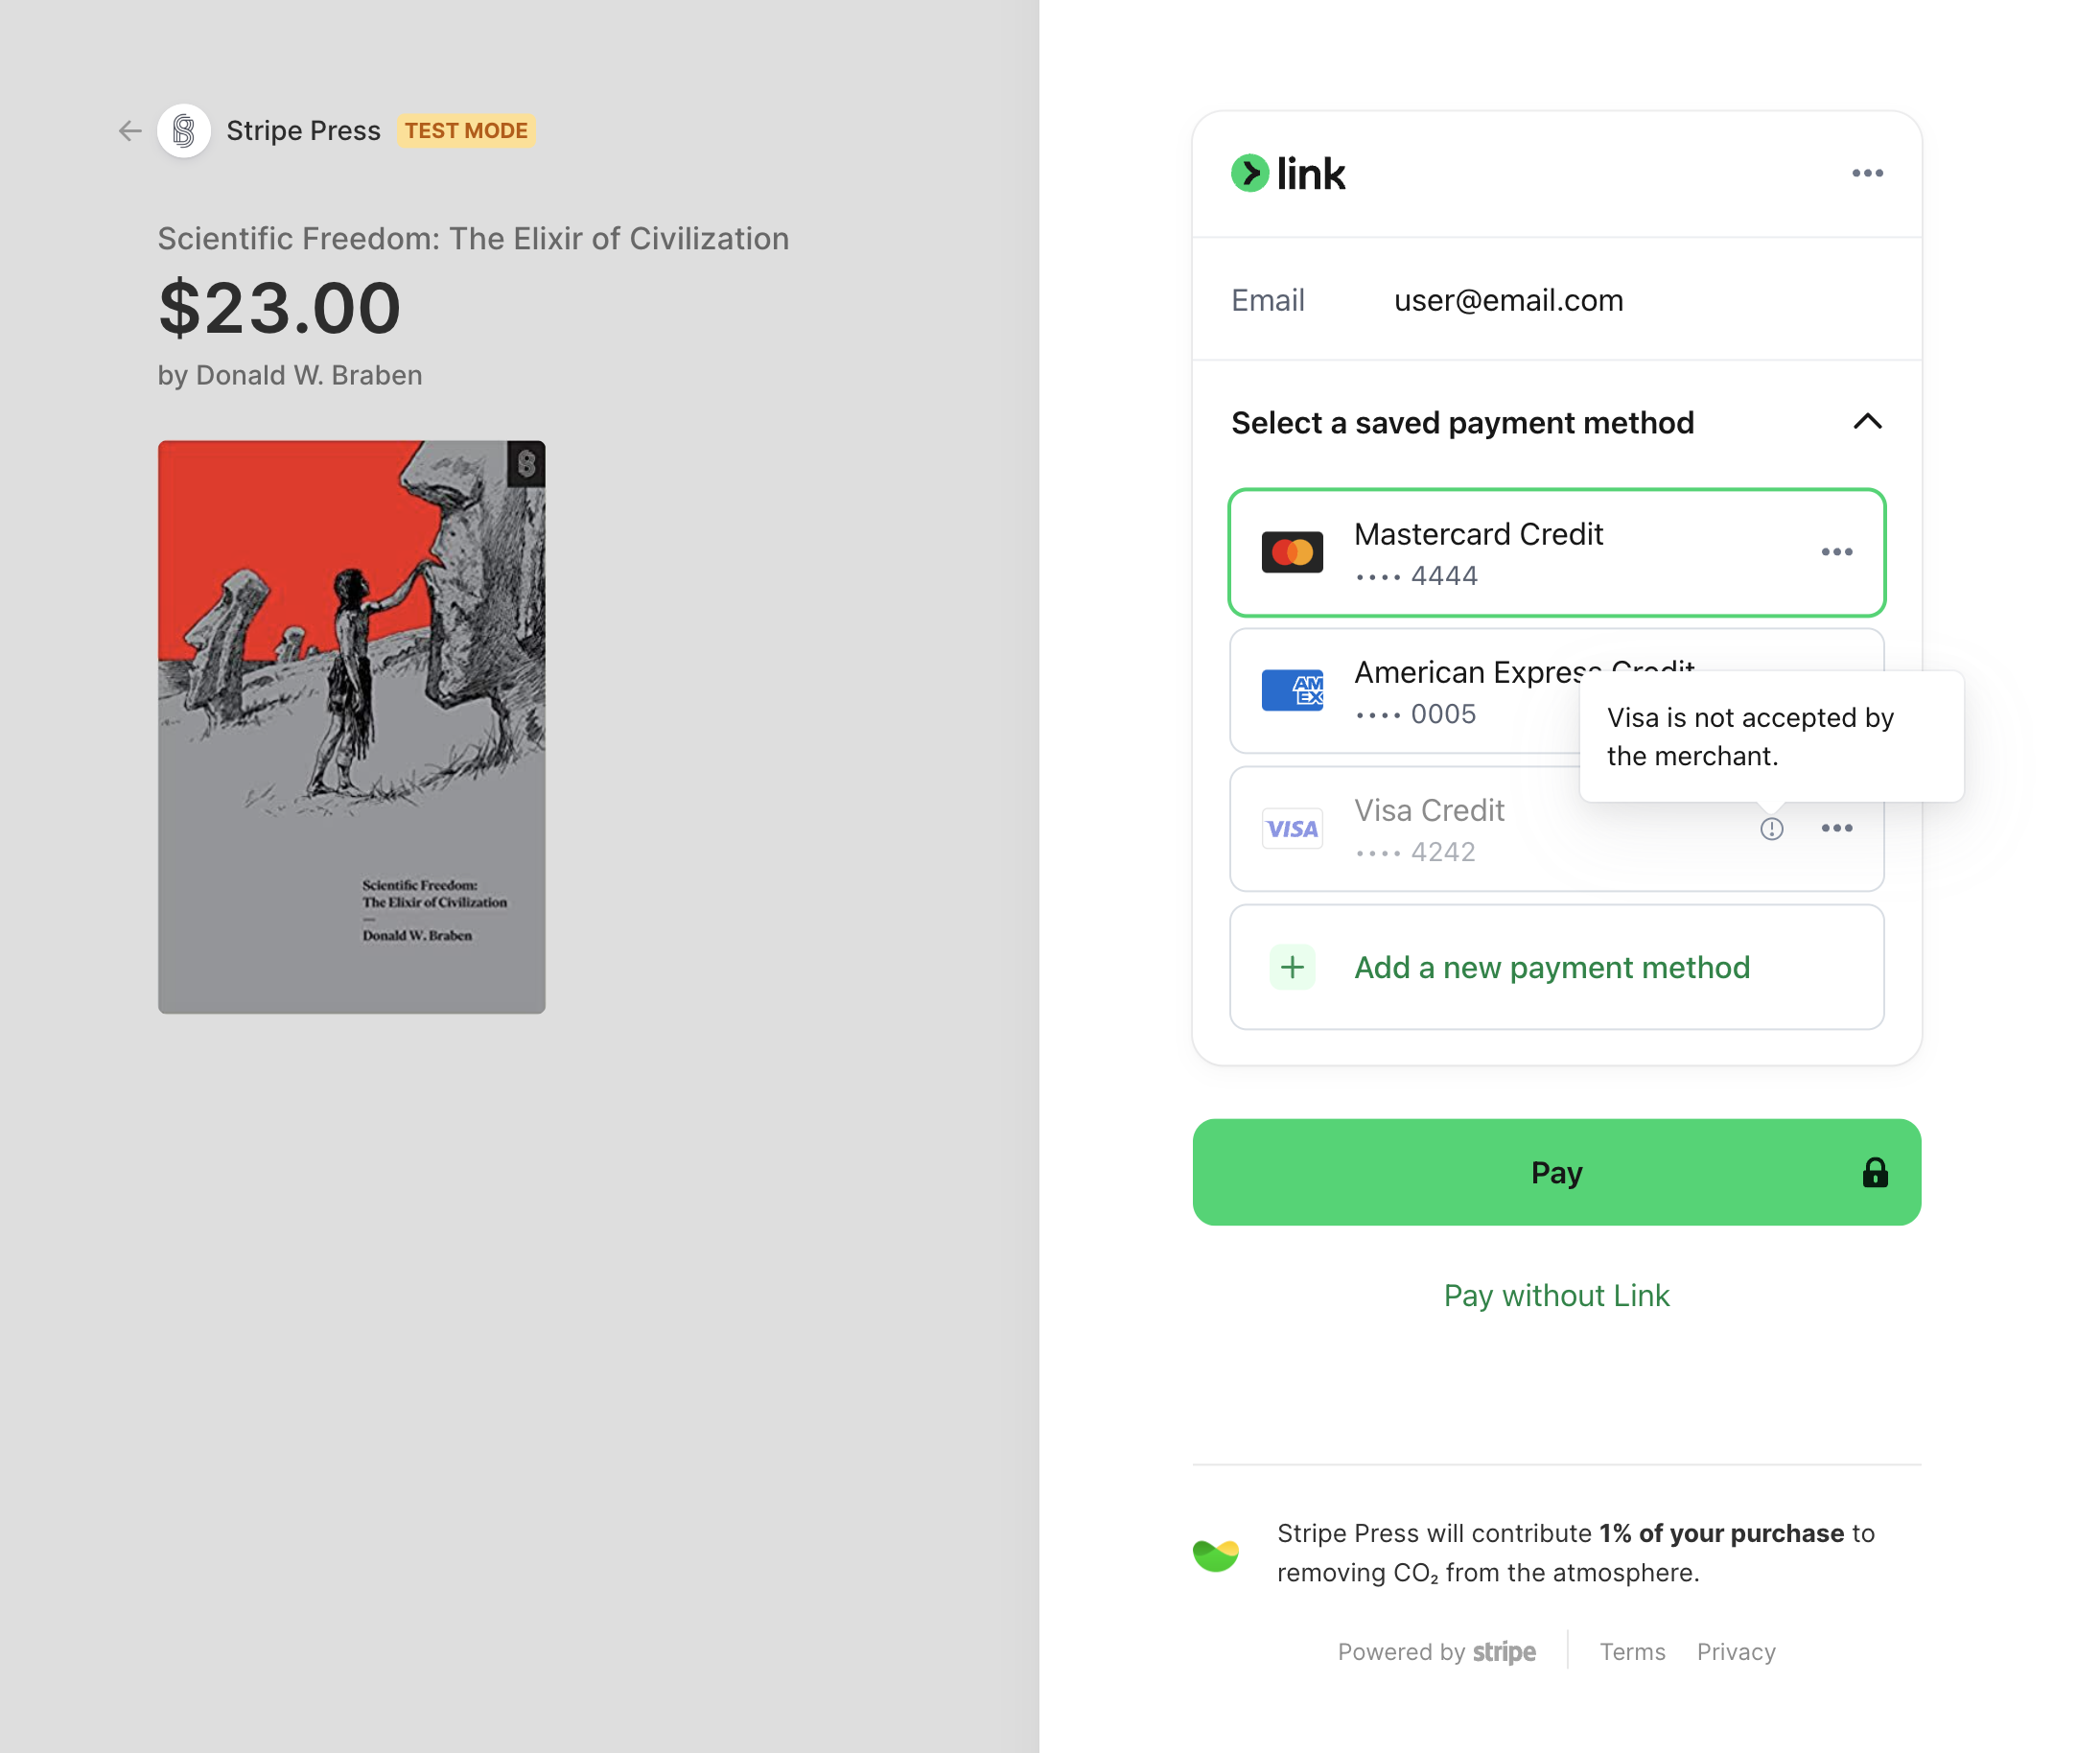
Si la carte enregistrée d’un utilisateur Link est bloquée, elle est désactivée.
Checkout filtre également les cartes dans les wallets Apple et Google Pay, les moyens de paiement enregistrés des clients et les réseaux de cartes cobadgées.