Aceptar un pago
Acepta pagos en línea en modo seguro.
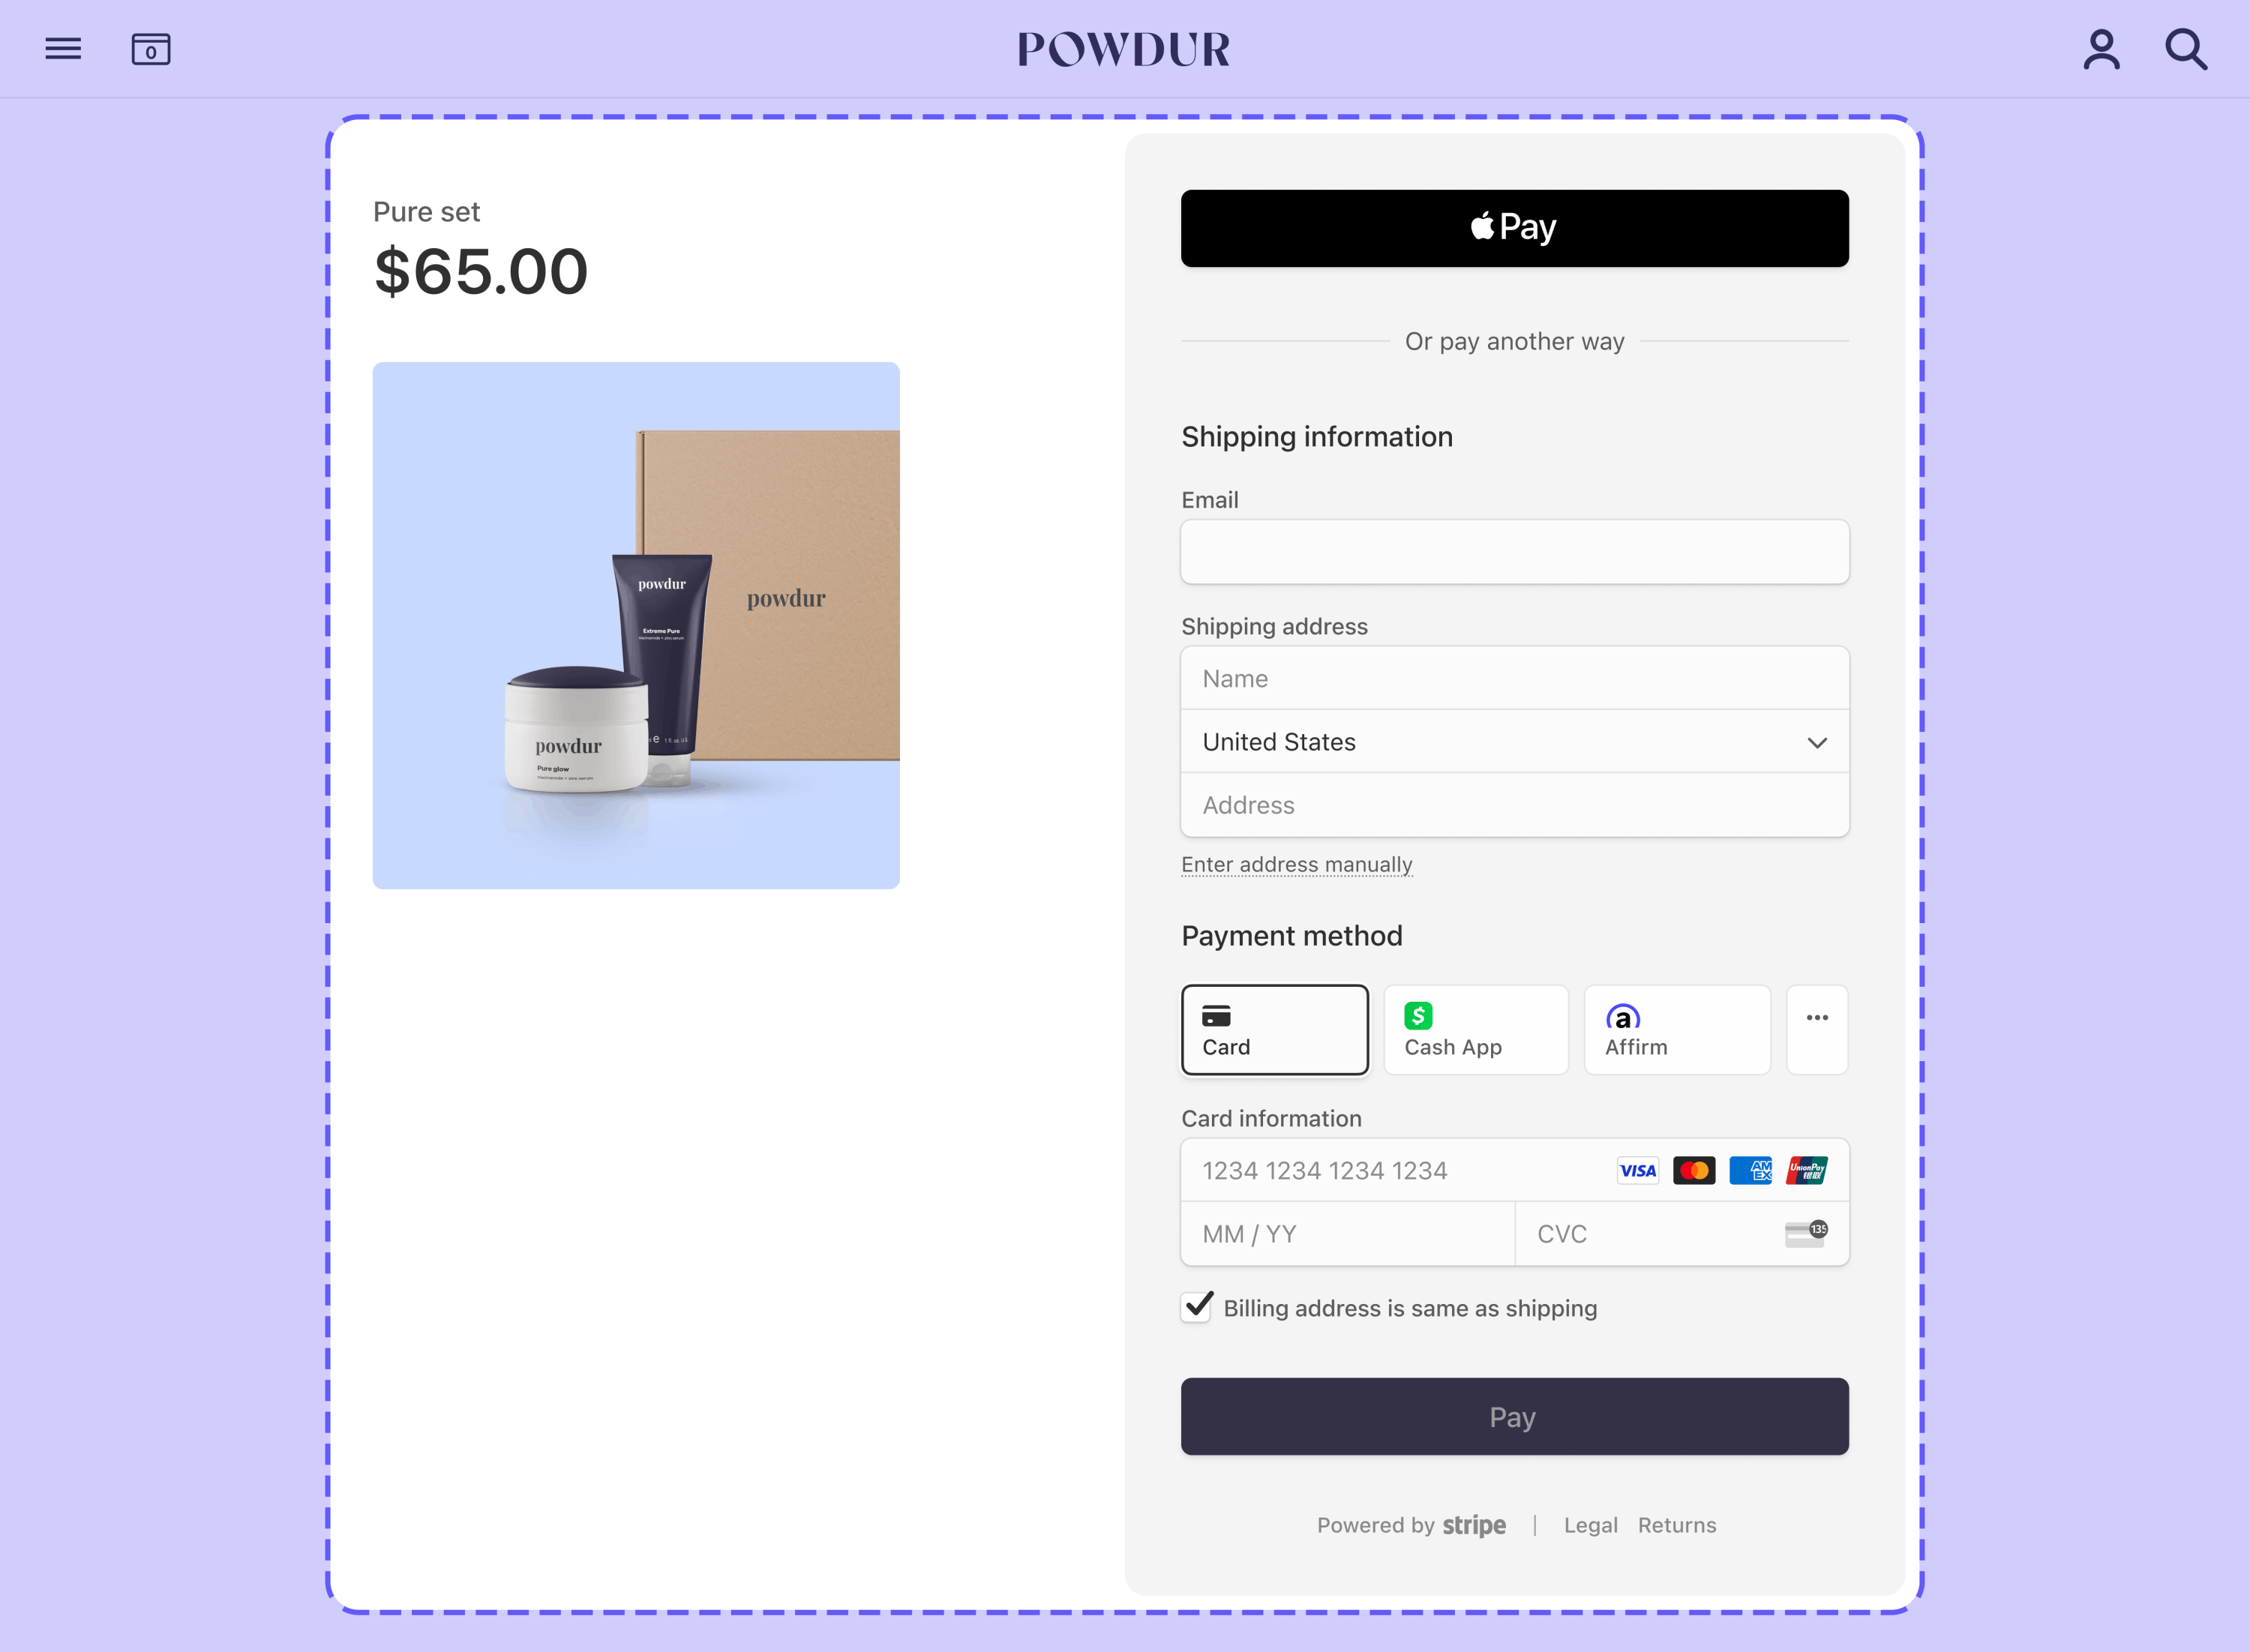
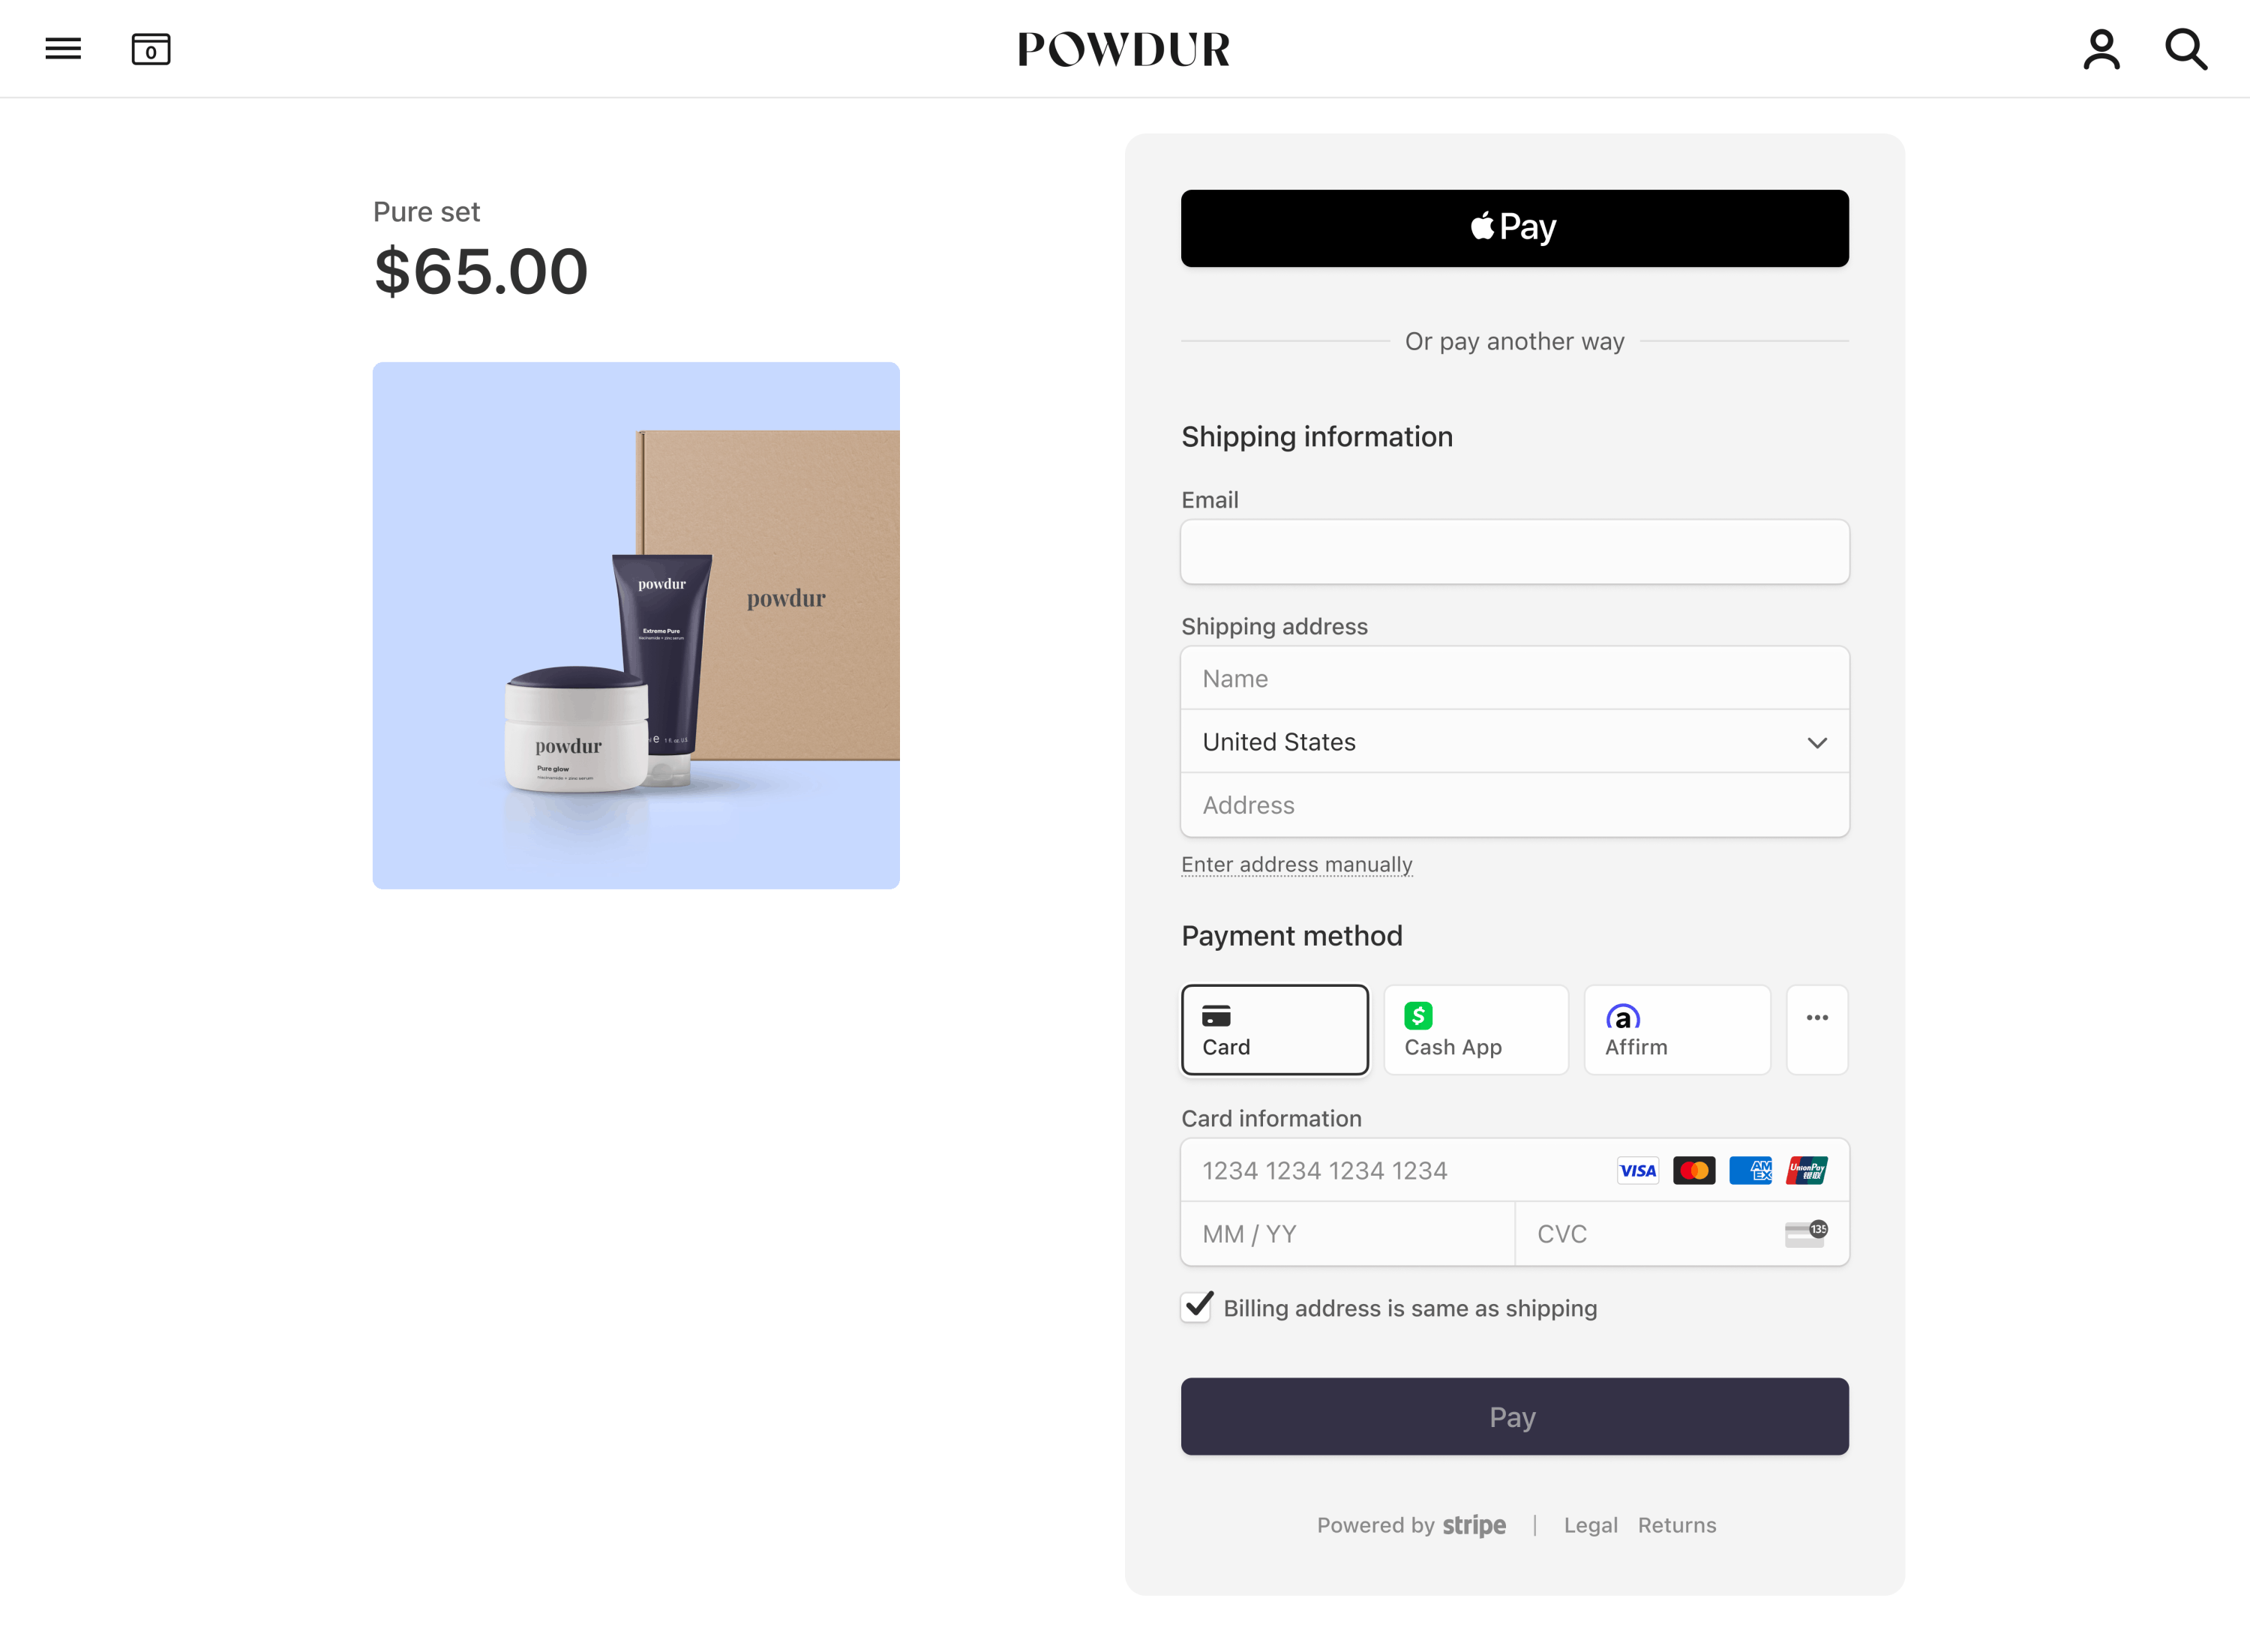
Crea un formulario de pago o usa una página de confirmación de compra prediseñada para comenzar a aceptar pagos electrónicos.
Integra un formulario de pago prediseñado en tu sitio con Stripe Checkout. Comprueba cómo esta integración se compara con los otros tipos de integración de Stripe.


Esfuerzo de integración
Tipo de integración
Integra un formulario de pago prediseñado en tu sitio
Personalización de la interfaz de usuario
Usa la configuración de imagen de marca en el Dashboard de Stripe para que el Checkout coincida con el diseño de tu sitio.
Primero, inscríbete para obtener una cuenta de Stripe.
Usa nuestras bibliotecas oficiales para acceder a la API de Stripe desde tu aplicación:
Crear una sesión de CheckoutLado del servidor
Desde tu servidor, crea una sesión de Checkout y establece el ui_mode en embedded. Puedes configurar la sesión de Checkout con partidas que se incluyan y opciones como la moneda.
También puedes crear una Checkout Session para un cliente existente, lo que te permite completar previamente los campos de Checkout con información de contacto conocida y unificar tu historial de compras para ese cliente.
Para que los clientes regresen a una página personalizada que alojas en tu sitio web, especifica la URL de esa página en el parámetro return_url. Incluye la variable de plantilla {CHECKOUT_ en la URL para recuperar el estado de la sesión en la página de retorno. Checkout sustituye automáticamente la variable con la ID de la sesión de Checkout antes de redirigir al usuario.
Obtén más información sobre cómo configurar la página de retorno y otras opciones para personalizar el comportamiento de redireccionamiento.
Después de crear la sesión de Checkout, usa el código client_ que se devolvió en la respuesta para montar Checkout.
Incorporar CheckoutLado del cliente
Checkout se representa en un iframe que envía la información del pago a Stripe en modo seguro a través de una conexión HTTPS.
Errores habituales
Evita colocar Checkout en otro iframe, ya que algunos métodos de pago requieren un redireccionamiento a otra página para confirmar el pago.
Personaliza el aspecto
Para personalizar Checkout y que coincida con el diseño de tu sitio, establece el color de fondo, el color del botón, el radio del borde y las fuentes en la configuración de marca de tu cuenta.
De forma predeterminada, Checkout procesa sin relleno o margen externos. Te recomendamos usar un elemento contenedor como un div para aplicar el margen deseado (por ejemplo, 16 px en todos los lados).
Mostrar página de devolución
Luego de que el cliente intente realizar el pago, Stripe lo redirige a una página de retorno que alojas en tu sitio. Cuando creaste la sesión de Checkout, especificaste la URL de la página de retorno en el parámetro return_url. Obtén más información sobre otras opciones para personalizar el comportamiento de redireccionamiento.
Cuando muestres tu página de retorno, recupera el estado de la sesión de Checkout con el ID de sesión de Checkout en la URL. Gestiona el resultado de acuerdo con el estado de la sesión de la siguiente manera:
complete: el pago se efectuó correctamente. Usa la información de la sesión de Checkout para mostrar una página que indique que el pago se realizó correctamente.open: el pago falló o se canceló. Vuelve a montar Checkout para que tu cliente pueda volver a intentarlo.
const session = await fetch(`/session_status?session_id=${session_id}`)
if (session.status == 'open') {
  // Remount embedded Checkout
} else if (session.status == 'complete') {
  // Show success page
  // Optionally use session.payment_status or session.customer_email
  // to customize the success page
}
Métodos de pago basados en redirecciones
Durante el proceso de pago, algunos métodos de pago redirigen al cliente a una página intermedia, como una página de autorización bancaria. Cuando completan esa página, Stripe los redirige a tu página de retorno.
Obtén más información sobre métodos de pago que requieren redireccionamientos y comportamiento de redireccionamiento.
Administra eventos posteriores al pago
Stripe envía un evento checkout.session.completed cuando un cliente completa un pago de la Checkout Session. Usa la herramienta de webhooks del Dashboard o sigue la guía de webhooks para recibir y gestionar estos eventos, que podrían hacer que hagas lo siguiente:
- Envía un correo electrónico de confirmación del pedido a tu cliente.
- Registra la venta en una base de datos.
- Inicia el flujo de tareas de envío.
Recibe notificaciones de estos eventos en lugar de esperar a que se redirija a tu cliente de nuevo a tu sitio web. Activar el cumplimiento del pedido solo desde la página de inicio de Checkout no es confiable. Si configuras tu integración para recibir notificaciones de eventos asincrónicos, podrás aceptar diferentes tipos de métodos de pago con una sola integración.
Obtén más información en nuestra guía de gestión logística para Checkout.
Gestiona los siguientes eventos al cobrar pagos con Checkout:
| Evento | Descripción | Acción |
|---|---|---|
| checkout.session.completed | Se envía cuando un cliente completa correctamente una Checkout Session. | Envía al cliente una confirmación del pedido y completa el pedido. |
| checkout.session.async_payment_succeeded | Se envía cuando un pago realizado con un método de pago retrasado, como el débito directo ACH, se efectúa correctamente. | Envía al cliente una confirmación del pedido y completa el pedido. |
| checkout.session.async_payment_failed | Se envía cuando falla un pago realizado con un método de pago retrasado, como el débito directo ACH. | Notifica al cliente el error y regrésalo a la sesión para que vuelva a intentar el pago. |
Prueba tu integración
Para probar la integración de tu formulario de pago integrado:
- Crea una sesión de Checkout incrustada e incorpora Checkout en tu página.
- Completa los datos del pago con un método de la siguiente tabla.
- Ingresa una fecha futura como fecha de vencimiento.
- Ingresa cualquier número de 3 dígitos como CVC.
- Ingresa un código postal de facturación.
- Haz clic en Pagar. Te redirigiremos a tu
return_.url - Ve al Dashboard y busca el pago en la página Transacciones. Si tu pago se realizó correctamente, lo verás en esa lista.
- Haz clic en tu pago para ver más detalles, como un resumen de pago con la información de facturación y la lista de artículos comprados. Puedes usar esta información para completar el pedido.
Obtén más información sobre cómo probar tu integración.
Consulta Pruebas para obtener información adicional para probar tu integración.
OpcionalAgrega más métodos de pago
De forma predeterminada, Checkout admite muchos métodos de pago. Tienes que tomar medidas adicionales para habilitar y mostrar algunos métodos, como Apple Pay, Google Pay y los métodos de comprar ahora y pagar después.
Apple Pay y Google Pay
Para aceptar pagos de Apple Pay y Google Pay, debes hacer lo siguiente:
- Habilítalos en tu configuración de métodos de pago. Apple Pay está habilitado de forma predeterminada.
- Entrega el contenido de tu aplicación a través de HTTPS durante el desarrollo y la producción.
- Registra tu dominio.
- Entrega el contenido de tu aplicación a través de HTTPS durante el desarrollo y la producción. Puedes usar un servicio como ngrok para servir tu aplicación para pruebas locales.
Además, una sesión de Checkout solo muestra el botón de Apple Pay a los clientes cuando se cumplen todas las siguientes condiciones:
- El dispositivo del cliente está ejecutando la versión 17 de macOS o posterior o la versión 17 de iOS o posterior.
- El cliente usa el navegador Safari.
- El cliente tiene una tarjeta válida registrada en Apple Pay.
Una sesión de Checkout solo muestra el botón de Google Pay a los clientes cuando se cumplen todas las siguientes condiciones:
- El dispositivo del cliente ejecuta Chrome 61 o una versión posterior.
- El cliente tiene una tarjeta válida registrada en Google Pay.
Pruebas regionalesIndia
Stripe Checkout no admite Apple Pay ni Google Pay para cuentas o clientes de Stripe en India. Si tu dirección IP está en la India, no puedes probar tu integración con Apple Pay o Google Pay, incluso si la cuenta de Stripe está fuera de la India.
OpcionalCrear productos y precios
Antes de crear una sesión de Checkout, puedes crear productos y precios por adelantado. Utiliza productos para representar diferentes bienes físicos o niveles de servicio, y precios para representar los precios de cada producto.
Por ejemplo, puedes crear una camiseta como producto con un precio de USD 20. Esto te permite actualizar y agregar precios sin necesidad de cambiar los detalles de tus productos subyacentes. Puedes crear productos y precios con el Dashboard de Stripe o la API. Obtén más información sobre cómo funcionan los productos y los precios.
Cada precio que creas tiene un ID. Cuando crees una Checkout Session, haz referencia al ID del precio y a la cantidad. Si vendes en múltiples monedas, haz que tu Precio sea en múltiples monedas. Checkout automáticamente determina la moneda local del cliente y presenta esa moneda si el Precio la admite.
OpcionalCompletar los datos del cliente automáticamenteLado del servidor
Si ya tienes el correo electrónico del cliente y quieres completarlo automáticamente en la sesión de Checkout, especifica customer_email cuando crees una sesión de Checkout.
OpcionalGuardar datos de métodos de pagoLado del servidor
De forma predeterminada, los métodos de pago utilizados para realizar pagos únicos con Checkout no están disponibles para su uso futuro.
Guarda los métodos de pago para cargarlos fuera de sesión
Puedes configurar Checkout para que guarde los métodos de pago utilizados para realizar un pago único especificando el argumento payment_intent_data.setup_future_usage. Esta opción es útil si necesitas capturar un método de pago en el archivo para usarlo en comisiones futuras, como comisiones de cancelación o de no presentación.
Si utilizas Checkout en modo subscription, Stripe guarda automáticamente el método de pago para usarlo en pagos posteriores. Los métodos de pago con tarjeta guardados en los clientes que utilizan el modo setup_ o subscription no aparecen en caso de devolución en Checkout (más información a continuación). Te recomendamos que utilices texto personalizado para vincular los términos relevantes relacionados con el uso de la información de pago guardada.
Precaución
Las leyes mundiales sobre privacidad son complicadas y están llenas de matices. Te recomendamos que te comuniques con tu equipo legal y de privacidad antes de implementar setup_future_usage ya que podría afectar a tu marco existente de cumplimiento de la normativa de privacidad. Consulta la guía emitida por la Junta Europea de Protección para obtener más información sobre cómo guardar los datos de pago.
Guarda los métodos de pago para completarlos previamente en Checkout
De forma predeterminada, el proceso de compra utiliza Enlace para ofrecer a tus clientes la opción de guardar y reutilizar su información de pago de forma segura. Si prefieres administrar los métodos de pago tú mismo, utiliza saved_pago_method_options.pago_method_save al crear una sesión de proceso de compra para permitir que tus clientes guarden sus métodos de pago para futuras compras en proceso de compra.
Si pasas este parámetro ya sea en modo de pago o suscripción, se muestra una casilla de verificación opcional que les permite a los clientes guardar explícitamente su método de pago para futuras compras. Cuando los clientes marcan esta casilla, Checkout guarda el método de pago con allow_redisplay: always. Checkout usa este parámetro para determinar si un método de pago puede completarse previamente en futuras compras. Al usar saved_, no necesitas especificar setup_ para guardar el método de pago.
El uso de saved_payment_method_options.payment_method_save requiere un Customer. Para guardar a un nuevo cliente, configura la customer_creation de la sesión de Checkout en always. De lo contrario, la sesión no guardará el cliente ni el método de pago.
Si no se especifica payment_ o si el cliente no acepta guardar el método de pago, Checkout aún guardará los métodos de pago creados en modo subscription o con setup_. Estos métodos de pago tienen un valor allow_ de limited, lo que evita que se completen previamente para la devolución de compras y te permite cumplir con las reglas de la red de tarjetas y las normativas de protección de datos. Aprende a cambiar el comportamiento predeterminado habilitado por estos modos y a cambiar o anular el comportamiento allow_.
Nota
Puedes usar Checkout para guardar tarjetas y otros métodos de pago para cargarlos fuera de la sesión, pero Checkout solo completa automáticamente las tarjetas guardadas. Obtén información sobre cómo completar automáticamente las tarjetas guardadas. Para guardar un método de pago sin un pago inicial, usa Checkout en modo de configuración.
Permitir a los clientes eliminar métodos de pago guardados
Para permitir que tus clientes eliminen un método de pago guardado de modo que no vuelva a aparecer en pagos futuros, usa saved_payment_method_options.payment_method_remove cuando crees una Checkout Session.
El cliente no puede eliminar un método de pago si está vinculado a una suscripción activa y el cliente no tiene un método de pago predeterminado guardado para los pagos de facturas y suscripciones.
OpcionalGestión de cuentas de clientesSin código
Para permitir que tus clientes gestionen sus propias cuentas, comparte un enlace a tu portal de clientes. El portal de clientes les permite a los clientes iniciar sesión con su correo electrónico para gestionar las suscripciones, actualizar los métodos de pago, etc.
OpcionalSeparar la autorización de la capturaLado del servidor
Stripe admite los pagos con tarjeta en dos pasos, de modo que primero puedes autorizar una tarjeta y luego capturar los fondos. Cuando Stripe autoriza un pago, el emisor de la tarjeta garantiza los fondos y retiene el importe del pago en la tarjeta del cliente. Luego tienes un cierto tiempo para capturar los fondos, según la tarjeta). Si no capturas el pago antes del vencimiento de la autorización, se cancela el pago y el emisor libera los fondos retenidos.
Separar la autorización y la captura es útil si tienes que tomar medidas adicionales entre la confirmación de que el cliente puede pagar y el cobro de los fondos. Por ejemplo, si vendes artículos de stock limitado y un cliente compra un producto con Checkout, es posible que tengas que confirmar si hay stock del artículo antes de capturar el pago y completar la compra. Para conseguirlo, usa el siguiente flujo de trabajo:
- Confirma que Stripe autorizó el método de pago del cliente.
- Consulta tu sistema de gestión de inventario para confirmar si hay stock del artículo.
- Actualiza tu sistema de gestión de inventario para indicar que el cliente ha comprado el artículo.
- Captura el pago del cliente.
- Informa a tu cliente si se concretó la compra en tu página de confirmación.
Para indicar que quieres separar la autorización de la captura, debes establecer el valor de payment_intent_data.capture_method en manual al crear la sesión de Checkout. Esto le indica a Stripe que solo debe autorizar el importe en la tarjeta del cliente.
Para capturar un pago que solo fue autorizado, puedes usar el punto de conexión del Dashboard o de captura. Para capturar pagos mediante programación, es necesario acceder al PaymentIntent creado durante la sesión de Checkout, al que llegas desde el objeto Session.
OpcionalGestión logística del pedido
Obtén información sobre cómo programar la recepción de una notificación cada vez que un cliente pague.