Create virtual cards
Create a cardholder and issue a virtual card.
You can use the Dashboard or the Create a card endpoint to issue virtual cards to cardholders. Cardholders can use virtual cards immediately after you create them.
Create a cardholder
You can use the Dashboard or the Cardholders API to create a cardholder.
Visit the Cardholders tab in the Issuing Dashboard.

Click Create cardholder on the upper right.
Select cardholder type: individual or company. The full set of valid characters for both cardholder name and business name are alphanumeric characters and
/ -&:().. There’s a 24-character limit.' 
Add a billing address.

If you’re creating a company card, add the tax ID number.
Add contact information, which is required for certain features like digital wallets.

Click Create cardholder.
Individual type cardholder requirements
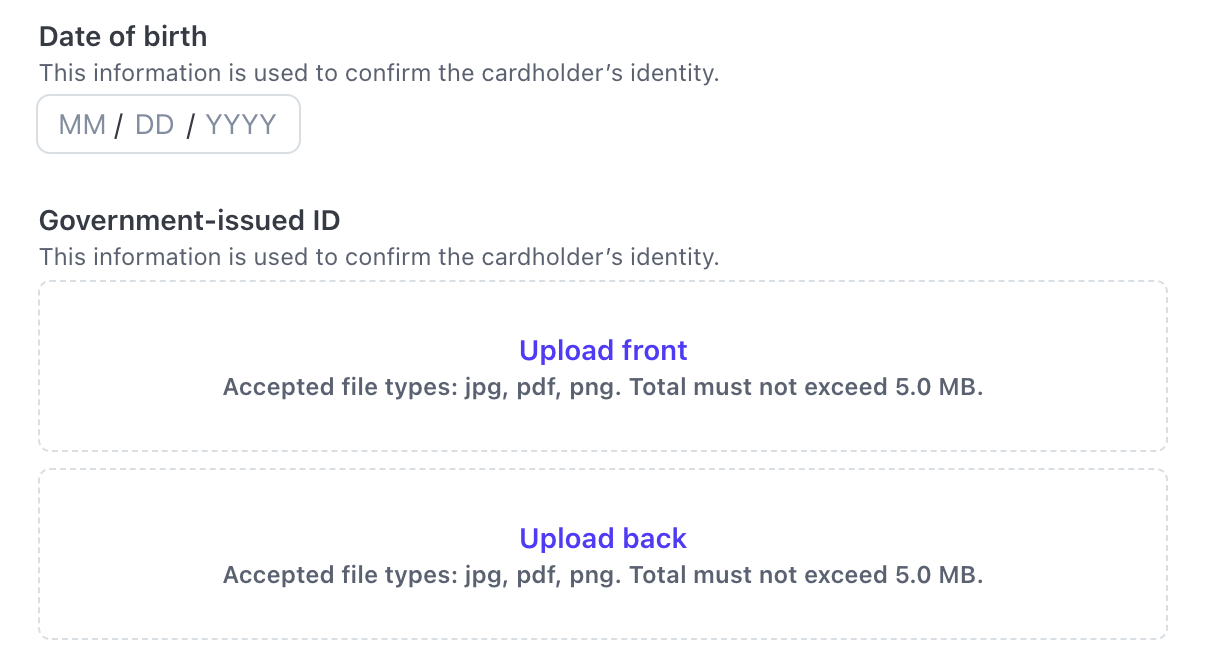
When you select the individual cardholder type, you must add the cardholder’s legal first and last name and date of birth. Consider uploading government-issued ID, which may help reduce watchlist reviews.

If you’re issuing cards to individuals for programs backed by Cross River Bank or Fifth Third Bank, you must record acceptance of the applicable Authorised User Terms before activating a card for that cardholder.
See the Required Agreements for Issuing and Financial Accounts for platforms for more information about which agreements you must present to account holders and cardholders.
Company type cardholder requirements
When you add a company name, ensure that it has a minimum of two words, for example: Stripe Inc.
Create a card
You can use the Dashboard to create a new card.
Visit the Cards tab in the Issuing Dashboard.

Click Create card on the upper right.
Search for the cardholder you created in Create a cardholder.
Select Virtual for the type.
Select Activate card.

Click Create.
Activate the card
For authorisations to be approved on a card, its status must be set to active. Overdue requirements block card activation.
Activate on creation
You can activate the card when creating it using the Dashboard or the API. In the Dashboard, when creating a card, click Activate card. Using the API, set status to active when using the create card endpoint.
Activate after creation
Alternatively, after creating an inactive card, you can activate it using the Dashboard or the API. To activate it using the Dashboard, select the card you want to activate, then click Activate card. To activate it using the API, use the update card endpoint to set its status to active.
Re-activate after blocking
In some cases, multiple incorrect PIN attempts on a transaction deactivates a card, preventing further authorisations. To reactivate the card, use the Dashboard or the update card API to set the card’s status to active.