Usar o Dashboard
Crie e envie uma fatura pelo Stripe Dashboard.
Saiba como criar, enviar e modificar uma fatura no Dashboard. As faturas fornecem uma lista de produtos e serviços prestados por itens, que inclui o custo, a quantidade e os impostos. Você também pode usá-las como ferramenta para receber pagamentos. Para enviar faturas automaticamente, integre com a API Invoicing.
Criar uma fatura
Para criar e enviar uma fatura, realize estas etapas:
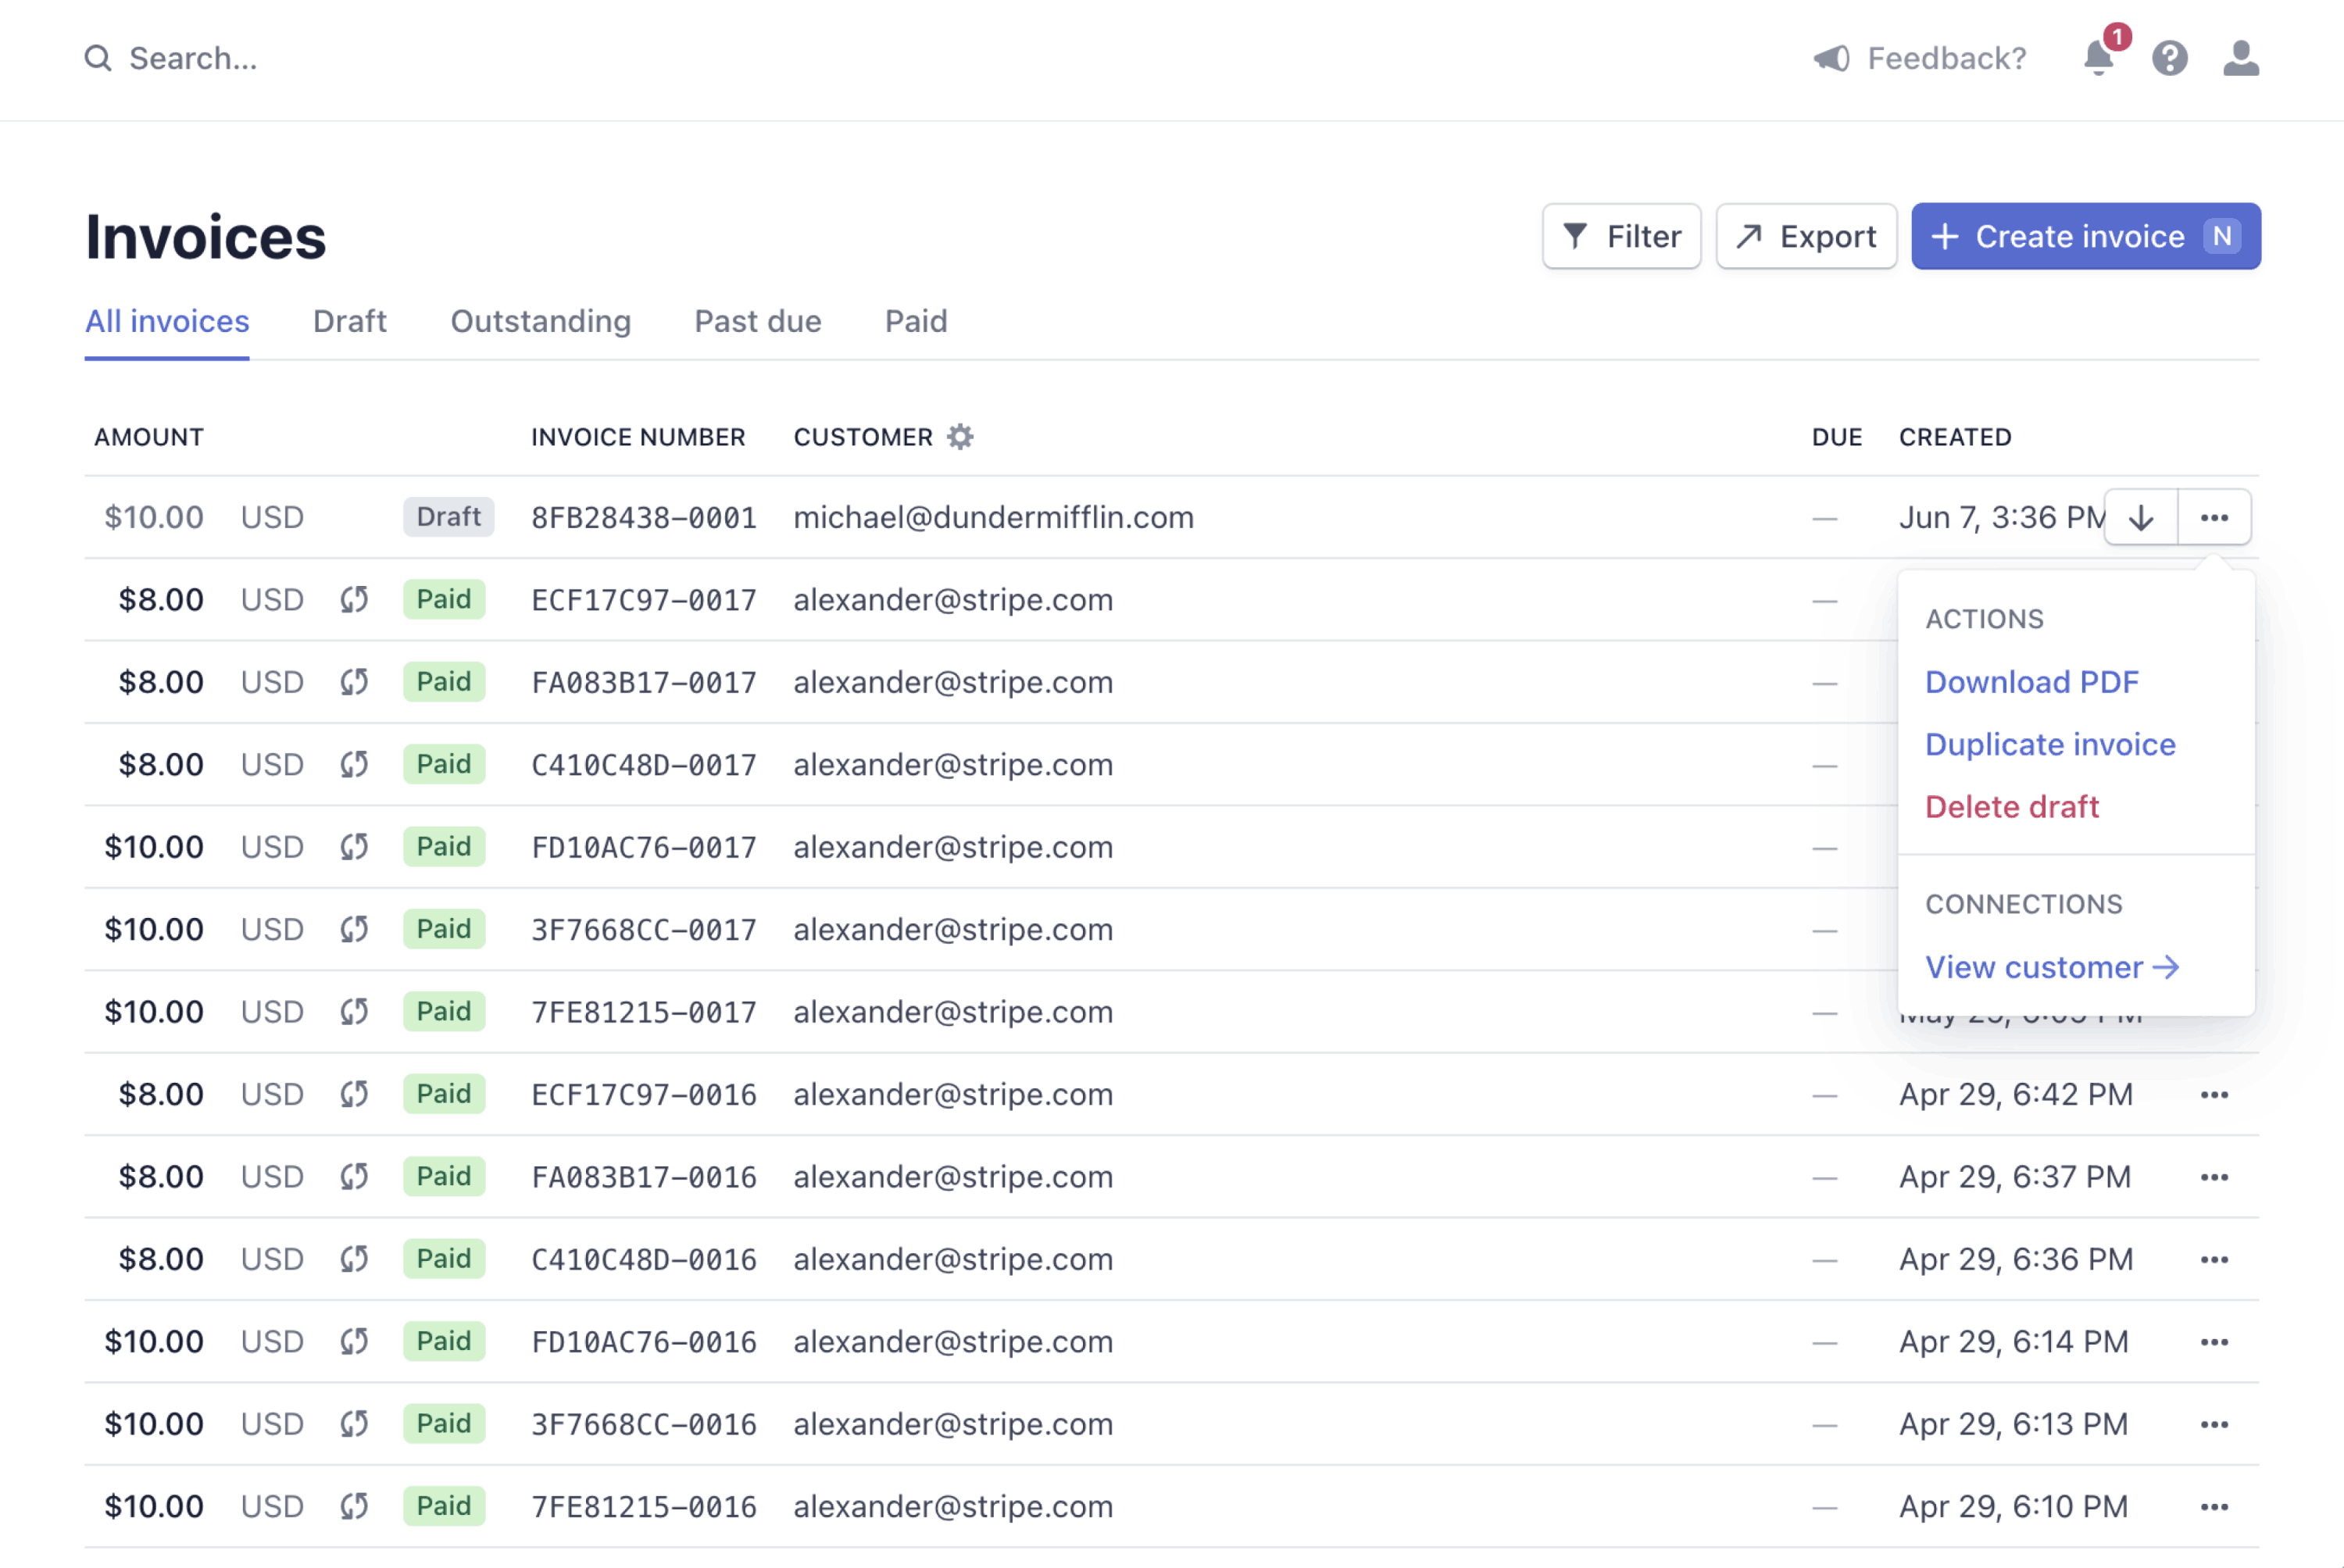
No Dashboard, acesse a página Faturas e clique em Criar fatura para abrir o editor de faturas. Sempre que você sair do editor de faturas, a Stripe salvará um rascunho. (Para excluir uma fatura provisória, clique no menu de navegação () ao lado de uma fatura na página Faturas.)
Selecione um cliente existente ou clique em Adicionar novo cliente. Para clientes novos, é preciso inserir um nome. Você também pode adicionar um endereço de e-mail ou outros dados.
(Opcional) Clique no menu () na seção Itens para abrir a caixa de diálogo Opções de item. Escolha a moeda e a opção de processamento fiscal da fatura.
Selecione Adicionar item avulso para criar um item único e avulso. Para salvar um produto para uso futuro, selecione Criar produto.
Insira a Quantidade e o Preço do seu novo item ou produto.
(Opcional) Clique em Opções de item abaixo de cada item para adicionar uma alíquota, cupom ou data de fornecimento. Você também pode usar o Dashboard para criar uma alíquota ou cupom.
(Opcional) Use a caixa Observação para fornecer mais informações ao cliente. Para editar a observação em uma fatura, clique em Editar observação na página de detalhes.
Selecione uma das seguintes opções de entrega da fatura:
Cobrar automaticamente uma forma de pagamento cadastrada: cobra imediatamente o valor da fatura da forma de pagamento cadastrada do cliente.
Enviar fatura ou link para página de pagamento manualmente: fornece um link de pagamento para você enviar aos clientes após confirmar a fatura.
Enviar fatura com link por e-mail: Permite que a Stripe envie um e-mail com uma página de pagamento e um PDF da fatura.
Enviar fatura sem link por e-mail: permite que a Stripe envie apenas um PDF da fatura.
(Opcional) Para agendar esta fatura para finalização automática em alguma data futura, selecione Agendar a data de envio. Ou, dependendo do que você selecionou na etapa anterior, Agendar a data de cobrança ou Agendar a data de finalização.
(Opcional) Expanda Opções avançadas e adicione campos personalizados. Para saber mais, consulte Preços e impostos líquidos. Expanda Opções avançadas e adicione campos personalizados.
Clique em Revisar fatura e decida se deseja incluir e-mails adicionais ou continuar editando. Envie a fatura.
Criar uma fatura com o Dashboard
Modificar uma fatura
No Dashboard, você pode duplicar uma fatura e modificar a cópia. Quando você duplica uma fatura, a Stripe copia todos os dados da fatura original, exceto notas de crédito, produtos excluídos ou arquivados, preços, cupons, descontos e alíquotas. Se cometer um erro em uma fatura já criada, duplique-a, faça as correções e envie a nova fatura. Lembre-se de também anular a fatura incorreta.
Nota
É possível alterar o status de uma fatura aberta no Dashboard acessando a página de detalhes e escolhendo Mais > Alterar status da fatura.
Para duplicar uma fatura, veja suas faturas e clique no menu de navegação () da fatura que deseja duplicar. Clique em Duplicar fatura para criar, editar e enviar a nova fatura.

Duplique uma fatura pelo Dashboard
Personalizar uma fatura
As faturas podem ser personalizadas de várias maneiras. Essas opções permitem adicionar sua própria marca e modificar suas faturas com os itens obrigatórios em cada jurisdição.
Recibos de faturas
A Stripe cria recibos quando um cliente paga uma fatura ou faz qualquer pagamento de uma assinatura. Discriminamos por itens os recibos de pagamentos de assinaturas e faturas para incluir itens, descontos e impostos para o pagamento. Para enviar recibos automaticamente, não se esqueça de habilitar a opção Pagamentos bem-sucedidos nas Configurações de e-mail e adicionar o e-mail do cliente.
Após o pagamento, a página da fatura hospedada mostra um link para um recibo que o cliente pode baixar para seus registros. Também é possível enviar manualmente um recibo clicando no botão Enviar recibo na página Detalhes da fatura. Para enviar um recibo de teste para seu e-mail, acesse Configurações de marca e passe o mouse sobre o recibo para ver o botão Enviar recibo de teste. Para saber mais sobre recibos enviados por e-mail, consulte Recibos por e-mail.