Utiliser le Dashboard
Créez et envoyez des factures depuis le Dashboard Stripe.
Découvrez comment créer, envoyer et modifier une facture depuis le Dashboard. Les factures présentent une liste détaillée des marchandises et des services rendus, incluant le coût, la quantité et les taxes. Vous pouvez également les utiliser comme outil pour encaisser le paiement. Pour envoyer automatiquement des factures, réalisez l’intégration avec l’API Invoicing.
Créer une facture
Pour créer et envoyer une facture, suivez les étapes ci-après :
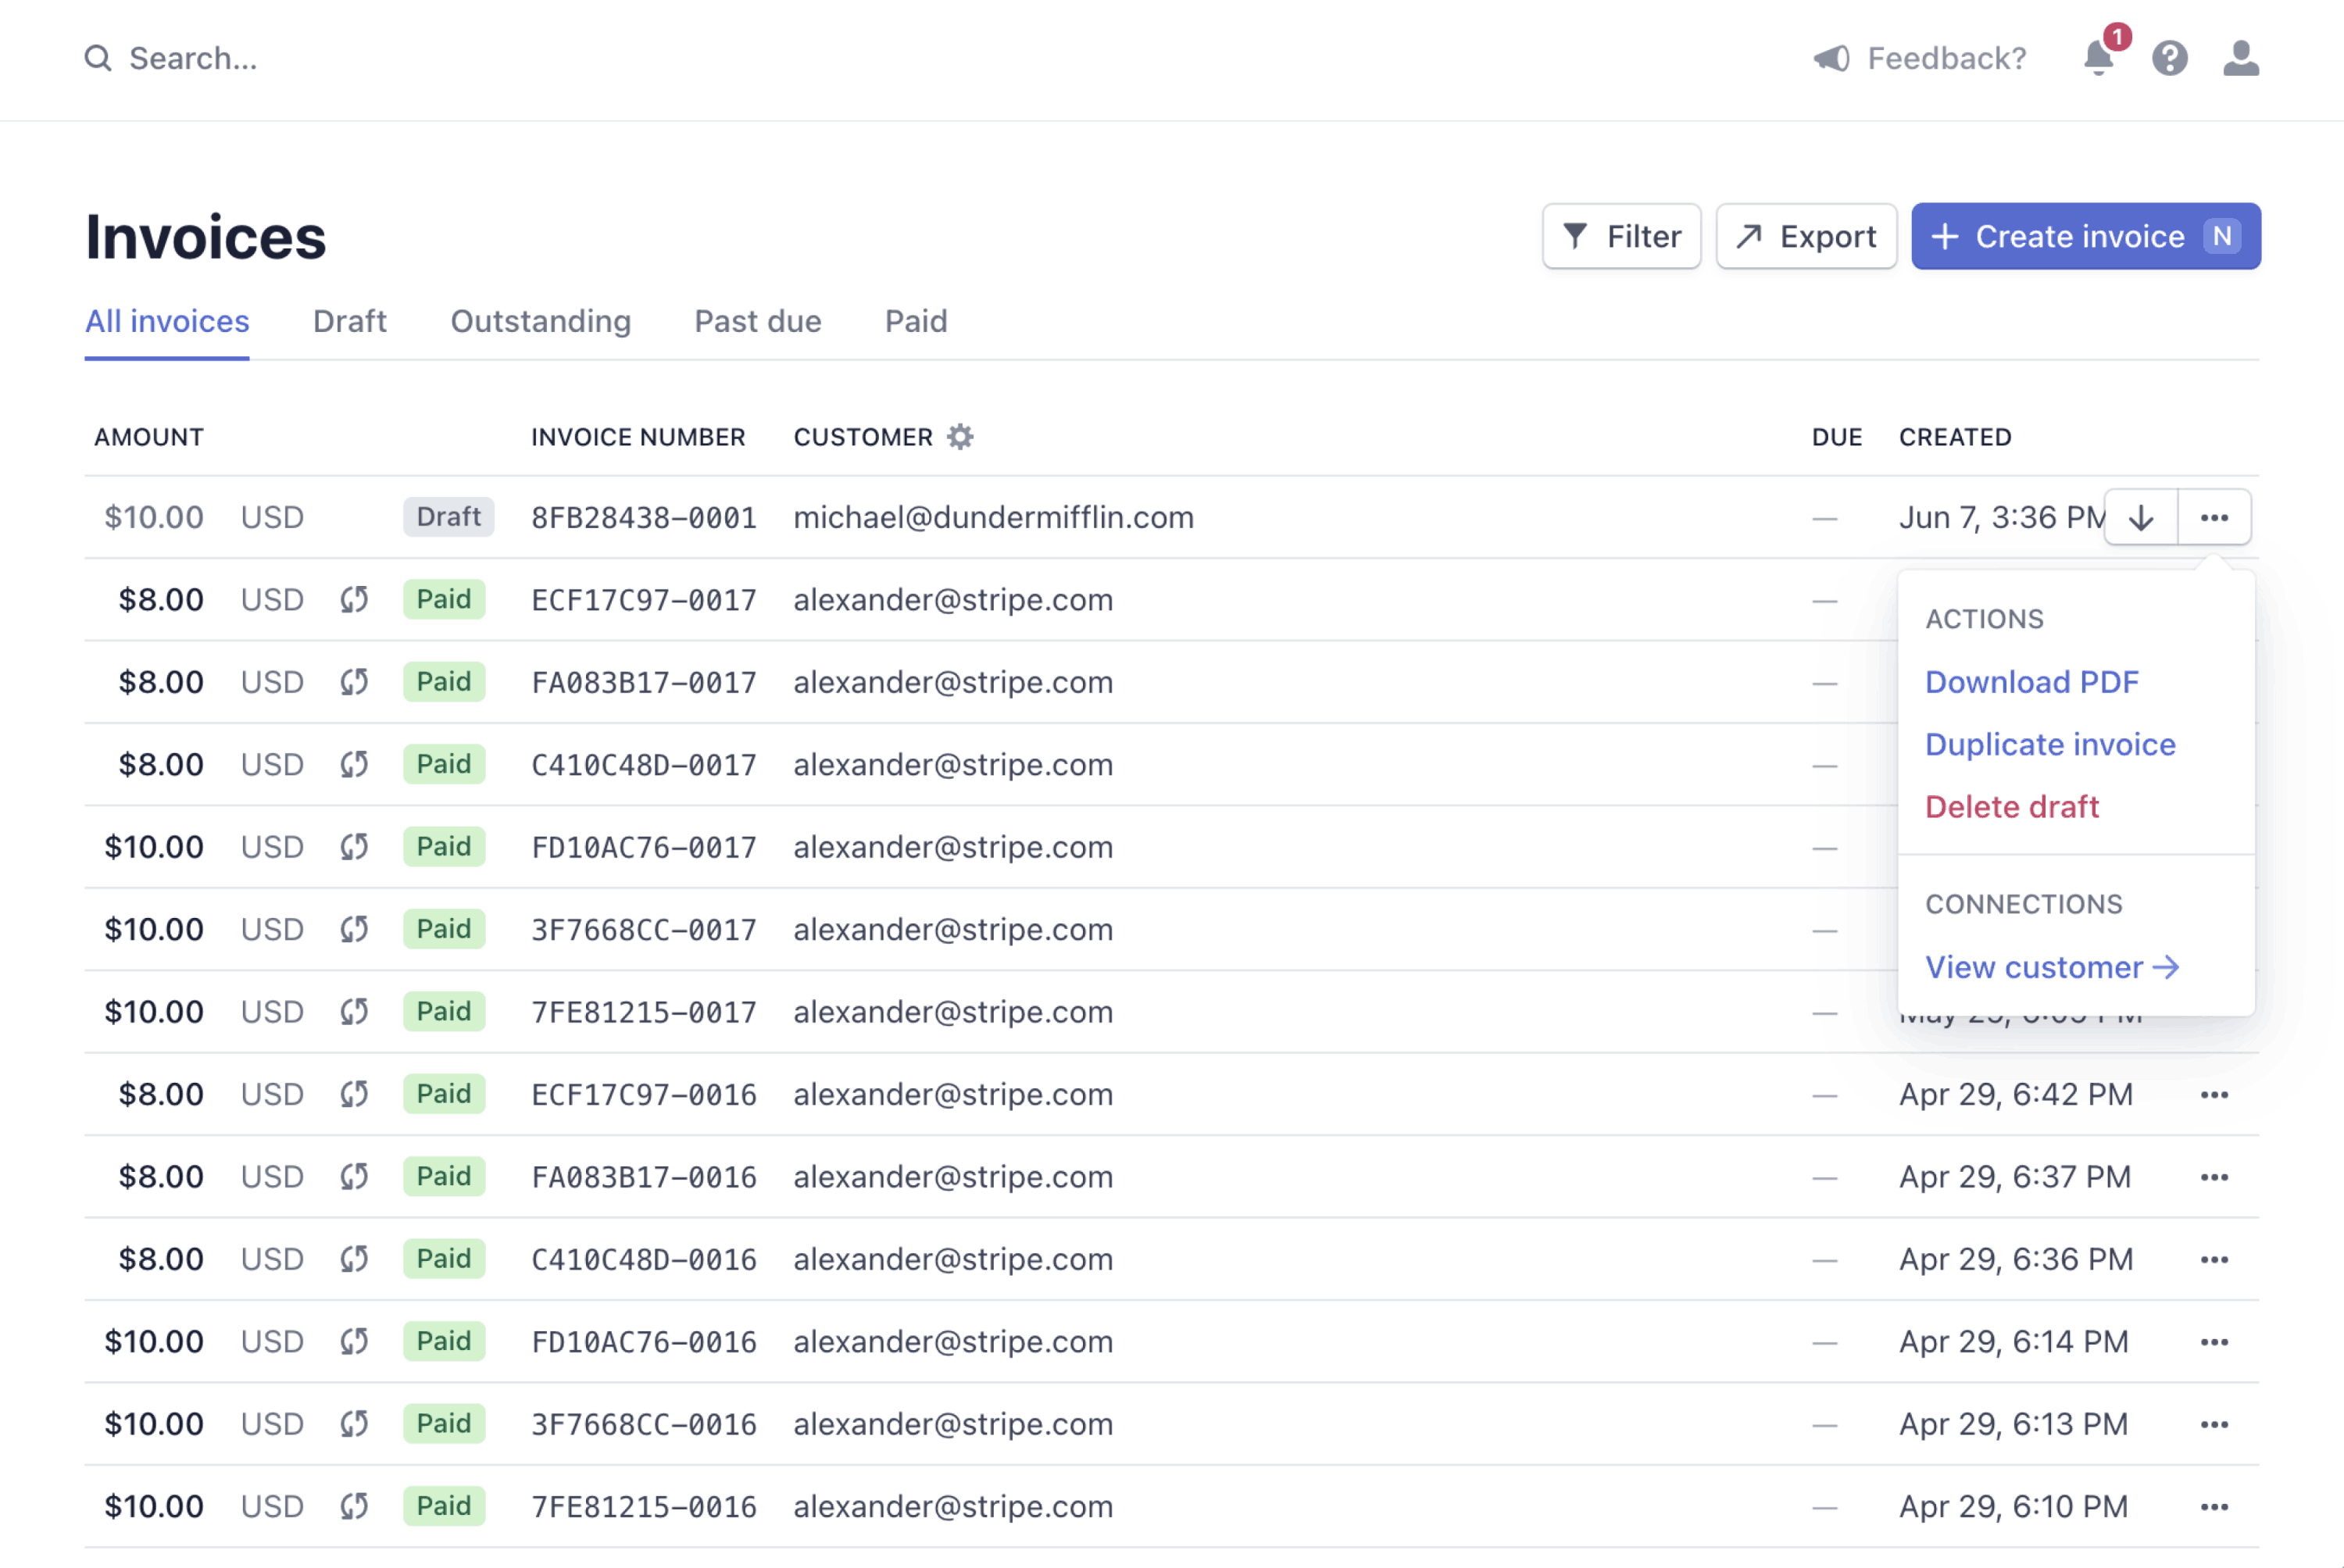
Dans le Dashboard, accédez à la page Factures, puis cliquez sur Créer une facture pour ouvrir l’éditeur de factures. Chaque fois que vous quittez l’éditeur de factures, Stripe enregistre un brouillon. (Pour supprimer un brouillon de facture, cliquez sur le menu de débordement () qui se trouve en regard d’une facture sur la page Factures.)
Sélectionnez un client existant ou cliquez sur Ajouter un nouveau client. Pour les nouveaux clients, vous devez saisir un nom. Vous pouvez ajouter une adresse e-mail ou d’autres informations.
(Facultatif) Cliquez sur le menu déroulant de débordement () dans la section Postes pour ouvrir la boîte de dialogue Options des postes de facture. Choisissez la devise et l’option d’affichage des taxes souhaitées pour la facture.
Sélectionnez Ajouter un poste ponctuel afin de créer un article pour une utilisation unique. Pour enregistrer un produit pour une utilisation future, sélectionnez Créer un produit.
Saisissez la Quantité et le Tarif de votre nouvel article ou de votre nouveau produit.
(Facultatif) Cliquez sur les Options de postes de facture sous chaque poste pour ajouter un taux de taxe, un bon de réduction ou une date de livraison. Vous pouvez également utiliser le Dashboard pour créer un taux de taxe ou un bon de réduction.
(Facultatif) Utilisez la zone Mémo pour fournir des informations supplémentaires à votre client. Vous pouvez modifier le mémo sur une facture en cliquant sur le bouton Modifier le mémo sur la page des informations correspondante.
Sélectionnez l’une des options de livraison de la facture suivantes :
Débiter automatiquement un moyen de paiement enregistré : débite immédiatement du montant de la facture le moyen de paiement du client que vous avez enregistré.
Envoyer la facture ou le lien vers la page de paiement manuellement : génère un lien de paiement que vous pouvez envoyer à votre client après confirmation de la facture.
Envoyer la facture par e-mail avec lien de paiement : Stripe enverra au client un e-mail contenant un PDF de sa facture ainsi qu’un lien vers une page de paiement
Envoyer la facture par e-mail sans lien de paiement : Stripe enverra au client un e-mail contenant uniquement un PDF de sa facture.
(Facultatif) Pour planifier la finalisation automatique de cette facture à une date ultérieure, sélectionnez Planifier la date d’envoi. Selon ce que vous avez sélectionné à l’étape précédente, vous pouvez également choisir Planifier la date de paiement ou Planifier la date de finalisation.
(Facultatif) Développez les Options avancées et ajoutez des champs personnalisés. Pour en savoir plus, consultez la page Tarifs nets et taxes. Développez les Options avancées et ajoutez des champs personnalisés.
Cliquez sur Vérifier la facture et choisissez d’intégrer des e-mails supplémentaires ou de poursuivre la modification de la facture. Envoyez la facture.
Créer une facture avec le Dashboard
Modifier une facture
Avec le Dashboard, vous pouvez dupliquer une facture et modifier le nouvel exemplaire. Lorsque vous dupliquez une facture, Stripe copie toutes les informations de la facture initiale, à l’exception des avoirs, ainsi que des produits, tarifs, bons de réduction, ristournes et taux de taxes supprimés (ou archivés). Si vous avez fait une erreur sur une facture que vous avez déjà créée, dupliquez la facture, apportez vos corrections, puis envoyez la nouvelle facture. N’oubliez pas également d’annuler la facture incorrecte.
Remarque
Vous pouvez modifier l’état d’une facture en cours dans le Dashboard : accédez à la page contenant ses détails et sélectionnez Plus > Modifier l’état de la facture.
Pour dupliquer une facture, affichez vos factures et cliquez sur le menu de débordement () de la facture que vous souhaitez dupliquer. Cliquez sur Dupliquer la facture pour créer, modifier, puis envoyer la nouvelle facture.

Dupliquer une facture depuis le Dashboard
Personnaliser une facture
Vous pouvez personnaliser les factures de plusieurs façons. Ces options vous permettent d’ajouter votre propre image de marque et de modifier vos factures afin qu’elles soient conformes aux régions dans lesquelles vous travaillez.
Reçus de factures
Stripe crée des reçus lorsqu’un client règle une facture ou procède au paiement d’un abonnement. Nous détaillons les reçus des paiements associés à un abonnement ou à une facture afin d’inclure les postes, les ristournes et les taxes. Pour envoyer des reçus automatiquement, veillez à activer l’option Paiements réussis dans les paramètres des e-mails et à ajouter l’adresse e-mail du client.
Après le paiement, la page de facture hébergée propose un lien vers le reçu, que le client peut télécharger à des fins personnelles. Vous pouvez également envoyer un reçu manuellement en cliquant sur le bouton Envoyer le reçu dans la page relative aux détails de la facture. Pour vous envoyer un reçu test par e-mail, accédez aux paramètres de marque et survolez le reçu par e-mail pour voir apparaître le bouton Envoyer un reçu test. Pour en savoir plus sur les reçus, consultez la page Envoi des reçus par e-mail.