Configure the Stripe Connector for Shopware 6
Learn how to configure the Stripe Connector for Shopware 6.
To use Stripe with Shopware 6, you must install and then configure the Stripe connector.
Configure the connector
Use the Shopware administration panel to configure the connector.
In the admin panel sidebar, under Extensions, select My extensions.
On the Apps tab, for the Stripe connector, click the overflow menu () and select Open extension.
Configure the Stripe Connector for Shopware 6:
Connect to Stripe to accept payments
Connect Shopware to your Stripe account to start accepting payments. When you connect to a new account, you must reactivate your preferred payment methods.
On the Stripe Configuration page, click Connect with Stripe in Live Mode. If you want to test different app functionality without processing live payments, use Connect with Stripe in Test Mode.
Provide your business information to create your Stripe account.
After you create your Stripe account, log in to your Stripe Dashboard.
In the Stripe Dashboard, do the following:
Under Settings > Payment methods, select your Shopware account from the Select your platform drop-down.
Turn on your preferred payment methods individually or by using the Turn on all button.
The payment methods you choose for your Shopware connector are separate from your Stripe account payment methods.
Connect multiple channels
You can use separate Stripe accounts to connect to different sales channels.
- For each channel, the Sales Channels tab in the Stripe configuration page displays:
- A Connect with Stripe in Test mode button
- A Connect with Stripe in Live mode button
- The corresponding Stripe account name and Stripe account ID.
- Your main account is connected by default. Untick the Use default account tickbox and click Connect with Stripe […] to specify the Stripe account for each sales channel.
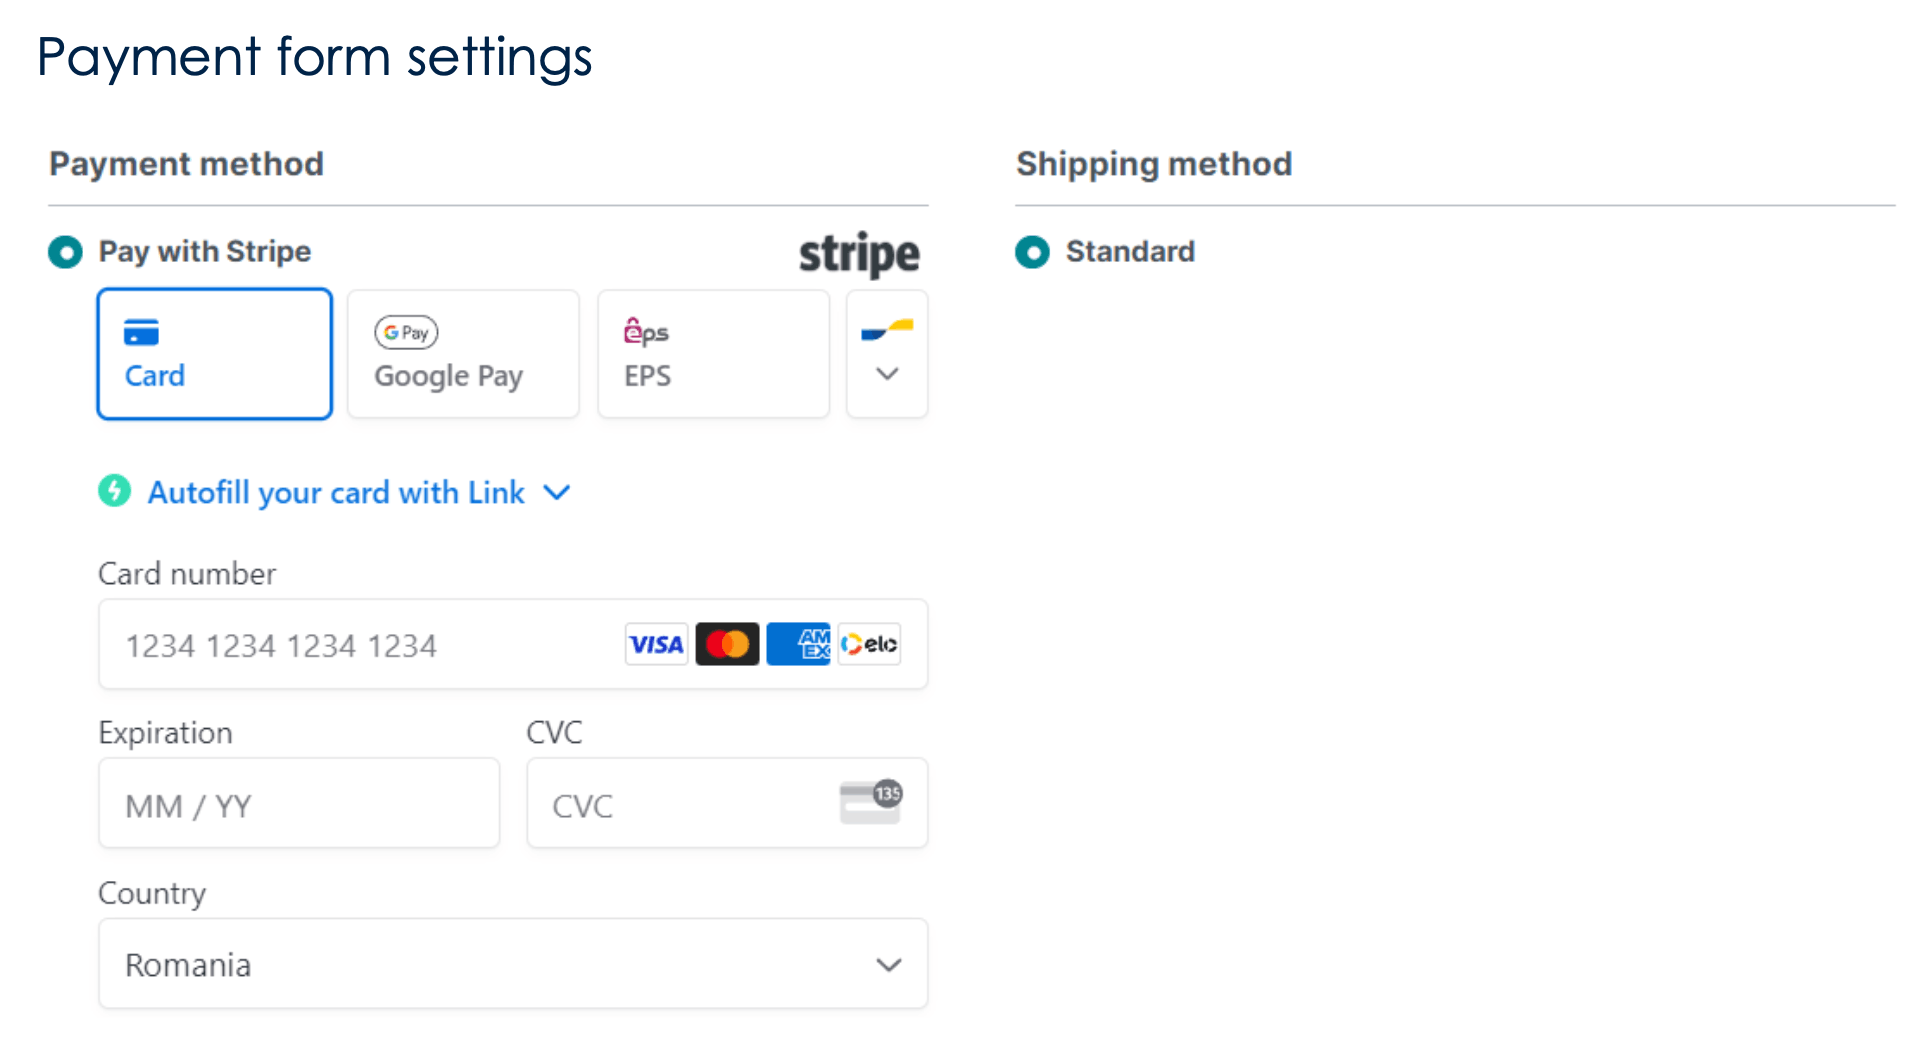
Choose your payment form
Configure the payment form that displays to your customers during checkout. Under Payment form settings, you can choose from the following:
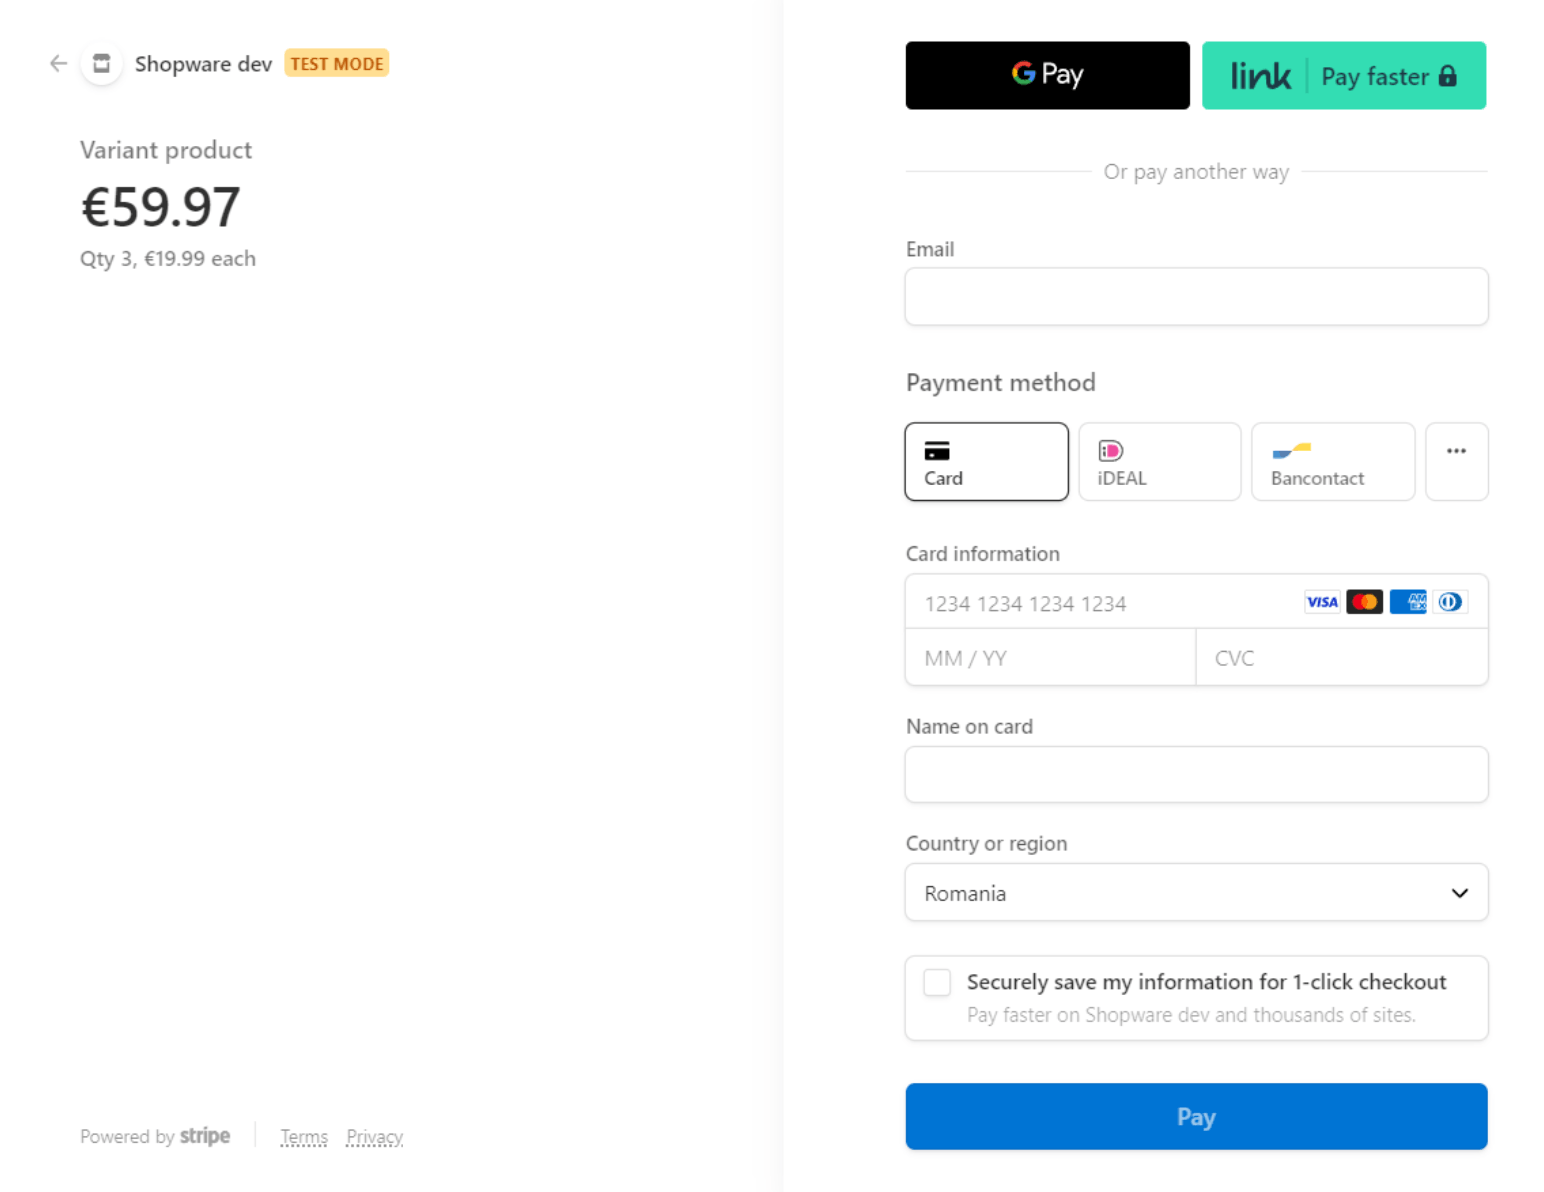
- Integrated payment form – The Payment Element is an embeddable UI component that lets you accept 25+ payment methods with a single integration.
- Redirect to Stripe – Stripe Checkout lets you redirect your customers to a Stripe-hosted, customisable checkout page to finalise payment.
Customise the payment form
You can configure the appearance of the integrated payment form in the following ways:
- Choose a prebuilt theme: Stripe, Night, Flat, or None.
- Position the payment form: On top of the Shopware payment methods, At the bottom of the Shopware payment methods, or With the Shopware payment methods.
- Use the Elements Appearance API to customise individual aspects of the payment form by editing
Resources/app/storefront/src/StripePaymentsApp/stripe.in your local project.appearance. js
You can customise the look and feel of Checkout (Redirect to Stripe) in the Dashboard.
Collect your customer’s postal code
You can specify whether or not to collect your customer’s postal code at checkout using the Never collect the postal code field. Stripe recommends collecting and verifying postal code information, which can help decrease the card decline rate.
(Recommended) Unselect this field if you want to require a postal code at checkout. This applies to cards issued in Canada, the United Kingdom, or the United States.
Select this field if you don’t want to collect a postal code at checkout.
Choose how to capture funds
You can specify how you want to authorise and capture funds.
Simultaneous authorisation and capture – The issuing bank confirms that the cardholder can pay, and then transfers the funds automatically after confirmation.
Separate authorisation and capture – The authorisation occurs first, and the capture occurs later. To capture funds, change the order’s payment status from
AuthorizedtoPaidorPartially paidin the Shopware administration panel.