Install and configure the Stripe Payment Composable Connector for Commercetools
Learn how to set up your Commercetools merchant centre to install the composable connector.
Integrate Stripe with the Commercetools composable commerce to create a custom checkout workflow that supports your business requirements and commerce storefront.
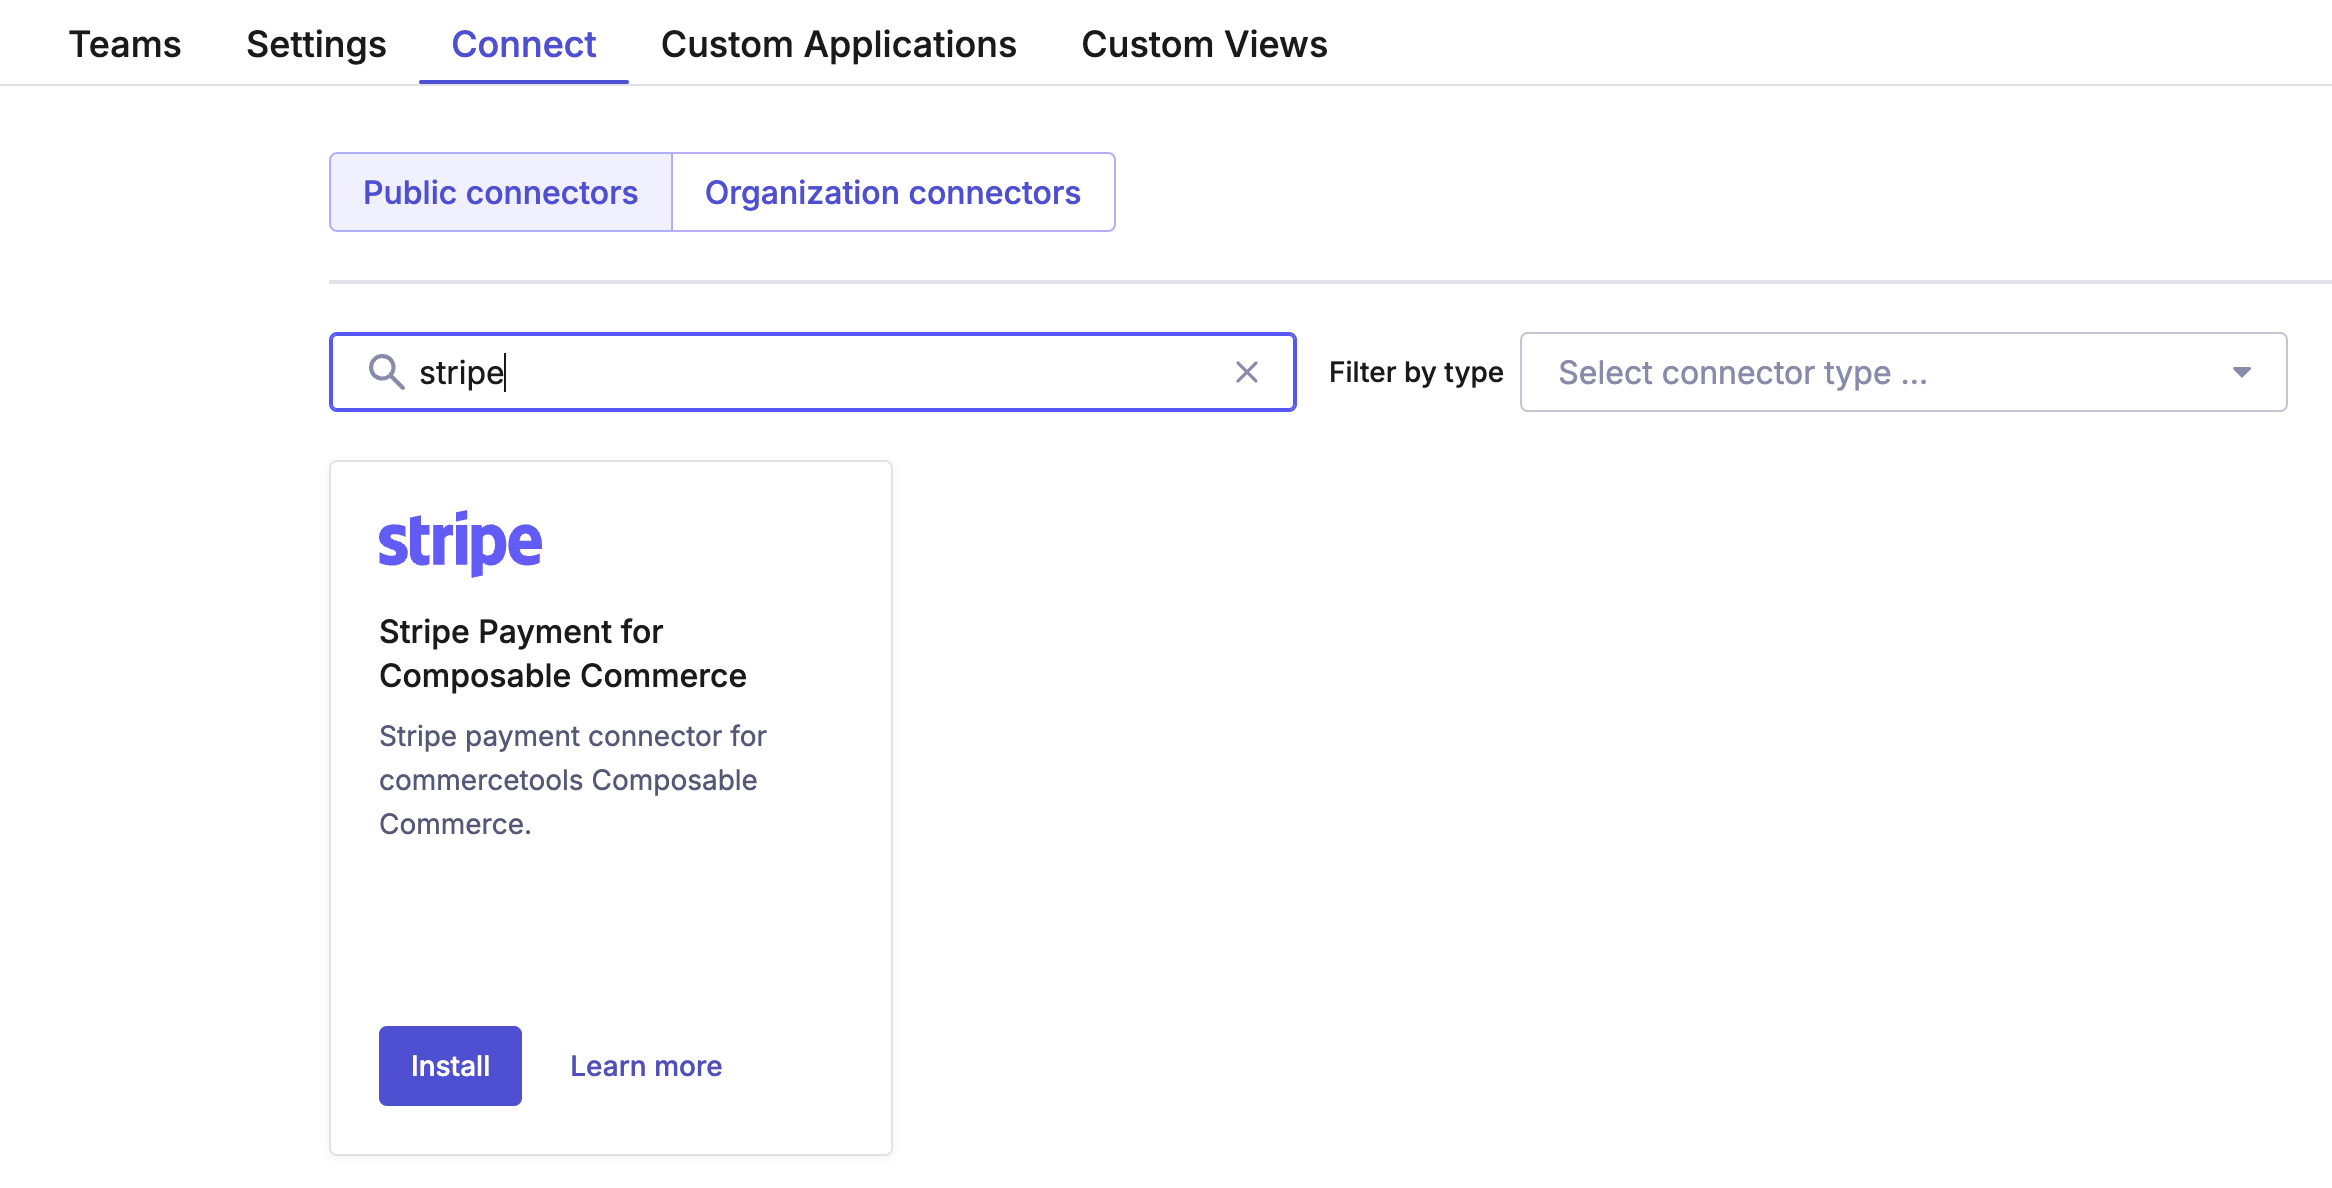
Connector listing in Commercetools Merchant Center
Before you begin
Before you install the Stripe Payment Composable Connector:
- Identify the organisation and project in your Commercetools instance where you want to install the connector.
- Prepare to install and configure the connector directly from your Commercetools instance.
Install the Stripe Payment Connector
- From the Connect Marketplace in your Commercetools instance, select the Stripe Payment for Composable Commerce.
- On the Commercetools configuration page, select the region, organisation, and projects in which to install the connector.
- Next, provide your environment variables and configuration details.
- In the Stripe Dashboard, create a webhook with a test transaction URL and copy the webhook signing secret. The test transaction URL automatically updates through a post-deploy script with the correct URL upon successful authentication.
Configure the Stripe Payment Connector
Use the following installation variables to configure the connector.
| Variable | Description |
|---|---|
CTP_ | The URL for the Commercetools composable commerce API. The default value is https://api.. |
CTP_ | The URL for authentication in the Commercetools platform that’s used to generate an OAuth 2.0 token. Every API call to the Commercetools composable commerce requires an OAuth 2.0 token. The default value is: https://auth.. |
CTP_ | The client ID of your Commercetools composable commerce user account. The Commercetools client uses the client ID to communicate with the Commercetools composable commerce through the SDK. |
CTP_ | The client secret of the Commercetools composable commerce user account. The Commercetools client uses the client secret to communicate with the Commercetools composable commerce through the SDK. |
CTP_ | The URL that provides the JSON Web Key Set. |
CTP_ | The issuer in the JSON Web Token that’s required for the JWT validation process. |
CTP_ | The key for the Commercetools composable commerce project. |
CTP_ | The scope defines which endpoints the Commercetools client can access and has read and write access to. |
CTP_ | The URL for session creation in the Commercetools platform. Connectors rely on the created session to share information between the enabler and the processor. The default value is https://session.. |
STRIPE_ | Stripe Elements supports visual customisation, allowing you to use the appearance option to match the design of your site. This value defines the appearance of the Express Checkout Element. |
STRIPE_ | Stripe Elements supports visual customisation, allowing you to use the appearance option to match the design of your site. This value defines the appearance of the Payment Element. |
STRIPE_ | The Stripe capture method (manual or automatic). The default value is automatic. |
STRIPE_ | Stripe authenticates API requests using your account’s API keys. We recommend creating a restricted access key, instead of using the default secret API key. |
STRIPE_ | The Stripe unique identifier for webhook endpoints. |
STRIPE_ | The Stripe secret key that’s used with official libraries to verify webhook signatures. This key is created in the Stripe Dashboard. |
The payment connector creates two main links:
- Payment Connector JS Enabler Component: The URL where the payment components are embedded (for example,
https://assets-{{uuid}}.)assets. uscentral1. gcp. preview. commercetools. app/connector-enabler. es. js - Payment Connector Processor: The URL where all webhooks are sent and transformed into payment transactions in Commercetools (for example,
https://service-{{uuid}}.)uscentral1. gcp. preview. commercetools. app
Extend the payment integration
If you want to build and extend the existing payment integration to meet your specific needs:
- Use the connector codebase available on GitHub.
- Deploy the connector locally.
- Update the
.configuration in both the processor and enabler.env
By choosing this path, you’re responsible for the deployment and configuration of the connector.
General settings
You can modify the capture mode (manual or automatic) of components generated by the Payment Connector Enabler in the payment connector configuration. The enabler manages the payment components connected to the Payment Connector Processor. The processor creates the Payment Intent in Stripe with the respective metadata, and converts webhook events into payment transactions in Commercetools.
You can modify the appearance of the Stripe Payment Element and Express Checkout Element from the Stripe Payment Connector configuration.
Webhooks
Stripe uses webhooks to notify your application when an event occurs in your account. Webhooks are useful for updating payment transactions when a customer’s bank confirms or declines a payment, or when the payment is canceled or refunded. We support the following webhooks:
| Event Type | Description |
|---|---|
charge. | If charge. is true, add a Refund:Success transaction to the payment in Commercetools. |
charge. | If the payment hasn’t been captured, create a payment in Commercetools. If the payment was made, add an Authorization:Success transaction to the payment in Commercetools. |
payment_ | Add a CancelAuthorization:Success transaction to the payment in Commercetools. |
payment_ | Logs the information in the processor logs in the connector app. |
payment_ | Logs the information in the processor logs in the connector app. |
payment_ | You can handle this event using one of the following capture methods:
|
Changelog and accessing code
You can monitor changes and upgrades to the connector from the Github repo.