Lewati ke konten
Buat akun
atau
Masuk
Logo Dokumen Stripe
/
Tanya AI
Buat akun
Masuk
Mulai
Pembayaran
Otomatisasi keuangan
Platform dan situs belanja online
Manajemen uang
Alat bantu pengembang
Mulai
Pembayaran
Otomatisasi keuangan
Mulai
Pembayaran
Otomatisasi keuangan
Platform dan situs belanja online
Manajemen uang
Gambaran Umum
Mulai dengan Connect
    Cara kerja Connect
    Desain integrasi
    Migrasikan ke properti pengontrol akun
    Bandingkan konfigurasi platform SaaS untuk Accounts v1 dan Accounts v2
    Pembaruan persyaratan mendatang
    Mulai Cepat Onboarding
Dasar-dasar integrasi
Contoh integrasi
Lakukan onboarding akun
Konfigurasikan Dashboard akun
Terima pembayaran
Kirim pembayaran ke akun
Kelola platform Connect Anda
Formulir pajak untuk platform Connect Anda
Gunakan tipe akun terhubung
BerandaPlatform dan situs belanja onlineGet started with Connect

Catatan

Halaman ini belum tersedia dalam bahasa ini. Kami sedang bekerja keras untuk membuat dokumentasi tersedia dalam lebih banyak bahasa dan akan menyediakan terjemahannya secepat mungkin.

Connect integration guide

Learn about configuration options for Connect integrations.

Salin halaman

Use this guide to explore different Connect integrations, make choices, and access a personalized integration guide. Before starting your integration in a sandbox environment, you must:

  • Create a Stripe Account
  • Begin filling out your platform profile

Select properties

Create and onboard accounts

Stripe enables you to create accounts on behalf of users, called connected accounts. When using Connect, you create connected accounts for each user that receives money on your platform.

Onboarding:
Onboarding:

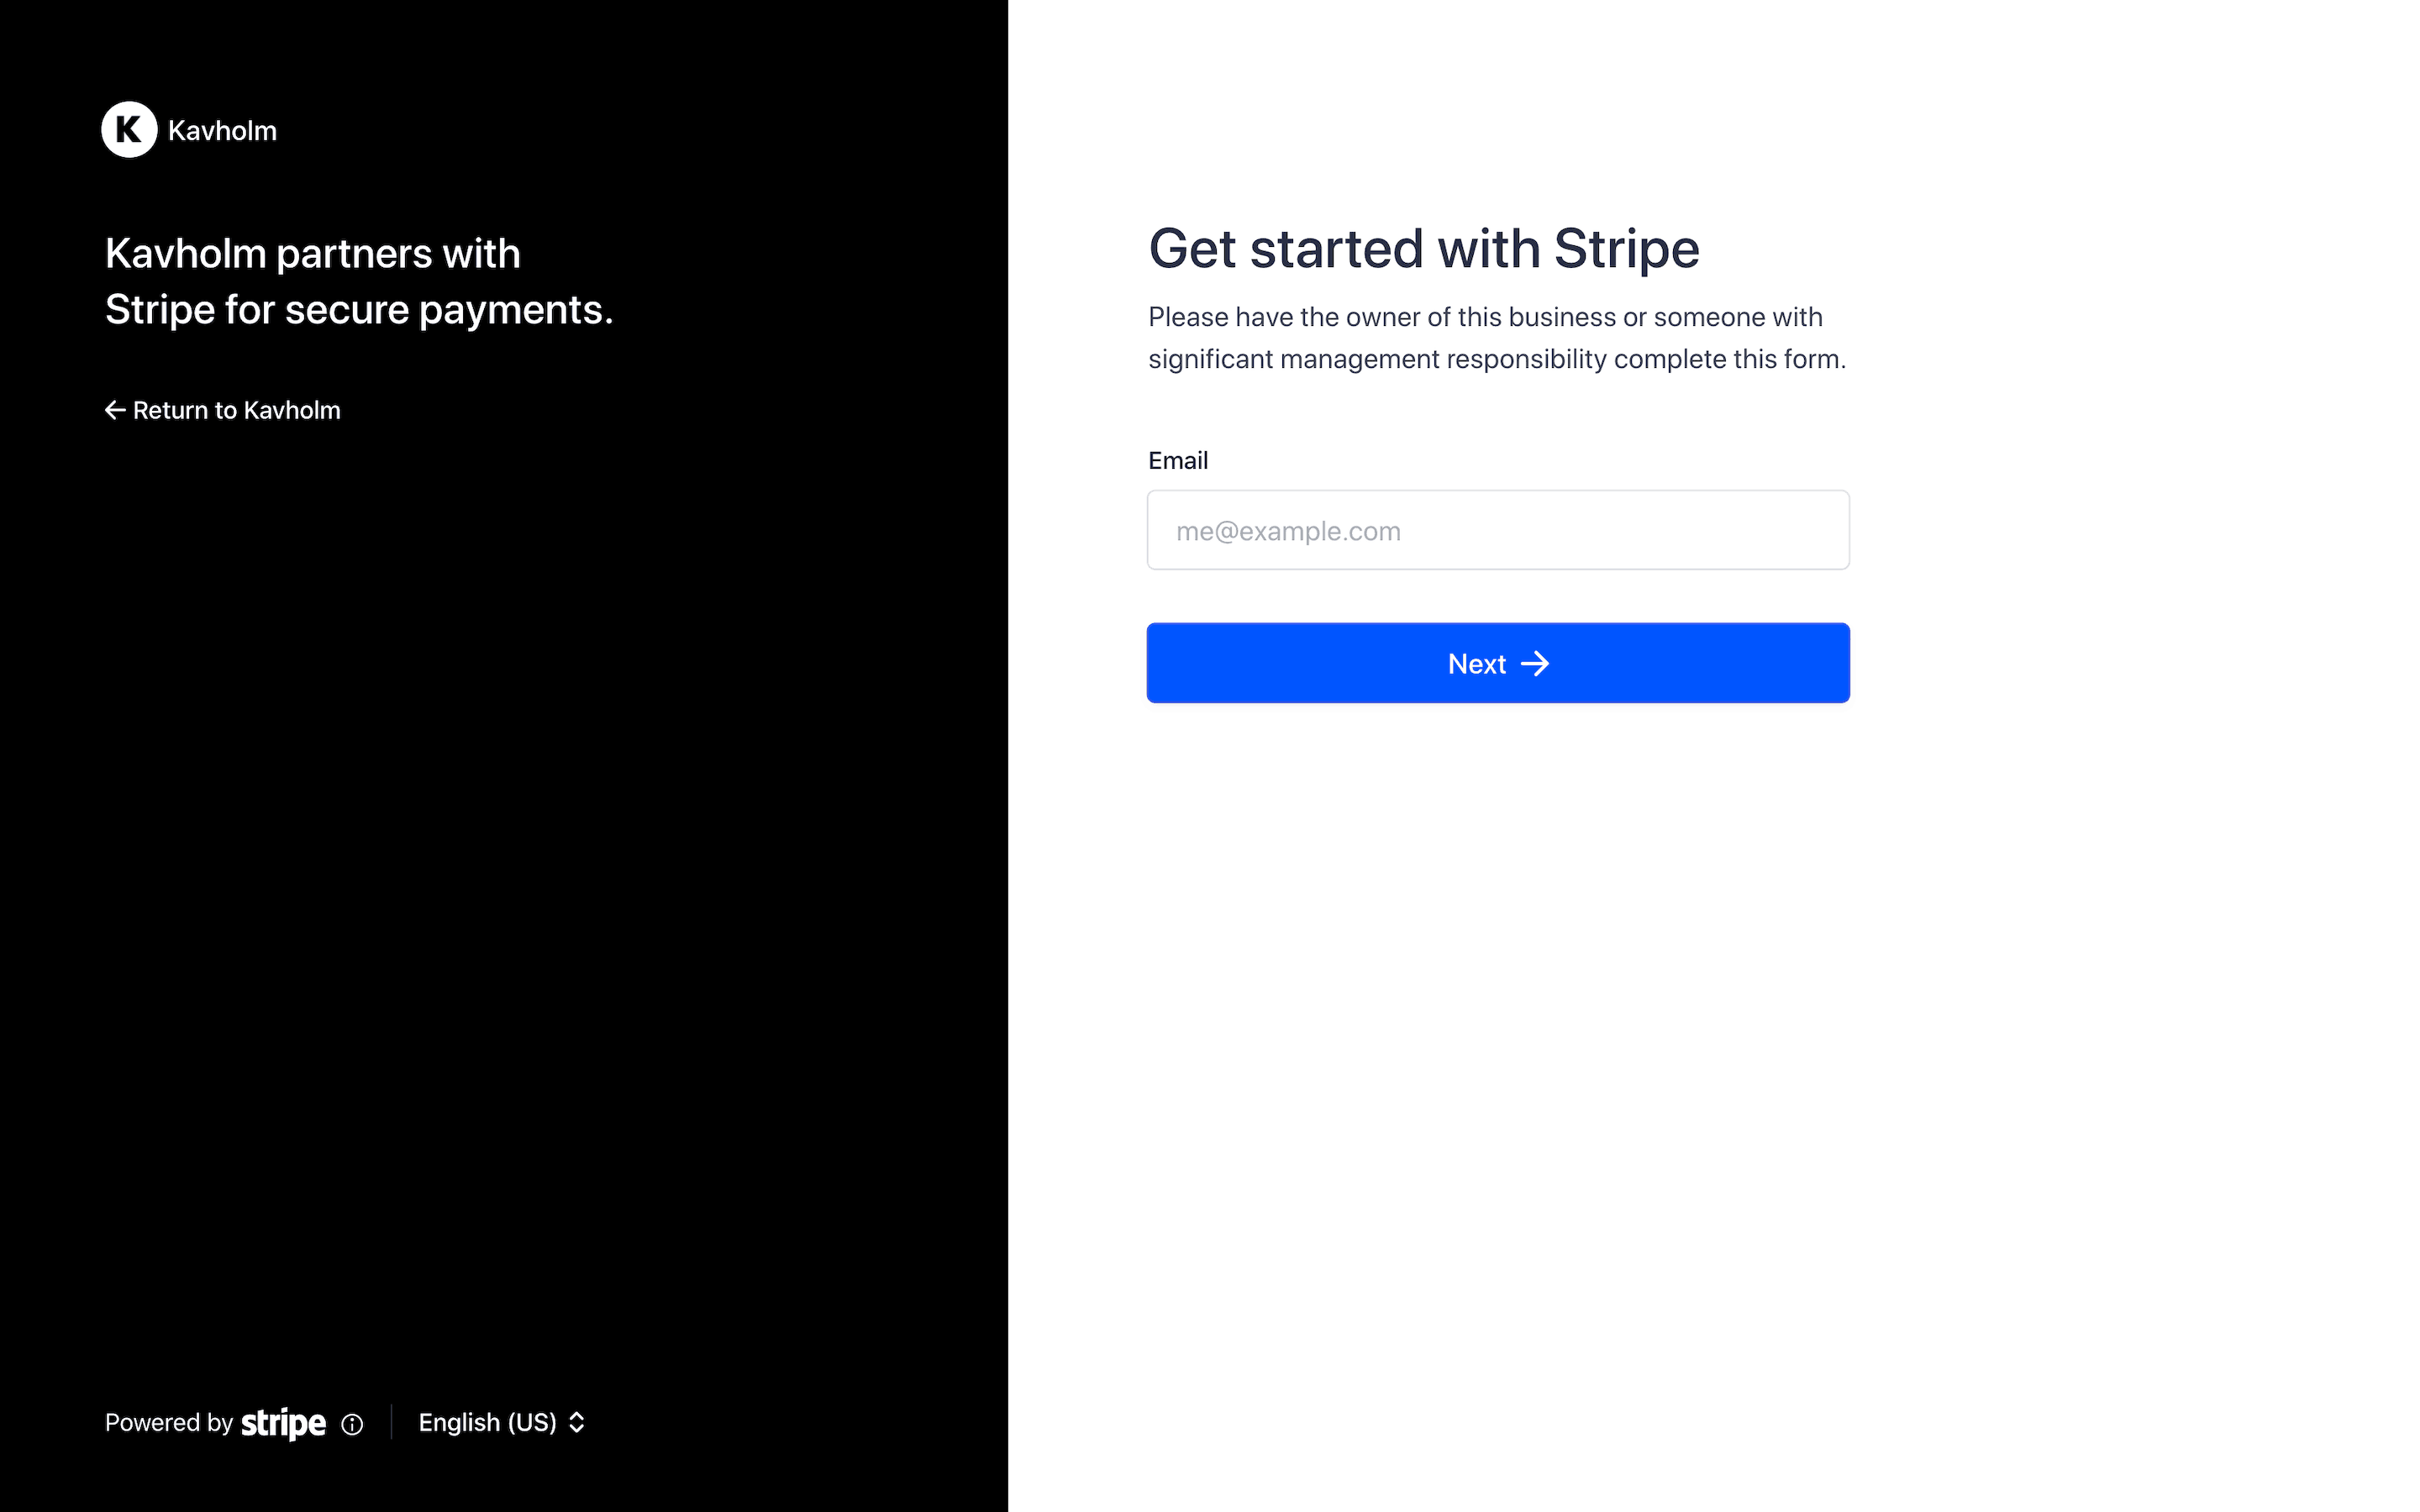
Send connected accounts to a Stripe-hosted onboarding flow. Stripe-hosted onboarding allows you to redirect your user to Stripe to complete the onboarding process in a co-branded interface.

Screenshot of Connect Onboarding form

Best for when you want to launch quickly with the lowest integration effort:

  • Connected accounts leave your site and are redirected to Stripe to complete the flow.
  • Co-branding with Stripe and limited options to customize.
  • Stripe handles all of the onboarding flow logic.
  • Automatically supports 46+ countries and 14 languages.

Set up dashboard flows

Connected accounts need access to a dashboard to manage their account. Provide connected accounts with access to the Stripe Dashboard, the Express Dashboard, or a dashboard built using the Stripe API and embedded components.

Akses dashboard:
Akses dashboard:

Provide access to the Stripe Dashboard to connected accounts.

The Stripe Dashboard provides connected accounts with a full suite of functionality, including viewing payouts, managing refunds, handling disputes, accessing reporting, and processing charges on their own. Users can sign into their Stripe Dashboard at any time and can access the Dashboard by visiting Stripe directly. Users have access to Stripe support and Stripe can reach out and communicate with users about their account.

Use the Stripe Dashboard when:

  • Your users need access to powerful payments workflows and advanced user management features.
  • You prefer Stripe to manage risk of loss and take responsibility for negative balance liability on connected accounts.
  • You are comfortable with Stripe branding and limited platform co-branding.

You can always add embedded components to your own website in tandem with providing access to the Stripe Dashboard.

Accept a payment

You create a charge to accept a payment from a customer on behalf of your connected account. The type of charge you create:

  • Determines how payment funds are split among all parties involved
  • Impacts how the charge appears on the customer’s bank or billing statement (with your platform’s information or your user’s)
  • Determines which account Stripe debits for refunds and chargebacks

Tipe charge:
Tipe charge:

A direct charge is a customer payment made directly to a connected account. Customers directly transact with your connected account, often unaware of your platform’s existence.

This charge type is best suited for platforms providing software as a service. For example, Shopify provides tools for building online storefronts, and Thinkific enables educators to sell online courses.

Stripe fees

Siapa yang membayar biaya:

Stripe collects Stripe fees directly from your connected accounts. You can collect an optional application fee when you create the direct charge.

Pay out users

When the funds from the payment settle and your user’s connected account has a positive Stripe balance, you can pay out those funds to their external account.

By default, Stripe pays out funds that have settled in your connected accounts’ balances on a daily rolling basis. If you prefer, you can configure different automatic payout schedules, trigger payouts manually instead of automatically, or pay out instantly.

Responsibility for negative balances

Pertanggungjawaban saldo negatif:

Stripe monitors risk signals on connected accounts, implements risk interventions on connected accounts in response to observed signals, and seeks to recover negative balances from your connected accounts.

For most software as a service platforms, this is the best default choice, especially for those that are new to embedding payments:

  • Stripe monitors your connected accounts for credit and fraud risk, as well as protection against risk of loss in the event of negative balances attributed to business risk.
  • Stripe handles all the end to end communications and remediations directly with your connected accounts through hosted flows or embedded components.

Your personalized guide

This list of steps is customized based on your choices above. Use it to get started building your integration.

  • Buat akun terhubung dan kumpulkan persyaratan menggunakan layanan onboarding yang di-hosting oleh Stripe. Pelajari selengkapnya

  • Buat Direct Charges. Akun terhubung Anda akan membayar biaya Stripe. Pelajari selengkapnya

  • Pahami Dashboard Stripe dan kontrol yang dapat dilakukan akun terhubung Anda.

  • Pahami cara Stripe menangani pertanggungjawaban saldo negatif pada akun terhubung Anda. Pelajari selengkapnya

  • Memahami cara mengontrol payout rekening bank dan kartu debit.
Properti
Onboarding
Onboarding:
Akses dashboard
Akses dashboard:
Tipe charge
Tipe charge:
Siapa yang membayar biaya Stripe
Siapa yang membayar biaya:
Pertanggungjawaban saldo negatif
Pertanggungjawaban saldo negatif:
Apakah halaman ini membantu?
YaTidak
Butuh bantuan? Hubungi Tim CS.
Bergabunglah dengan program akses awal kami.
Lihat log perubahan kami.
Ada pertanyaan? Hubungi Bagian Penjualan.
LLM? Baca llms.txt.
Dijalankan oleh Markdoc