Verifone M425 readerPublic preview
Learn how to set up the Verifone M425 reader.
Public preview
Verifone reader support is in public preview for the US and CA. To join the preview, you must contact the Sales team to order the applicable reader.
The M425 is an Android-based smart reader for countertop use. The Stripe Terminal SDK connects to this reader over the internet or LAN. This reader is compatible with the following integrations:
- JavaScript SDK
- iOS SDK
- Android SDK
- React Native SDK
- Server-driven
For the M425, we recommend the server-driven integration, which uses the Stripe API instead of a Terminal SDK. To view the reader’s parts and features, see the M425 product sheet.
Turn the reader on and off
Connect the M425 reader to power by plugging the provided USB-C cable into the port on the back of your reader. Connect the opposite end of the USB-C cable to the provided dongle and power adapter, and plug it into a power outlet. The M425 requires 100-240V AC power to operate properly. We recommend Verifone power adapters and cables for the operation of the M425. Using alternative power adapters or cables might result in failure modes and can invalidate your product warranty.
To power on the device, press and hold the power button for about 2 seconds until the LCD display lights up. The power button is found on the back left side of the reader. To turn off the device, press and hold the power button for about 5 seconds.
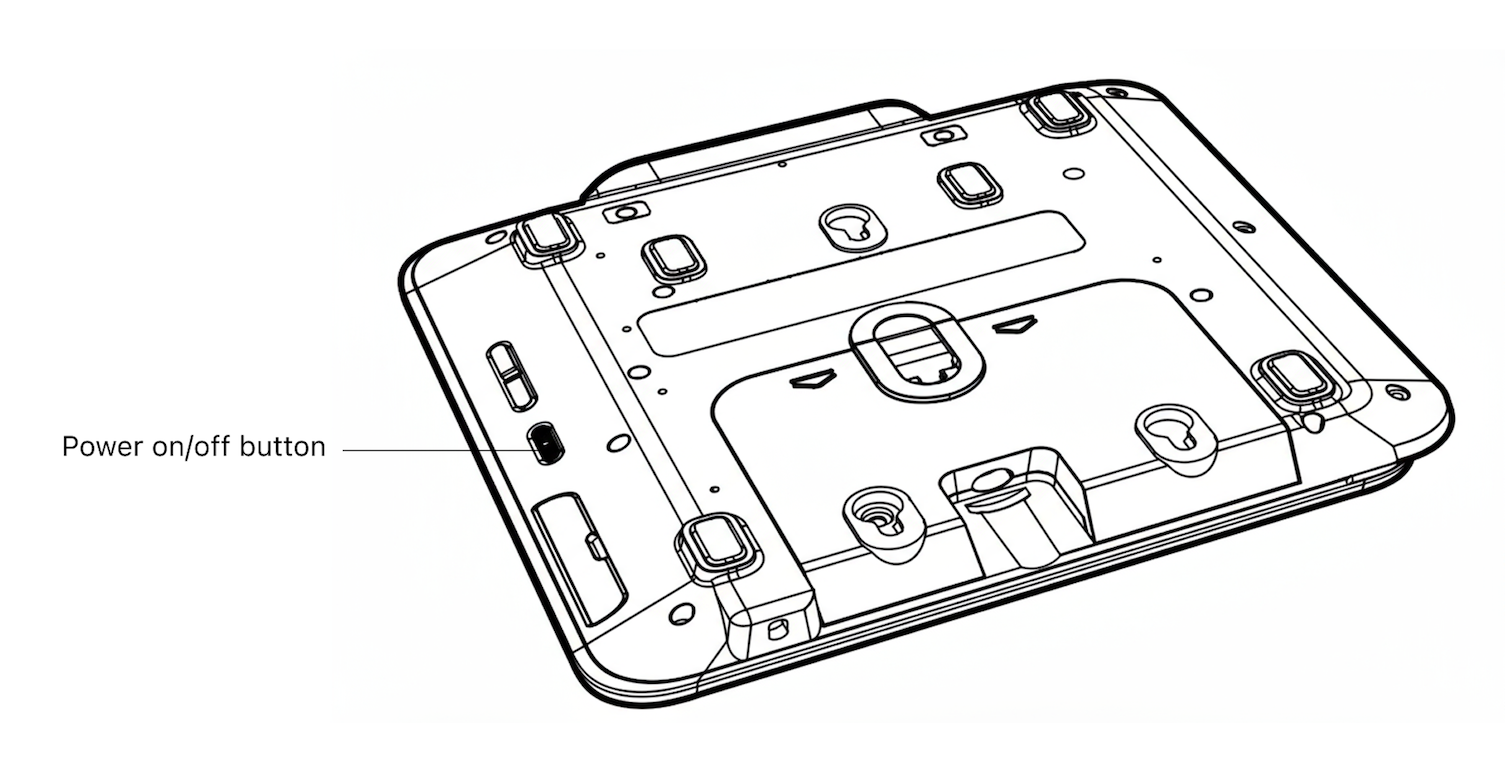
Power button
Access settings
To open the settings menu, swipe right from the left edge of the reader screen to reveal a Settings button. Tap the Settings button and enter the admin pin 07139. From here, you can update your Wi-Fi settings or generate a pairing code for device registration. To close the settings menu, touch the back arrow in the top left corner.
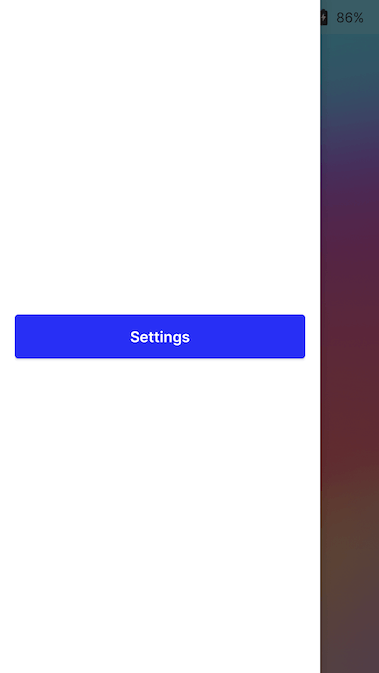
Settings button
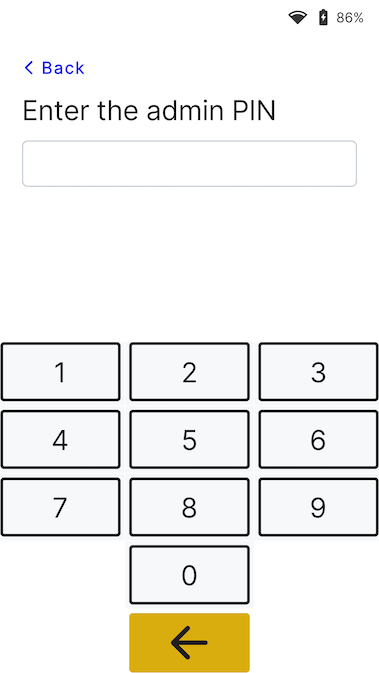
Admin PIN screen
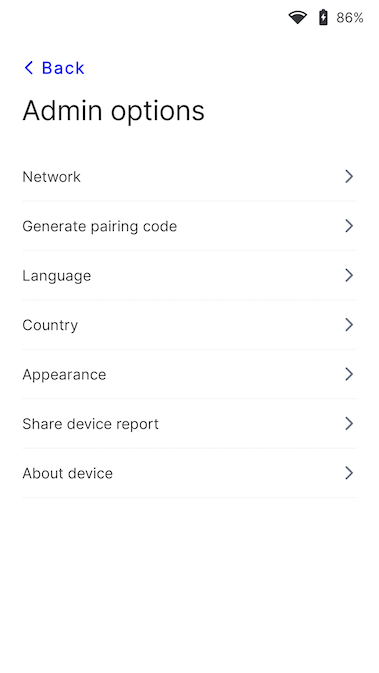
Settings menu
Connect the reader to the internet
Because the M425 is a smart reader, its reader software communicates directly with Stripe. Your point of sale application communicates with the reader through either a LAN (using a Terminal SDK) or the internet (using the server-driven integration).
When communicating with the reader through the LAN, you must connect the reader to the same local network as your point of sale application. If you’re running into issues connecting your reader to the internet, see the M425 troubleshooting guide.
Wi-Fi
To connect to Wi-Fi or switch networks, go to the network and Wi-Fi settings, choose the network, and connect. Attempting to join a new network disconnects the reader from any existing wireless connection. To learn more about supported Wi-Fi networks, see Network requirements.
Ethernet
Ethernet connectivity requires the Orange Dongle, which provides wired 10/100 Ethernet connectivity.
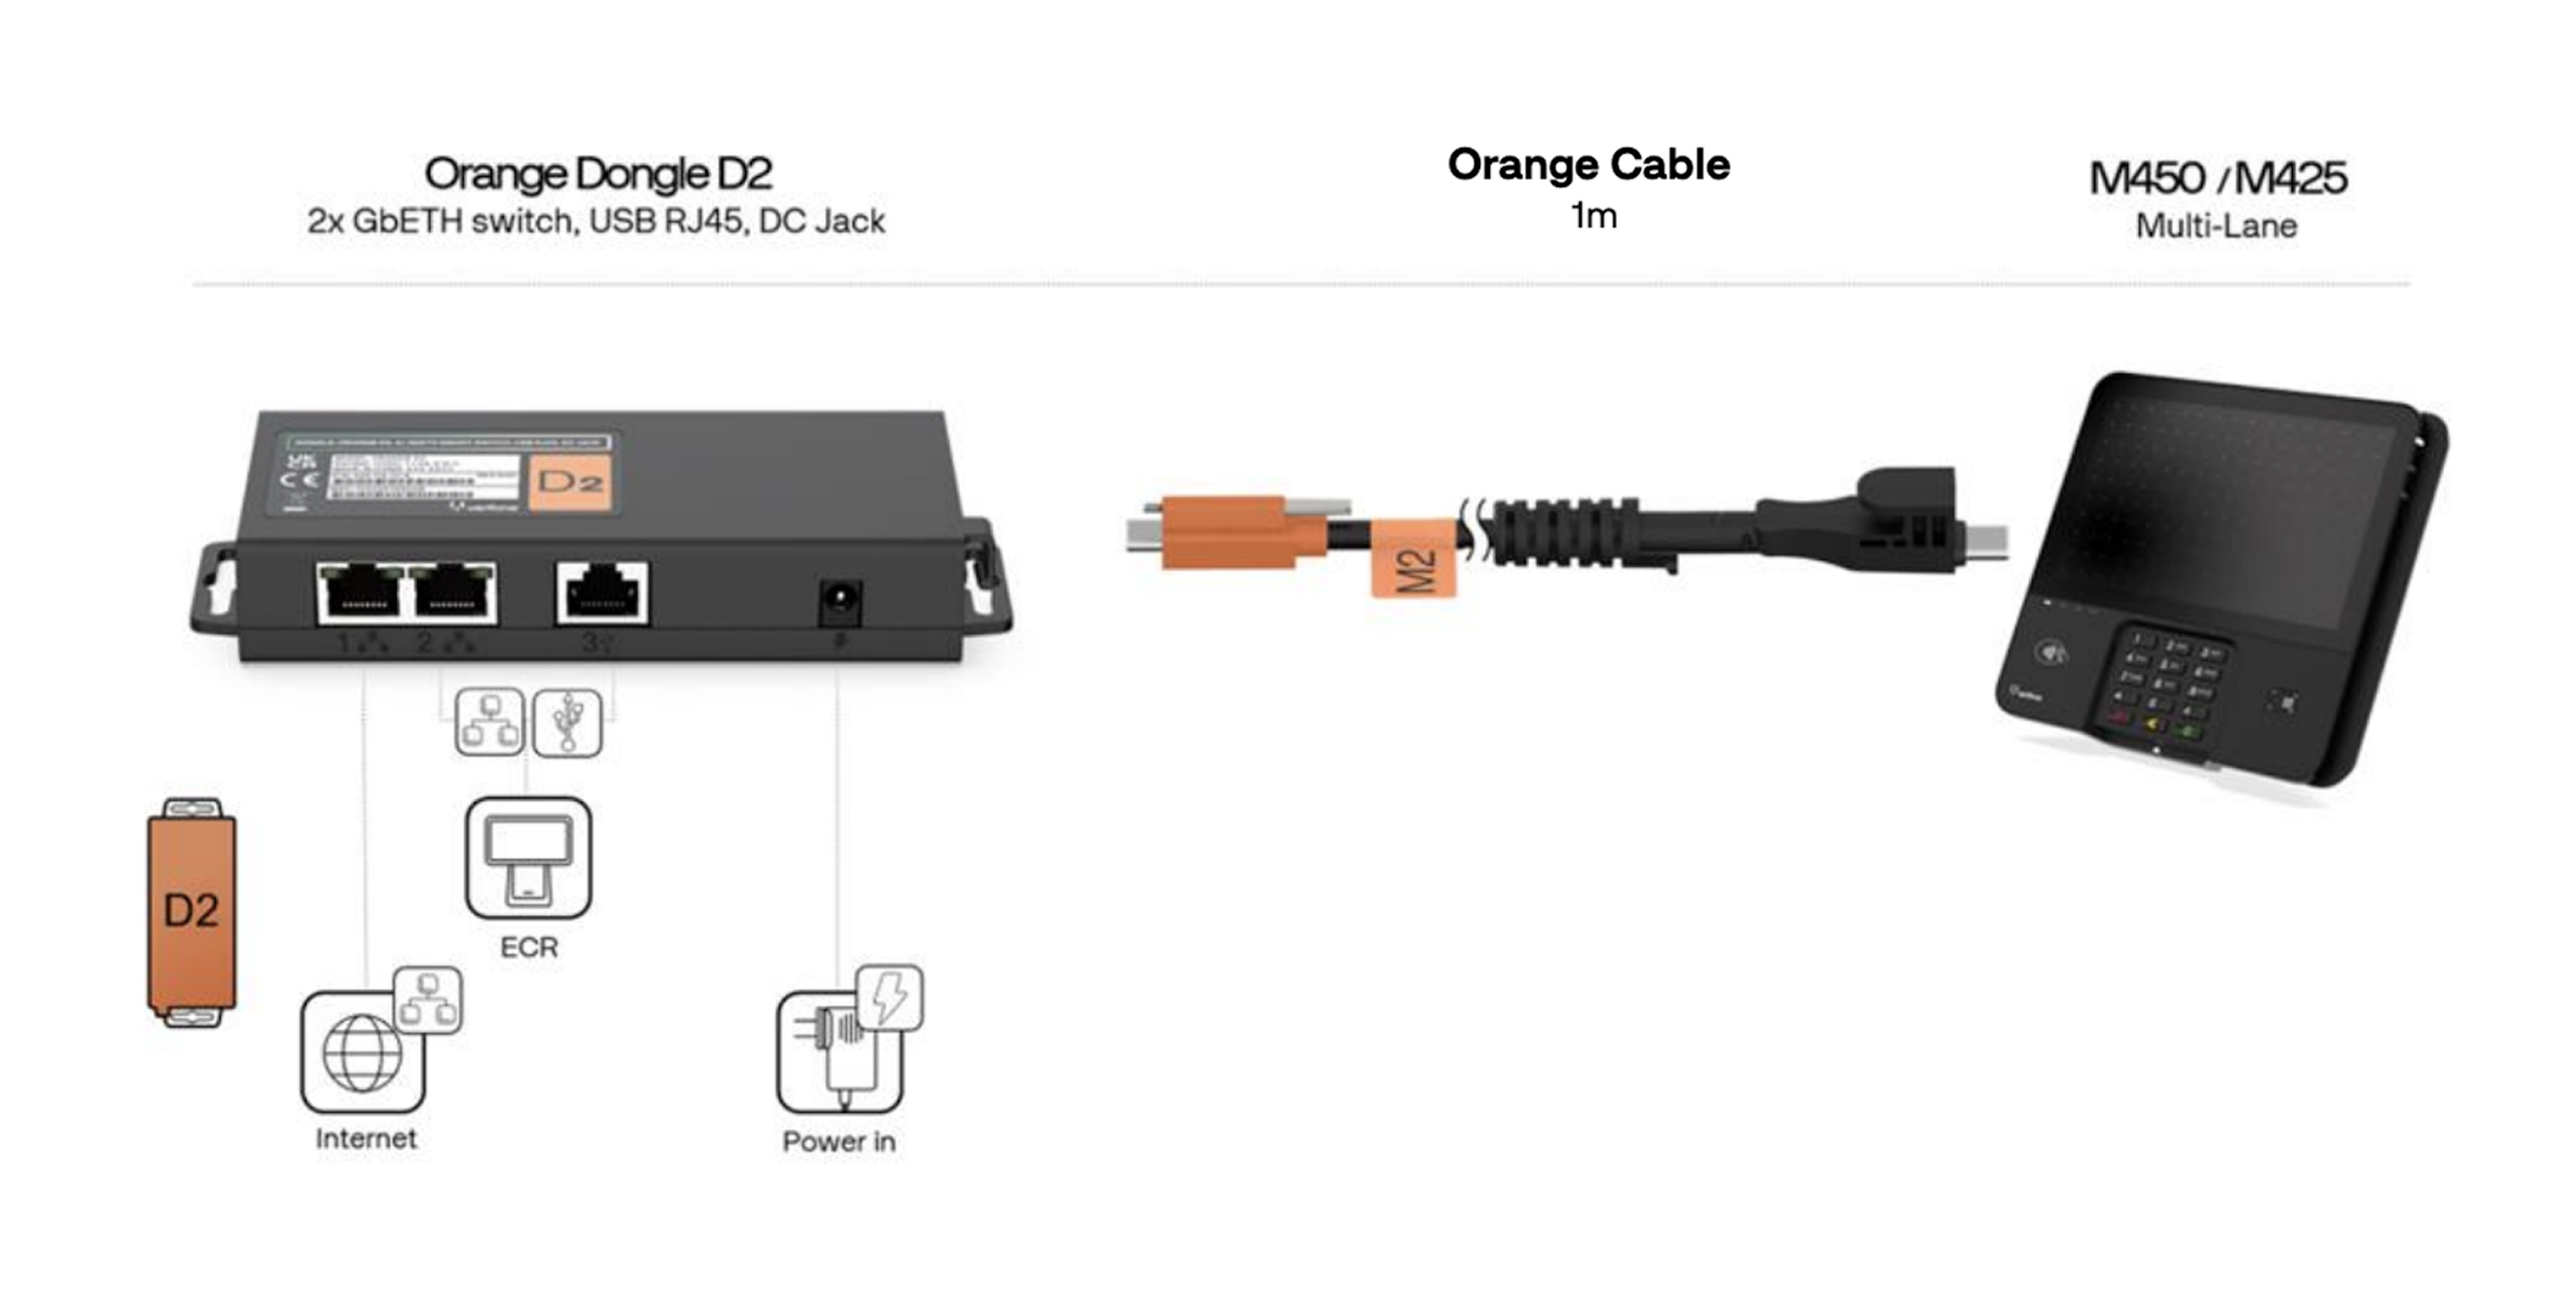
M425 dongle and cable
Change the UI appearance
By default, the UI of the P630 reader uses a light theme.

Welcome screen
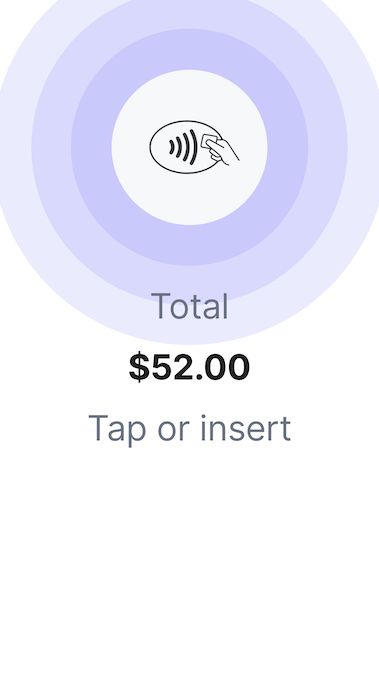
Payment screen
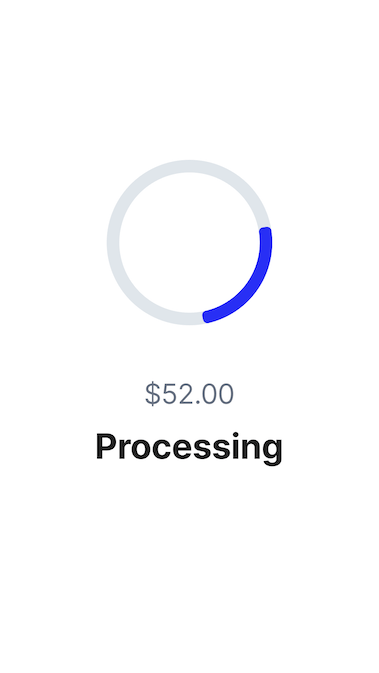
Processing screen
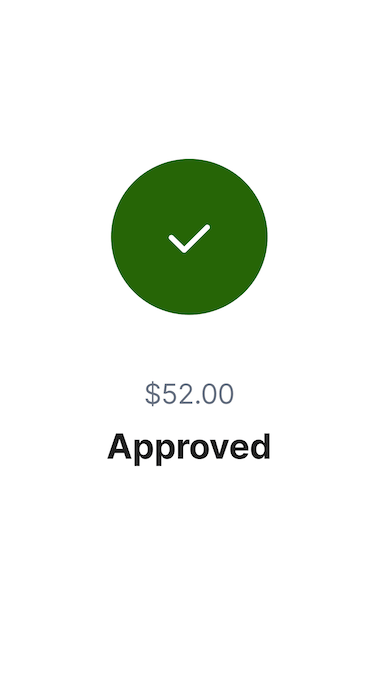
Approved screen
You can change the appearance of the UI to use a different theme in the settings menu. Go to settings, then select Appearance, and select a new theme from the dropdown.
Settings menu
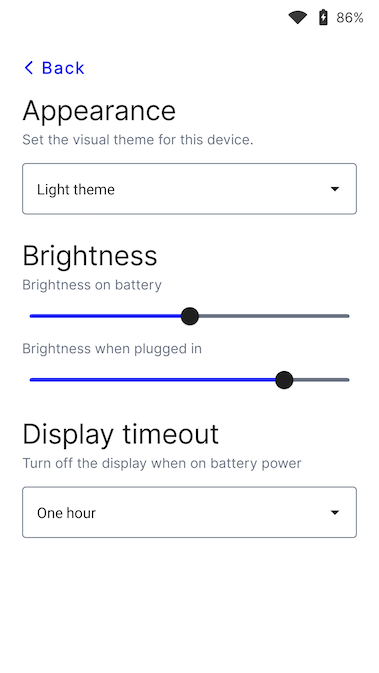
Appearance menu
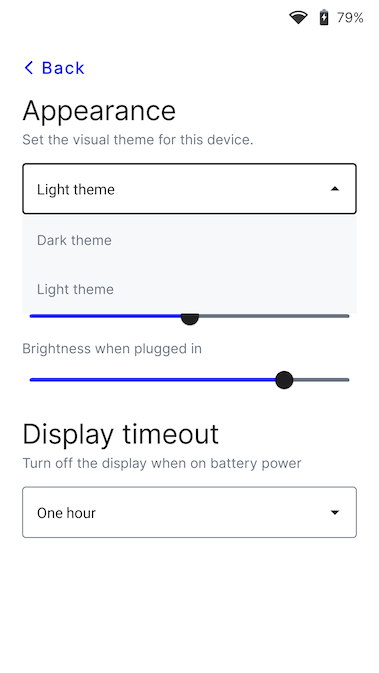
Theme menu
Change the default reader language
Access your settings. Find the language settings, and select the new language. Confirm your changes. You might need to restart the device for the change to take effect.