Lesegerät Verifone M425Öffentliche Vorschau
Erfahren Sie, wie Sie das Lesegerät Verifone M425 einrichten.
Öffentliche Vorschau
Das Verifone-Lesegerät wird in den USA und Kanada in der öffentlichen Vorschau unterstützt. Um an der Vorschau teilzunehmen, müssen Sie das Sales-Team kontaktieren, um das entsprechende Lesegerät zu bestellen.
Der M425 ist ein auf Android basierender Smart Reader für den Einsatz an der Verkaufstheke. Das Stripe Terminal-SDK verbindet sich über Internet oder LAN mit diesem Lesegerät. Dieses Lesegerät ist mit den folgenden Integrationen kompatibel:
- JavaScript-SDK
- iOS SDK
- Android SDK
- React Native SDK
- Servergestützt
Für das M425 empfehlen wir die servergestützte Integration, das die Stripe-API anstelle eines Terminal-SDK verwendet. Um die Teile und Merkmale des Lesegeräts zu sehen, siehe das M425-Produktblatt.
Lesegerät ein- und ausschalten
Schließen Sie das Lesegerät M425 an das Stromnetz an, indem Sie das mitgelieferte USB-C-Kabel in den Anschluss auf der Rückseite des Lesegeräts stecken. Das andere Ende des USB-C-Kabels verbinden Sie mit dem mitgelieferten Dongle und dem Netzadapter (Netzteil) und stecken es in eine Steckdose. Das M425 benötigt eine Leistung von 100 - 240 V AC, um ordnungsgemäß zu funktionieren. Für das Laden und den Betrieb des M425 werden Verifone-Netzadapter und -Kabel empfohlen. Wenn Sie andere Netzadapter oder Kabel verwenden, kann dies zu Fehlern führen. Dadurch wird möglicherweise Ihre Produktgarantie ungültig.
Um das Gerät einzuschalten, drücken und halten Sie den Einschaltknopf etwa 2 Sekunden lang, bis das LCD-Display aufleuchtet. Der Ein- und Ausschalt-Knopf befindet sich auf der linken Rückseite des Lesegeräts. Um das Gerät auszuschalten, drücken und halten Sie den Einschaltknopf etwa 5 Sekunden lang gedrückt.
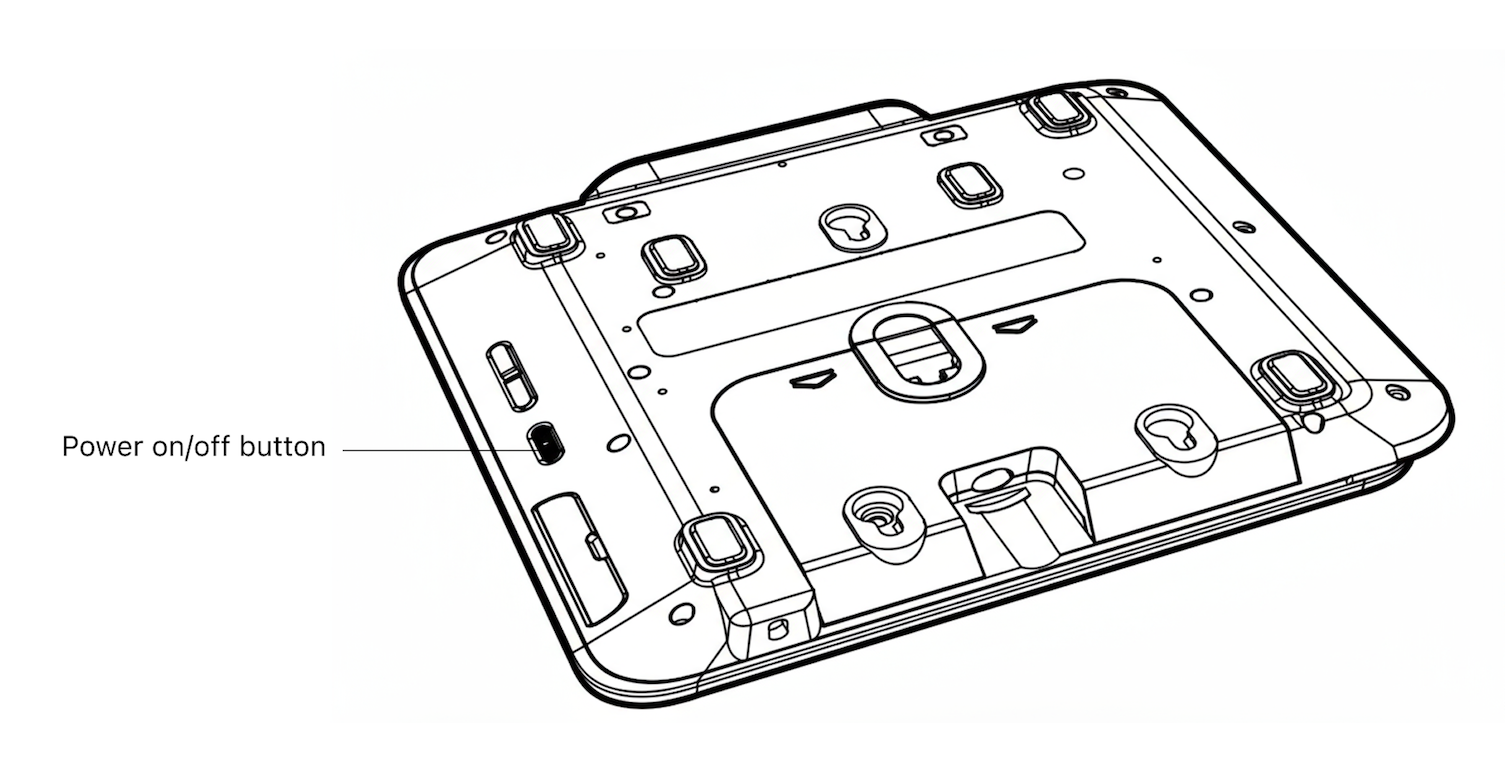
Ein-/Aus-Knopf
Zugriffseinstellungen
Um das Einstellungsmenü zu öffnen, wischen Sie vom linken Rand des Lesegerät-Bildschirms nach rechts, um die Einstellungen-Schaltfläche anzuzeigen. Tippen Sie auf die Einstellungen-Schaltfläche und geben Sie die Admin-PIN 07139 ein. Hier können Sie Ihre WLAN-Einstellungen aktualisieren oder einen Kopplungscode für die Geräteanmeldung generieren. Um das Einstellungsmenü zu schließen, tippen Sie auf den Pfeil oben links.
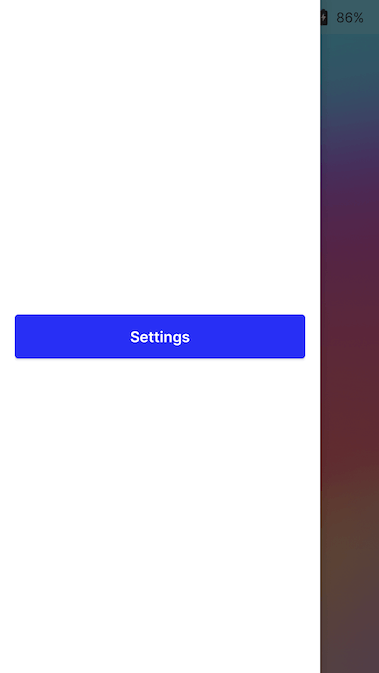
Schaltfläche „Einstellungen“
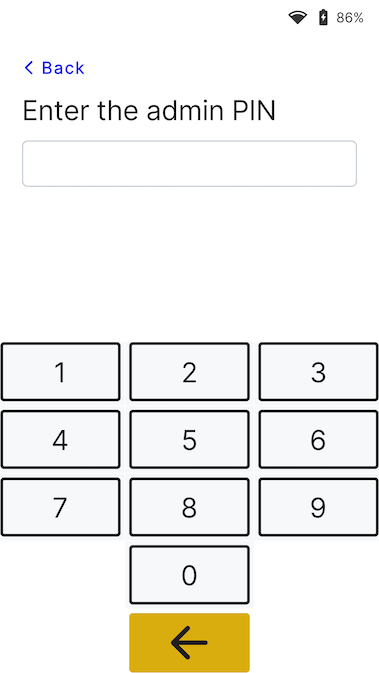
Admin-PIN-Fenster
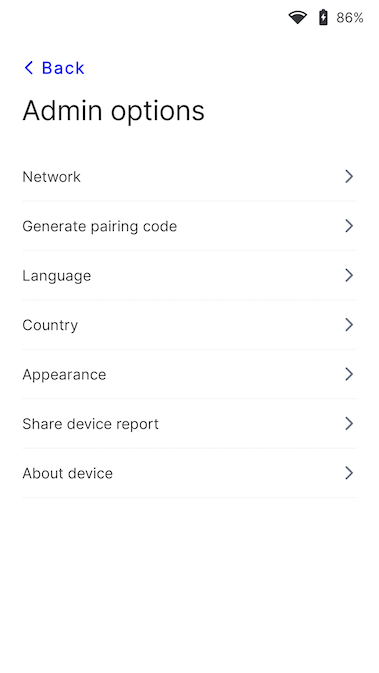
Einrichtungsmenü
Lesegerät mit dem Internet verbinden
Da das M425 ein intelligentes Lesegerät (Smart Reader) ist, kommuniziert seine Lesegerätesoftware direkt mit Stripe. Ihre Point of Sale-Anwendung kommuniziert entweder über ein LAN (mittels Terminal-SDK) oder über das Internet (mittels servergestützter Integration) mit dem Lesegerät.
Wenn Sie über das LAN mit dem Lesegerät kommunizieren, muss das Lesegerät mit demselben lokalen Netzwerk wie Ihre Point-of-Sale-Anwendung verbunden sein. Bei Problemen mit der Internetverbindung des Lesegeräts lesen Sie die M425-Fehlerbehebungsanleitung.
WLAN
Um eine Verbindung zum WLAN herzustellen oder das Netzwerk zu wechseln, navigieren Sie zu den Netzwerk- und WLAN-Einstellungen. Wählen Sie dann das Netzwerk aus und stellen Sie die Verbindung her. Beim Versuch, eine Verbindung mit einem neuen Netzwerk herzustellen, wird das Lesegerät von einer ggf. bestehenden WLAN-Verbindung getrennt. Weitere Informationen zu den unterstützten WLAN-Netzwerken finden Sie in unseren Netzwerkanforderungen.
Ethernet
Für die Ethernet-Konnektivität wird der Orange Dongle benötigt, der eine kabelgebundene 10/100-Ethernet-Konnektivität bereitstellt.
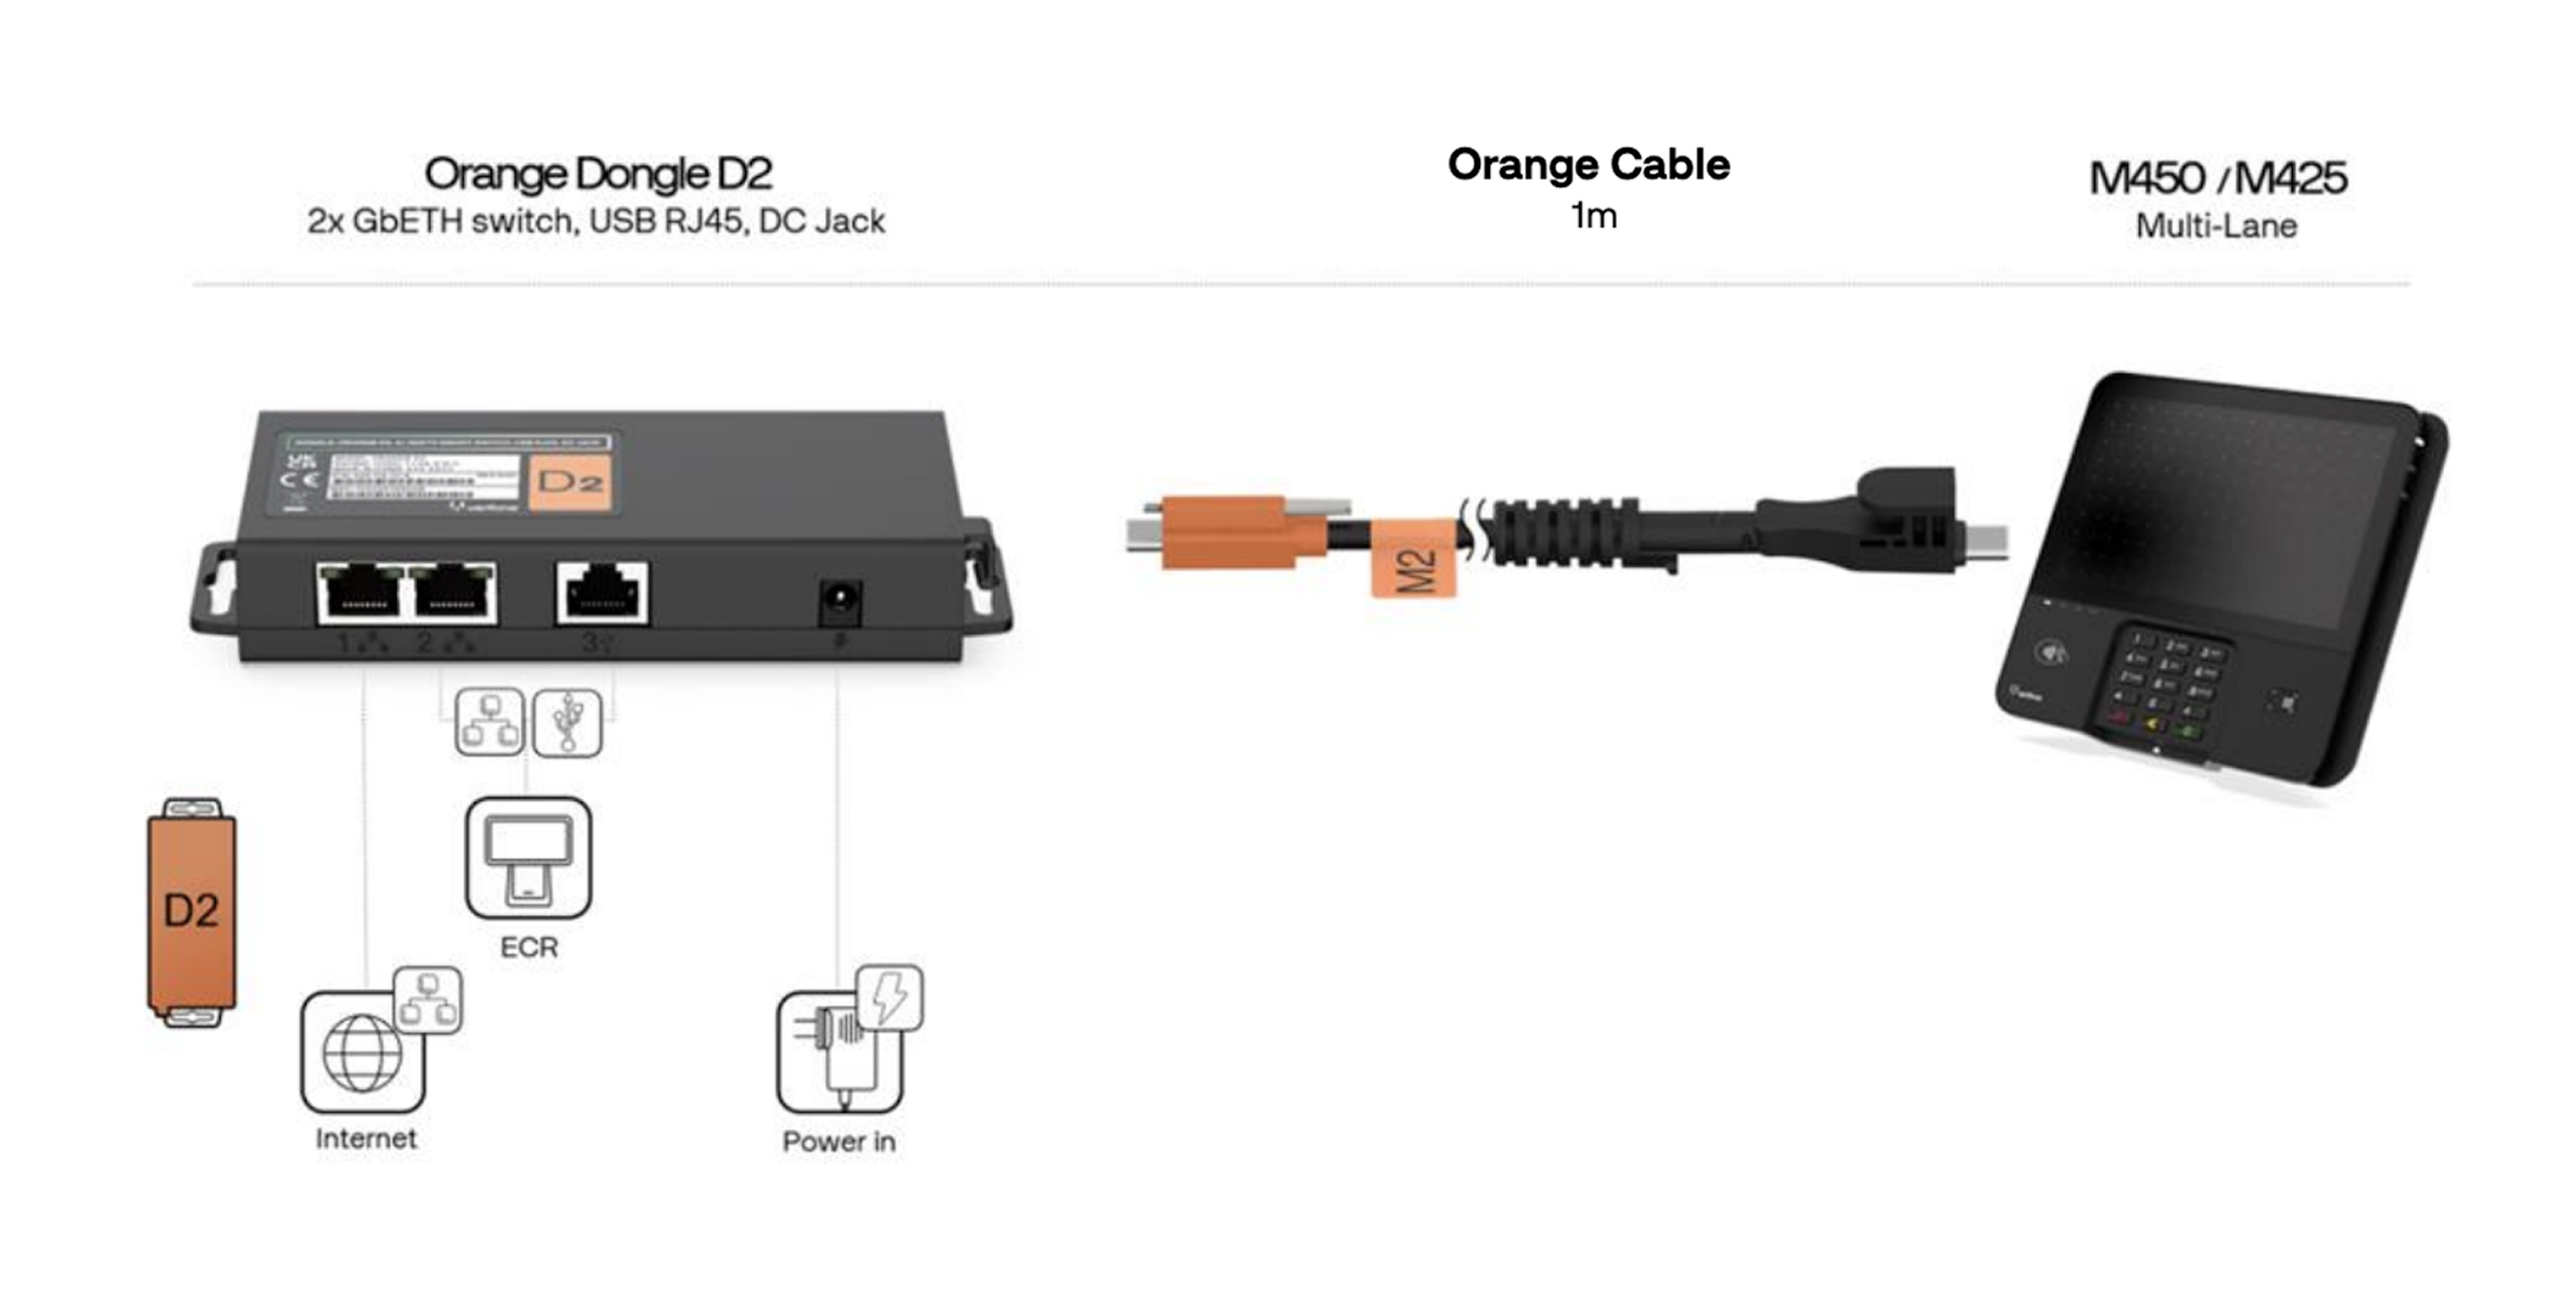
M425-Dongle und Kabel
Erscheinungsbild der Nutzeroberfläche ändern
Standardmäßig verwendet die Nutzeroberfläche des P630-Lesegeräts ein helles Design.

Begrüßungsbildschirm
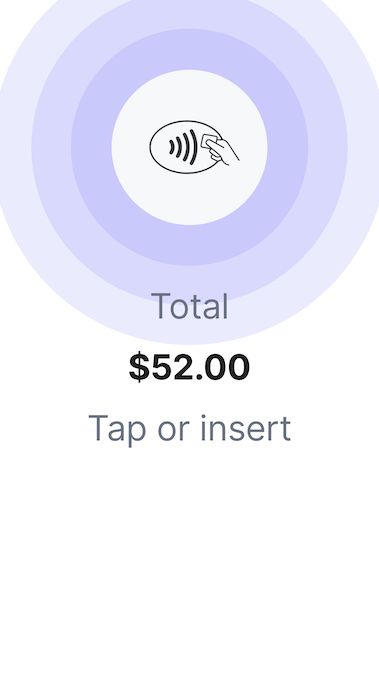
Zahlungsbildschirm
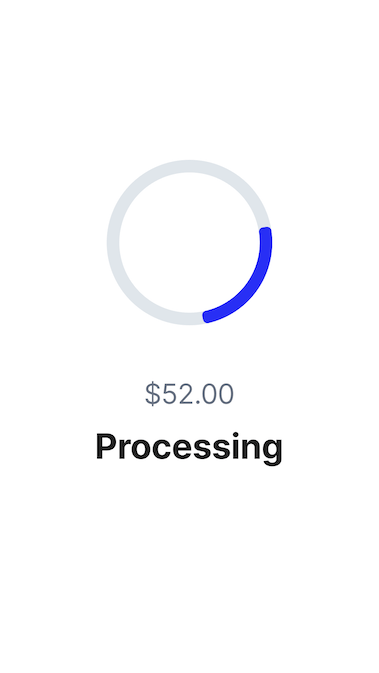
Verarbeitungsbildschirm
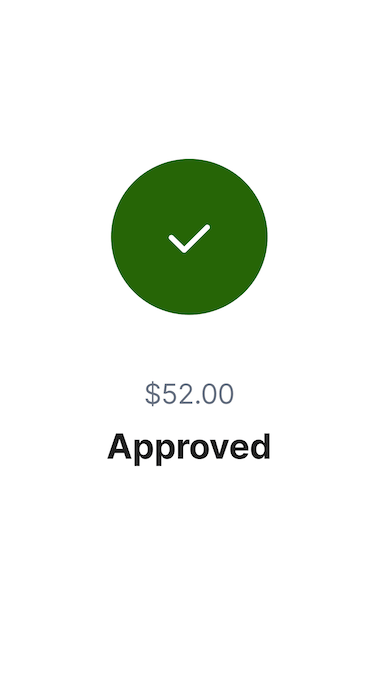
Bildschirm „Genehmigt“
Sie können das Erscheinungsbild der Nutzeroberfläche ändern, um im Einstellungsmenü einen anderen Hintergrund zu verwenden. Gehen Sie zu Einstellungen, wählen Sie dann Erscheinungsbild aus und wählen Sie ein neues Design aus der Dropdown-Liste aus.
Einrichtungsmenü
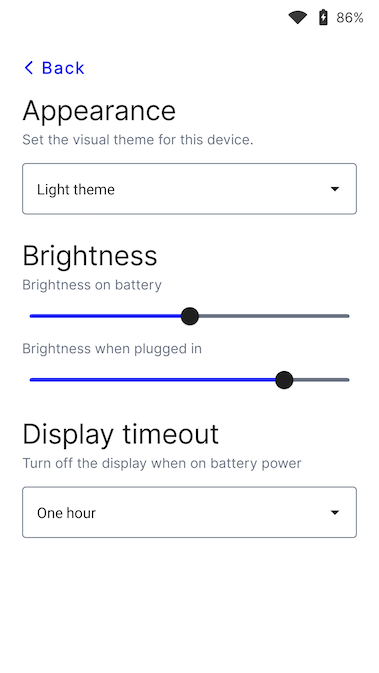
Bildschirm „Erscheinungsbild“
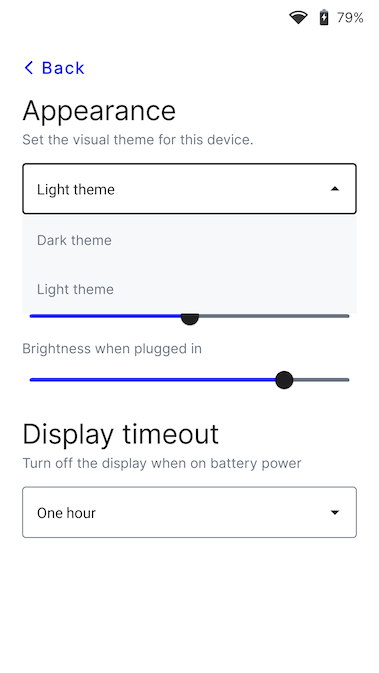
Designmenü
Standardsprache des Lesegeräts ändern
Greifen Sie auf Ihre Einstellungen zu. Suchen Sie die Spracheinstellungen und wählen Sie die neue Sprache aus. Bestätigen Sie Ihre Änderungen. Möglicherweise müssen Sie das Gerät neu starten, damit die Änderung wirksam wird.