# 実装方法を設定する
Stripe Terminal SDK またはサーバー主導型の組み込みを設定して、対面決済の受け付けを開始できるようにします。
# Android
利用可能なすべてのメソッド、オブジェクト、エラーの詳細を確認するには、Stripe の [SDK リファレンス完全版](https://stripe.dev/stripe-terminal-android/)をご覧ください。
Android SDK の使用を開始するには、以下の 4 つのステップが必要です。
1. アプリに [SDK をインストール](https://docs.stripe.com/terminal/payments/setup-integration.md#install)します。
2. アプリを[設定](https://docs.stripe.com/terminal/payments/setup-integration.md#configure)します。
3. アプリとバックエンドで[接続トークンのエンドポイントを設定](https://docs.stripe.com/terminal/payments/setup-integration.md#connection-token)します。
4. アプリで [SDK を初期化](https://docs.stripe.com/terminal/payments/setup-integration.md#initialize)します。
## SDK をインストールする [クライアント側]
> アプリのライフサイクル全体で状態を保存したり、維持したりする際には Room が使用されるため、SDK はサポートライブラリーとの互換性がなくなりました。ご使用のアプリが AndroidX に移行されていることを確認してください。
SDK をインストールするには、[アプリのビルドファイル](https://developer.android.com/studio/build/dependencies)の `dependencies` ブロックに `stripeterminal` を追加します。
#### Kotlin
```kotlin
plugins {
id("com.android.application")
}
android { ... }
dependencies {
implementation("com.stripe:stripeterminal:5.6.0")
// ...
}
```
### (オプション) Kotlin Coroutine サポート
SDK バージョン 5.0.0 には、オプションのモジュール `stripeterminal-ktx` が含まれています。このモジュールは、非同期 Terminal API の `suspend` 関数ラッパーを提供し、コールバックをネストするのではなく、シンプルで連続したコードを記述できるようにします。
これを使用するには、依存関係を追加します。
#### Kotlin
```kotlin
dependencies {
implementation("com.stripe:stripeterminal:5.6.0")
// Add the coroutines module
implementation("com.stripe:stripeterminal-ktx:5.6.0")
// ...
}
```
この統合パターンの例については、GitHub の [Kotlin サンプルアプリ](https://github.com/stripe/stripe-terminal-android/tree/master/Example/kotlinapp)をご覧ください。
### ターゲット Java バージョンを設定
次に、SDK は Java 8 を使用しているため、アプリのビルドファイルで対象の Java バージョンとして Java 8 を指定する必要があります。
#### Kotlin
```kotlin
android {
// ...
compileOptions {
sourceCompatibility = JavaVersion.VERSION_1_8
targetCompatibility = JavaVersion.VERSION_1_8
}
kotlinOptions {
jvmTarget = "1.8"
}
}
```
> SDK の最新リリースおよび過去バージョンの詳細については、GitHub の [Releases](https://github.com/stripe/stripe-terminal-android/releases) ページをご覧ください。新しいリリースの公開時に通知を受け取るには、[リポジトリーのリリースを確認](https://docs.github.com/en/github/managing-subscriptions-and-notifications-on-github/configuring-notifications#configuring-your-watch-settings-for-an-individual-repository)してください。
>
> Android SDK の以前のバージョンまたはベータ版からの移行については、[Stripe Terminal 移行ガイド](https://docs.stripe.com/terminal/references/sdk-migration-guide.md)を参照してください。
## アプリを設定する [クライアント側]
`ACCESS_FINE_LOCATION` 権限を有効化する必要があります。Bluetooth リーダーを接続するには、Bluetooth の権限も有効にする必要があります。以下に示すように、適切な権限をマニフェストに追加してください。
```xml
```
[Terminal](https://stripe.dev/stripe-terminal-android/core/com.stripe.stripeterminal/-terminal/index.html) オブジェクトを初期化する前に以下のチェックを追加して、アプリで `ACCESS_FINE_LOCATION` 権限が有効になっていることを確認します。
```kotlin
if (ContextCompat.checkSelfPermission(this, android.Manifest.permission.ACCESS_FINE_LOCATION) != PackageManager.PERMISSION_GRANTED) {
val permissions = arrayOf(android.Manifest.permission.ACCESS_FINE_LOCATION)
ActivityCompat.requestPermissions(this, permissions, REQUEST_CODE_LOCATION)
}
```
また、SDK が機能するには位置情報へのアクセス許可が必要になるため、アプリのユーザーがその許可を付与していることを確認してください。これを行うには、アプリで `onRequestPermissionsResult` メソッドをオーバーライドして、アクセス許可の結果を確認します。
```kotlin
override fun onRequestPermissionsResult(
requestCode: Int,
permissions: Array,
grantResults: IntArray
) {
super.onRequestPermissionsResult(requestCode, permissions, grantResults)
if (requestCode == REQUEST_CODE_LOCATION && grantResults.isNotEmpty()
&& grantResults[0] != PackageManager.PERMISSION_GRANTED
) {
throw RuntimeException("Location services are required to connect to a reader.")
}
}
```
また、申し込みだけでなく、デバイスで場所情報と Bluetooth サービスが有効であることを確認する必要があります。デバイス設定でどのように表示されるかの例をご覧ください。
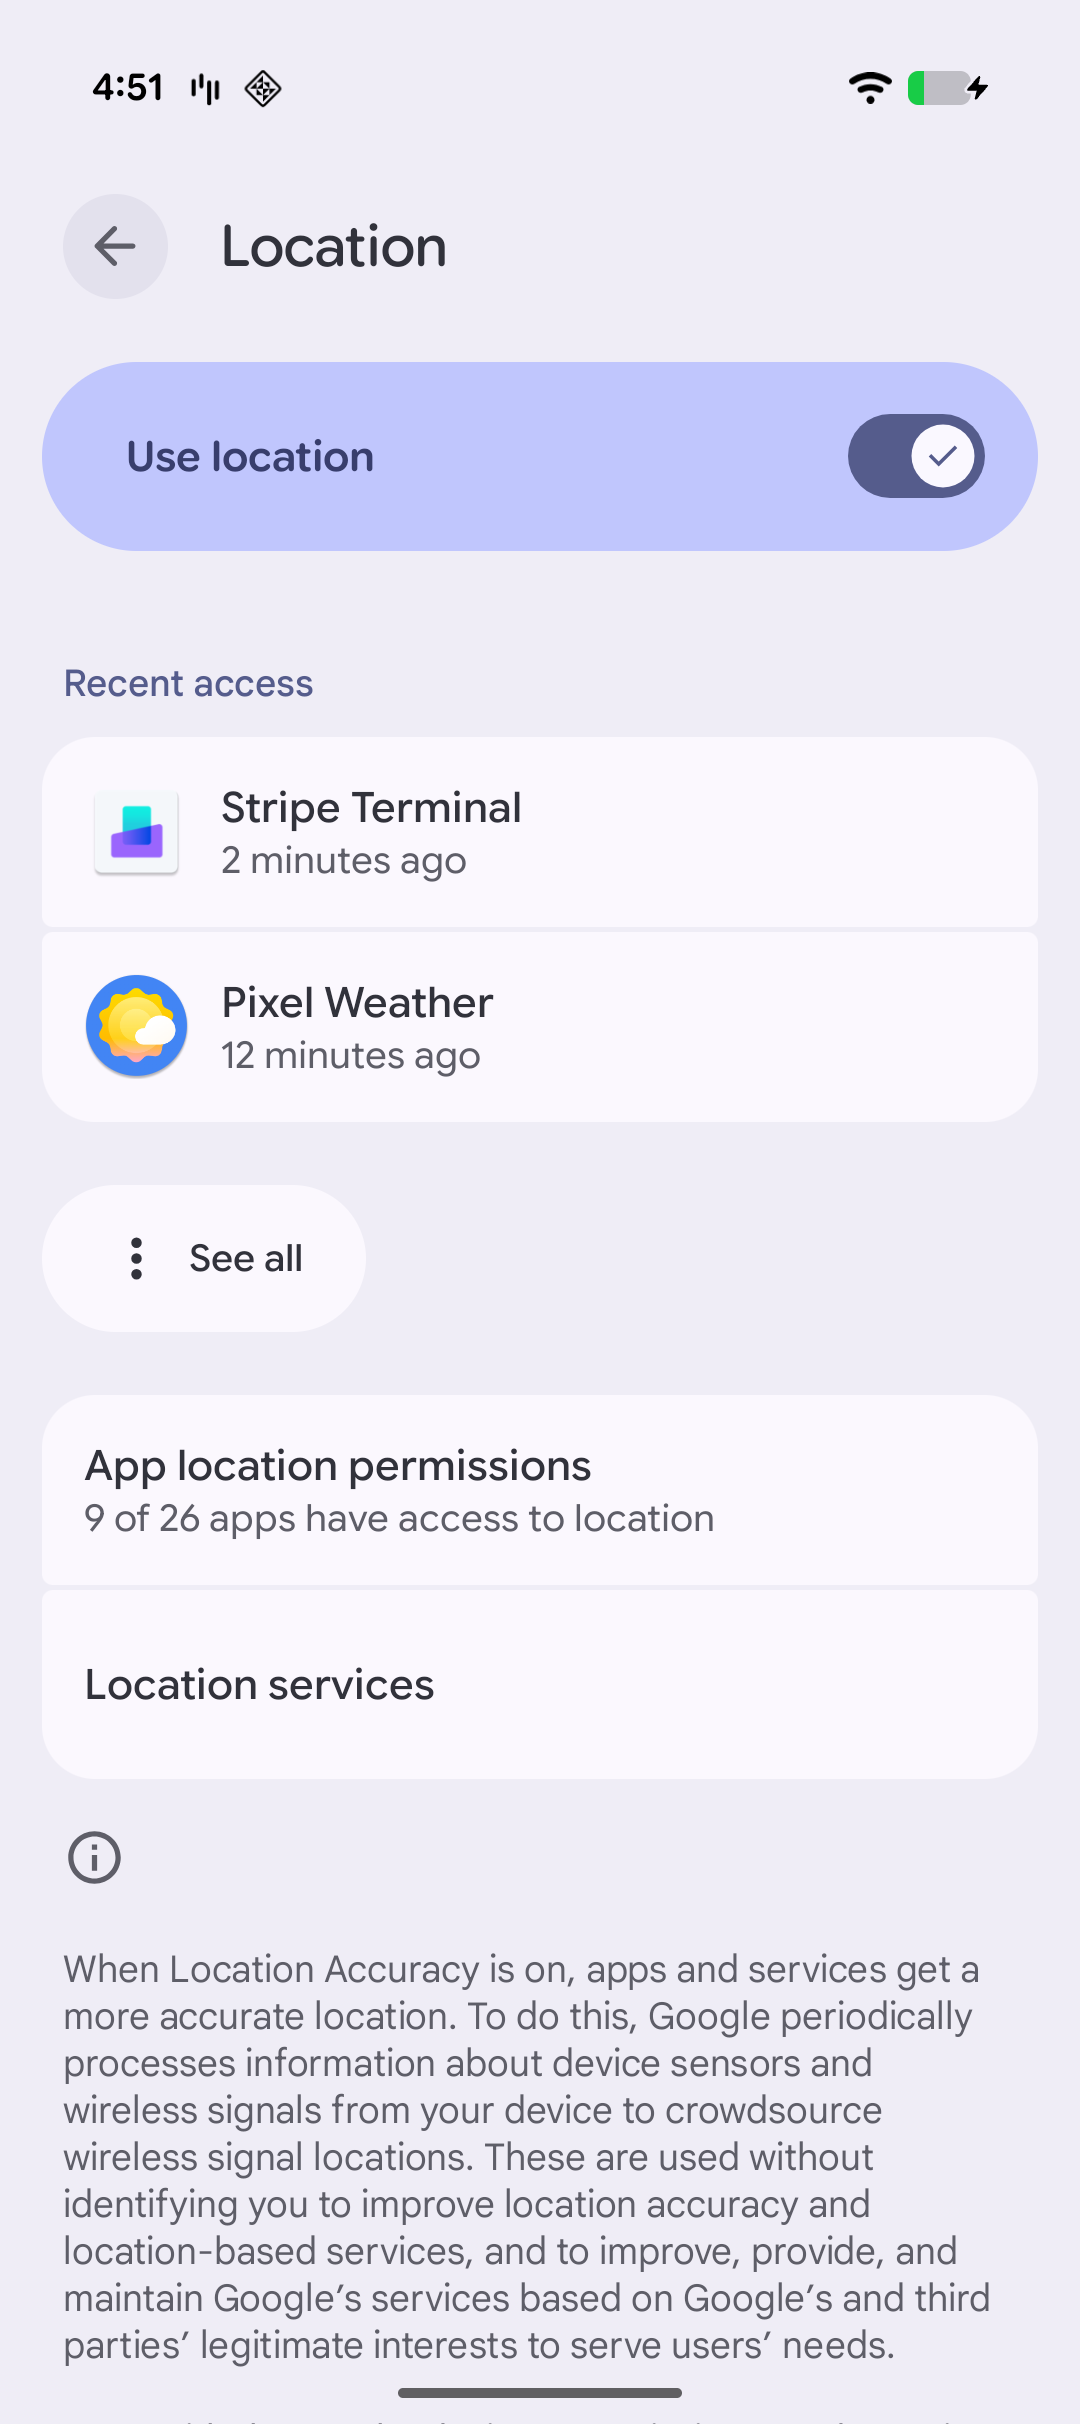
店舗設定
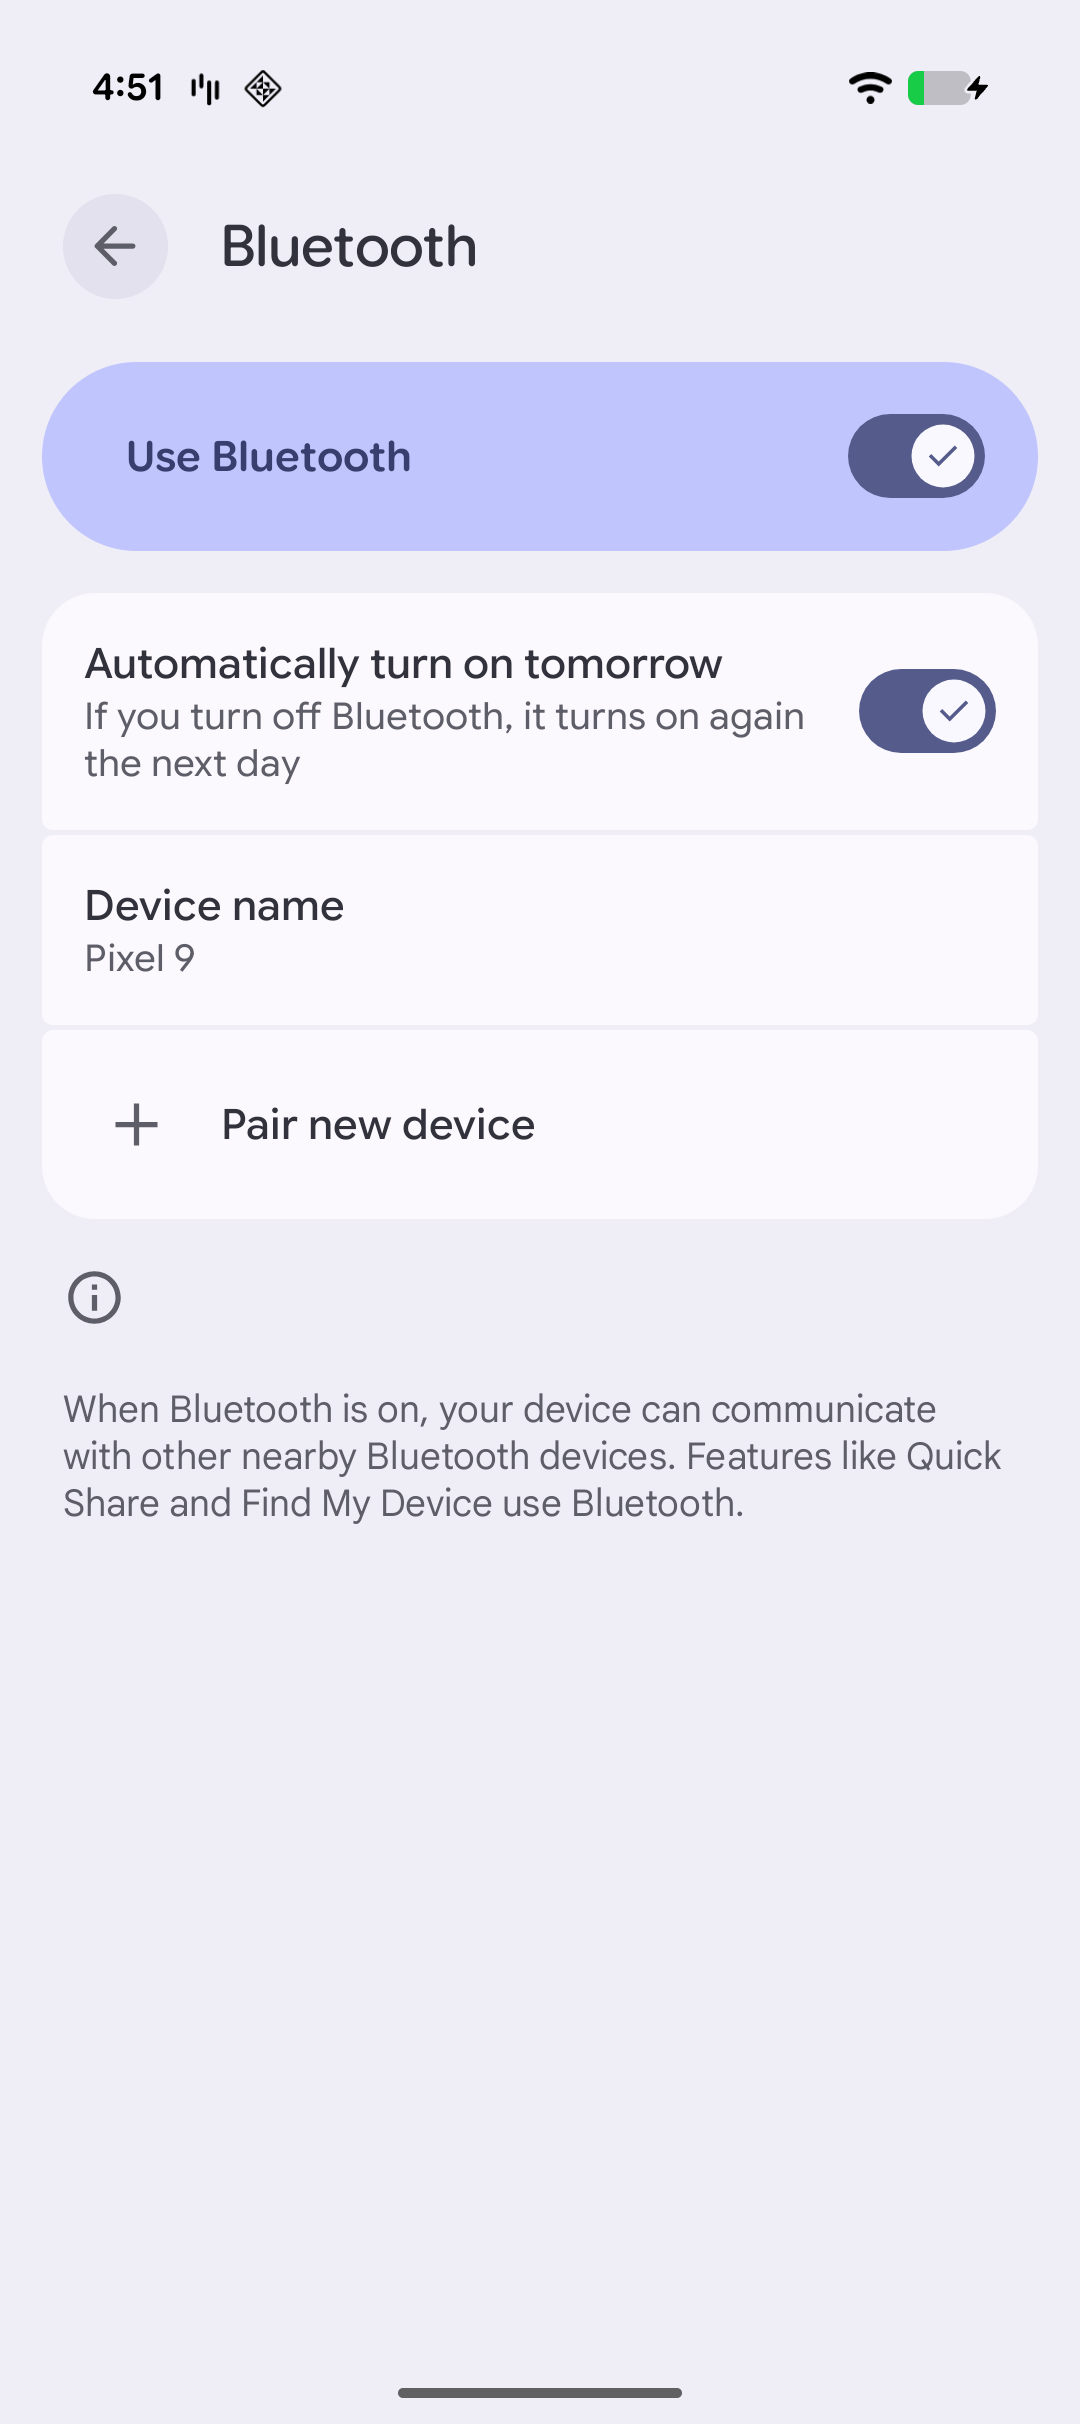
Bluetooth の設定
> 支払いに関連する不正使用のリスクを減らし、不審請求の申請を最小限に抑えるため、Stripe は支払いの発生場所を把握する必要があります。SDK が Android デバイスの場所を特定できない場合には、位置情報へのアクセスが復元されるまで支払いは無効になります。
## ConnectionToken エンドポイントを設定する [サーバー側] [クライアント側]
### サーバー側
リーダーに接続するには、バックエンドからご自身の Stripe アカウントに、リーダーを使用するための SDK 権限を付与する必要があります。それには、[ConnectionToken (接続トークン)](https://docs.stripe.com/api/terminal/connection_tokens.md) から [secret (シークレット)](https://docs.stripe.com/api/terminal/connection_tokens/object.md#terminal_connection_token_object-secret) を提供します。バックエンドは信頼できるクライアントに対してのみ、接続トークンを作成するようにする必要があります。
#### curl
```bash
curl https://api.stripe.com/v1/terminal/connection_tokens \
-u <>: \
-X "POST"
```
サーバー側の `ConnectionToken` からシークレットを取得してクライアント側に渡します。
#### Ruby
```ruby
post '/connection_token' do
token = # ... Create or retrieve the ConnectionToken
{secret: token.secret}.to_json
end
```
> `ConnectionToken` の `secret` により、お客様は任意の Stripe Terminal リーダーに接続して、Stripe アカウントで支払いを受け取ることができます。必ず、接続トークンの作成に使用するエンドポイントを認証し、クロスサイトリクエストフォージェリ (CSRF) から保護してください。
### クライアント側
SDK にこのエンドポイントへのアクセス権を付与するには、アプリで [ConnectionTokenProvider](https://stripe.dev/stripe-terminal-android/external/com.stripe.stripeterminal.external.callable/-connection-token-provider/index.html) インターフェイスを実装します。このインターフェイスはバックエンドから `ConnectionToken` をリクエストする単一の関数を定義します。
```kotlin
class CustomConnectionTokenProvider : ConnectionTokenProvider {
override fun fetchConnectionToken(callback: ConnectionTokenCallback) {
try {
// Your backend should call /v1/terminal/connection_tokens and return the
// JSON response from Stripe. When the request to your backend succeeds,
// return the `secret` from the response to the SDK.
callback.onSuccess(secret)
} catch (e: Exception) {
callback.onFailure(
ConnectionTokenException("Failed to fetch connection token", e)
)
}
}
}
```
この関数は、SDK で Stripe またはリーダーの認証が必要になるたびに呼び出されます。また、リーダーへの接続に新しい接続トークンが必要な場合 (アプリがリーダーから切断されたときなど) にも呼び出されます。SDK がバックエンドから新しい接続トークンを取得できない場合、リーダーへの接続は失敗し、サーバーからエラーが返されます。
> 接続トークンのキャッシュやハードコードはしないでください。SDK が接続トークンのライフサイクルを管理します。
> #### 証明書のピンニング
>
> ほとんどの場合、アプリケーションで証明書のピンニングを設定する必要はありません。アプリケーションにこの機能が必要な場合は、[証明書のピンニング](https://docs.stripe.com/tls-certificates.md#certificate-pinning)に関するドキュメントをご覧ください。
## SDK を初期化する [クライアント側]
Android SDK はライフサイクル対応です。メモリーリークを防止し、長期間実行される Terminal SDK プロセスのクリーンアップを適切に行うために、アプリケーションには、`TerminalApplicationDelegate.onCreate()` を使用して SDK にライフサイクルイベントを通知する `Application` サブクラスを実装する必要があります。
```kotlin
// Substitute with your application name, and remember to keep it the same as your AndroidManifest.xml
class StripeTerminalApplication : Application() {
override fun onCreate() {
super.onCreate()
TerminalApplicationDelegate.onCreate(this)
}
}
```
> Android のタッチ決済 (TTPA) を使用する場合、`Application` での初期化は、この例とは若干異なります。[TTPA を使用してリーダーに接続する](https://docs.stripe.com/terminal/payments/connect-reader.md?terminal-sdk-platform=android&reader-type=tap-to-pay#initialize)をご覧ください。
Stripe Terminal SDK によって提供される [Terminal](https://stripe.dev/stripe-terminal-android/core/com.stripe.stripeterminal/-terminal/index.html) クラスは、リーダーの検出、リーダーへの接続、リーダーでの操作の実行 (カートの詳細の表示、支払いの作成、将来の使用に備えたカードの保存など) のための汎用インターフェイスを表示します。
まずはじめに、現在のアプリケーションコンテキスト、[ステップ 3](https://docs.stripe.com/terminal/payments/setup-integration.md#connection-token) で実装した [ConnectionTokenProvider](https://stripe.dev/stripe-terminal-android/external/com.stripe.stripeterminal.external.callable/-connection-token-provider/index.html)、および [TerminalListener](https://stripe.dev/stripe-terminal-android/external/com.stripe.stripeterminal.external.callable/-terminal-listener/index.html) オブジェクトを指定します。このリスナーを使用して、SDK からの支払いや接続ステータスの更新などのイベントを処理できます。
```kotlin
// Create your listener object. Override any methods that you want to be notified about
val listener = object : TerminalListener {
override fun onConnectionStatusChange(status: ConnectionStatus) {
println("onConnectionStatusChange: $status");
}
override fun onPaymentStatusChange(status: PaymentStatus) {
println("onPaymentStatusChange: $status");
}
}
// Choose the level of messages that should be logged to your console
val logLevel = LogLevel.VERBOSE
// Create your token provider.
val tokenProvider = CustomConnectionTokenProvider()
// Offline listener is optional and only needed if processing offline transactions.
// See https://docs.stripe.com/terminal/features/operate-offline/collect-card-payments
val offlineListener: OfflineListener? = null
// Pass in the current application context, your desired logging level, your token provider, and the listener you created
if (!Terminal.isInitialized()) {
Terminal.init(applicationContext, logLevel, tokenProvider, listener, offlineListener)
}
// Since the Terminal is a singleton, you can call getInstance whenever you need it
Terminal.getInstance()
```
## SDK の更新
Stripe は定期的に、新機能、バグ修正、セキュリティー更新を含む更新をリリースしています。SDK は、新しいバージョンが利用可能になり次第すぐに更新してください。現在利用可能な SDK は以下のとおりです。
- [Stripe Terminal Android SDK](https://github.com/stripe/stripe-terminal-android/releases)
- [Stripe Terminal iOS SDK](https://github.com/stripe/stripe-terminal-ios/releases)
- [Stripe Terminal JavaScript SDK](https://docs.stripe.com/terminal/references/api/js-sdk.md#changelog)
- [Stripe Terminal React Native SDK](https://github.com/stripe/stripe-terminal-react-native)
## 次のステップ
- [リーダーに接続する](https://docs.stripe.com/terminal/payments/connect-reader.md?terminal-sdk-platform=android&reader-type=internet)