# Set up your integration
Set up a Stripe Terminal SDK or server-driven integration to accept in-person payments.
# Android
If you’re looking for a more detailed reference with all available methods, objects, and errors, consult our [full SDK reference](https://stripe.dev/stripe-terminal-android/).
Getting started with the Android SDK requires four steps:
1. [Install the SDK](https://docs.stripe.com/terminal/payments/setup-integration.md#install) in your app.
2. [Configure](https://docs.stripe.com/terminal/payments/setup-integration.md#configure) your app.
3. [Set up the connection token endpoint](https://docs.stripe.com/terminal/payments/setup-integration.md#connection-token) in your app and back end.
4. [Initialise the SDK](https://docs.stripe.com/terminal/payments/setup-integration.md#initialize) in your app.
## Install the SDK [Client-side]
> The SDK is no longer compatible with the support libraries, as we use Room to store and maintain state across the app lifecycle. Make sure your app has migrated to AndroidX.
To install the SDK, add `stripeterminal` to the `dependencies` block of your [app’s build file](https://developer.android.com/studio/build/dependencies):
#### Kotlin
```kotlin
plugins {
id("com.android.application")
}
android { ... }
dependencies {
implementation("com.stripe:stripeterminal:5.6.0")
// ...
}
```
### (Optional) Kotlin Coroutine support
SDK version 5.0.0 includes an optional module, `stripeterminal-ktx`. This module provides `suspend` function wrappers for asynchronous Terminal APIs, allowing you to write simple, sequential code instead of nesting callbacks.
To use it, add its dependency:
#### Kotlin
```kotlin
dependencies {
implementation("com.stripe:stripeterminal:5.6.0")
// Add the coroutines module
implementation("com.stripe:stripeterminal-ktx:5.6.0")
// ...
}
```
See an example of this integration pattern in our [Kotlin example app](https://github.com/stripe/stripe-terminal-android/tree/master/Example/kotlinapp) on GitHub.
### Set target Java version
Next, since the SDK relies on Java 8, your app’s build file needs to specify that as your target Java version:
#### Kotlin
```kotlin
android {
// ...
compileOptions {
sourceCompatibility = JavaVersion.VERSION_1_8
targetCompatibility = JavaVersion.VERSION_1_8
}
kotlinOptions {
jvmTarget = "1.8"
}
}
```
> For details on the latest SDK release and past versions, see the [Releases](https://github.com/stripe/stripe-terminal-android/releases) page on GitHub. To receive notifications when a new release is published, [watch releases for the repository](https://docs.github.com/en/github/managing-subscriptions-and-notifications-on-github/configuring-notifications#configuring-your-watch-settings-for-an-individual-repository).
>
> For information on migrating from earlier or beta versions of the Android SDK, see the [Stripe Terminal Migration Guide](https://docs.stripe.com/terminal/references/sdk-migration-guide.md).
## Configure your app [Client-side]
You must enable the `ACCESS_FINE_LOCATION` permission. To connect a Bluetooth reader, you must also enable Bluetooth permissions. Add the appropriate permissions to your manifest as shown here:
```xml
```
Before initialising the [Terminal](https://stripe.dev/stripe-terminal-android/core/com.stripe.stripeterminal/-terminal/index.html) object, add the following check to make sure that the `ACCESS_FINE_LOCATION` permission is enabled in your app:
```kotlin
if (ContextCompat.checkSelfPermission(this, android.Manifest.permission.ACCESS_FINE_LOCATION) != PackageManager.PERMISSION_GRANTED) {
val permissions = arrayOf(android.Manifest.permission.ACCESS_FINE_LOCATION)
ActivityCompat.requestPermissions(this, permissions, REQUEST_CODE_LOCATION)
}
```
Also verify that the app user grants location permission—the SDK doesn’t function without it. To do this, override the `onRequestPermissionsResult` method in your app and check the permission result.
```kotlin
override fun onRequestPermissionsResult(
requestCode: Int,
permissions: Array,
grantResults: IntArray
) {
super.onRequestPermissionsResult(requestCode, permissions, grantResults)
if (requestCode == REQUEST_CODE_LOCATION && grantResults.isNotEmpty()
&& grantResults[0] != PackageManager.PERMISSION_GRANTED
) {
throw RuntimeException("Location services are required to connect to a reader.")
}
}
```
You should also ensure that location and Bluetooth services are enabled on the device, not just for the application. See an example of how this might look in device settings:
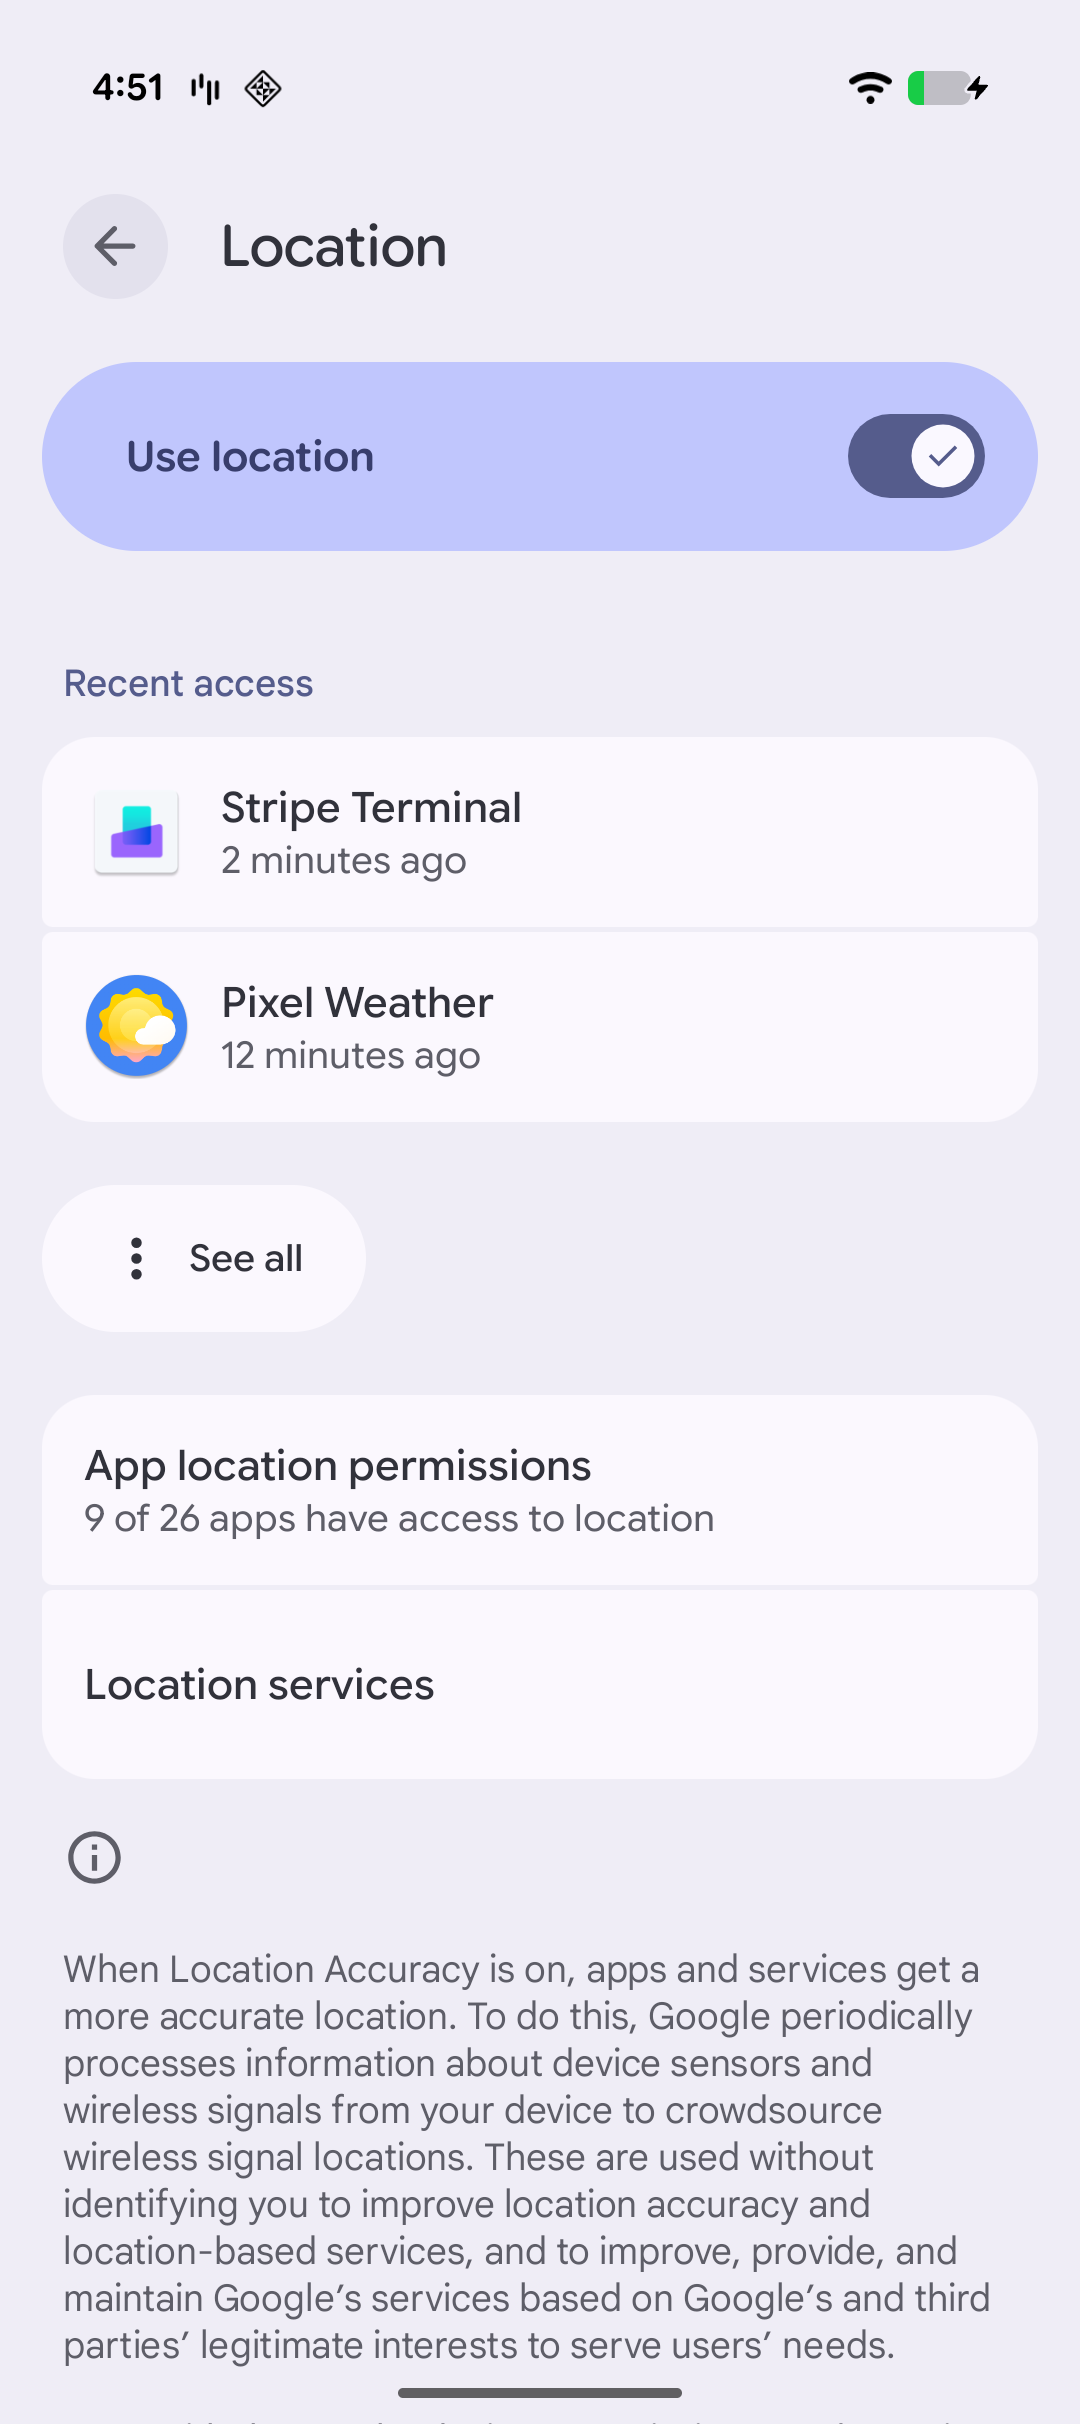
Location settings
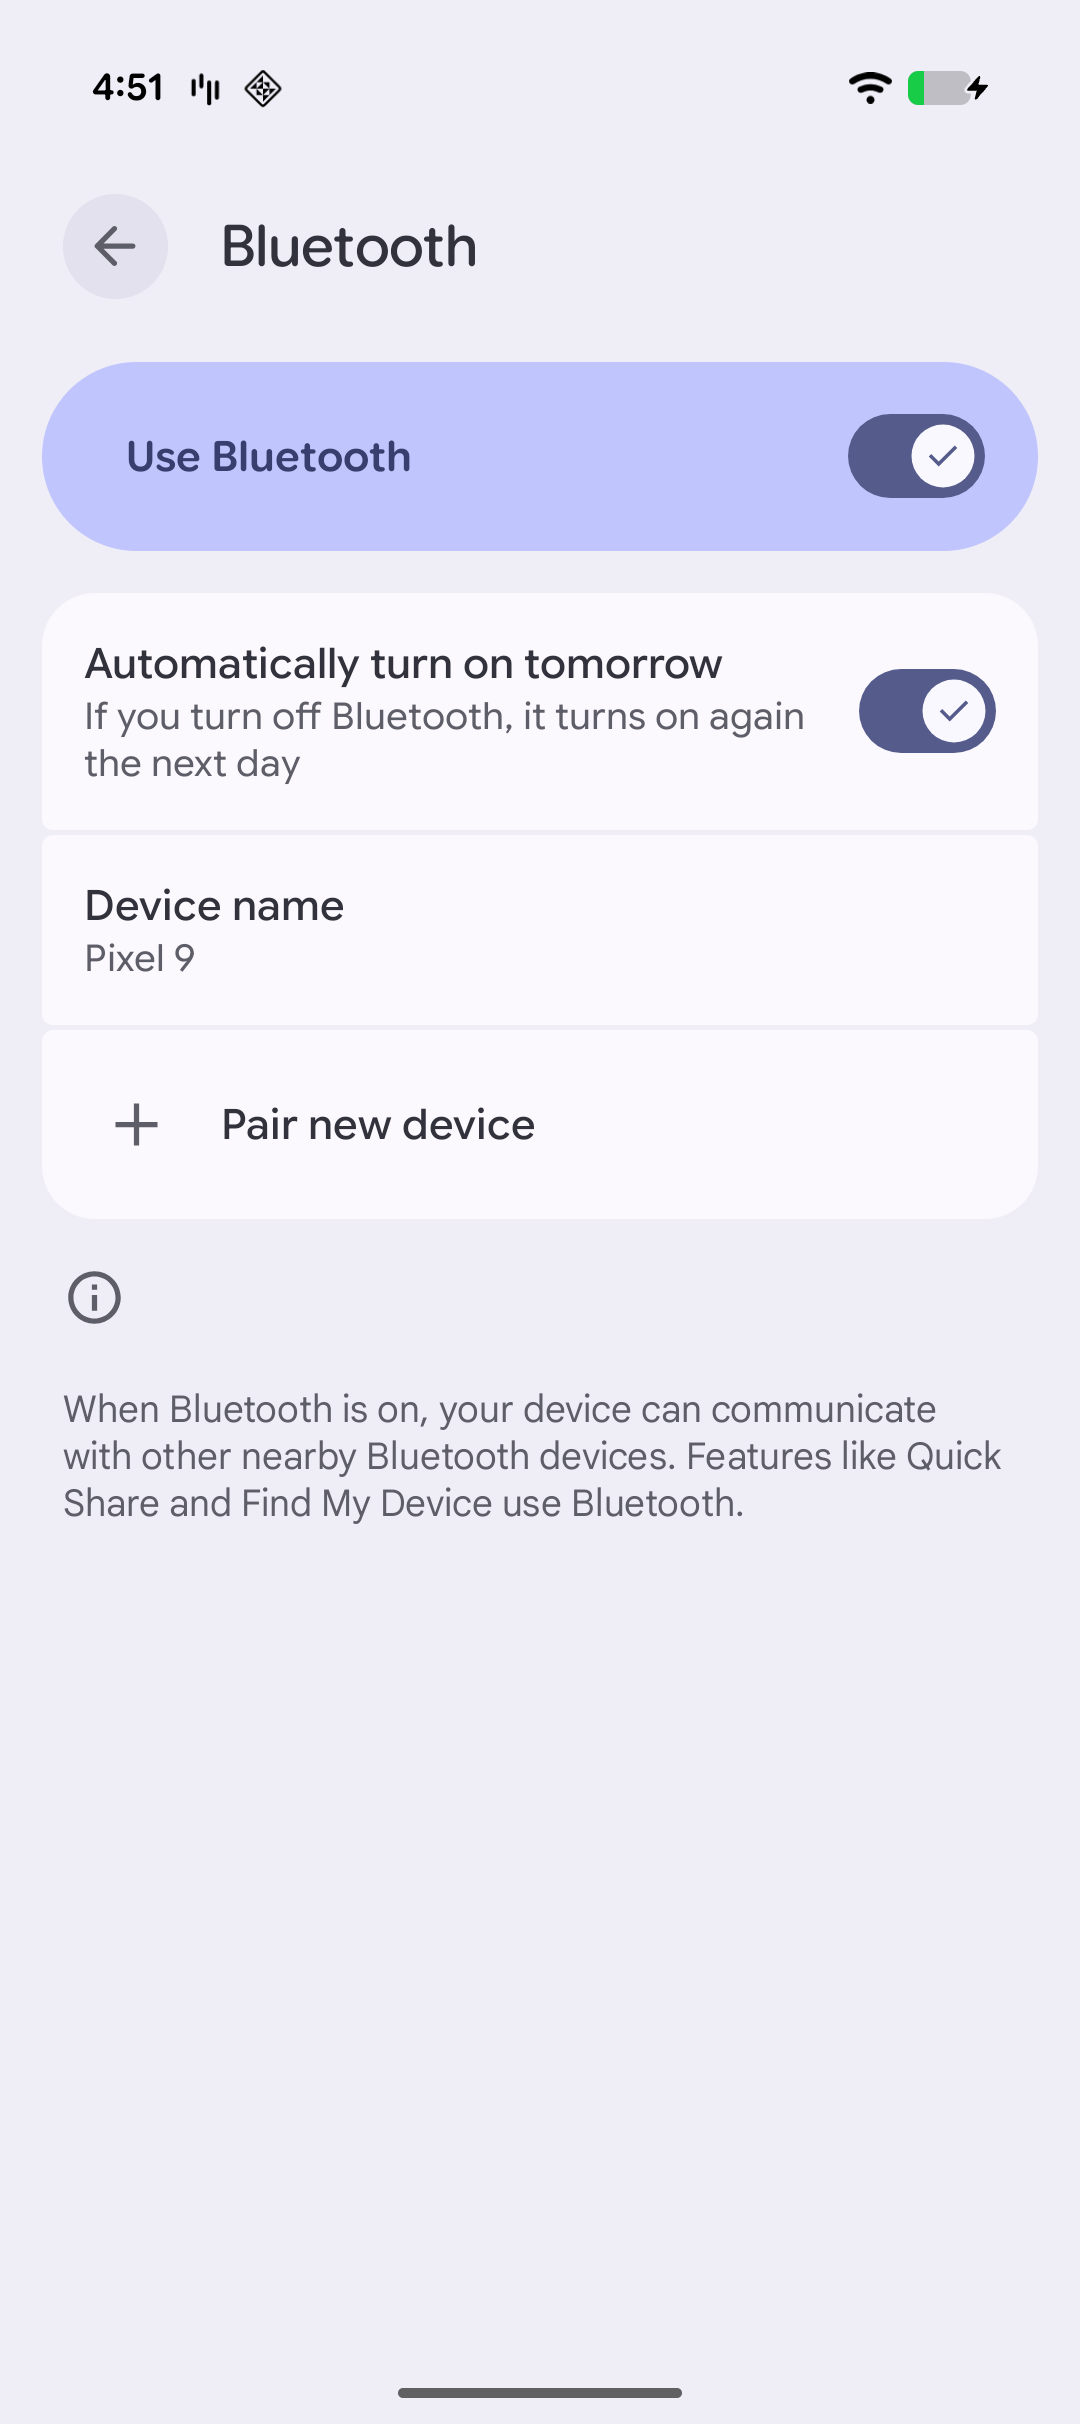
Bluetooth settings
> To reduce fraud risks associated with payments, and to minimize disputes, Stripe needs to know where payments occur. If the SDK can’t determine the location of the Android device, payments are disabled until location access is restored.
## Set up the ConnectionToken endpoint [Server-side] [Client-side]
### Server-side
To connect to a reader, your back end needs to give the SDK permission to use the reader with your Stripe account, by providing it with the [secret](https://docs.stripe.com/api/terminal/connection_tokens/object.md#terminal_connection_token_object-secret) from a [ConnectionToken](https://docs.stripe.com/api/terminal/connection_tokens.md). Your back end needs to only create connection tokens for clients that it trusts.
#### curl
```bash
curl https://api.stripe.com/v1/terminal/connection_tokens \
-u <>: \
-X "POST"
```
Obtain the secret from the `ConnectionToken` on your server and pass it to the client side.
#### Ruby
```ruby
post '/connection_token' do
token = # ... Create or retrieve the ConnectionToken
{secret: token.secret}.to_json
end
```
> The `secret` from the `ConnectionToken` lets you connect to any Stripe Terminal reader and take payments with your Stripe account. Make sure you authenticate the endpoint for creating connection tokens and protect it from cross-site request forgery (CSRF).
### Client-side
To give the SDK access to this endpoint, implement the [ConnectionTokenProvider](https://stripe.dev/stripe-terminal-android/external/com.stripe.stripeterminal.external.callable/-connection-token-provider/index.html) interface in your app, which defines a single function that requests a `ConnectionToken` from your back end.
```kotlin
class CustomConnectionTokenProvider : ConnectionTokenProvider {
override fun fetchConnectionToken(callback: ConnectionTokenCallback) {
try {
// Your backend should call /v1/terminal/connection_tokens and return the
// JSON response from Stripe. When the request to your backend succeeds,
// return the `secret` from the response to the SDK.
callback.onSuccess(secret)
} catch (e: Exception) {
callback.onFailure(
ConnectionTokenException("Failed to fetch connection token", e)
)
}
}
}
```
This function is called whenever the SDK needs to authenticate with Stripe or the Reader. It’s also called when a new connection token is needed to connect to a reader (for example, when your app disconnects from a reader). If the SDK can’t retrieve a new connection token from your backend, connecting to a reader fails with the error from your server.
> Don’t cache or hardcode the connection token. The SDK manages the connection token’s lifecycle.
> #### Certificate pinning
>
> In most cases, you shouldn’t configure your application with certificate pinning. If your application does require it, see the [certificate pinning](https://docs.stripe.com/tls-certificates.md#certificate-pinning) docs.
## Initialize the SDK [Client-side]
The Android SDK is lifecycle aware. To prevent memory leaks and ensure proper cleanup of long-running Terminal SDK processes, your application must implement an `Application` subclass that uses `TerminalApplicationDelegate.onCreate()` to inform the SDK about lifecycle events.
```kotlin
// Substitute with your application name, and remember to keep it the same as your AndroidManifest.xml
class StripeTerminalApplication : Application() {
override fun onCreate() {
super.onCreate()
TerminalApplicationDelegate.onCreate(this)
}
}
```
> If you want to use Tap to Pay on Android (TTPA), the initialisation in `Application` is slightly different from this example. See [Connect to a reader with TTPA](https://docs.stripe.com/terminal/payments/connect-reader.md?terminal-sdk-platform=android&reader-type=tap-to-pay#initialize).
The [Terminal](https://stripe.dev/stripe-terminal-android/core/com.stripe.stripeterminal/-terminal/index.html) class made available by the Stripe Terminal SDK exposes a generic interface for discovering readers, connecting to a reader, and performing operations on the reader, such as displaying cart details, collecting payments, and saving cards for future use.
To get started, provide the current application context, the [ConnectionTokenProvider](https://stripe.dev/stripe-terminal-android/external/com.stripe.stripeterminal.external.callable/-connection-token-provider/index.html) implemented in [Step 3](https://docs.stripe.com/terminal/payments/setup-integration.md#connection-token), and a [TerminalListener](https://stripe.dev/stripe-terminal-android/external/com.stripe.stripeterminal.external.callable/-terminal-listener/index.html) object. You can use this listener to handle events such as payment and connection status updates from the SDK.
```kotlin
// Create your listener object. Override any methods that you want to be notified about
val listener = object : TerminalListener {
override fun onConnectionStatusChange(status: ConnectionStatus) {
println("onConnectionStatusChange: $status");
}
override fun onPaymentStatusChange(status: PaymentStatus) {
println("onPaymentStatusChange: $status");
}
}
// Choose the level of messages that should be logged to your console
val logLevel = LogLevel.VERBOSE
// Create your token provider.
val tokenProvider = CustomConnectionTokenProvider()
// Offline listener is optional and only needed if processing offline transactions.
// See https://docs.stripe.com/terminal/features/operate-offline/collect-card-payments
val offlineListener: OfflineListener? = null
// Pass in the current application context, your desired logging level, your token provider, and the listener you created
if (!Terminal.isInitialized()) {
Terminal.init(applicationContext, logLevel, tokenProvider, listener, offlineListener)
}
// Since the Terminal is a singleton, you can call getInstance whenever you need it
Terminal.getInstance()
```
## SDK updates
Stripe periodically releases updates that can include new functionality, bug fixes, and security updates. Update your SDK as soon as a new version is available. The currently available SDKs are:
- [Stripe Terminal Android SDK](https://github.com/stripe/stripe-terminal-android/releases)
- [Stripe Terminal iOS SDK](https://github.com/stripe/stripe-terminal-ios/releases)
- [Stripe Terminal JavaScript SDK](https://docs.stripe.com/terminal/references/api/js-sdk.md#changelog)
- [Stripe Terminal React Native SDK](https://github.com/stripe/stripe-terminal-react-native)
## Next steps
- [Connect to a reader](https://docs.stripe.com/terminal/payments/connect-reader.md?terminal-sdk-platform=android&reader-type=internet)