Add custom payment methods
Learn how to add custom payment methods to the Payment Element.
Use the Payment Element with the Payment Intents API to display over 50 preset payment methods, as well as your custom payment methods, through a single integration. After creating your custom payment method in the Dashboard, configure the Payment Element to make sure these transactions process and finalize correctly outside of Stripe. You can record these transactions to your Stripe account for reporting purposes.
Note
When integrating with a third-party payment processor, you’re responsible for complying with applicable legal requirements, including your agreement with your PSP, applicable laws, and so on.
Before you begin
- Create a Stripe account or sign in with your existing account.
- Follow this guide to complete a payments integration.
Create your custom payment methodDashboard
You can create a custom payment method in the Dashboard by going to Settings > Payments > Custom Payment Methods. Provide the name and logo for the Payment Element to display.
Choose the right logo
- For logos with a transparent background, consider the background color of the Payment Element on your page and make sure that it stands out.
- For logos with a background fill, include rounded corners in your file, if needed.
- Choose a logo variant that can scale down to 16x16 pixels. This is often the standalone logo mark for a brand.
After creating the custom payment method, the Dashboard displays the custom payment method ID (beginning with cpmt_) that you need for the next step.
Add the custom payment method typeClient-side
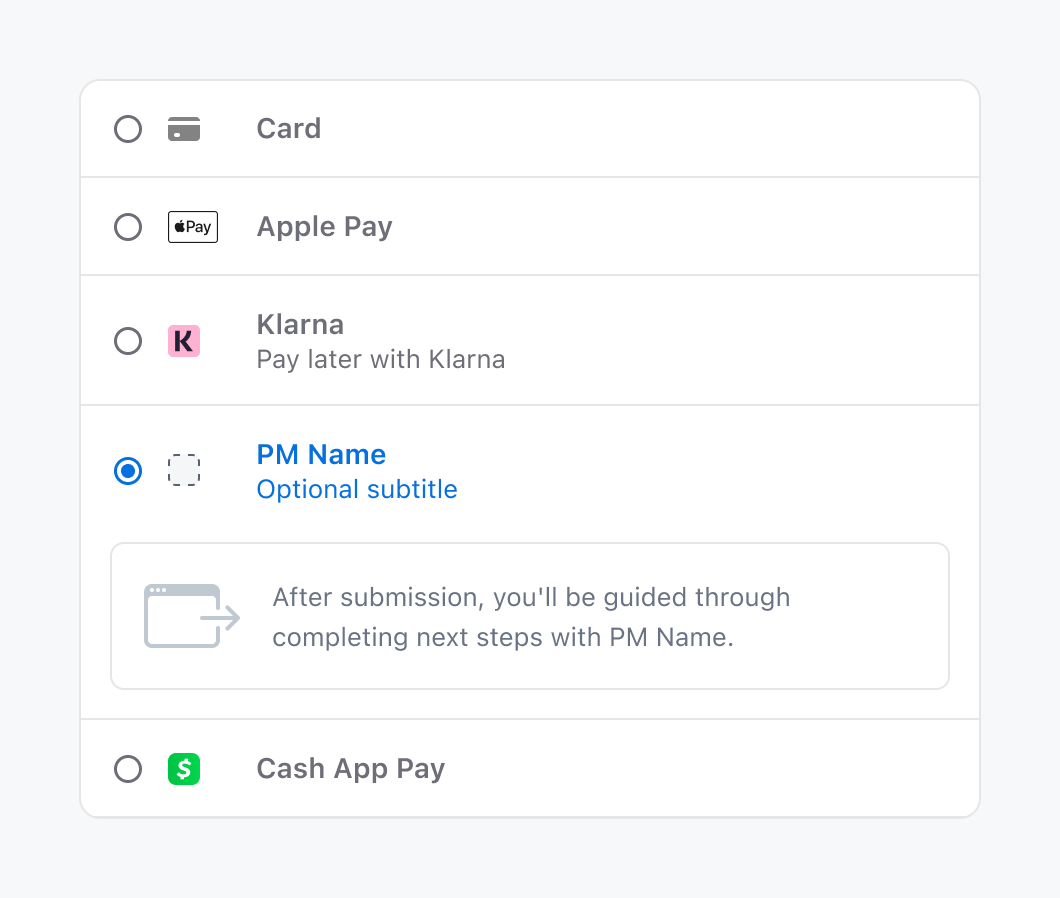
Next, add the custom payment method type to your Stripe Elements configuration. In your checkout. file where you initialize Stripe Elements, specify the customPaymentMethods to add to the Payment Element. Provide the custom payment method ID from the previous step, the options., and an optional subtitle.
const elements = stripe.elements({ // ... customPaymentMethods: [ { id:, options: { type: 'static', subtitle: Optional subtitle, } } ] });'{{CUSTOM_PAYMENT_METHOD_TYPE_ID}}'
After loading, the Payment Element shows your custom payment method.

OptionalDisplay embedded custom contentPreviewClient-side
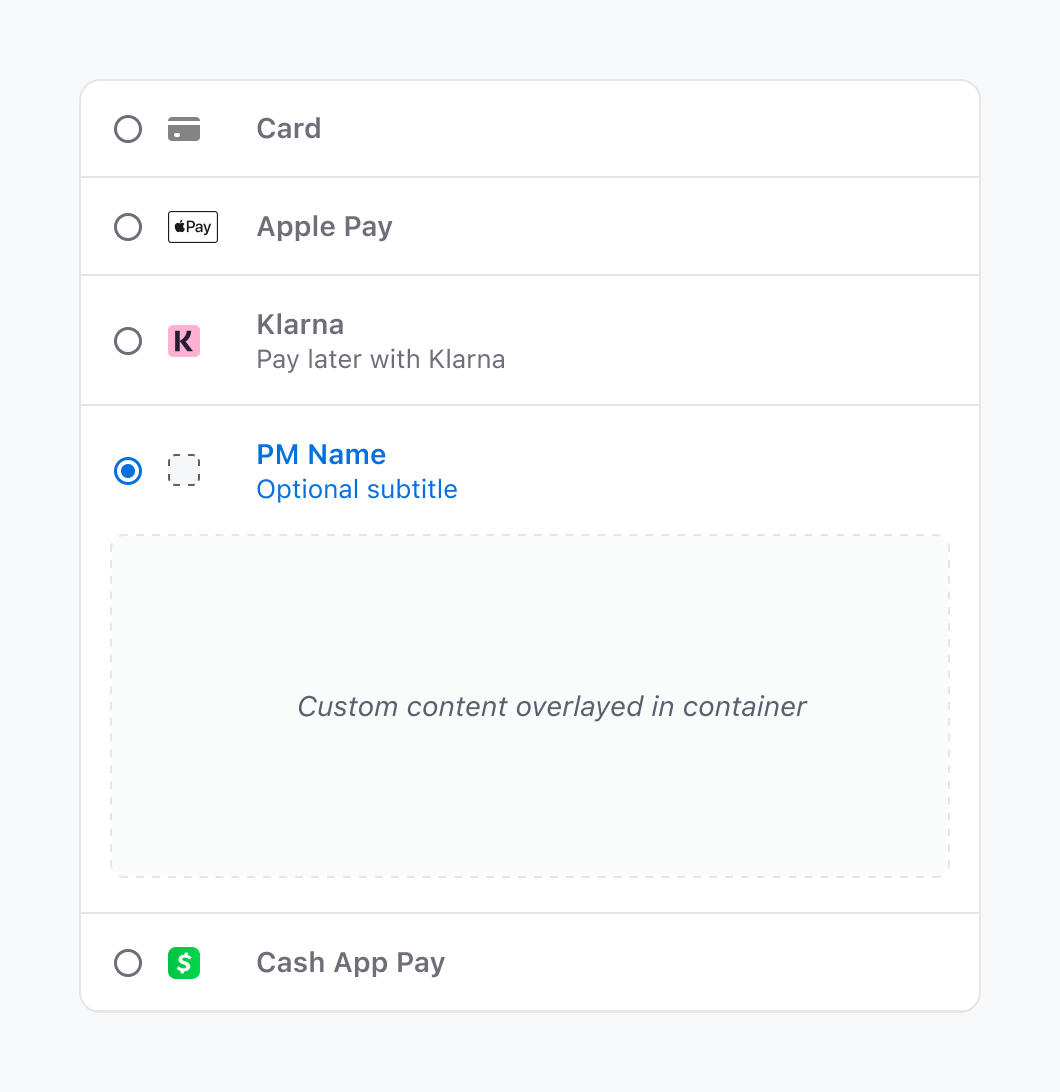
Use the embedded type to display the content for your custom payment method in the Payment Element.

Manage your custom content using these callbacks:
- handleRender: Called when a payment method is selected, and contains a reference to a container DOM node that you can render your content in.
- handleDestroy: Called when a payment method is deselected and the Payment Element is unmounted. Performs cleanup, such as removing event listeners or a custom SDK.
Security tip
Only render trusted content within the container that’s provided by handleEmbed. Rendering markup that you don’t control, especially from a user or an unsanitized source, can introduce a cross-site scripting vulnerability (XSS).
Tools like React Portals allow you to integrate your rendering logic with your application code:
import {Elements} from '@stripe/react-stripe-js'; import {loadStripe} from '@stripe/stripe-js'; // Make sure to call `loadStripe` outside of a component’s render to avoid // recreating the `Stripe` object on every render. const stripePromise = loadStripe(); export default function App() { const [embedContainer, setEmbedContainer] = useState(); const options = { customPaymentMethods: [ { id: '{{CUSTOM_PAYMENT_METHOD_TYPE_ID}}', options: { type: 'embedded', subtitle: Embedded payment method, embedded: { handleRender: (container) => { setEmbedContainer(container); }, handleDestroy: () => { setEmbedContainer(null); } } } } ] }; return ( <Elements stripe={stripePromise} options={options}> <CheckoutFormWithPaymentElement /> {embedContainer && createPortal(<EmbeddedCpmContent />, embedContainer)} </Elements> ); };'pk_test_TYooMQauvdEDq54NiTphI7jx'
Handle payment method submissionClient-side
To process custom payment method transactions outside of Stripe, update the handleSubmit function that’s called when users click the pay button on your website.
The elements.submit() function retrieves the selected payment method type. For example, you might show a modal, and then either process the payment on your own server or redirect your customer to an external payment page.
async function handleSubmit(e) { const { submitError, selectedPaymentMethod } = await elements.submit(); if (selectedPaymentMethod ===) { // Process CPM payment on merchant server and handle redirect const res = await fetch("/process-cpm-payment", { method: 'post' }); ... } else { // Process Stripe payment methods ... } }'{{CUSTOM_PAYMENT_METHOD_TYPE_ID}}'
OptionalSpecify the order of custom payment methodsClient-side
By default, the Payment Element shows custom payment methods last. To manually specify the order of payment methods, set the paymentMethodOrder property on the options configuration when creating your Payment Element instance.
const paymentElement = elements.create('payment', {
  // an array of payment method types, including custom payment method types
  paymentMethodOrder: [...]
});
OptionalRecord the payment to your Stripe accountServer-side
While you handle custom payment method transactions outside of Stripe, you can still record the transaction details to your Stripe account. This can help with unified reporting and building back-office workflows, such as issuing receipts or creating reports.
const stripe = new Stripe(, { apiVersion: '2026-01-28.clover; invoice_partial_payments_beta=v3' }); app.get('/process-cpm-payment', async (req, res) => { const paymentResult = processMyCustomPayment(...) // Create an instance of a custom payment method const paymentMethod = await stripe.paymentMethods.create({ type: 'custom', custom: { type:'sk_test_BQokikJOvBiI2HlWgH4olfQ2', } }); // Report successful payment const paymentRecord = await stripe.paymentRecords.reportPayment({ amount_requested: { value: paymentResult.amount, currency: paymentResult.currency }, payment_method_details: { payment_method: paymentMethod.id }, customer_details: { customer: paymentResult.customer.id }, processor_details: { type: 'custom', custom: { payment_reference: paymentResult.id } }, initiated_at: paymentResult.initiated_at, customer_presence: 'on_session', outcome: 'guaranteed', guaranteed: { guaranteed_at: paymentResult.completed_at } }); // Respond to frontend to finish buying experience return res.json(...) });'{{CUSTOM_PAYMENT_METHOD_TYPE_ID}}'