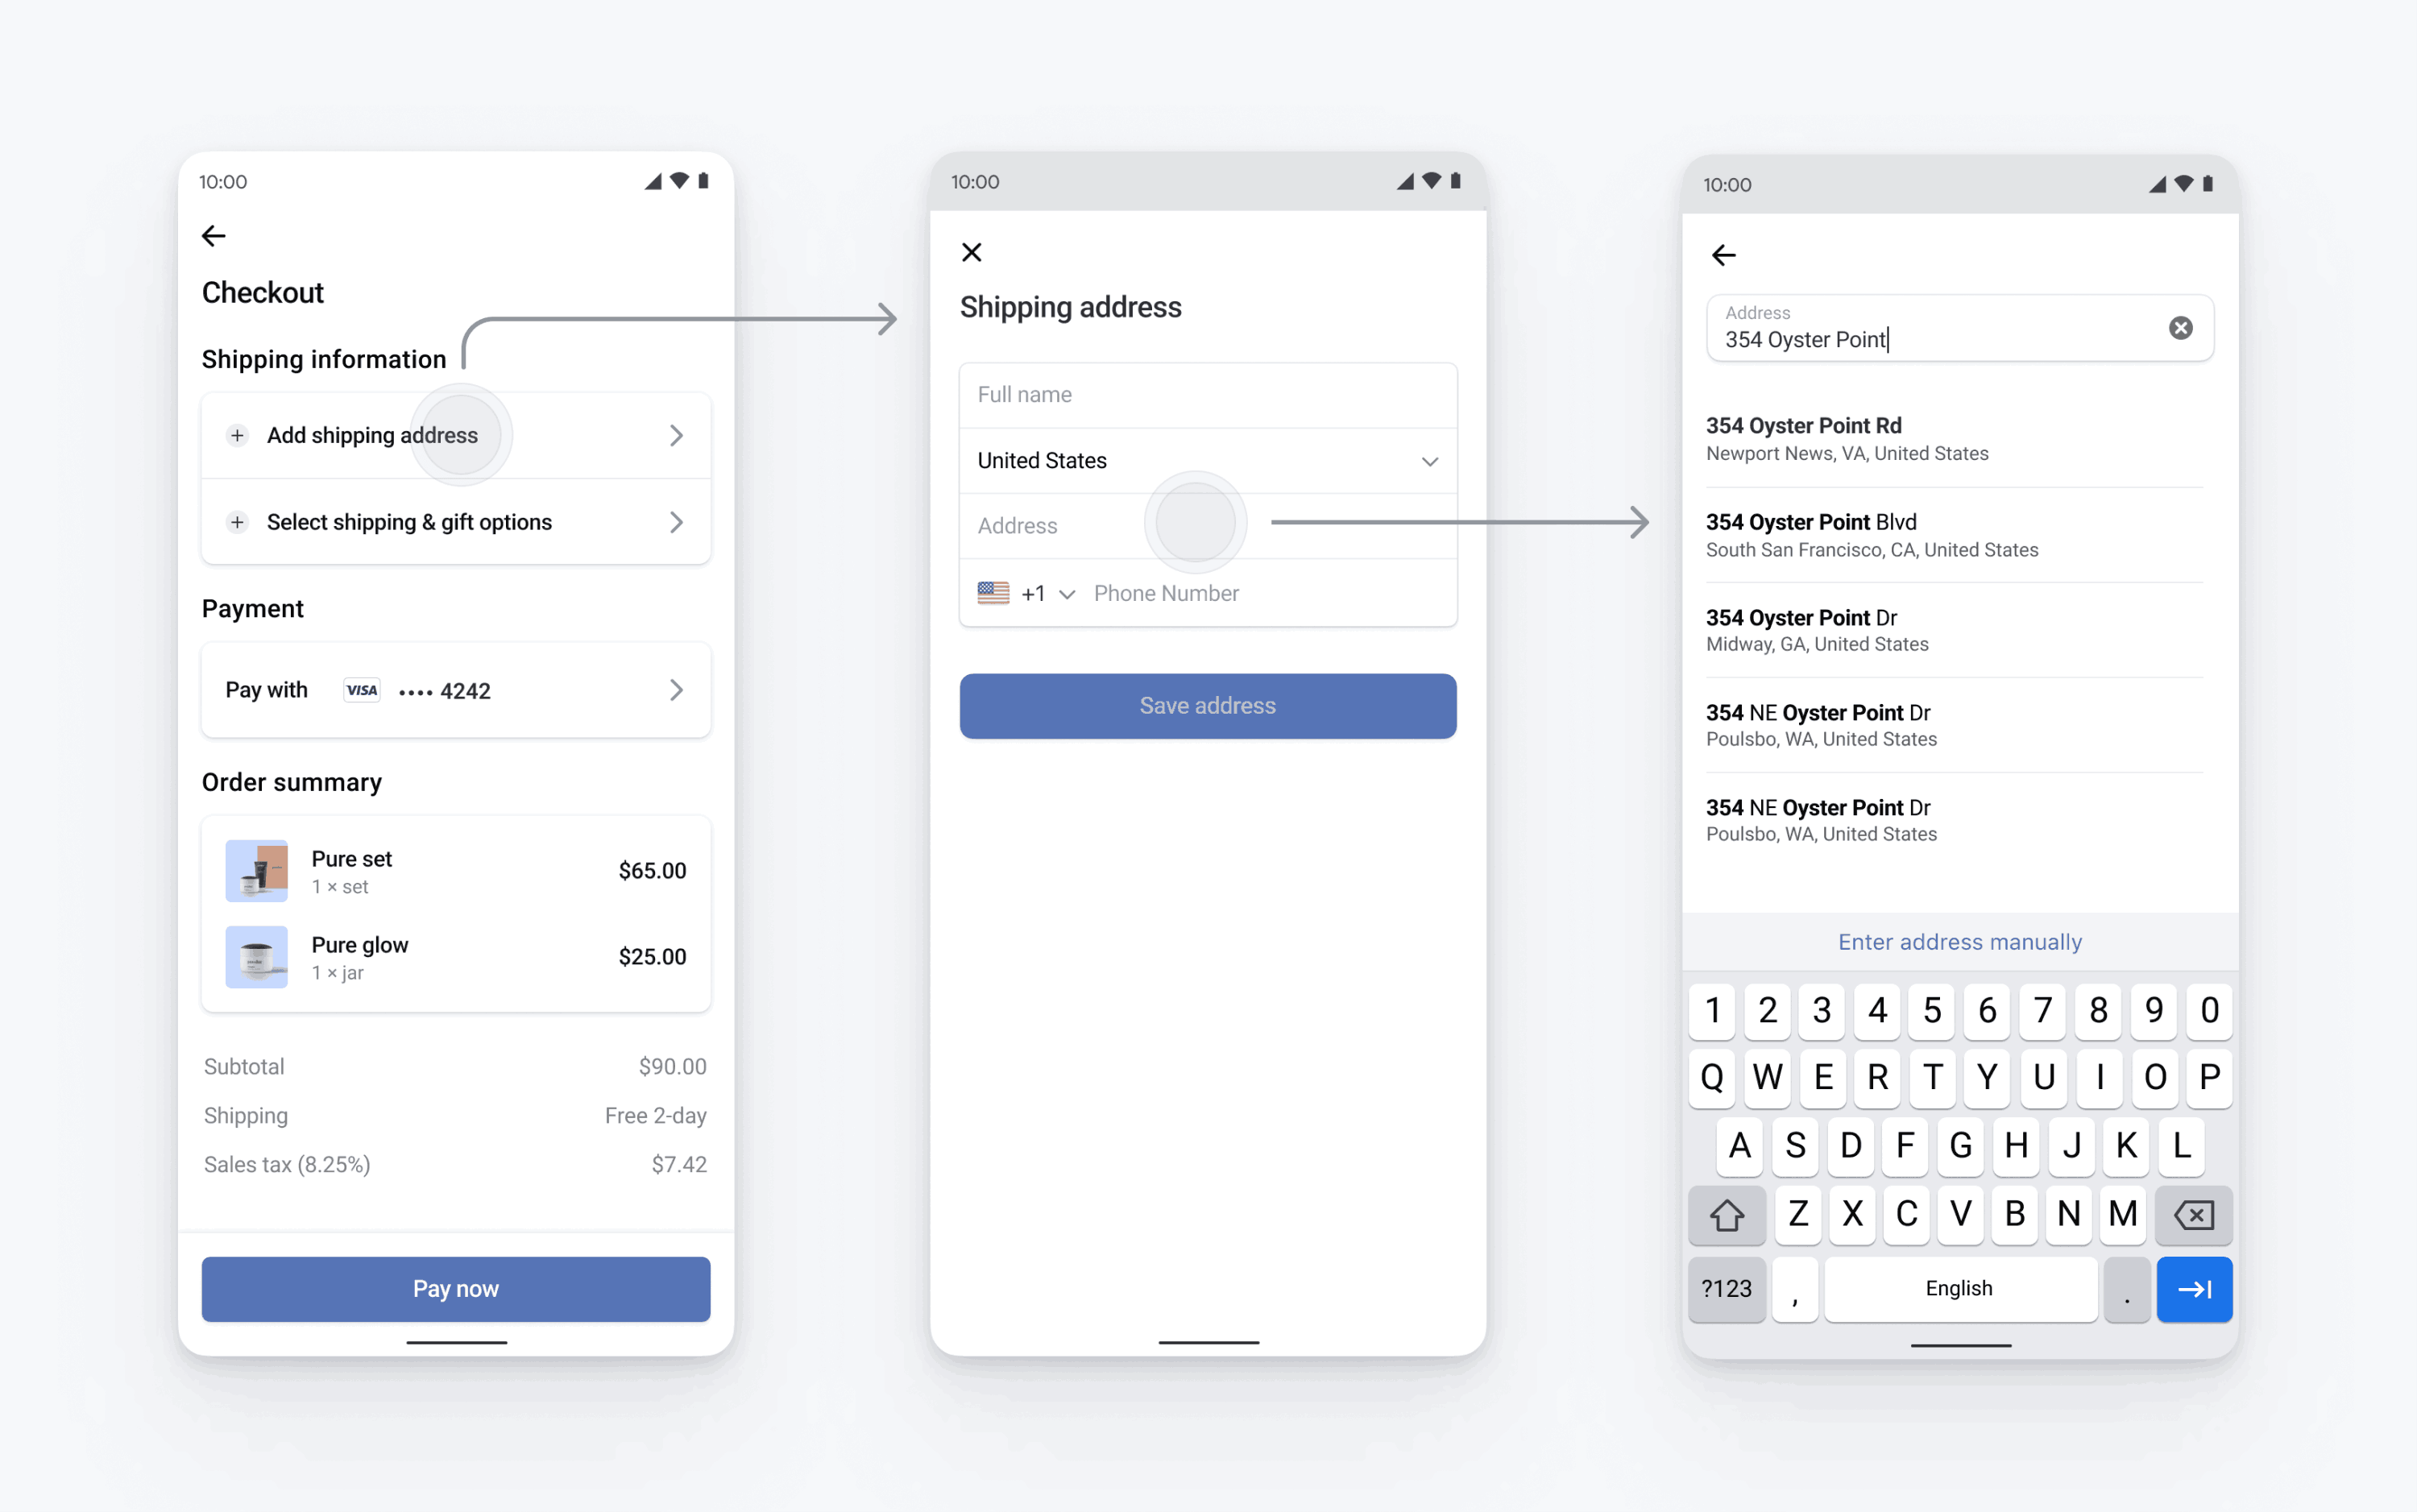
Collect physical addresses and phone numbers
Learn how to collect addresses and phone number in your mobile app.
To collect complete addresses for billing or shipping, use the Address Element.
You can also use the Address Element to:
- Collect customer phone numbers
- Enable autocomplete
- Prefill billing information in the Payment Element by passing in a shipping address
Stripe combines the collected address information and the payment method to create a PaymentIntent.

Set up StripeServer-sideClient-side
First, you need a Stripe account. Register now.
The React Native SDK is open source and fully documented. Internally, it uses the native iOS and Android SDKs. To install Stripe’s React Native SDK, run one of the following commands in your project’s directory (depending on which package manager you use):
Next, install some other necessary dependencies:
- For iOS, go to the ios directory and run
pod installto make sure that you also install the required native dependencies. - For Android, you don’t need to install any more dependencies.
Stripe initialization
To initialize Stripe in your React Native app, either wrap your payment screen with the StripeProvider component, or use the initStripe initialization method. Only the API publishable key in publishableKey is required. The following example shows how to initialize Stripe using the StripeProvider component.
import { StripeProvider } from '@stripe/stripe-react-native'; function App() { return ( <StripeProvider publishableKey=> // Your app code here </StripeProvider> ); }"pk_test_TYooMQauvdEDq54NiTphI7jx"
Set up address autocomplete suggestions
Autocomplete is enabled by default on iOS, but to enable autocomplete suggestions on Android, you need to include the Google Places SDK dependency in your app’s build.:
Address autocomplete suggestions requires a Google Places API key. Follow the Google Places SDK setup guide to generate your API key.
Configure the Address Element
You can configure the Address Element with details such as displaying default values, setting allowed countries, customizing the appearance, and so on. See the list of available options for more information.
<AddressSheet
  appearance={{
    colors: {
      primary: '#F8F8F2',
      background: '#272822'
    }
  }}
  defaultValues={{
    phone: '111-222-3333',
    address: {
      country: 'United States',
      city: 'San Francisco',
    },
  }}
  additionalFields={{
    phoneNumber: 'required',
  }}
  allowedCountries={['US', 'CA', 'GB']}
  primaryButtonTitle={'Use this address'}
  sheetTitle={'Shipping Address'}
  googlePlacesApiKey={'(optional) YOUR KEY HERE'}
/>
Present the Address Element and retrieve details
Retrieve the address details by setting the visible property to true, and adding callback methods for the onSubmit and onError properties:
<AddressSheet
  visible={true}
  onSubmit={async (addressDetails) => {
    // Make sure to set `visible` back to false to dismiss the address element.
    setAddressSheetVisible(false);

    // Handle result and update your UI
  }}
  onError={(error) => {
    if (error.code === AddressSheetError.Failed) {
      Alert.alert('There was an error.', 'Check the logs for details.');
      console.log(err?.localizedMessage);
    }
   // Make sure to set `visible` back to false to dismiss the address element.
    setAddressSheetVisible(false);
  }}
/>