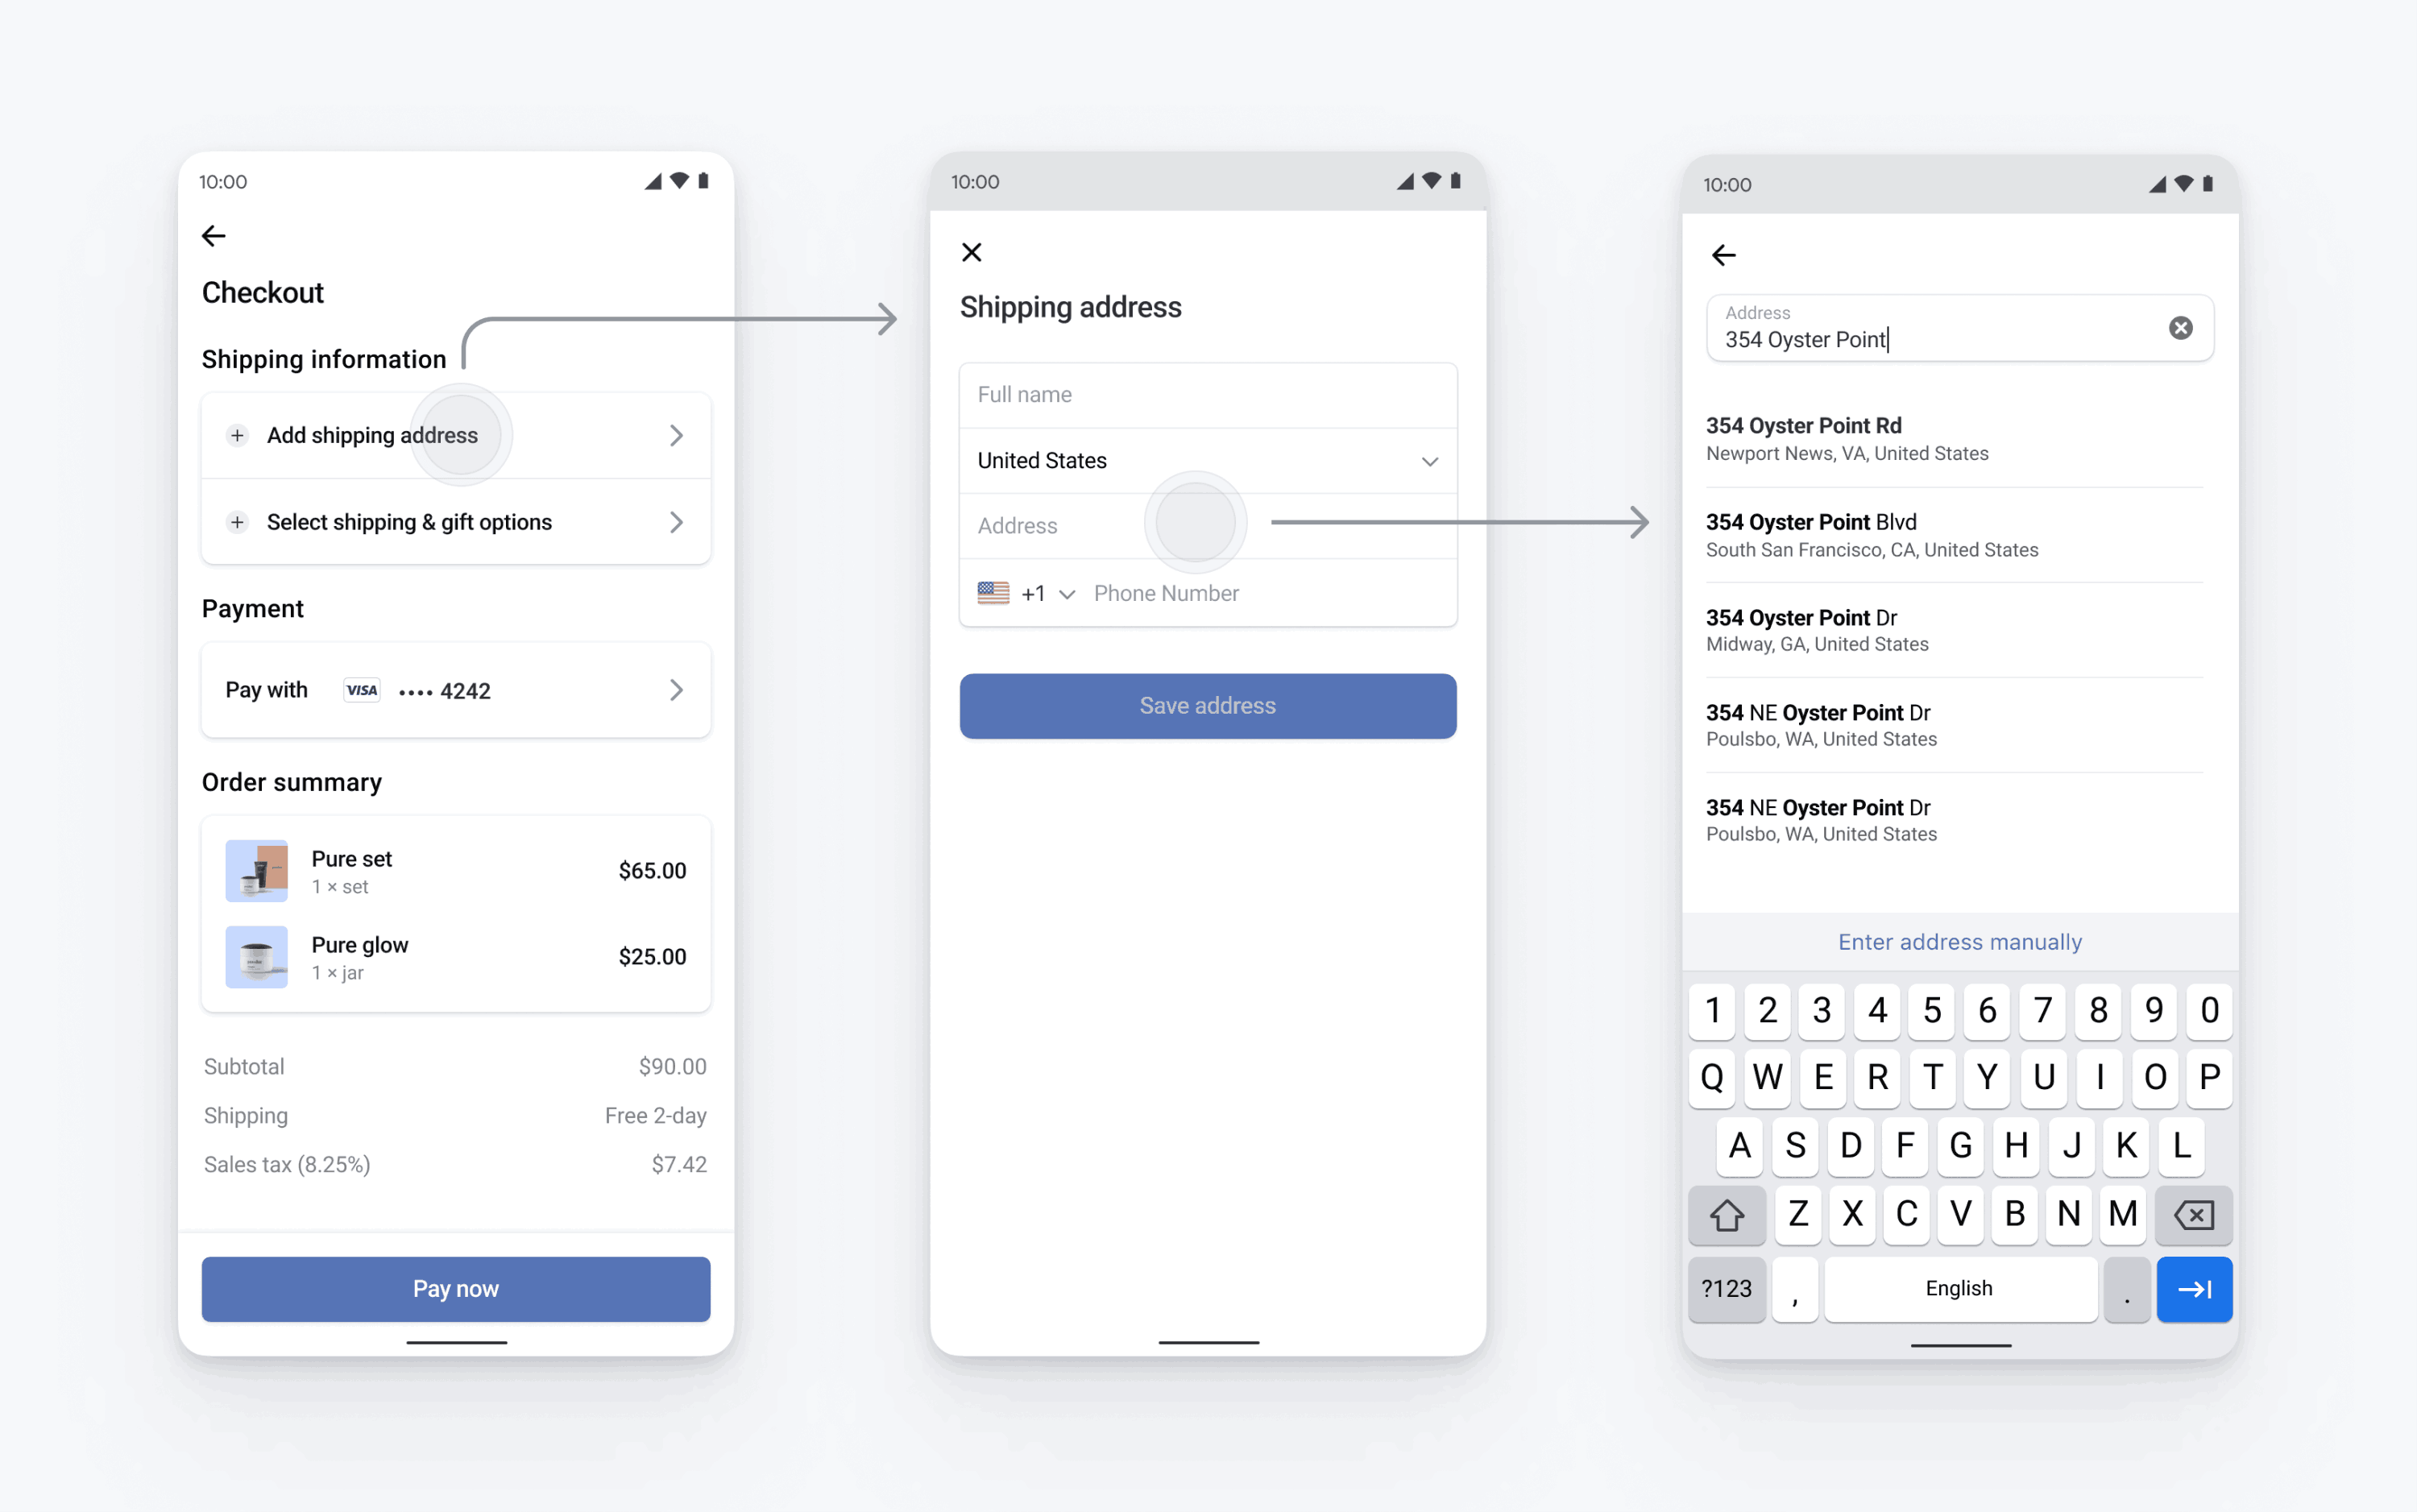
收集物理地址和电话号码
了解如何在移动应用中收集地址和电话号码。
要收集完整的账单地址或收货地址,请使用 Address Element。
还可以使用 Address Element 执行以下作:
Stripe 将收集的地址信息和支付方式合在一起来创建 PaymentIntent。

设置 Stripe服务器端客户端
服务器端
客户端
首先,您需要有 Stripe 账户。立即注册。
React Native SDK 是开源的并且配备了完整的文档。在内部,它使用原生 iOS 和 Android SDK。要安装 Stripe 的 React Native SDK,请在项目的目录中运行以下命令之一(具体取决于您使用的软件包管理器):
然后,安装一些其他必要的依赖项:
- For iOS, go to the ios directory and run
pod installto make sure that you also install the required native dependencies. - 对于 Android,您无需安装更多依赖项。
Stripe 初始化
要在您的 React Native 应用中初始化 Stripe,使用 StripeProvider 组件包裹您的支付界面,或者使用 initStripe 初始化方法。只需要 publishableKey 中的 API 公钥。下例显示的是用 StripeProvider 组件初始化 Stripe 的方式。
import { StripeProvider } from '@stripe/stripe-react-native'; function App() { return ( <StripeProvider publishableKey=> // Your app code here </StripeProvider> ); }"pk_test_TYooMQauvdEDq54NiTphI7jx"
设置地址自动完成建议
在 iOS 上,自动完成功能默认启用,但要在 Android 上启用自动完成建议,您需要在应用的 build. 中包含 Google Places SDK 依赖项:
地址自动完成建议需要 Google Places API 密钥。请按照 Google Places SDK 设置指南生成您的 API 密钥。
配置 Address Element
您可以对 Address Element 进行配置,例如显示默认值、设置允许的国家/地区、定制外观等详细设置。有关更多信息,请参阅可用选项列表。
<AddressSheet
  appearance={{
    colors: {
      primary: '#F8F8F2',
      background: '#272822'
    }
  }}
  defaultValues={{
    phone: '111-222-3333',
    address: {
      country: 'United States',
      city: 'San Francisco',
    },
  }}
  additionalFields={{
    phoneNumber: 'required',
  }}
  allowedCountries={['US', 'CA', 'GB']}
  primaryButtonTitle={'Use this address'}
  sheetTitle={'Shipping Address'}
  googlePlacesApiKey={'(optional) YOUR KEY HERE'}
/>
显示 Address Element 并检索详细信息
通过将 visible 属性设置为 true 并为 onSubmit 和 onError 属性添加回调方法来检索地址详细信息:
<AddressSheet
  visible={true}
  onSubmit={async (addressDetails) => {
    // Make sure to set `visible` back to false to dismiss the address element.
    setAddressSheetVisible(false);

    // Handle result and update your UI
  }}
  onError={(error) => {
    if (error.code === AddressSheetError.Failed) {
      Alert.alert('There was an error.', 'Check the logs for details.');
      console.log(err?.localizedMessage);
    }
   // Make sure to set `visible` back to false to dismiss the address element.
    setAddressSheetVisible(false);
  }}
/>