Skip to content
Create account
or
Sign in
The Stripe Docs logo
/
Ask AI
Create account
Sign in
Get started
Payments
Finance automation
Platforms and marketplaces
Money management
Developer tools
Get started
Payments
Finance automation
Get started
Payments
Finance automation
Platforms and marketplaces
Money management
Overview
About Stripe payments
Upgrade your integration
Payments analytics
Online payments
OverviewFind your use caseManaged Payments
Use Payment Links
Build a checkout page
Build an advanced integration
Build an in-app integration
Payment methods
Add payment methods
Manage payment methods
Faster checkout with Link
Payment interfaces
Payment Links
Checkout
    Overview
    How Checkout works
Web Elements
In-app Elements
Payment scenarios
Custom payment flows
Flexible acquiring
Orchestration
In-person payments
Terminal
Other Stripe products
Financial Connections
Crypto
Climate
HomePaymentsCheckout

How Checkout works

Learn how to use Checkout to collect payments on your website.

Copy page

Checkout is a low-code payment integration that creates a customizable form for collecting payments.

Checkout’s built-in features allow you to reduce your development time. It supports 40+ payment methods, including Link, which lets your customers save their payment method for faster checkout. You can accept payments by embedding Checkout directly into your website, redirecting customers to a Stripe-hosted payment page, or creating a customized checkout page with Stripe Elements. Checkout supports payments for both one-time purchases and subscriptions.

You can also customize Checkout and access additional functionality with Checkout Sessions and the Stripe Dashboard. For a complete list of features, see its built-in and customizable features.

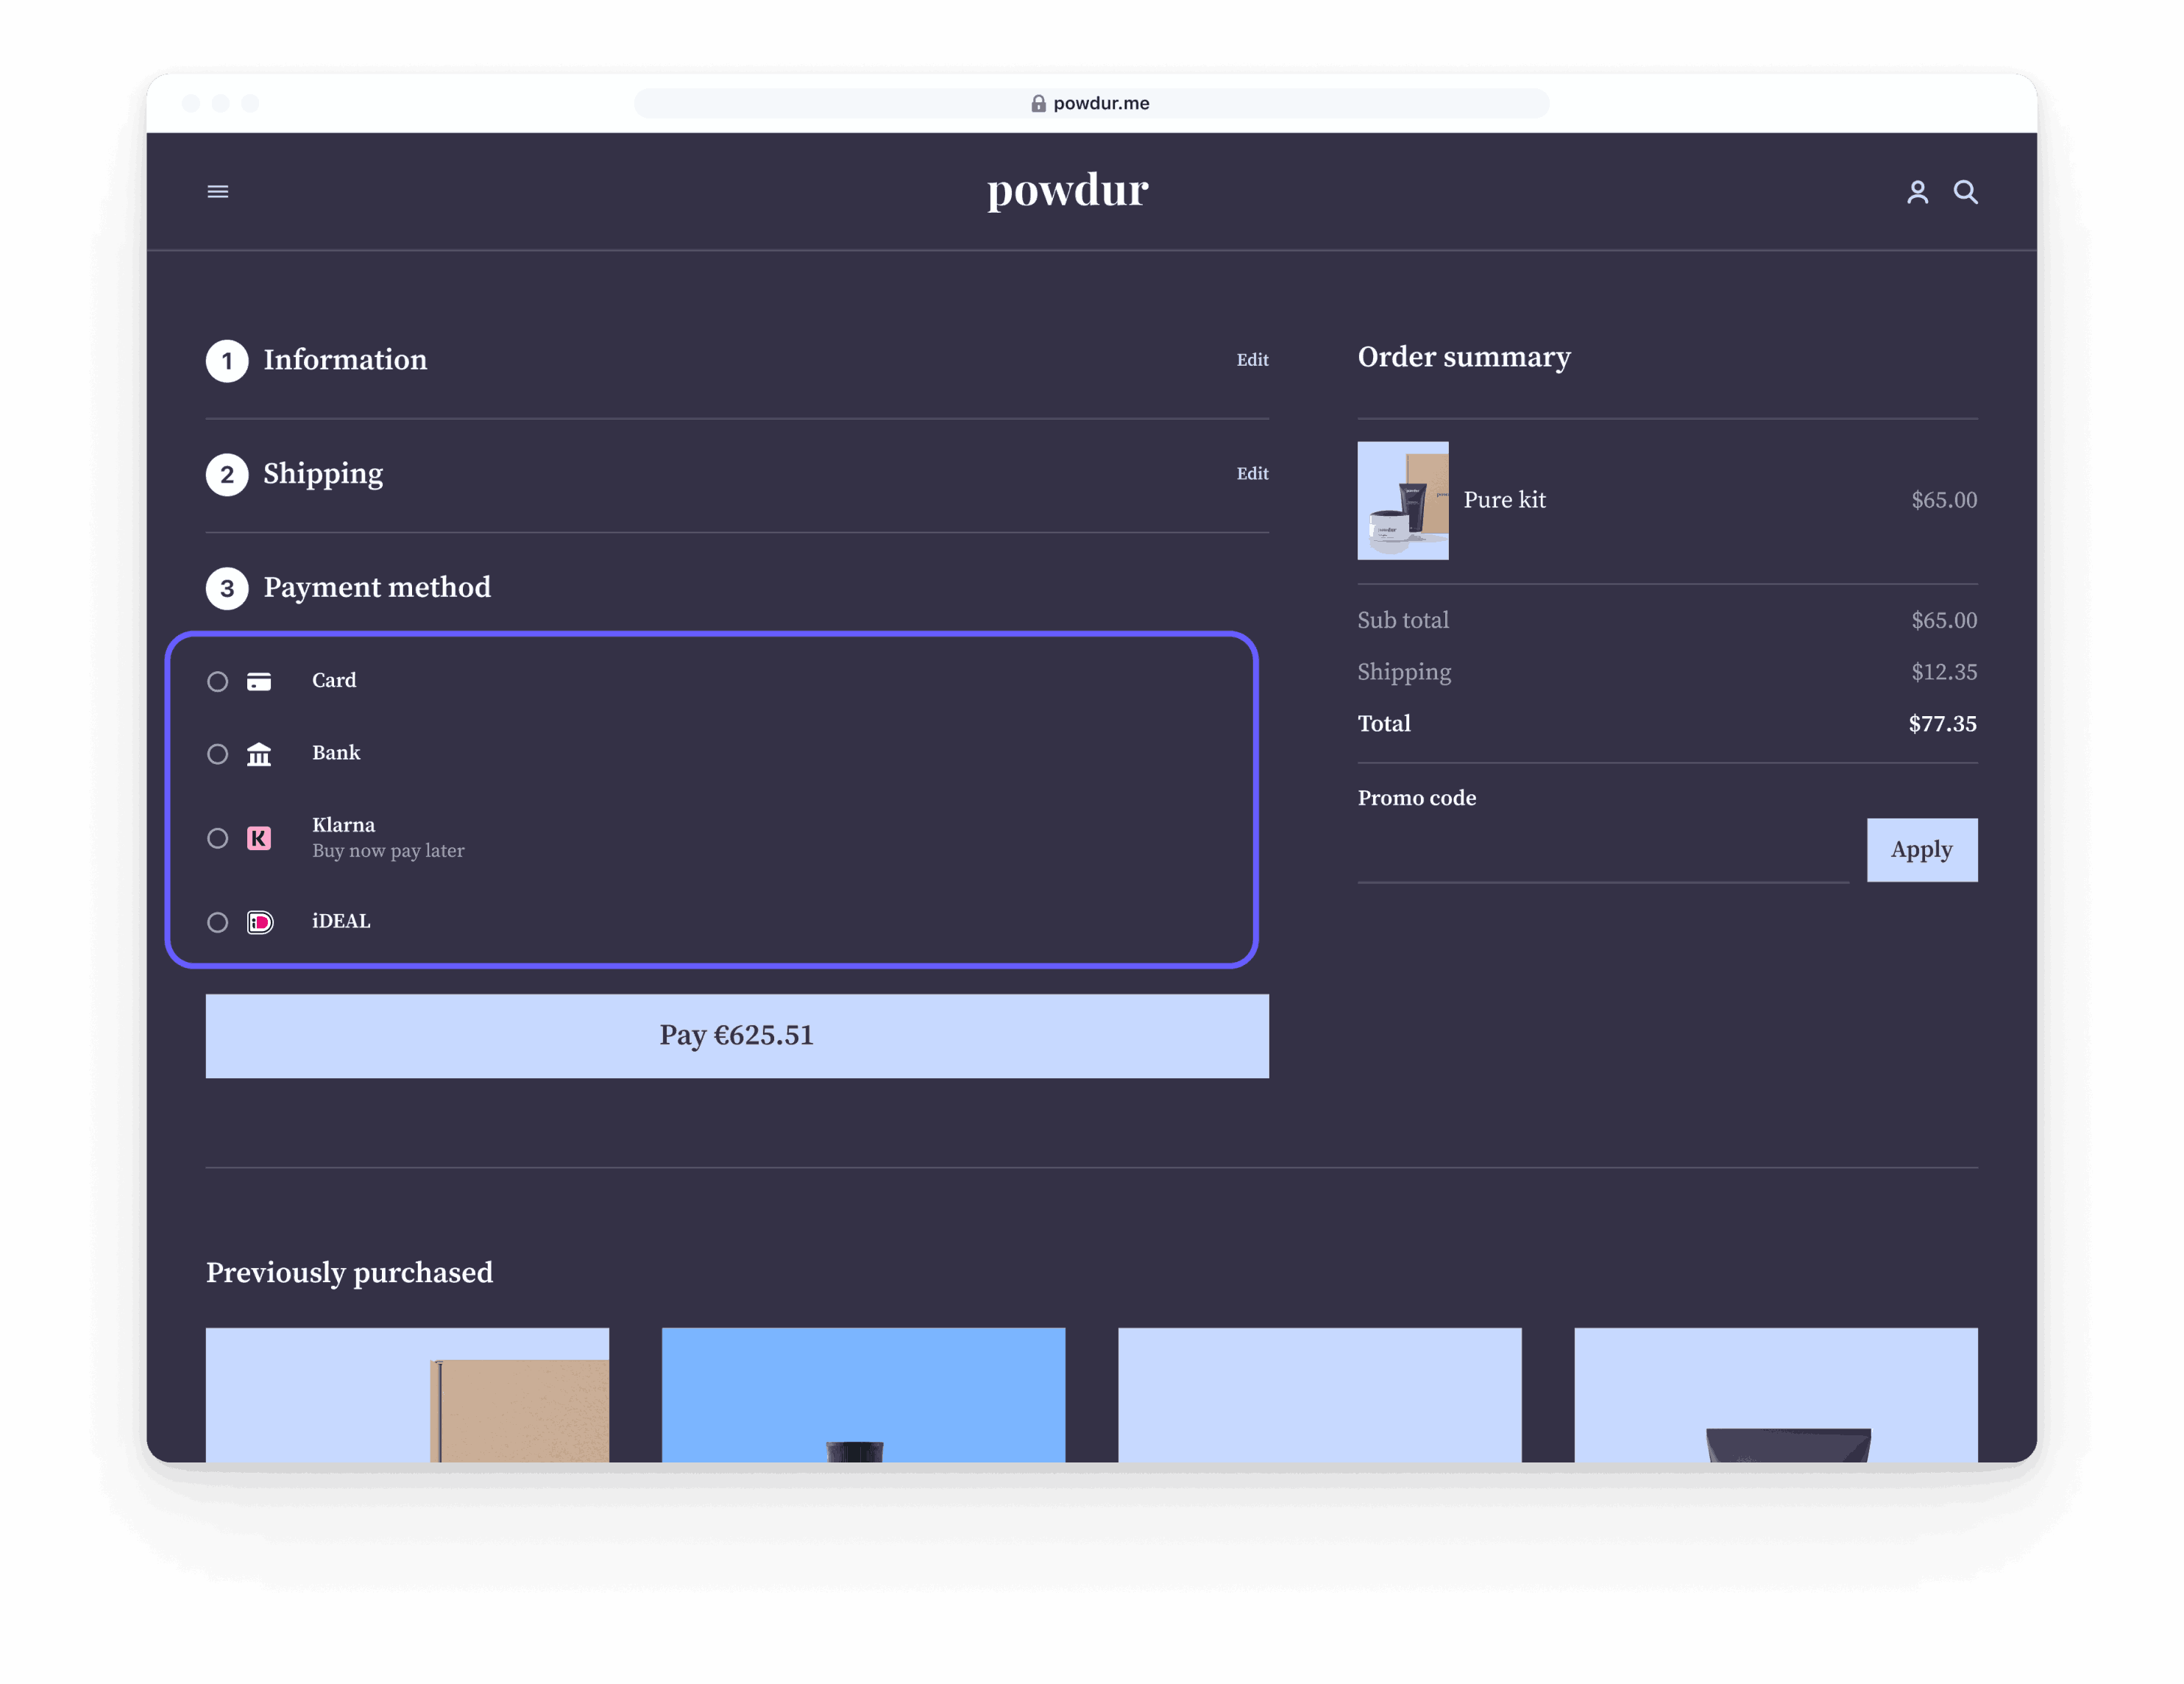
Use Elements with Checkout Sessions API to build a customizable checkout page. Customers stay on your site and are shown a customized checkout page when they’re ready to complete their purchase. The customer enters their payment details and completes the transaction on the same page in your site so they don’t need to be redirected back to your site.

Checkout form using Elements with Checkout Sessions API

Checkout lifecycle

  1. When a customer is ready to complete their purchase, your application creates a new Checkout Session.
  2. You embed Elements on your website to show a payment form.
  3. Customers enter their payment details and complete the transaction.
  4. After the transaction, the checkout.session.completed webhook event triggers the order fulfillment process.

See also

  • Checkout quickstart
  • Fulfill your orders
  • Collect taxes in Checkout
  • Manage limited inventory with Checkout
  • Automatically convert to local currencies with Adaptive Pricing
Was this page helpful?
YesNo
Need help? Contact Support.
Join our early access program.
Check out our changelog.
Questions? Contact Sales.
LLM? Read llms.txt.
Powered by Markdoc
Related Guides
No-code options to accept payments on Stripe
Prebuilt checkout page
Learn about payment methods
Products Used
Checkout