Reçus envoyés par e-mail
Envoyez automatiquement les reçus et les factures payées.
Vous pouvez envoyer manuellement ou automatiquement des entrées personnalisées par e-mail ou factures payées . En savoir plus sur entrées pour les paiements .
Envoi automatique de reçus
Pour activer les reçus automatiques, activez l’option Paiements réussis dans vos paramètres d’e-mails clients. Les reçus sont envoyés uniquement en cas de paiement réussi. Aucun reçu n’est envoyé pour les paiements échoués ou refusés.
Personnaliser les reçus
Modifiez l’apparence et les fonctionnalités de vos reçus à l’aide des options de personnalisation suivantes :
- Image de marque : modifiez le logo et les couleurs dans vos paramètres de marque. La taille du fichier de votre logo personnalisé ne doit pas dépasser 512 Ko. Idéalement, le logo doit être une image carrée de plus de 128 x 128 pixels. Seuls les fichiers au format JPG, PNG et GIF sont pris en charge.
- Informations publiques : spécifiez les informations publiques que vous souhaitez inclure, telles que votre numéro de téléphone ou l’adresse de votre site Web, dans vos paramètres d’informations publiques.
Pour afficher du texte personnalisé, utilisez l’attribut payment_intent_data.description de la session Checkout. En voici quelques exemples :
- Description des biens ou services fournis
- Code d’autorisation
- Informations sur l’abonnement
- Politiques d’annulation
Vous pouvez voir un aperçu en temps réel de votre reçu par e-mail sur la page des paramètres de marque dans le Dashboard. Pour envoyer un reçu test, survolez l’image d’aperçu et cliquez sur Envoyer le reçu test, puis saisissez votre adresse e-mail.
Mise en garde
Les reçus récupèrent les données de l’objet Charge généré à la confirmation du PaymentIntent. Pour mettre à jour les données des reçus comme la description une fois l’objet Charge généré, vous devez mettre à jour le paiement. Les modifications apportées au PaymentIntent n’apparaissent pas sur le reçu.
Envoyer automatiquement les factures payées
Outre les reçus ordinaires, vous pouvez configurer la session Checkout pour qu’elle génère des factures payées comme preuve de paiement. Les factures contiennent plus d’informations que les reçus. Pour les abonnements, Stripe génère automatiquement des factures ; mais pour les paiements uniques, vous devez les activer.
Remarque
La création de factures pour les paiements ponctuels via l’API Checkout Sessions n’est pas une fonctionnalité d’Invoicing et est facturée séparément. Consultez cet article de support pour en savoir plus.
Pour générer des factures, sélectionnez Paiements réussis sous Envoyer un e-mail au client à propos de dans vos paramètres d’e-mails clients. Ensuite, définissez invoice_creation[enabled] sur true lors de la création d’une session Checkout.
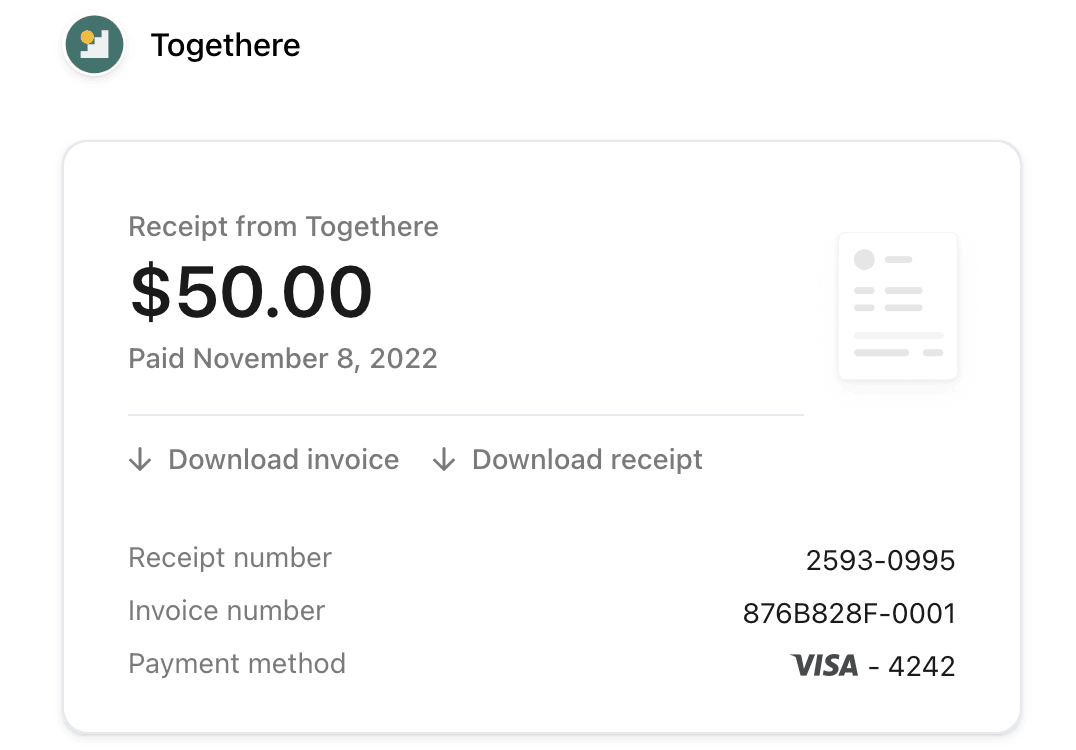
Une fois le paiement effectué, Stripe envoie un récapitulatif de la facture avec des liens pour télécharger la facture au format PDF et le reçu de la facture à l’adresse e-mail fournie par votre client lors du paiement.
Mise en garde
Les factures pour les moyens de paiement à notification différée peuvent prendre plus de temps à être envoyées car nous envoyons la facture après le paiement réussi, et non à la fin de la session de paiement. Ces moyens incluent : prélèvement automatique Bacs, virements bancaires,Boleto, débits préautorisés canadiens,Konbini,OXXO,Pay by Bank,prélèvement automatique SEPA, etACH Direct Debit.

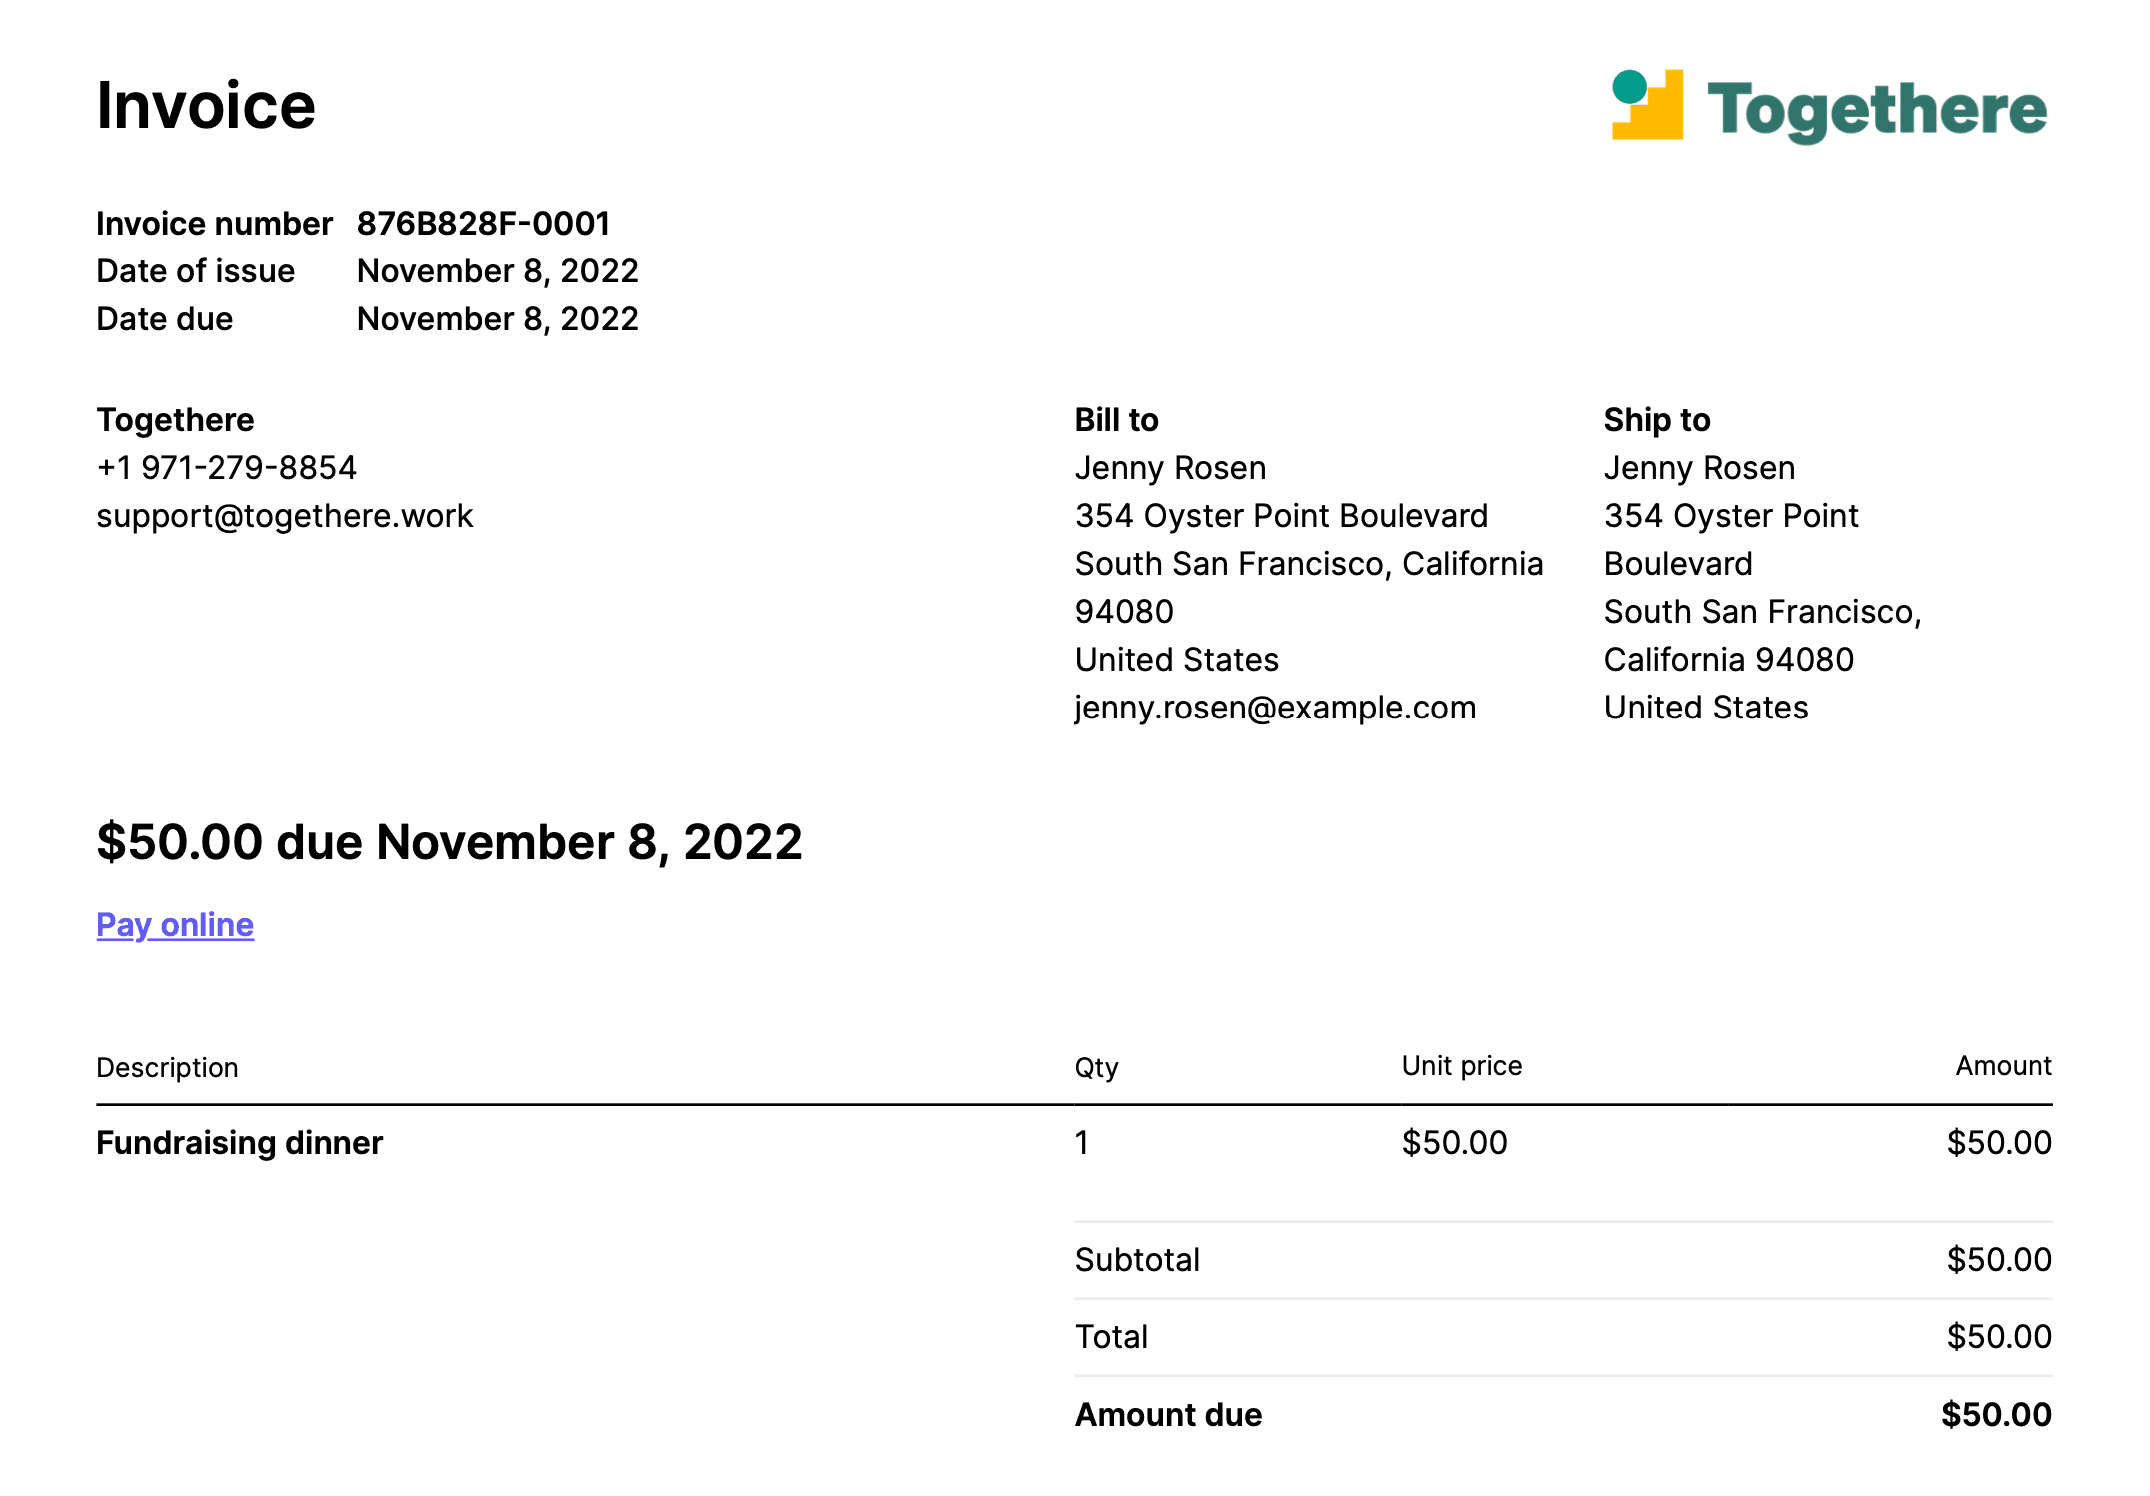
La facture PDF téléchargeable

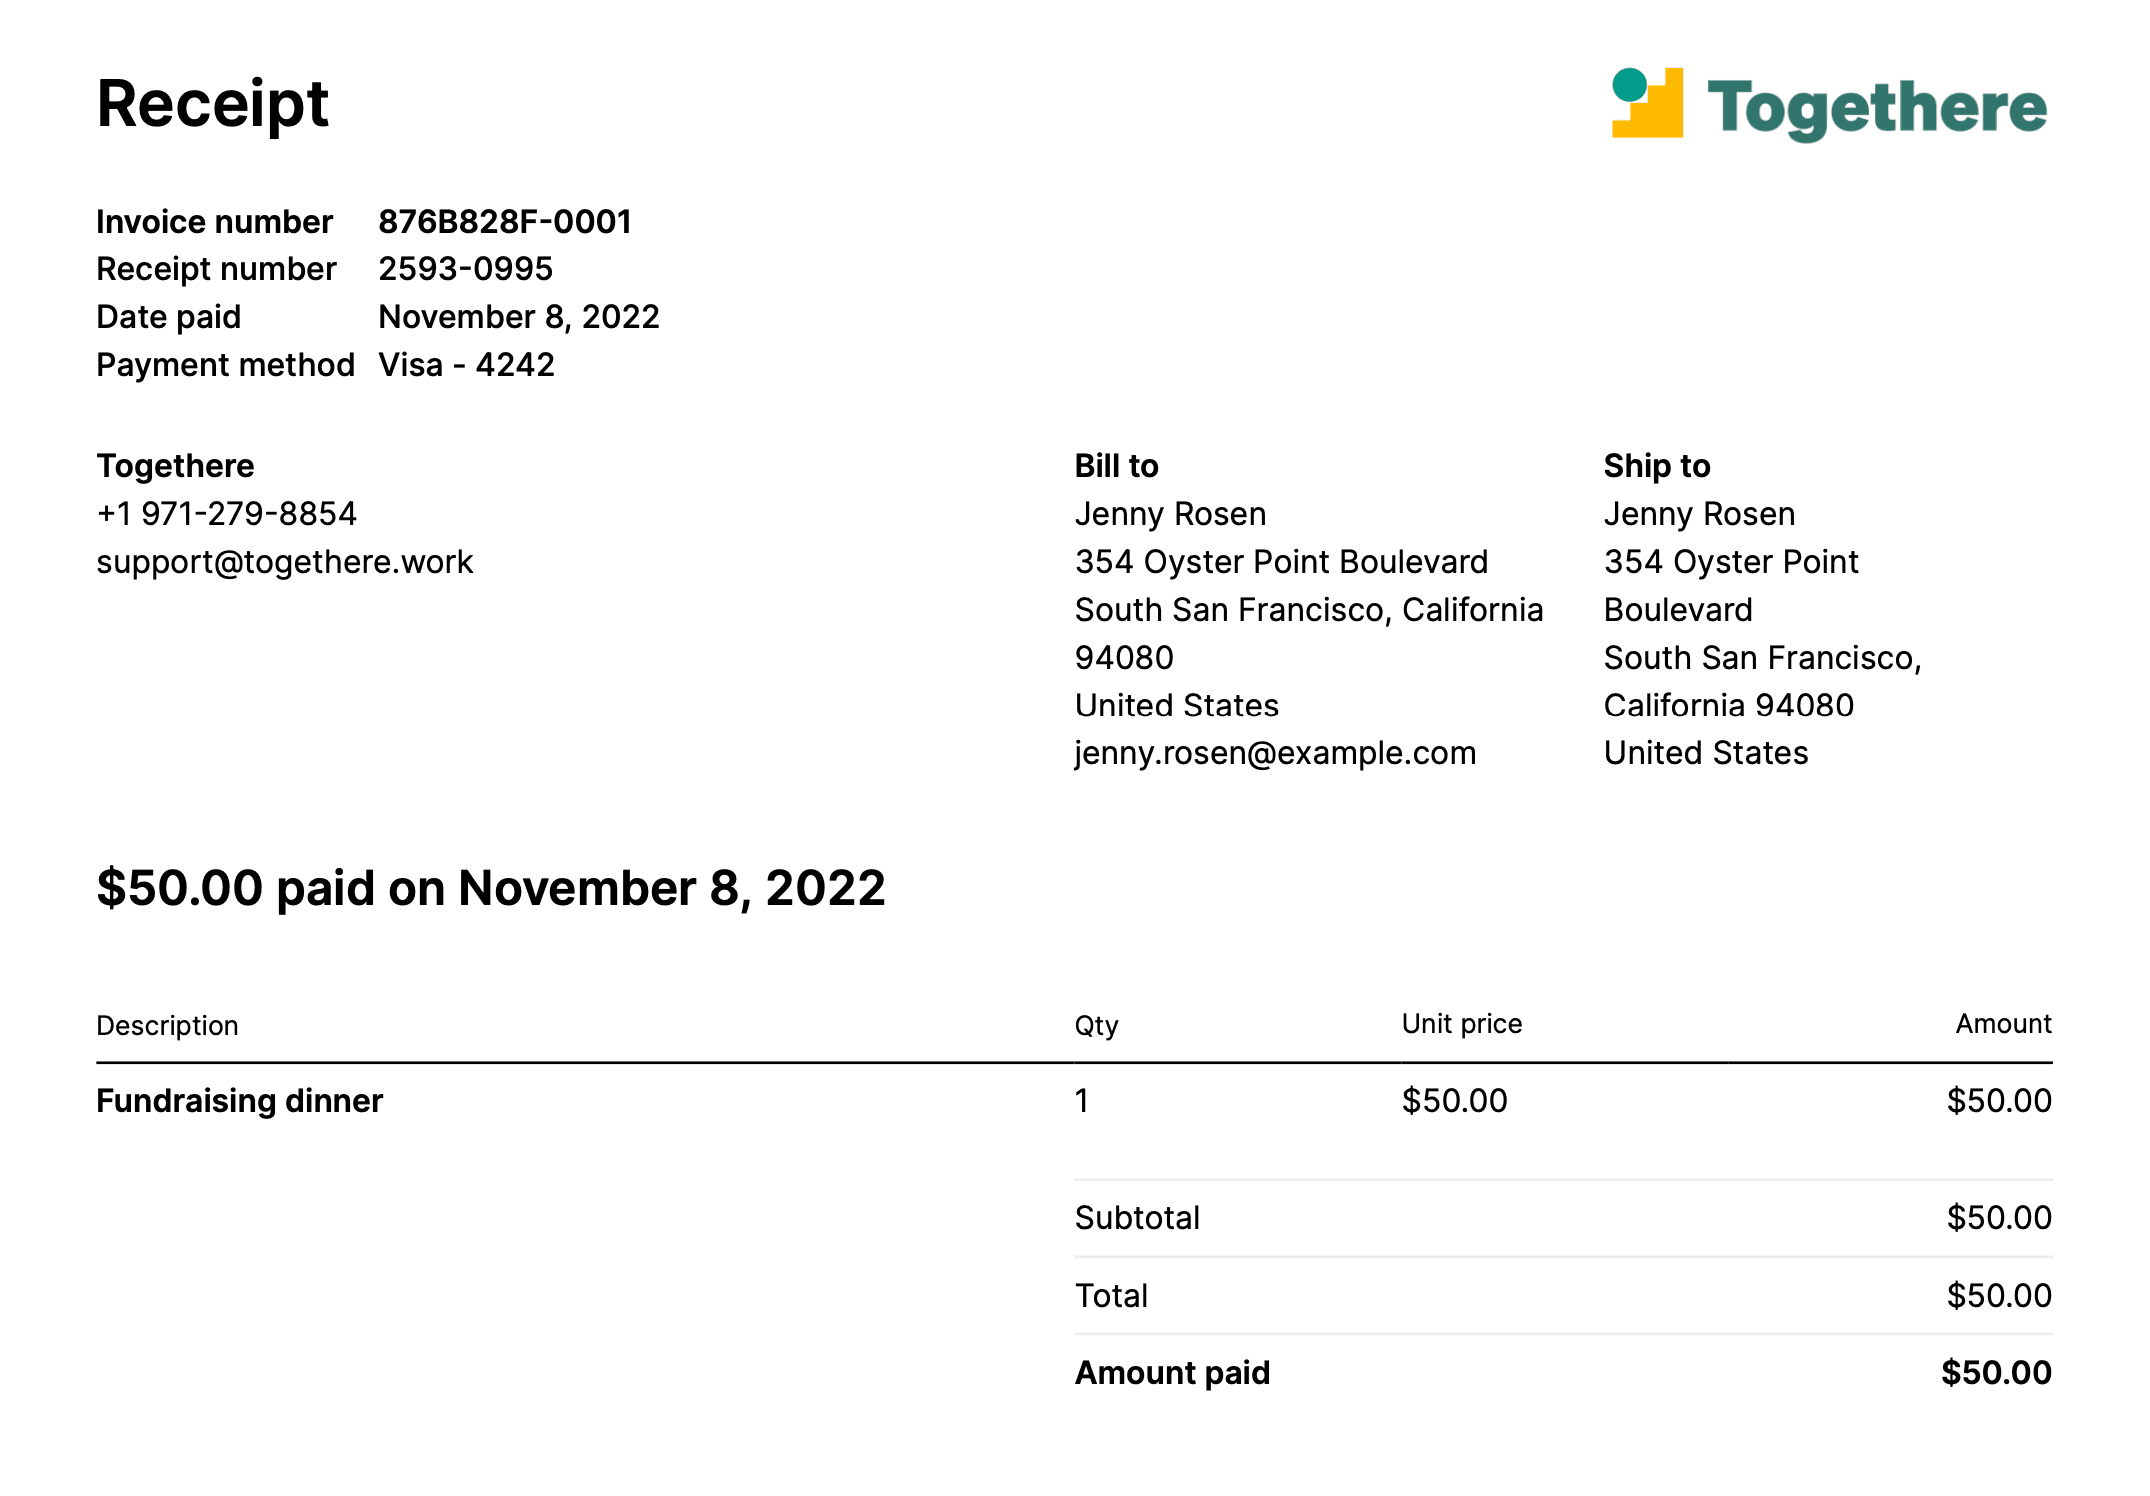
Le reçu de la facture à télécharger

L’e-mail du client contenant des liens vers la facture au format PDF et le reçu
Vous pouvez également afficher la facture dans le Dashboard ou y accéder par voie programmatique en écoutant l’événement invoice.paid via une destination d’événement.
Vous pouvez utiliser le hachage invoice_ dans invoice_ pour personnaliser davantage la facture générée par la session Checkout.
Vérifiez les bonnes pratiques de facturation pour votre région afin de vous assurer que vous collectez les bonnes informations auprès de vos clients. Les informations, telles que l’adresse de facturation et de livraison du client, son numéro de téléphone et son numéro fiscal, apparaissent sur la facture.
Localisation
Lors de l’utilisation de sessions Checkout, la langue du reçu et de la facture est déterminée par plusieurs facteurs :
- Si vous définissez un
Customer, sa langue préférée est utilisée lorsqu’elle est disponible. - Si vous définissez un
Customersans paramètres régionaux préférés, nous appliquons le paramètre de langue à partir du Dashboard. - Si aucun
Customern’est défini, la langue utilisée par défaut correspond à la langue du navigateur de la personne qui ouvre l’URL de la session Checkout.