E-Mail-Zahlungsbelege
Versenden Sie automatisch Belege und bezahlte Rechnungen.
Sie können benutzerdefinierte Belege oder bezahlte Rechnungen manuell oder automatisch per E-Mail versenden. Erfahren Sie mehr über Zahlungsbelege.
Belege automatisch senden
Um automatische Zahlungsbelege zu aktivieren, aktivieren Sie in Ihren Einstellungen für Kunden-E-Mails Erfolgreiche Zahlungen. Zahlungsbelege werden nur für eine erfolgreiche Zahlung gesendet. Zahlungsbelege werden nicht für fehlgeschlagene oder abgelehnte Zahlungen gesendet.
Belege anpassen
Ändern Sie das Erscheinungsbild und die Funktionalität Ihrer Belege mit den folgenden Anpassungsoptionen:
- Branding: Ändern Sie das Logo und die Farben in Ihren Branding-Einstellungen. Die Obergrenze für die Dateigröße eines benutzerdefinierten Logos beträgt 512 kB. Das Logo ist im Idealfall quadratisch und größer als 128 × 128 Pixel. Es werden die Dateitypen JPG, PNG und GIF unterstützt.
- Öffentliche Informationen: Geben Sie in Ihren Einstellungen für öffentliche Details öffentliche Informationen an, die Sie aufnehmen möchten, z. B. Ihre Telefonnummer oder die URL Ihrer Website.
Um benutzerdefinierten Text anzuzeigen, verwenden Sie das payment_intent_data.description in der Checkout-Sitzung. Hier sind einige Beispiele:
- Beschreibung der angebotenen Waren oder Dienstleistungen
- Autorisierung
- Abonnementdaten
- Stornorichtlinien
In den Einstellungen für Ihr Dashboard-Branding können Sie eine Echtzeitvorschau Ihres E-Mail-Belegs anzeigen. Um einen Testbeleg zu senden, bewegen Sie den Mauszeiger über das Vorschaubild und klicken auf Testbeleg senden. Anschließend geben Sie Ihre E-Mail-Adresse ein.
Vorsicht
Zahlungsbelege rufen Daten vom Charge-Objekt ab, nachdem der PaymentIntent bestätigt wurde. Um Zahlungsbelegdaten wie description nach Erstellung der Zahlung zu aktualisieren, müssen Sie die Zahlung aktualisieren. Änderungen eines bestätigten PaymentIntent werden nicht auf dem Zahlungsbeleg angezeigt.
Bezahlte Rechnungen automatisch versenden
Neben gewöhnlichen Belegen können Sie die Checkout-Sitzung so konfigurieren, dass bezahlte Rechnungen als Zahlungsnachweis erstellt werden. Rechnungen beinhalten mehr Informationen als Belege. Für Abos generiert Stripe Rechnungen automatisch, für einmalige Zahlungen müssen Sie diese jedoch aktivieren.
Hinweis
Die Rechnungserstellung für einmalige Zahlungen über die Checkout Sessions API ist keine Funktion von Invoicing und wird separat berechnet. Lesen Sie diesen Support-Artikel, um mehr zu erfahren.
Um Rechnungen zu erstellen, wählen Sie in Ihren Einstellungen für Kunden-E-Mails unter E-Mails an Kunden/Kundinnen die Option Erfolgreiche Zahlungen aus. Setzen Sie dann beim Erstellen einer Checkout-Sitzung invoice_creation[enabled] auf true.
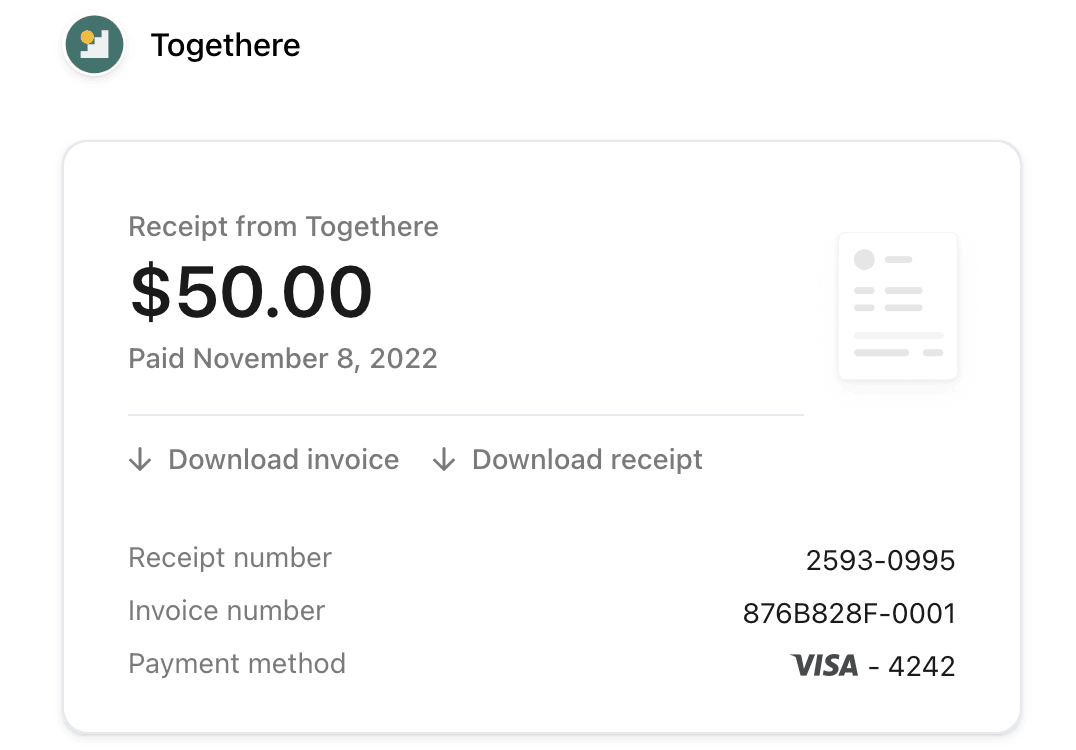
Nach Zahlungsabschluss sendet Stripe eine Rechnungsübersicht mit Links zum Herunterladen der Rechnungs-PDF und des Rechnungsbelegs an die E-Mail-Adresse, die Ihr/e Kund/in beim Bezahlvorgang angegeben hat.
Vorsicht
Der Versand von Rechnungen für Zahlungsmethoden mit verzögerter Benachrichtigung kann länger dauern, da wir die Rechnung nach erfolgreicher Zahlung versenden, nicht nach Abschluss der Checkout-Sitzung. Zu diesen Zahlungsmethoden gehören BACS-Lastschriftverfahren, Banküberweisungen, Boleto, kanadische vorab autorisierte Lastschriftverfahren in Kanada, Konbini, OXXO, Pay by Bank, SEPA-Lastschrift und ACH Direct Debit.

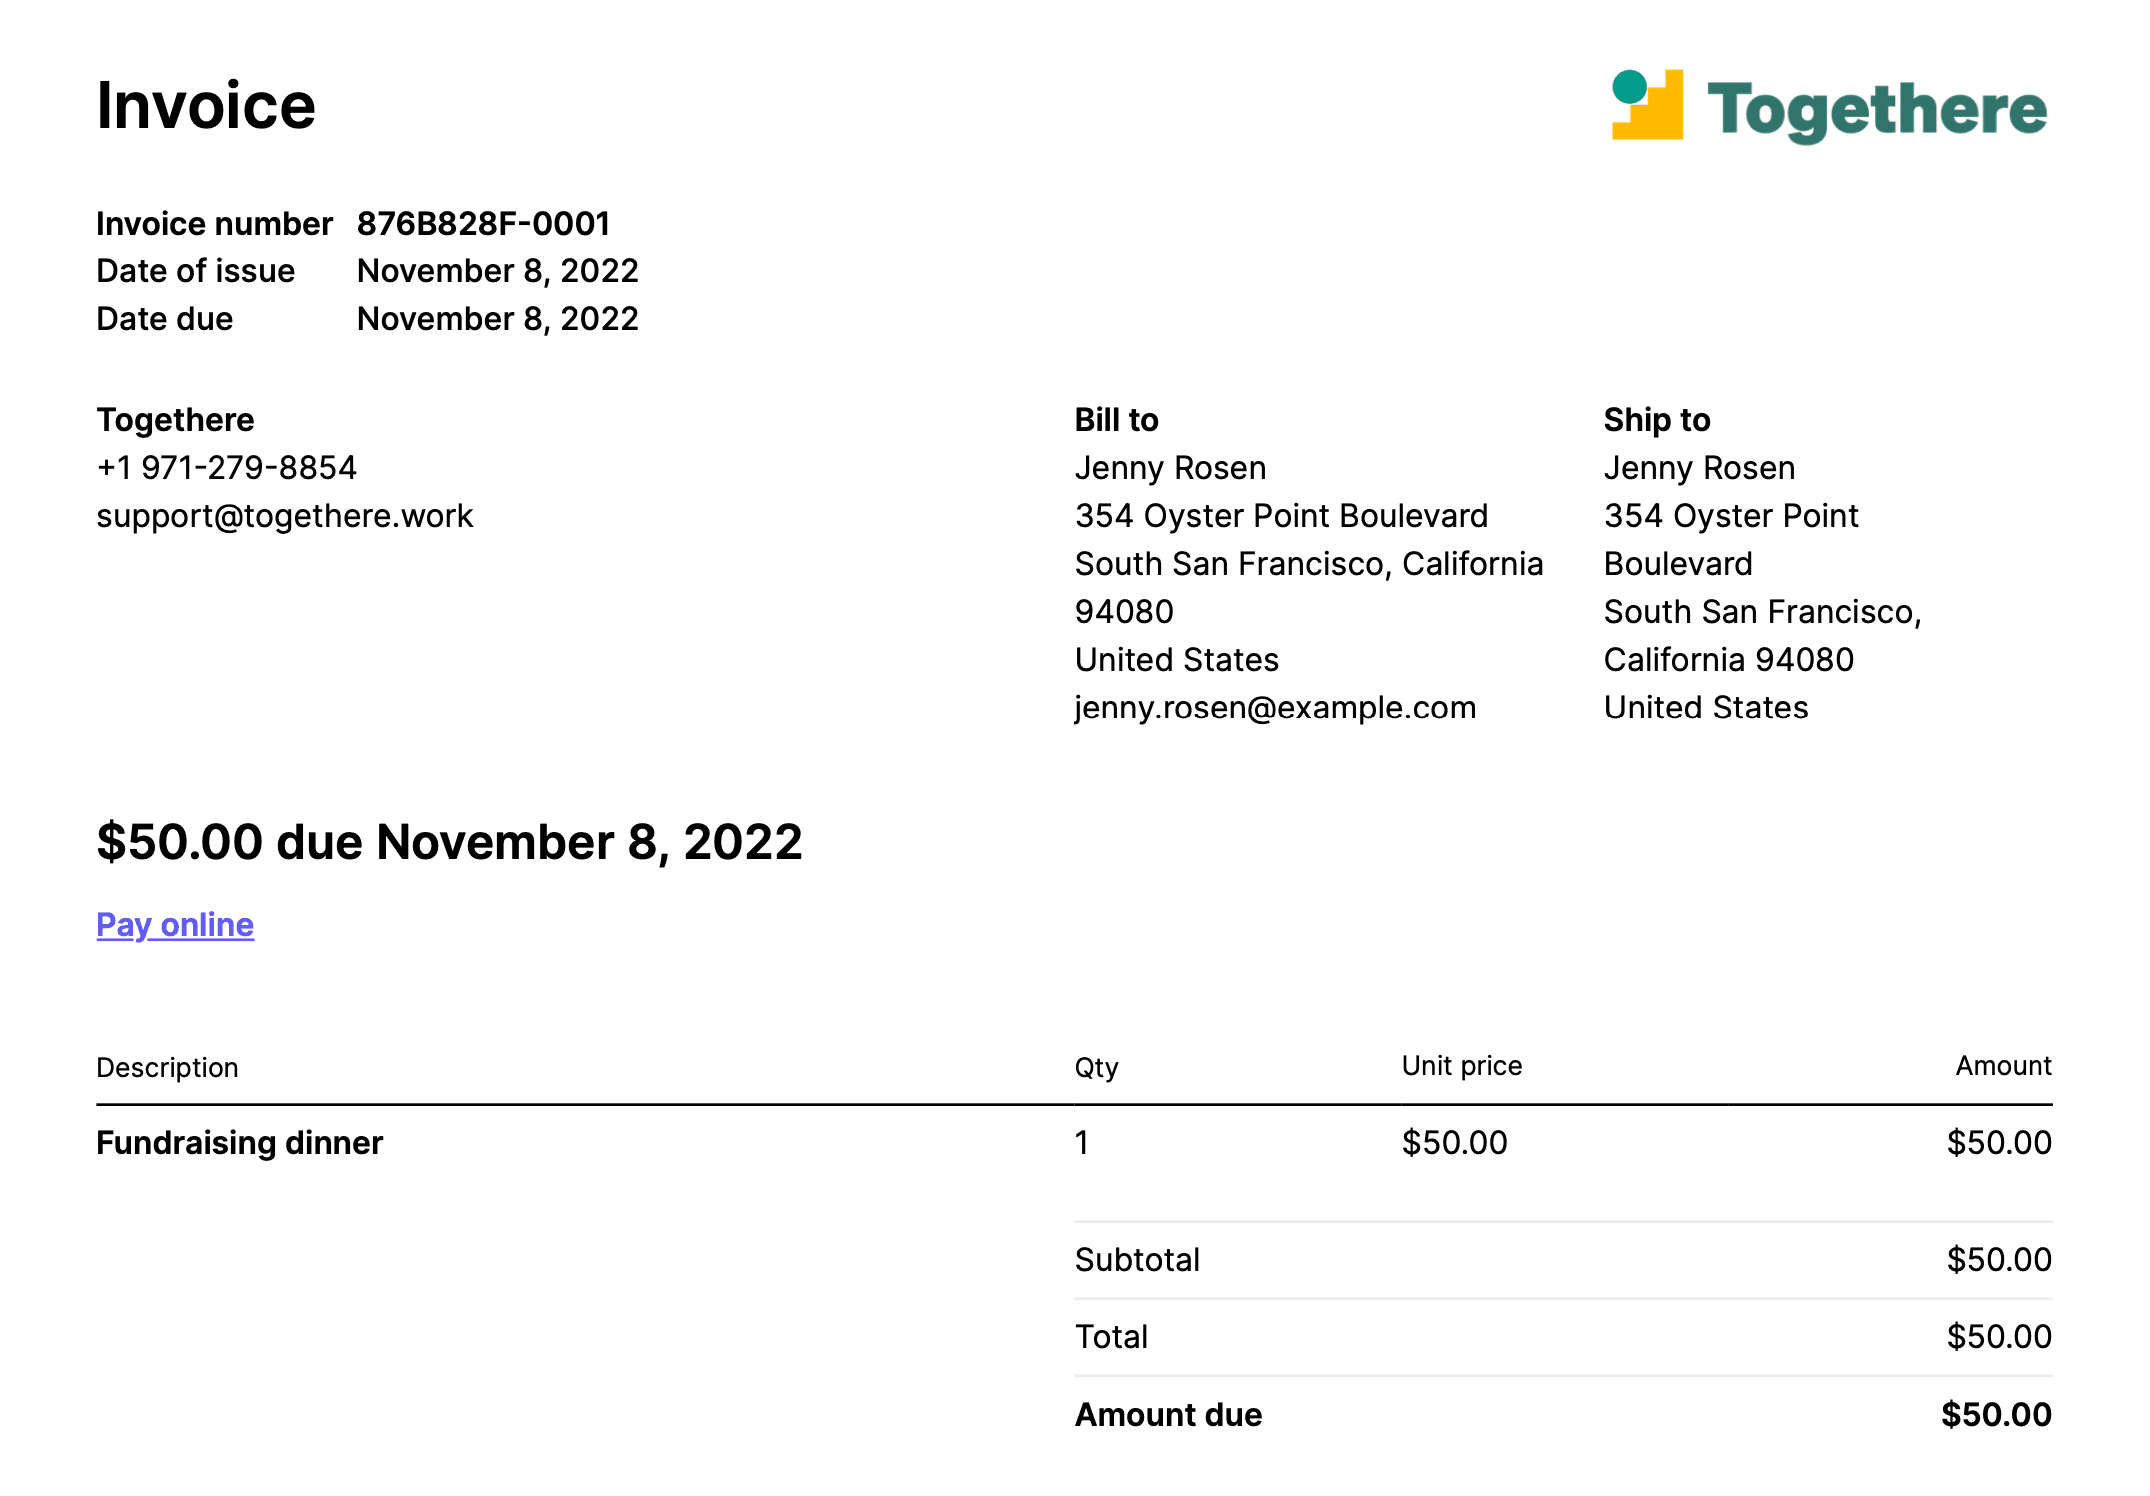
Rechnungs-PDF, die heruntergeladen werden kann

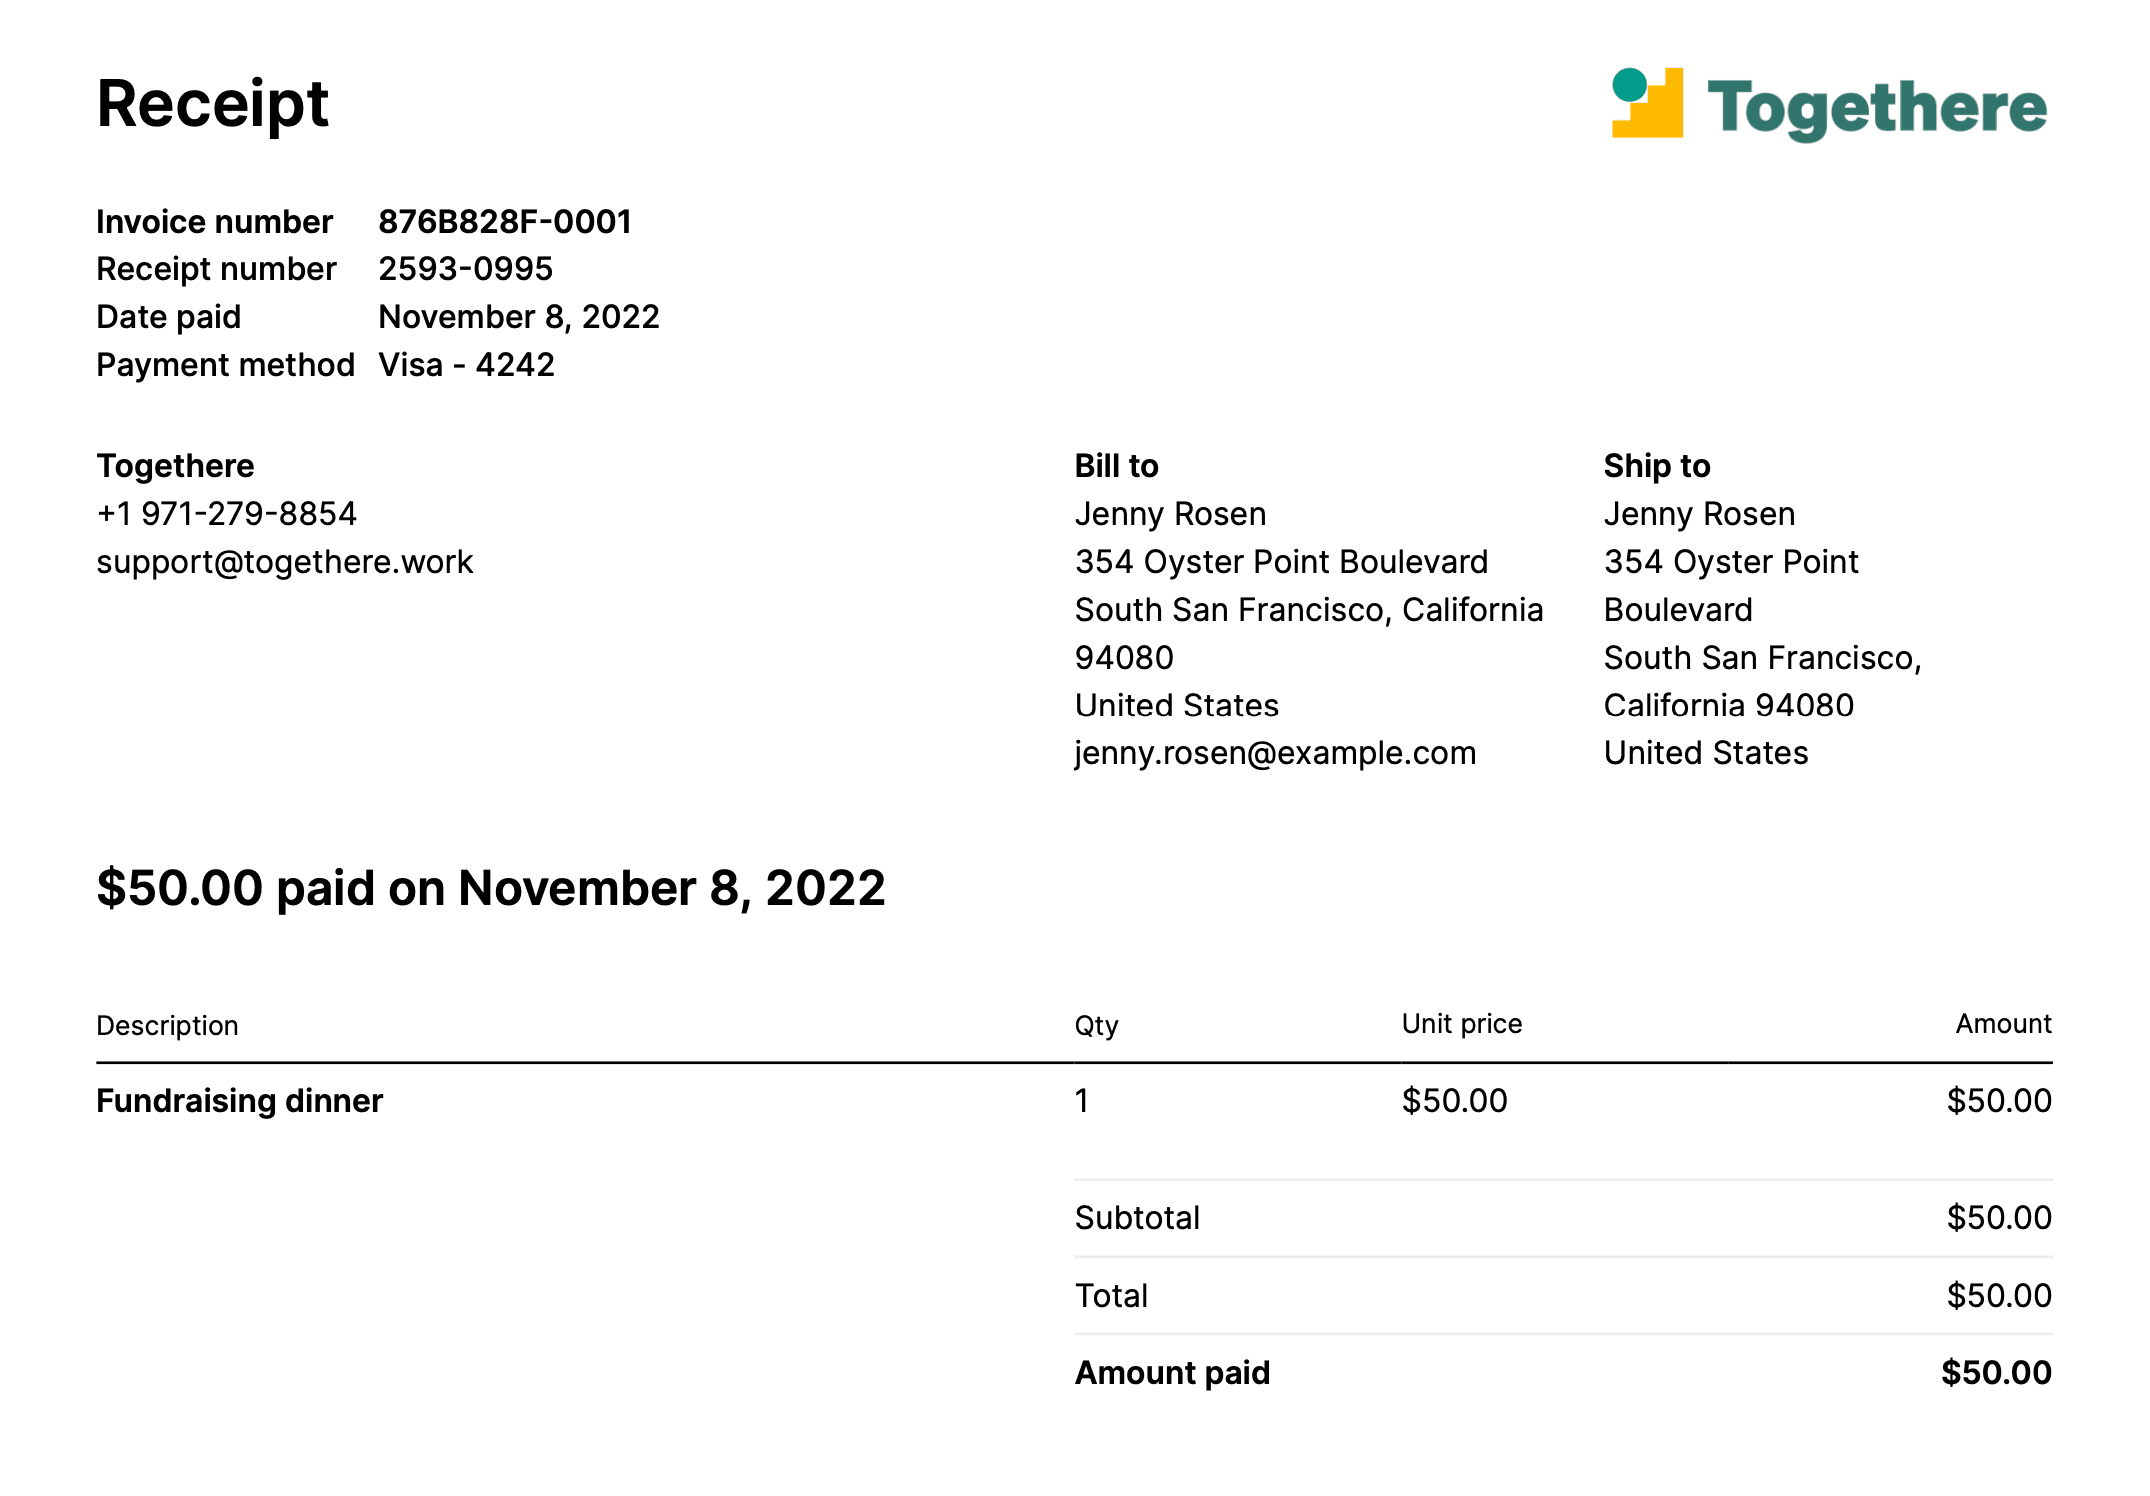
Zahlungsbeleg, der heruntergeladen werden kann

Die Kunden-E-Mail mit Links zur Rechnungs-PDF und zum Zahlungsbeleg
Sie können die Rechnung auch im Dashboard anzeigen oder programmgesteuert darauf zugreifen, indem Sie das Ereignis rechnung.paid über ein Ereignisziel überwachen.
Sie können den Hash invoice_ in invoice_ verwenden, um die durch die Checkout-Sitzung generierte Rechnung weiter anzupassen.
Überprüfen Sie die Best Practices für Rechnungen für Ihre Region, um sicherzustellen, dass Sie die richtigen Informationen von Ihren Kund/innen erfassen. Informationen wie Rechnungs- und Versandadresse, Telefonnummer und Steueridentifikationsnummer der Kund/innen erscheinen auf der resultierenden Rechnung.
Lokalisierung
Bei der Verwendung von Checkout-Sitzungen wird die Sprache des Zahlungsbelegs und der Rechnung durch mehrere Faktoren bestimmt:
- Wenn Sie einen
Customerfestlegen, wird deren bevorzugtes Gebietsschema verwendet, falls verfügbar. - Wenn Sie einen
Customerohne bevorzugte Gebietsschemata festlegen, wenden wir die Spracheinstellung des Dashboards an. - Wenn
Customernicht festgelegt ist, wird standardmäßig die Sprache der Browser-Ländereinstellung der Nutzerin oder des Nutzers verwendet, die bzw. der die Checkout-Sitzungs-URL öffnet.