调至内容部分
创建账户或登录
Stripe 文档徽标
/
询问人工智能
创建账户登录
开始
付款
销售收入
平台和交易市场
资金管理
开发人员资源
API 和 SDK帮助
概览
关于 Stripe 支付
升级您的集成
支付分析
线上付款
概览查找您的用例使用 Managed Payments
使用 Payment Link
使用预制结账页面
使用 Elements 构建自定义集成
    概览
    快速入门指南
    Stripe Elements
    对比 Checkout Sessions 和 PaymentIntents
    设计高级集成
    自定义外观样式
    管理支付方式
    收集额外信息
      收集物理地址和电话号码
      自定义账单地址信息的收集
      收取运费
    构建订阅集成
    动态更新
    添加折扣
    对您的付款征税
    兑换抵用金
    让客户用本地货币支付
    保存并检索客户支付方式
    发送收据和已付账单
    在您的服务器上手动批准支付
    单独授权和捕获付款
    具有 Checkout Sessions API Beta 更改日志的 Element
构建应用内集成
线下支付
Terminal
支付方式
添加支付方式
管理支付方式
用 Link 更快结账
支付场景
处理多种货币
自定义支付流程
灵活收单
编排
超越支付功能
成立公司
加密货币
智能体商务 (Agentic Commerce)
Financial Connections
Climate
了解欺诈
Radar 欺诈保护
管理争议
验证身份
美国
简体中文
首页付款Build a custom integration with ElementsCollect additional information

Collect physical addresses and phone numbers

Learn how to collect addresses and phone numbers during one-time payment flows.

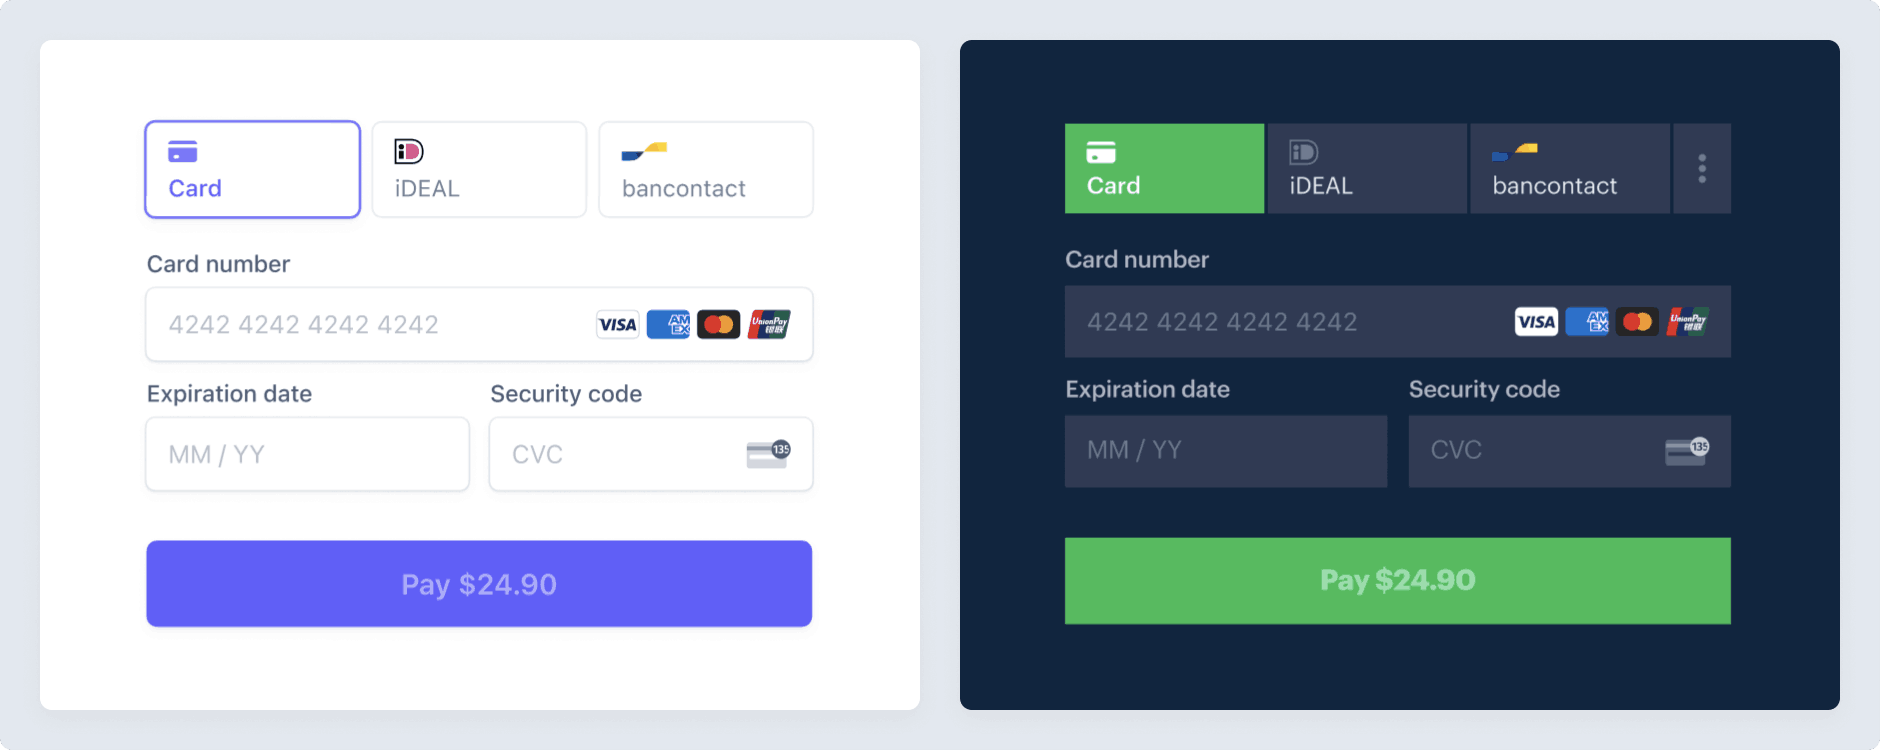
To collect complete addresses for billing or shipping, use the Address Element. You might need to collect a full billing address to calculate taxes, for example. The Payment Element only collects the billing address details required to complete the payment, but you can configure it to collect other billing details.

Other reasons you might want to use the Address Element:

  • To collect customer phone numbers
  • To enable autocomplete
  • To prefill billing information in the Payment Element by passing in a shipping address

Stripe combines the collected address information and the payment method to create a PaymentIntent.

主题
尺寸
客户所在地

Set up Stripe
Server-side

First, create a Stripe account or sign in.

Use our official libraries to access the Stripe API from your application:

Command Line
Ruby
Python
PHP
Java
Node.js
Go
.NET
No results
# Available as a gem sudo gem install stripe
Gemfile
Ruby
Python
PHP
Java
Node.js
Go
.NET
No results
# If you use bundler, you can add this line to your Gemfile gem 'stripe'

Collect address details
Client-side

You’re ready to collect address details on the client with the Address Element.

Set up Stripe.js

The Address Element is automatically available as a feature of Stripe.js. Include the Stripe.js script on your checkout page by adding it to the head of your HTML file. Always load Stripe.js directly from js.stripe.com to remain PCI compliant. Don’t include the script in a bundle or host a copy of it yourself.

checkout.html
<head> <title>Checkout</title> <script src="https://js.stripe.com/clover/stripe.js"></script> </head>

Create a Stripe instance and initialize the checkout

Create an instance of Stripe on your checkout page:

checkout.js
// Set your publishable key: remember to change this to your live publishable key in production // See your keys here: https://dashboard.stripe.com/apikeys const stripe = Stripe(
'pk_test_TYooMQauvdEDq54NiTphI7jx'
); let checkout; initialize(); async function initialize() { const promise = fetch("/create-checkout-session", { method: "POST", headers: { "Content-Type": "application/json" }, }) .then((r) => r.json()) .then((r) => r.clientSecret); const appearance = { theme: 'stripe', }; checkout = stripe.initCheckout({ clientSecret: promise, elementsOptions: { appearance }, }); }

Add the Address Element to your page

The Address Element needs a place on your page. Create an empty DOM node (container) with a unique ID in your form.

checkout.html
<form id="address-form"> <h4>Billing Address</h4> <div id="billing-address-element"> <!--Stripe.js injects the Address Element--> </div> <h4>Shipping Address</h4> <div id="shipping-address-element"> <!--Stripe.js injects the Address Element--> </div> </form>

After this form loads, create an instance of the Address Element, specify the address mode, and mount it to the container DOM node.

If you already created an Elements instance, you can use the same instance to create the Address Element. Otherwise, create a new Elements instance first.

checkout.js
const options = { // Fully customizable with the Appearance API. appearance: { /* ... */ } }; const billingAddressElement = checkout.createBillingAddressElement(); billingAddressElement.mount("#billing-address-element"); const shippingAddressElement = checkout.createShippingAddressElement(); shippingAddressElement.mount("#shipping-address-element");

Retrieve address details
Client-side

You can retrieve the address details by listening to the change event. The change event fires whenever the user updates any field in the Element.

checkout.on('change', (session) => { if (event.complete){ // Extract potentially complete address const address = event.value.address; } })

In a single-page checkout flow with the Payment Element, the Address Element automatically passes the shipping or billing information when you confirm the Checkout Session.

Configure the Address Element
Client-side

You can configure the Address Element to suit your needs.

Autocomplete

The Address Element has a built-in address autocomplete feature that uses the Google Maps API Places Library. By default, the autocomplete is enabled with a Stripe-provided Google Maps API key, if any of the following conditions are met:

  • In a single page checkout flow where the Payment Element is mounted in the same Elements group as the Address Element.
  • In a checkout flow that uses the Address Element in an active Link session.

Prefill address form

You can use the updateBillingAddress or updateShippingAddress to prefill an address.

actions.updateBillingAddress({ name: 'Jenny Rosen', address: { line1: '27 Fredrick Ave', city: 'Brothers', state: 'OR', postal_code: '97712', country: 'US', } });

Validate address details
Client-side

Stripe provides a few ways to validate completeness of an address and trigger errors to display on any incomplete individual address fields. For example, “This field is incomplete.”

If you use the Address Element with a PaymentIntent or SetupIntent, use stripe.confirmPayment or stripe.confirmSetup, respectively to complete the Intent. Validation errors, if any, appear in the Address Element.

For other use cases, such as a multi-page checkout flow, you can validate addresses by confirming the Checkout Session, which automatically validates the Address Element and displays any validation errors.

可选Customize the appearance
Client-side

After you add the Address Element to your page, you can customize the appearance to fit with the design of the rest of your page. See the Appearance API page for more information.

Use the Address Element with other elements

You can collect both shipping and billing addresses by using multiple Address Elements, one of each mode, on your page.

If you need to collect both shipping and billing addresses and only want to use one Address Element, use the Address Element in shipping mode and use the Payment Element to collect only the necessary billing address details.

When you use the Address Element with other elements, you can expect some automatic behavior when confirming the PaymentIntent or SetupIntent. The Address Element validates completeness when confirming the PaymentIntent or SetupIntent, and then displays errors for each field if there are any validation errors.

另请参阅

  • Use the address
  • Set up autofill with Link
  • Customize the form’s appearance
此页面的内容有帮助吗?
是否
  • 需要帮助?联系支持。
  • 查看我们的更改日志。
  • 有问题?联系销售。
  • LLM? Read llms.txt.
  • Powered by Markdoc