Single sign-on with Auth0
Learn how to setup single sign-on in the Dashboard with Auth0.
Stripe supports Single Sign-On (SSO), allowing you to manage your team’s access and roles through your identity provider (IdP). This means your team can access Stripe without needing separate passwords. When SSO is configured, users (team members) are automatically redirected to your IdP for authentication when they sign in to Stripe.
Your IdP verifies that the user has a valid role assignment to your Stripe accounts or organization, and generates a SAML assertion used by Stripe to assign the proper roles in the Stripe Dashboard. When your account requires SSO, you must update team roles through your Identity Provider (IdP) for security. Changes to a team member’s roles only appear in Stripe after they sign in to the Dashboard again using the updated SAML assertion.
Set up SSO
To integrate your Stripe account with your IdP, complete these steps:
- Prove ownership of the domains that your team uses to sign in to the Dashboard.
- Configure Auth0 to work with Stripe.
- Configure Stripe to work with Auth0.
Proving Domain Ownership
A domain is the portion of an email address after the @ symbol (such as kavholm.). You must configure SSO for Stripe for each of your business’s email domains. To verify domain ownership:
- Go to Single sign-on (SSO) in the Stripe Dashboard, and click + New domain to view your account’s unique verification code.
stripe-verification=4242424242424242424242 - Add the verification code as a
TXTrecord to your Domain Name System (DNS) provider. - Return to the Stripe Dashboard, and click Save and verify. Depending on your DNS provider, it can take 24 hours or more to verify your domain.
- After successful verification, don’t delete the
TXTrecord from your DNS provider. If you delete it, you might lose access to the Dashboard because Stripe frequently checks the DNS records of your domain.
Multiple Stripe accounts support
If you’re configuring SSO for multiple Stripe accounts, we recommend creating an organization to centrally configure SSO across all of your accounts.
Configuring Auth0
Follow these steps to create an application.
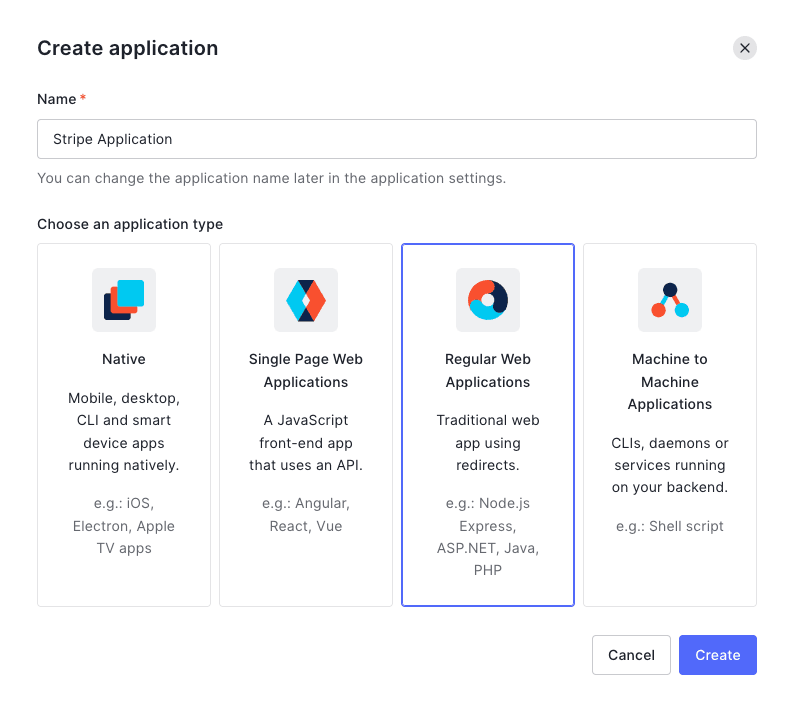
- Create a new application to represent the relationship between Auth0 and the Stripe Dashboard. To do this, go to your Auth0 dashboard and click Create Application.
- Set the Name field and then select Regular Web Applications. Select Create to make your Auth0 application for Stripe authentication.
- Go to the Addons tab and select SAML2 web app.

- In the window that opens, set
https://dashboard.as the Application Callback URL.stripe. com/login/saml/consume - Replace the contents of the Settings box with the following JSON information and then select Enable.
{
  "audience": "https://dashboard.stripe.com/saml/metadata",
  "recipient": "https://dashboard.stripe.com/login/saml/consume",
  "mappings": {
    "email": "http://schemas.xmlsoap.org/ws/2005/05/identity/claims/nameidentifier"
  },
  "signatureAlgorithm": "rsa-sha256",
  "digestAlgorithm": "sha256",
  "destination": "https://dashboard.stripe.com/login/saml/consume",
  "signResponse": false,
  "nameIdentifierFormat": "urn:oasis:names:tc:SAML:1.1:nameid-format:emailAddress",
  "nameIdentifierProbes": [
    "http://schemas.xmlsoap.org/ws/2005/05/identity/claims/emailaddress"
  ]
}
Assign roles to your team
The following setup is an example of how to set up dynamic roles. As long as the SAML Response contains the appropriate fields, Stripe grants the corresponding roles in the Stripe Dashboard. See Auth0’s documentation for more information on dynamic roles.
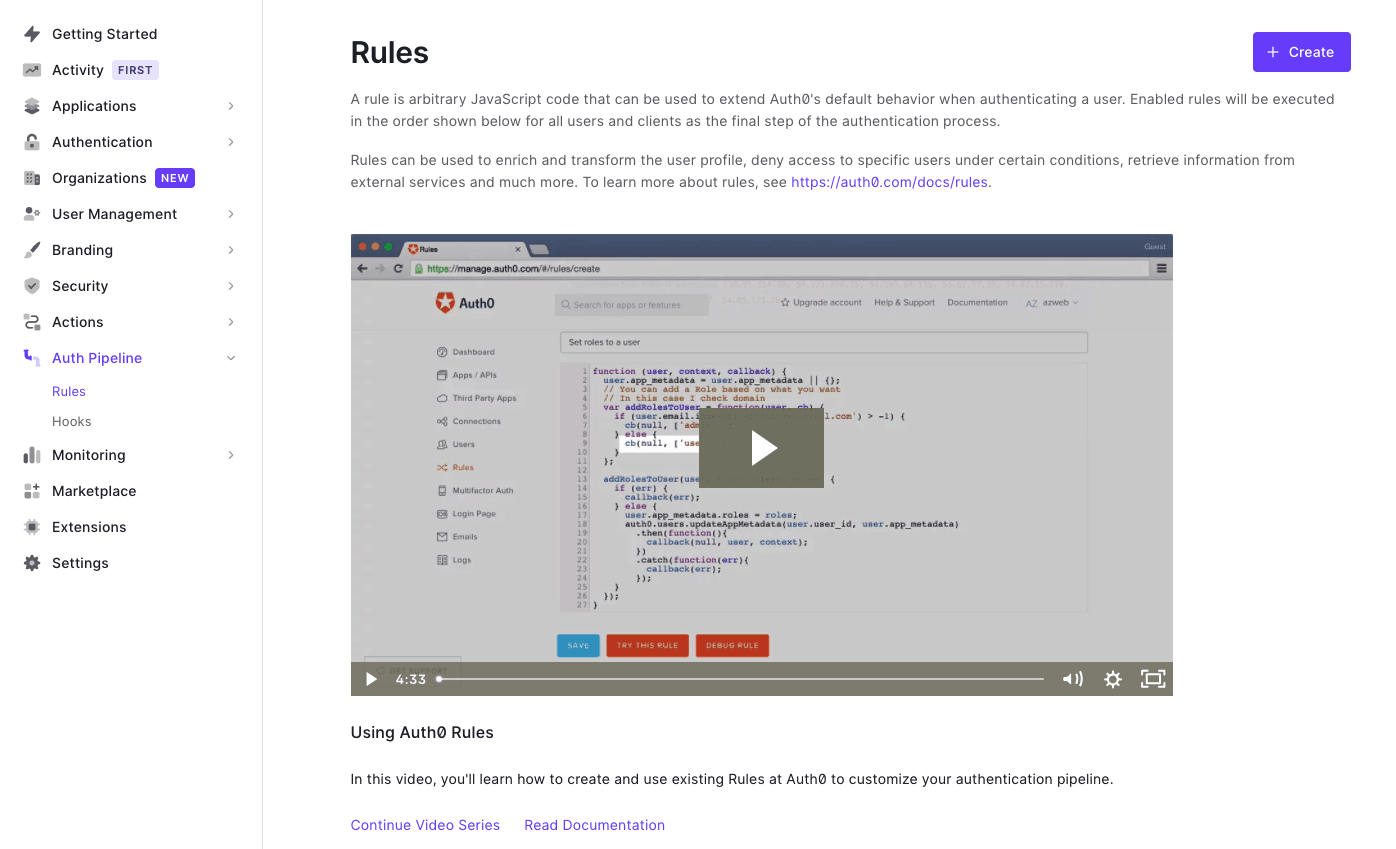
- In the Auth Pipeline section, go to the Rules section, and then select Create Rule.
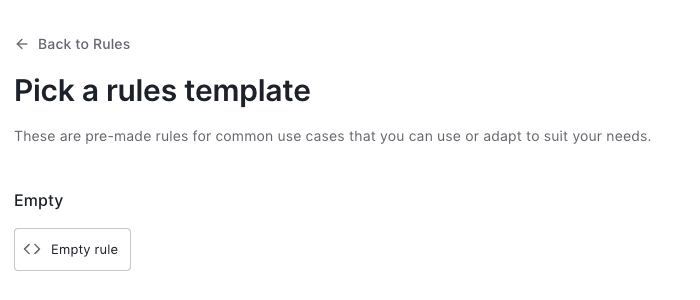
- Choose the empty rule template, at the beginning of the page.
- Set your rule name (for example, “SAML attribute mapping”) and then paste the following JavaScript code in the online editor. Then, click Save.
This script configures the Stripe roles you want to support in the Stripe Dashboard per Stripe account. You must include your team members’ roles as an attribute statement in any assertion that you send to Stripe. You can dynamically assign your team members different sets of roles per Stripe account. In the snippet example provided, Stripe assigns a newly signed-in user the default role view_. If a user’s assertion doesn’t contain any role attribute statements, that user can’t log in through their identity provider.
function (user, context, callback) {
  // If there's no user app_metadata, create it.
  if (typeof (user.app_metadata) === 'undefined') {
    user.app_metadata = {};
  }

  // If the user doesn't have roles for the account, add a default value.
  if (typeof (user.app_metadata.) === 'undefined') {
    user.app_metadata. = ['view_only'];
  }

  // Add a mapping from app_metadata to the required SAML attribute.
  context.samlConfiguration.mappings = {
    "Stripe-Role-": "app_metadata."
  };

  callback(null, user, context);
}
- Go to the Users tab, where you can assign team member roles for your application.
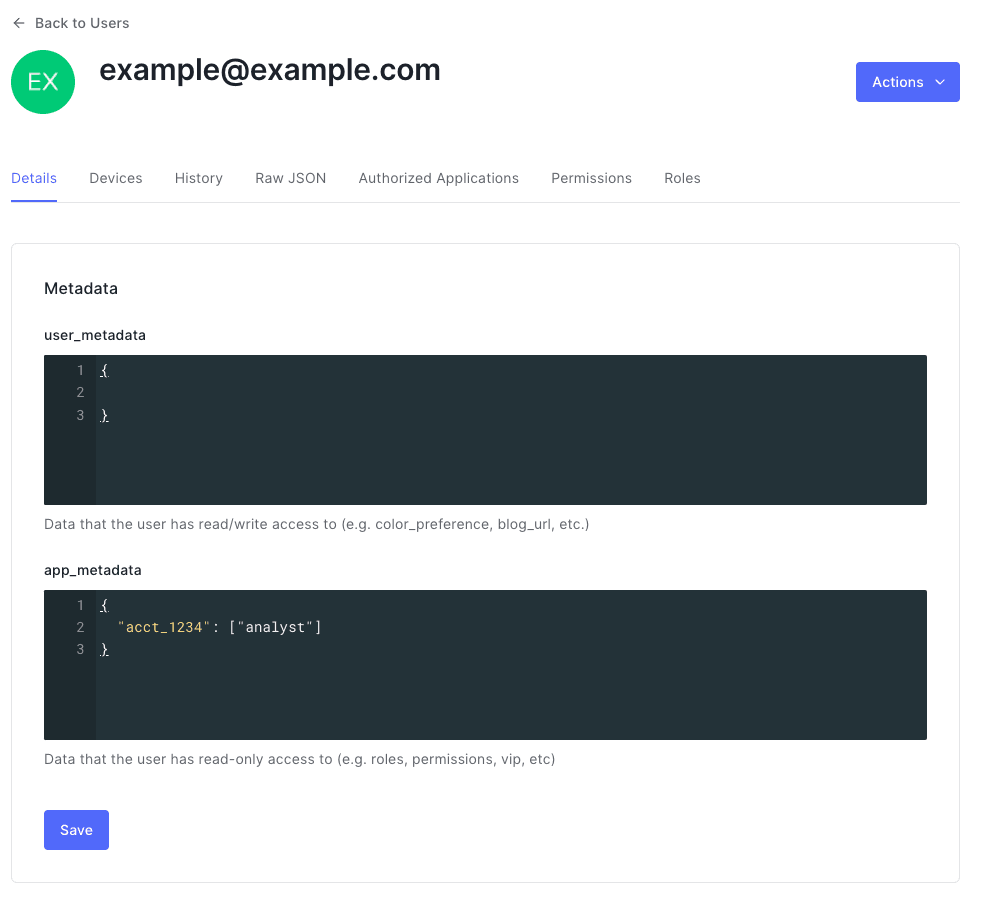
You can also override the Stripe Dashboard roles for your team members by updating the app_ field on Auth0. Set the metadata value to the roles for your team members. Add entries for each Stripe account that needs access.
Stripe supports the following roles. Some of these roles are only available if your account uses the applicable Stripe product. For more information, see User roles supported by Stripe.
| Role | Value |
|---|---|
| Administrator | admin |
| Analyst | analyst |
| Cardholder | cardholder |
| Connect Onboarding Analyst | connect_ |
| Connect Risk Analyst | connect_ |
| Data Migration Specialist | data_ |
| Developer | developer |
| Dispute Analyst | dispute_ |
| Financial Connections Specialist | financial_ |
| IAM Admin | iam_ |
| Identity Analyst | identity_ |
| Identity View only | identity_ |
| Issuing Support Agent | issuing_ |
| Opal View only | opal_ |
| Sandbox Administrator | sandbox_ |
| Sandbox User | sandbox_ |
| Super Administrator | super_ |
| Support Associate | support_ |
| Support Communications | support_ |
| Support Specialist | support_ |
| Refund Analyst | refund_ |
| Tax Analyst | tax_ |
| Terminal Specialist | terminal_ |
| Top-up Specialist | topup_ |
| Transfer Analyst | transfer_ |
| View only | view_ |
Multiple Stripe accounts
If you have team members with multiple Stripe accounts, update the JavaScript rule to handle several accounts.
function (user, context, callback) {
  // If there's no user app_metadata, create it.
  if (typeof (user.app_metadata) === 'undefined') {
    user.app_metadata = {};
  }

  // If the user doesn't have roles for the accounts, add a default value.
  if (typeof (user.app_metadata.acct_1234}) === 'undefined') {
    user.app_metadata.acct_1234} = ['view_only'];
  }
  if (typeof (user.app_metadata.acct_5678}) === 'undefined') {
    user.app_metadata.acct_5678} = ['view_only'];
  }

  // Add a mapping from app_metadata to the required SAML attribute.
  context.samlConfiguration.mappings = {
    "Stripe-Role-acct_1234": "app_metadata.acct_1234"
    "Stripe-Role-acct_5678": "app_metadata.acct_5678"
  };

  callback(null, user, context);
}
In the user profiles, add one entry per account in the app_ field.
The following example shows user app metadata that is associated with two Stripe accounts. The team member has both analyst and developer roles for the first account, and the role view_ for the second account.
{
  "acct_1234": [
    "analyst",
    "developer"
  ],
  "acct_5678": [
    "view_only",
  ]
}
You can find the list of account tokens in the Accounts section of your Personal details settings.
Configuring Stripe
Configure your Stripe account to connect to your identity provider from the Single sign-on (SSO) page.
To configure Stripe to connect to your identity provider you need:
- Issuer ID: An identifier of your identity provider.
- Identity provider URL: The URL of your identity provider that your team members are redirected to, so they can authenticate.
- Identity provider certificate: The X.509 certificate that your identity provider uses to sign assertions.
Find these values in your identity provider
In Auth0, go to the settings in the Applications menu. Select your application name, then go to the Addons tab, select the SAML2 button, then select the Usage tab.
| Name of property in Stripe | Name of property in Auth0 |
|---|---|
| Issuer ID | Issuer |
| Identity provider URL | Identity Provider Login URL |
| Identity provider certificate | Auth0 certificate |
Test your configuration
Before saving your settings, a test runs to validate your SSO integration. After you click the Test button, a window opens in your browser that redirects to your identity provider to sign in. After you sign in, the window automatically closes and test results display on the original page.
If the test succeeds, you can save the settings, and select an enforcement mode. If the test fails, modify your configuration to address the issues reported and test the integration again.
Select an enforcement mode for SSO
When using SSO, there are three separate enforcement modes that you can choose from. These affect which methods of authentication your team members can use.
| Mode | SSO authentication allowed | Regular authentication allowed |
|---|---|---|
| Off | No | Yes |
| Optional | Yes | Yes |
| Required | Yes | No |
Authenticate with SSO
After you finish configuring SSO, inform your users that they can sign in with any of these methods:
Stripe sign-in page
Users can go to the Stripe sign in page, enter their email, then select Sign in with SSO.
If a user has access to multiple accounts, Stripe authenticates them with the default account connected to the user. If a user only has access to SAML accounts, or doesn’t have access to any accounts, Stripe redirects them to the IdP, regardless of the contents in the password field.
IdP-initiated login
To use IdP-initiated login, your IdP needs to support Service Provider-initiated login. Verify if this is possible using your IdP’s documentation.
SSO URL
Use the following login URL with your domain to directly sign in to your account with SSO. This URL includes the domain and account you want to use for SSO authentication. If you change the account token at the end of the URL, it authenticates you against a different account.
https://dashboard.stripe.com/login/saml_direct/domain/{{YOUR_DOMAIN}}/merchant/{{STRIPE_ACCOUNT_ID}}
Support for multiple Stripe accounts
If you’re configuring SSO for multiple Stripe accounts, first create an organization to centrally configure SSO across all of your accounts. You can change the account token at the end of the SSO URL to authenticate against another account. You can find the list of account tokens in the Accounts section of your Personal details settings.
Multiple IdP connections: If you have multiple Stripe businesses with multiple IdP settings (for example, different SAML endpoints or issuer IDs) but share the same domain, we recommend using login URLs.
Revoke team member access
You can revoke a team member’s access using either active or passive methods.
Actively revoke access with an assertion
Send Stripe an assertion from your identity provider to grant a team member access to specific Stripe accounts. This also lets you revoke a team member’s access. To revoke access for a team member, assign them a role of none for the Stripe account’s access you want to revoke. For example:
<saml2:Attribute Name="Stripe-Role-STRIPE-ACCOUNT-ID" NameFormat="urn:oasis:names:tc:SAML:2.0:attrname-format:basic">
  <saml2:AttributeValue>none
  </saml2:AttributeValue>
</saml2:Attribute>
Caution
You can’t revoke access for the owner of a Stripe account.
Passively revoke access with enforcement mode
When enforcement mode is set to required, only team members who can authenticate with your identity provider can access your Stripe account. In required mode, you can revoke a team member’s access to a Stripe account by preventing your identity provider from authenticating them. In the Stripe Dashboard, set SSO to required in Single sign-on (SSO).