Using OAuth with Standard accounts
Use the OAuth connection flow to allow a Stripe user to connect to your platform.
OAuth is not recommended for new Connect platforms. We recommend using Connect Onboarding for Standard accounts instead.
Starting in June 2021, Platforms using OAuth with read_ scope won’t be able to connect to Standard accounts that are controlled by another platform.
Extensions will not experience any changes to how OAuth behaves. Learn more about OAuth changes for platform-controlled Standard accounts.
The OAuth connection flow
A user connects to your platform using the following OAuth connection flow:
- From a page on your site, the user clicks a link that redirects them to Stripe, passing along your platform’s
client_.id - On Stripe’s website, the user provides the necessary information for connecting to your platform.
- The user is redirected to your site, along with an authorization code.
- Your site then makes a request to Stripe’s OAuth token endpoint to complete the connection and fetch the user’s account ID.
Note
As a platform, remember that data you create for an account (for example, charges, customers, invoices, and so on) will be visible on their Stripe account. It also means that if they connect other platforms, those platforms can access this data too.
Create the OAuth link
To start your integration, go to your Connect OAuth onboarding options and:
- Enable onboarding accounts with OAuth in the OAuth settings.
- Copy your
client_, a unique identifier for your platform that’s generated by Stripe.id - Set your
redirect_, the URL which your user will be redirected to after connecting their account. You must specify all redirect URLs in your platform settings. If you do not include theuri redirect_parameter in your request, Stripe defaults to using the first address you have configured in your platform settings.uri
Stripe also provides a client_id to help with testing. Each client_ is either a live or test ID. Use a Sandbox client_ to connect to a Sandbox account.
With these pieces of information in hand, you’re ready to create the OAuth link. We recommend showing a Connect with Stripe button that sends users to the authorize_ endpoint:
https://connect.stripe.com/oauth/authorize?response_type=code&client_id=ca_FkyHCg7X8mlvCUdMDao4mMxagUfhIwXb&scope=read_write
The Stripe endpoint should receive at least these three parameters:
response_, with a value of codetype - Your
client_id scope, with a value of read_write
The scope parameter dictates what your platform can do on behalf of the connected account, with read_only being the default.
To prevent CSRF attacks, add the state parameter, passing along a unique token as the value. We’ll include the state you gave us when we redirect the user back to your site. Your site should confirm the state parameter hasn’t been modified.
Here’s how the above URL can be presented to your user to begin the connection, along with our Connect with Stripe button:
Connect withCustomise onboarding with OAuth parameters
You can change the behaviour of the onboarding flow by including additional URL parameters in your OAuth link. A complete list of available parameters is available in the OAuth reference.
User creates or connects their account
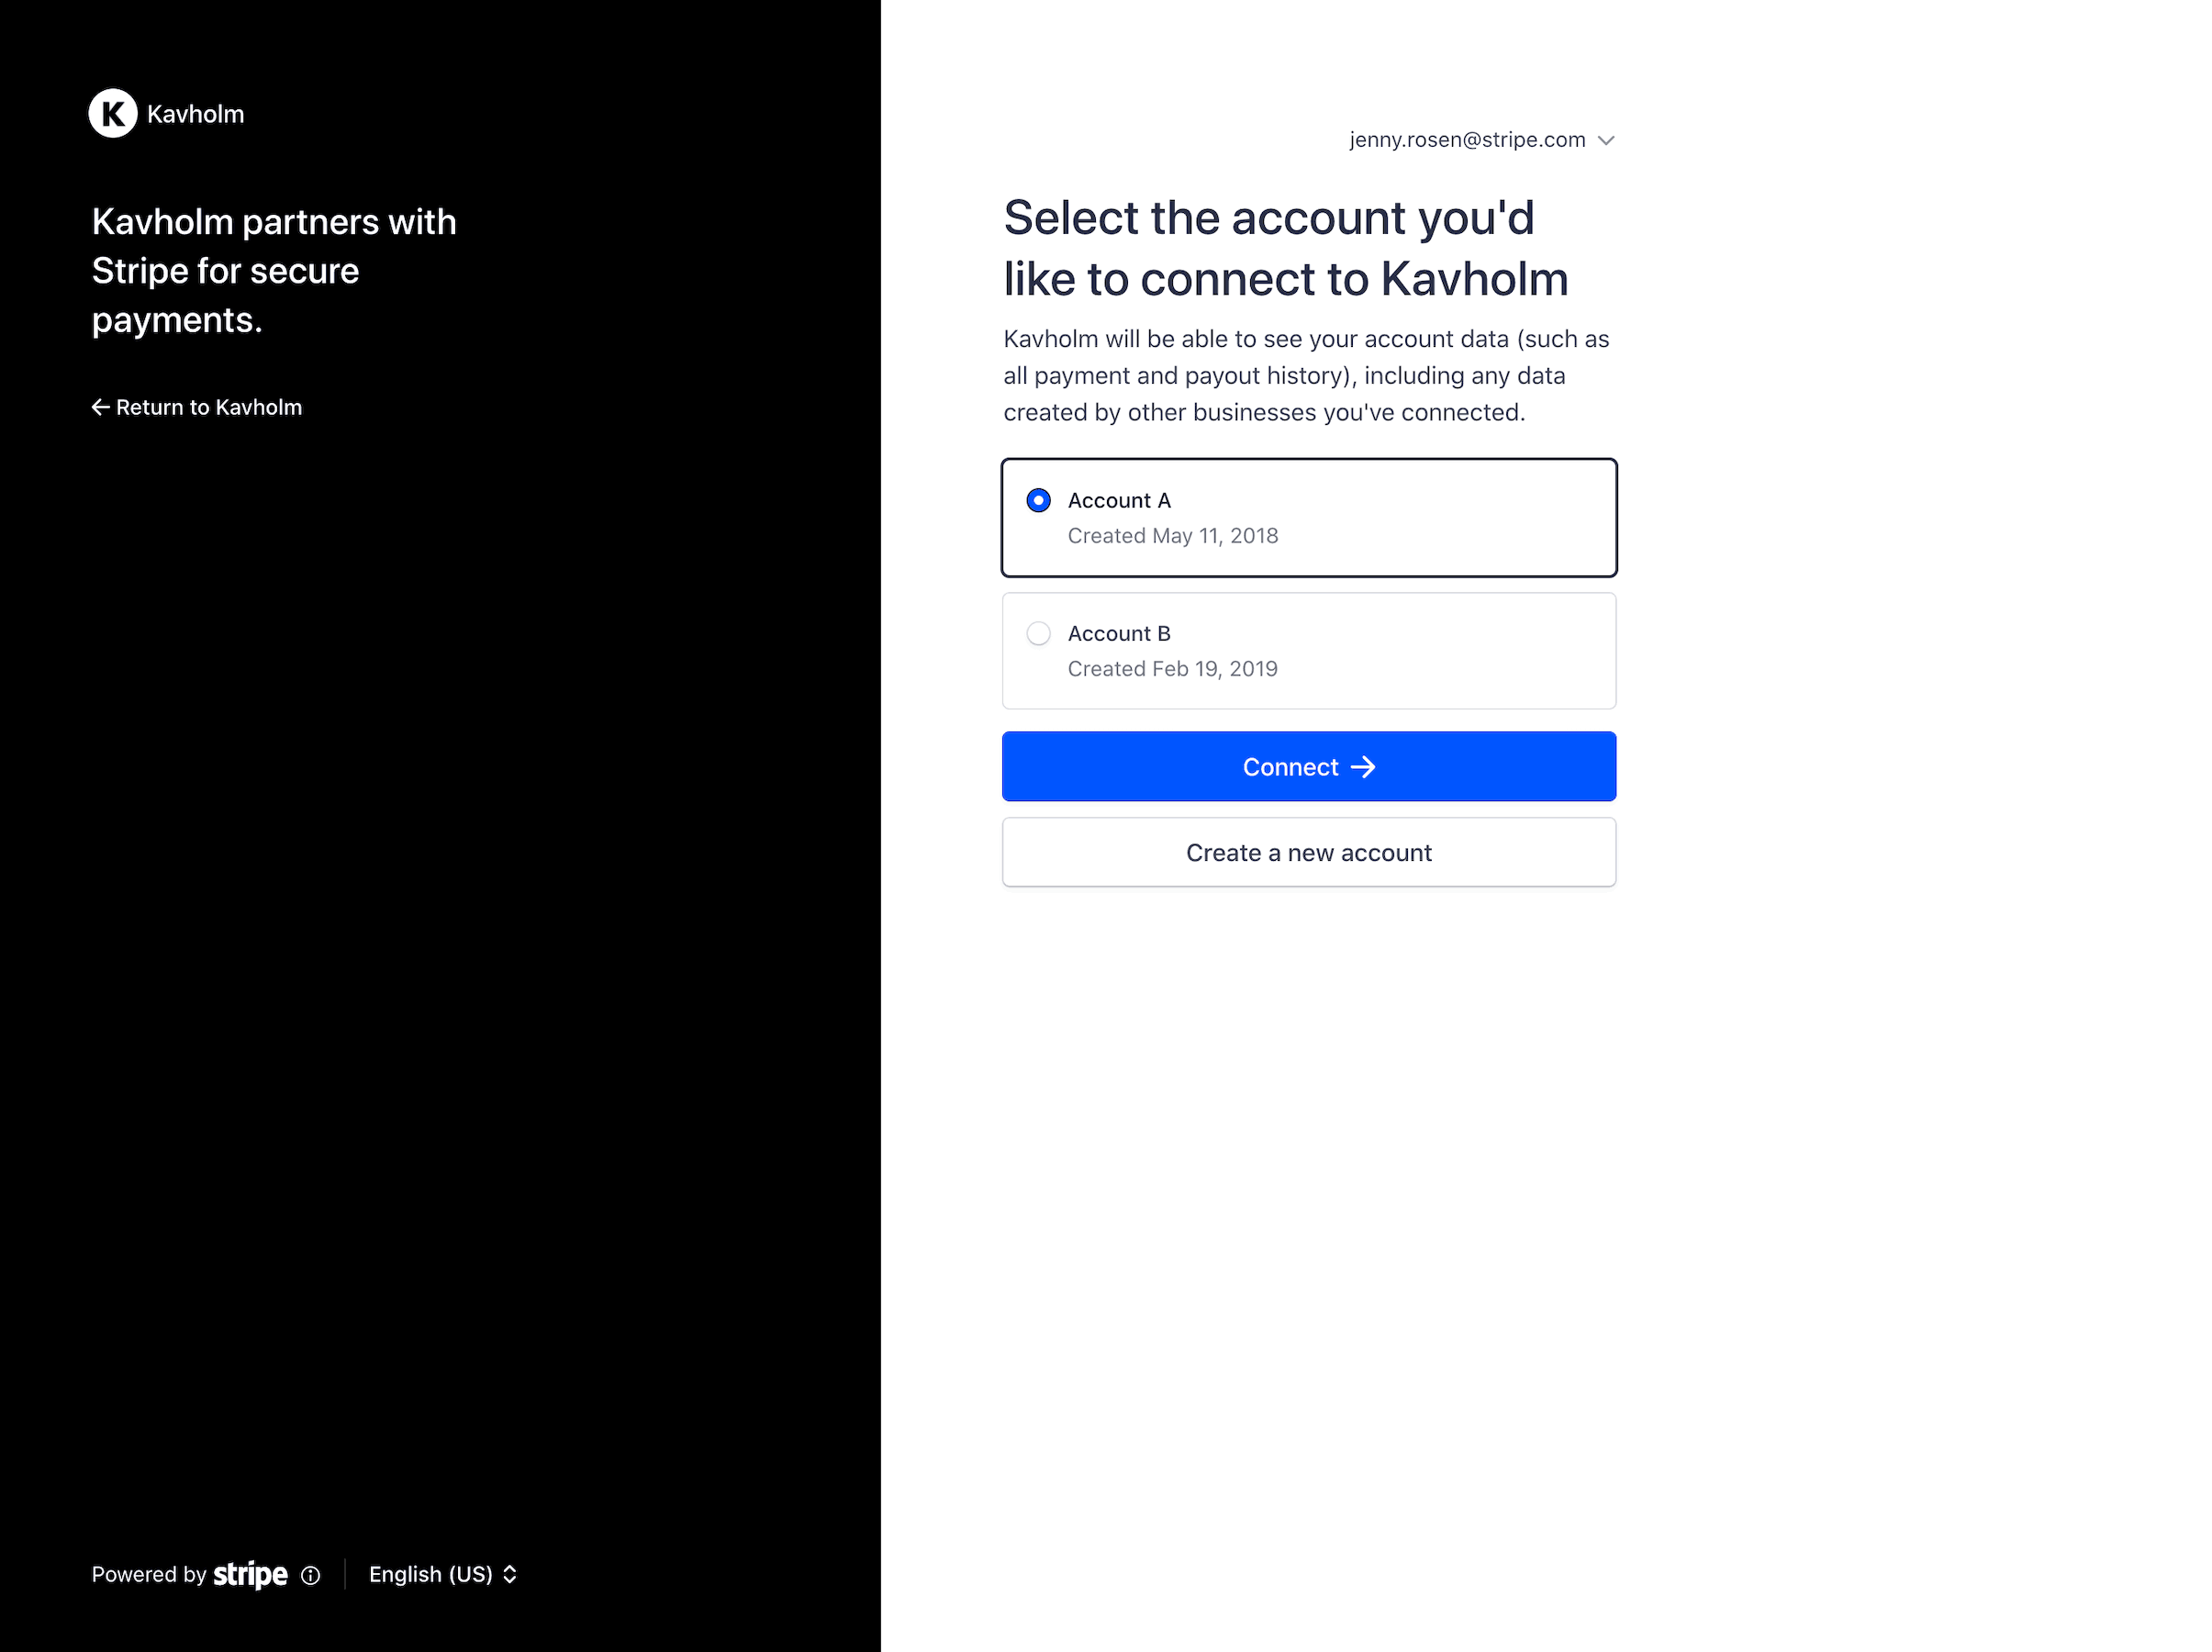
After the user clicks the link on your site, they’ll be taken to Stripe’s website where they’ll be prompted to allow or deny the connection to your platform.
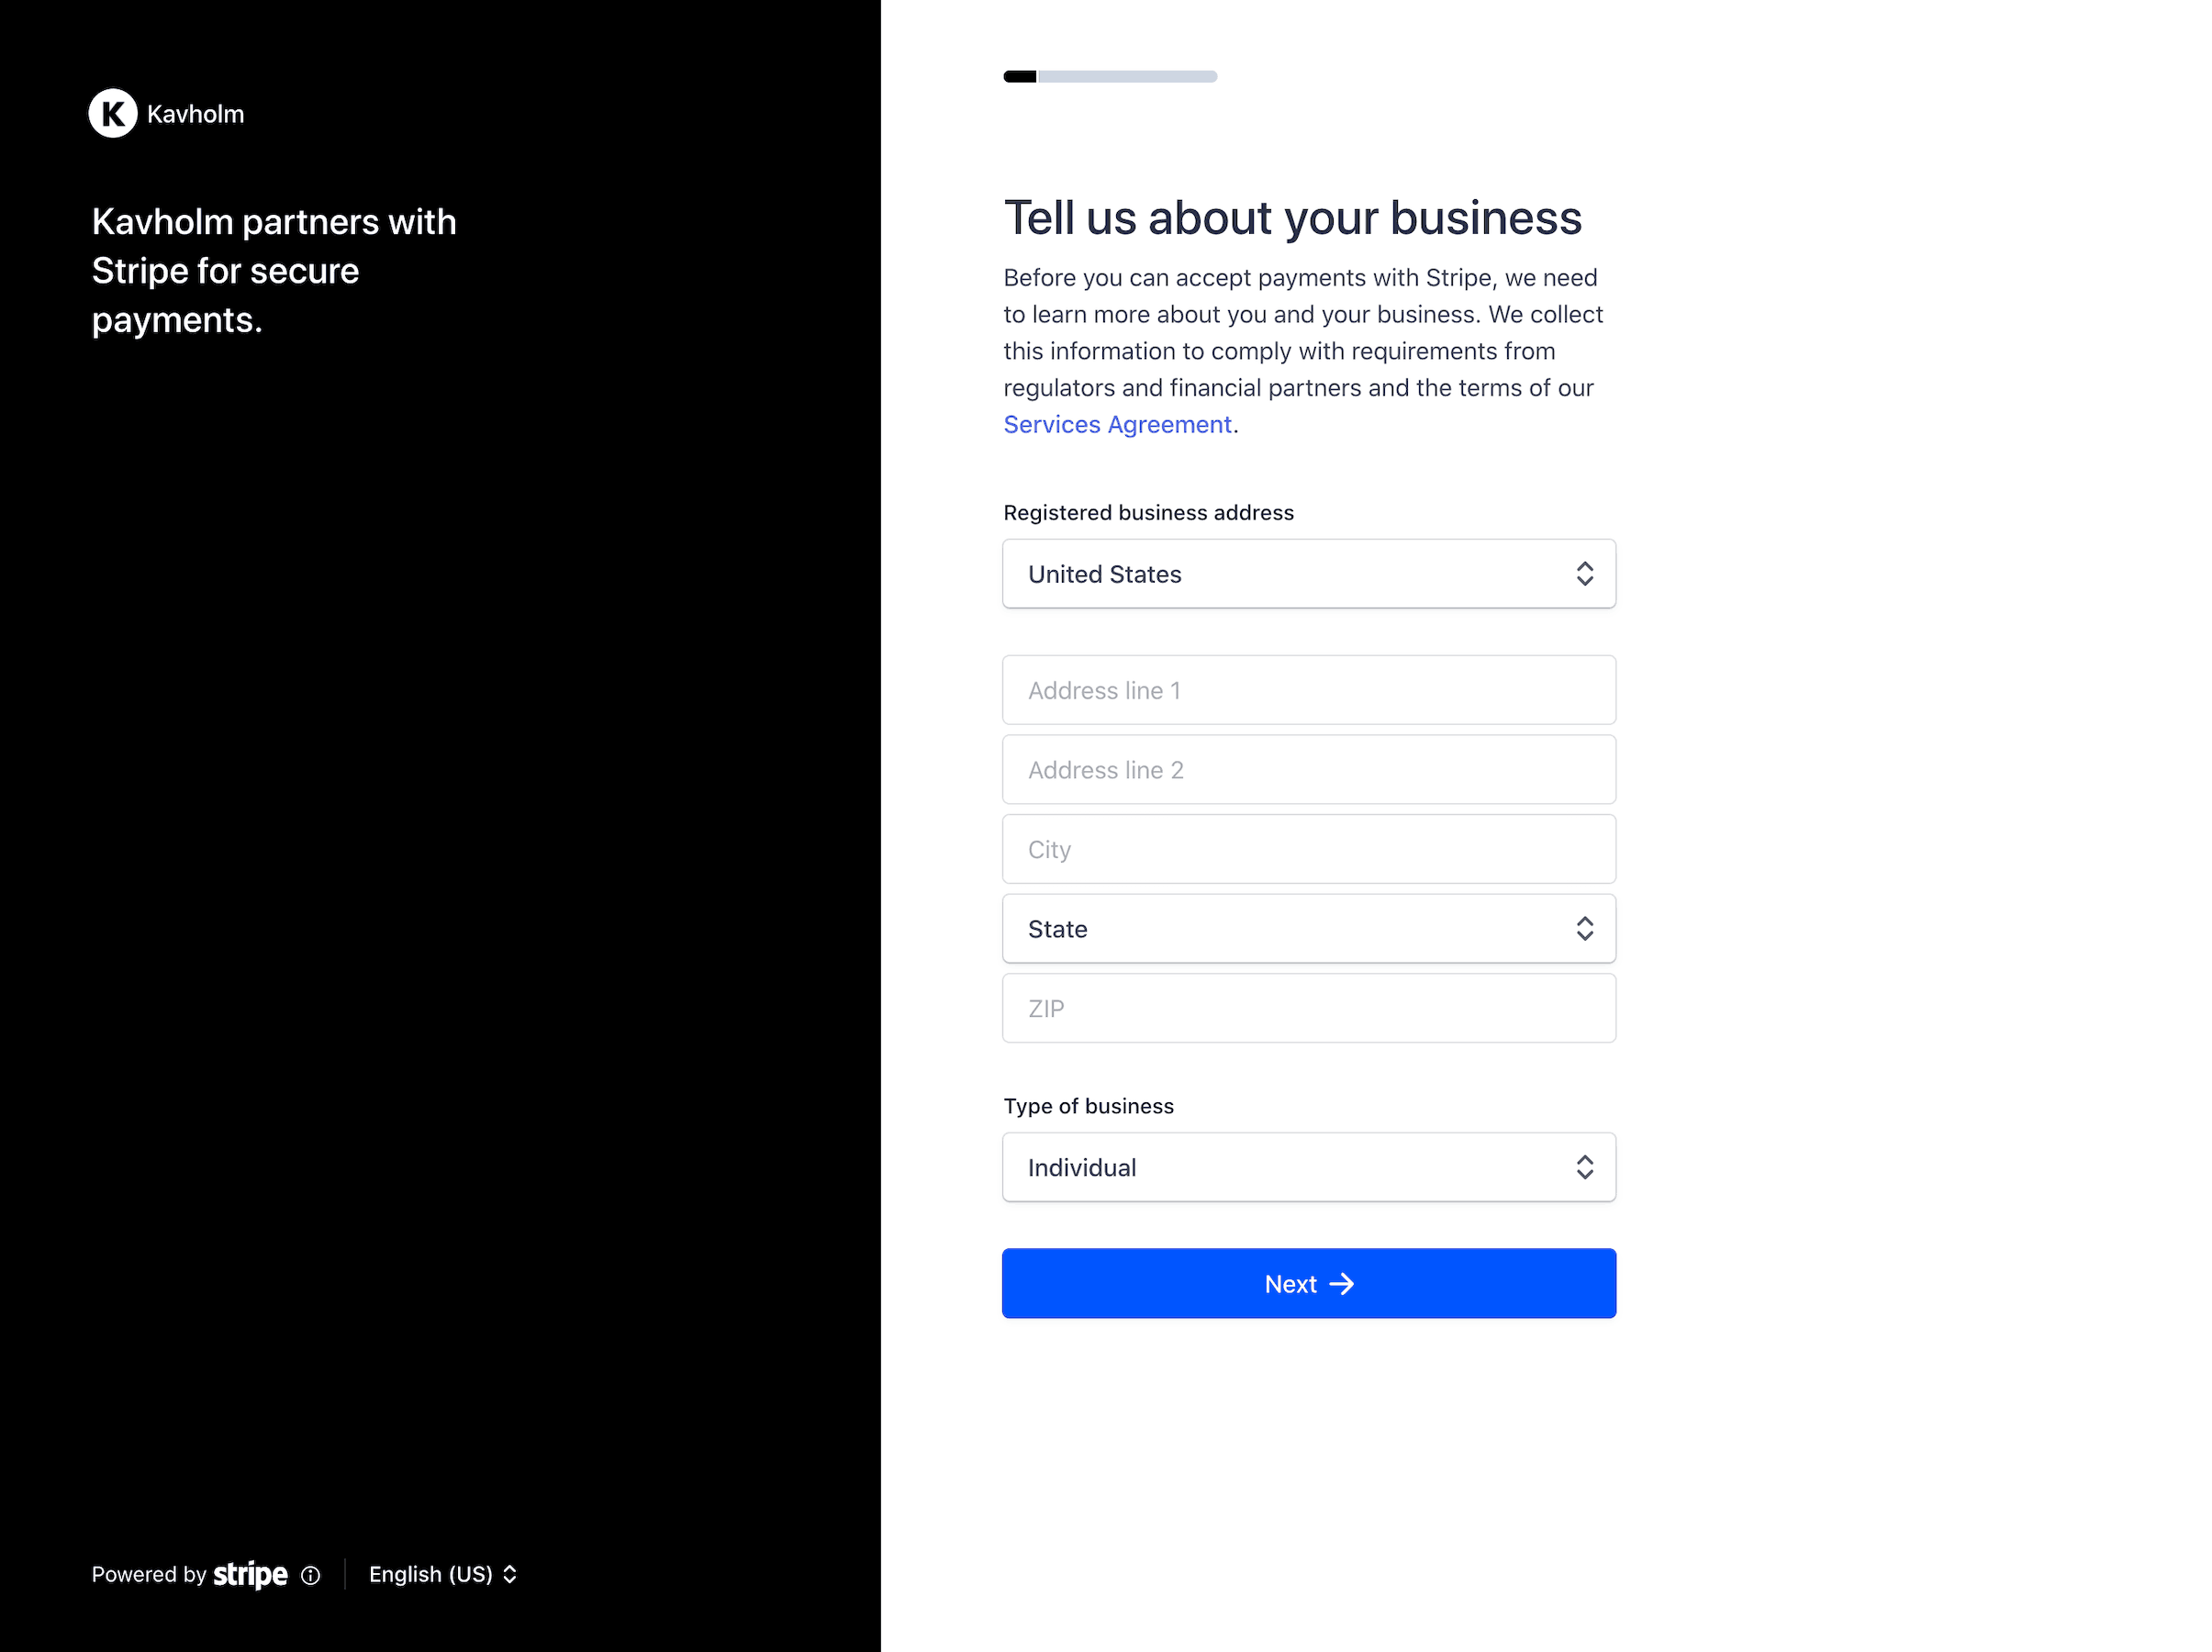
The process of creating a Stripe account is incorporated into our authorization flow. You don’t need to worry about whether or not your users already have accounts.

The user is logged in and can choose an account to connect to your platform directly.

The user needs to create an account.
User is redirected back to your site
After the user connects their existing or newly created account to your platform, they’re redirected back to your site, to the URL established as your platform’s redirect_.
For successful connections, we’ll pass along in the URL:
- The
scopegranted - The
statevalue, if provided - An authorization code. The authorization code is short-lived, and can be used only once, in the POST request described in the next step.
If the authorization was denied by the user, they’ll still be redirected back to your site, but the URL includes an error instead of the authorization code:
Platform completes the account connection
Include the provided authorization code in a POST request to Stripe’s token endpoint to complete the connection and fetch the user’s account ID:
Note that you’ll make the request with your live or test secret API key, depending on whether you want to get a live or test access token back.
Stripe returns a response that includes the account ID (stripe_) for the user:
{ "token_type": "bearer", "scope": "read_write", "livemode": false, "stripe_user_id":, }"{{CONNECTED_ACCOUNT_ID}}"
If there was a problem, we instead return an error:
{
  "error": "invalid_grant",
  "error_description": "Authorization code does not exist: {AUTHORIZATION_CODE}"
}
You’ve finished! The user is now connected to your platform. Store the stripe_ in your database; this is the Stripe account ID for the new account. You’ll use this value to authenticate as the connected account by passing it into requests in the Stripe-Account header.
In your application, you might want to consider using a dedicated OAuth client library to simplify these steps. To find an OAuth library for your language or framework, you can refer to the list of client libraries on the OAuth website.
The refresh_ can be used to generate test access tokens for a production client_ or to roll your access token. You should hold on to this value, too, as you’re only able to get it after this initial POST request.
Note
Store the received account ID! Platforms need this information to perform requests on the user’s behalf.
Revoked and revoking access
An account. event occurs when a user disconnects your platform from their account. By watching for this event through webhooks, you can perform any necessary clean-up on your servers.
To disconnect an account with access to the Stripe Dashboard from your platform, POST your client_ and the connected account’s ID to connect.:
You can use the API on your user’s behalf to accept payments, set up recurring billing, fetch account data, and so on.