Installing Stripe for Salesforce Billing
Learn how to install Stripe for Salesforce Billing including the prerequisites.
Before you begin
Before you can install and configure the Stripe app for Salesforce Billing managed package, you have to install the Salesforce CPQ and Salesforce Billing managed packages. The package install links for both apps are available in the Salesforce Quote-to-Cash install website, and the configuration instructions for each package are in the following sections.
Install Salesforce CPQ
To install the Salesforce CPQ package, you must apply the Salesforce CPQ License permission set license to the user that will install the package in your organization.
Navigate to the Salesforce Quote-to-Cash website, scroll down to the Salesforce CPQ package installation links, and select the most recent release. If you’re installing into a sandbox environment, click the Sandbox link. If you’re installing into a production environment, click the Production link. You might be prompted to log into your Salesforce organization if you haven’t logged in previously.
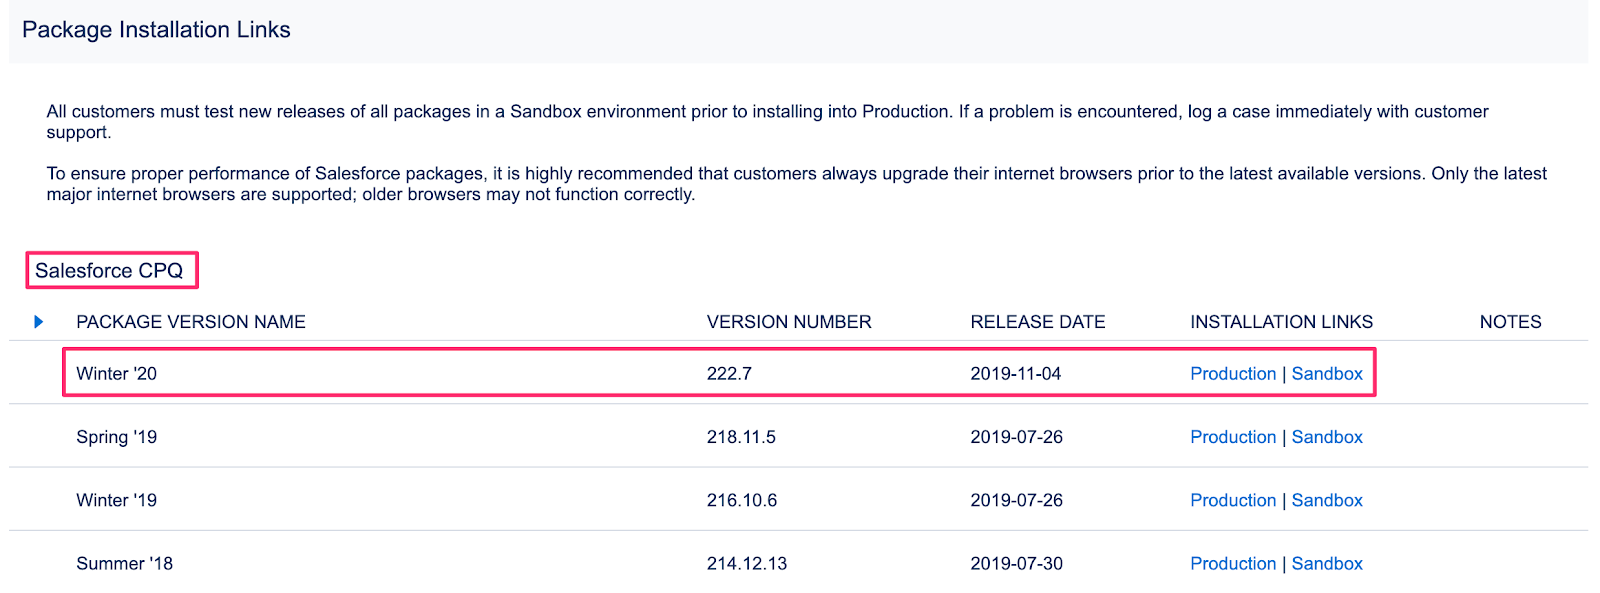
The Salesforce CPQ installation links
Next, make sure that Install for All Users is selected and click Install.

Salesforce CPQ install for all users
You’ll be asked to approve access to and from third-party websites. Check the Grant Access checkbox and click Continue.
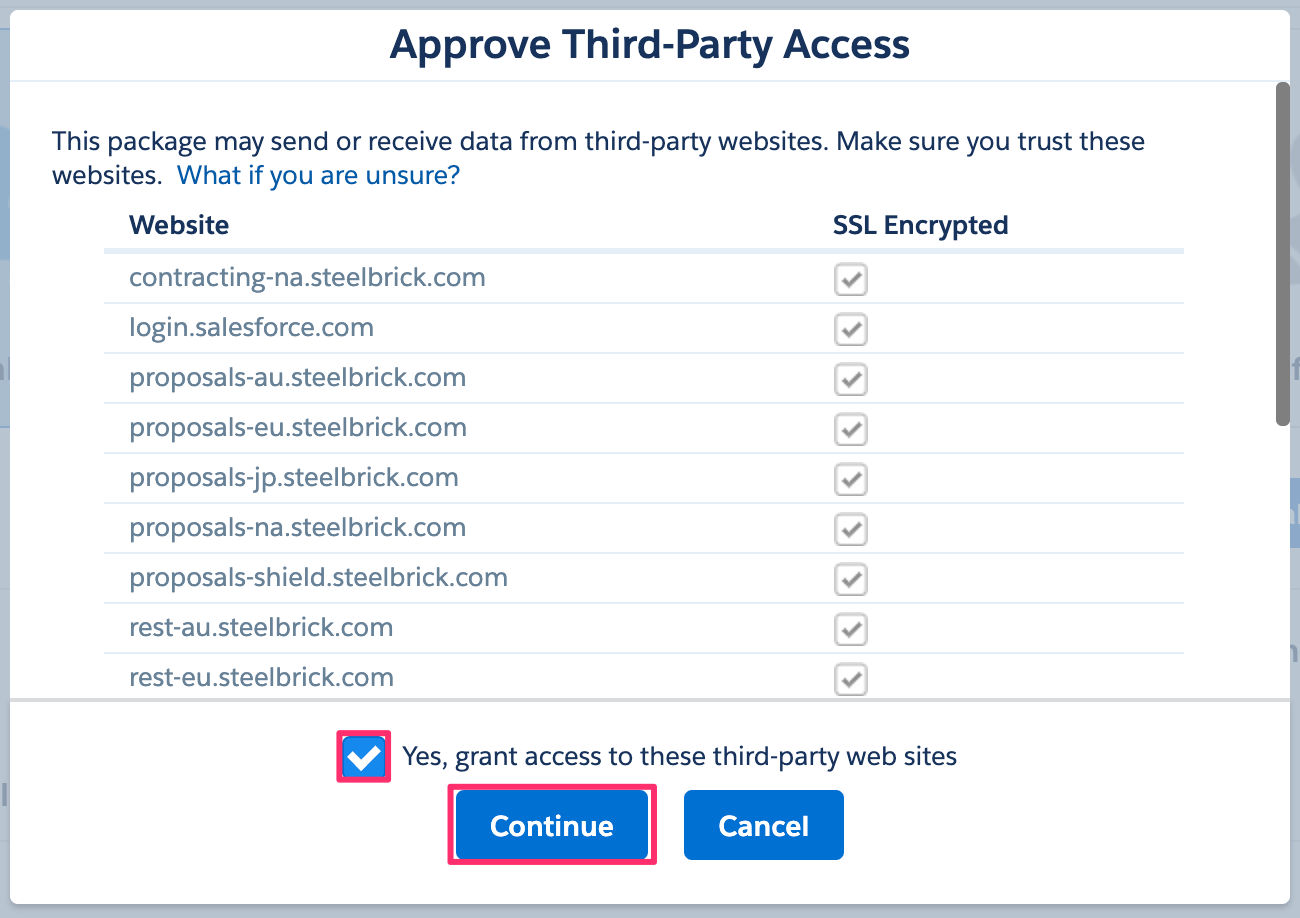
Approving third-party access for Salesforce CPQ
If successful, you’ll receive an email telling you Salesforce CPQ is installed. After you receive the email, go to Setup > Apps > Packaging > Installed Packages and click Configure on Salesforce CPQ.
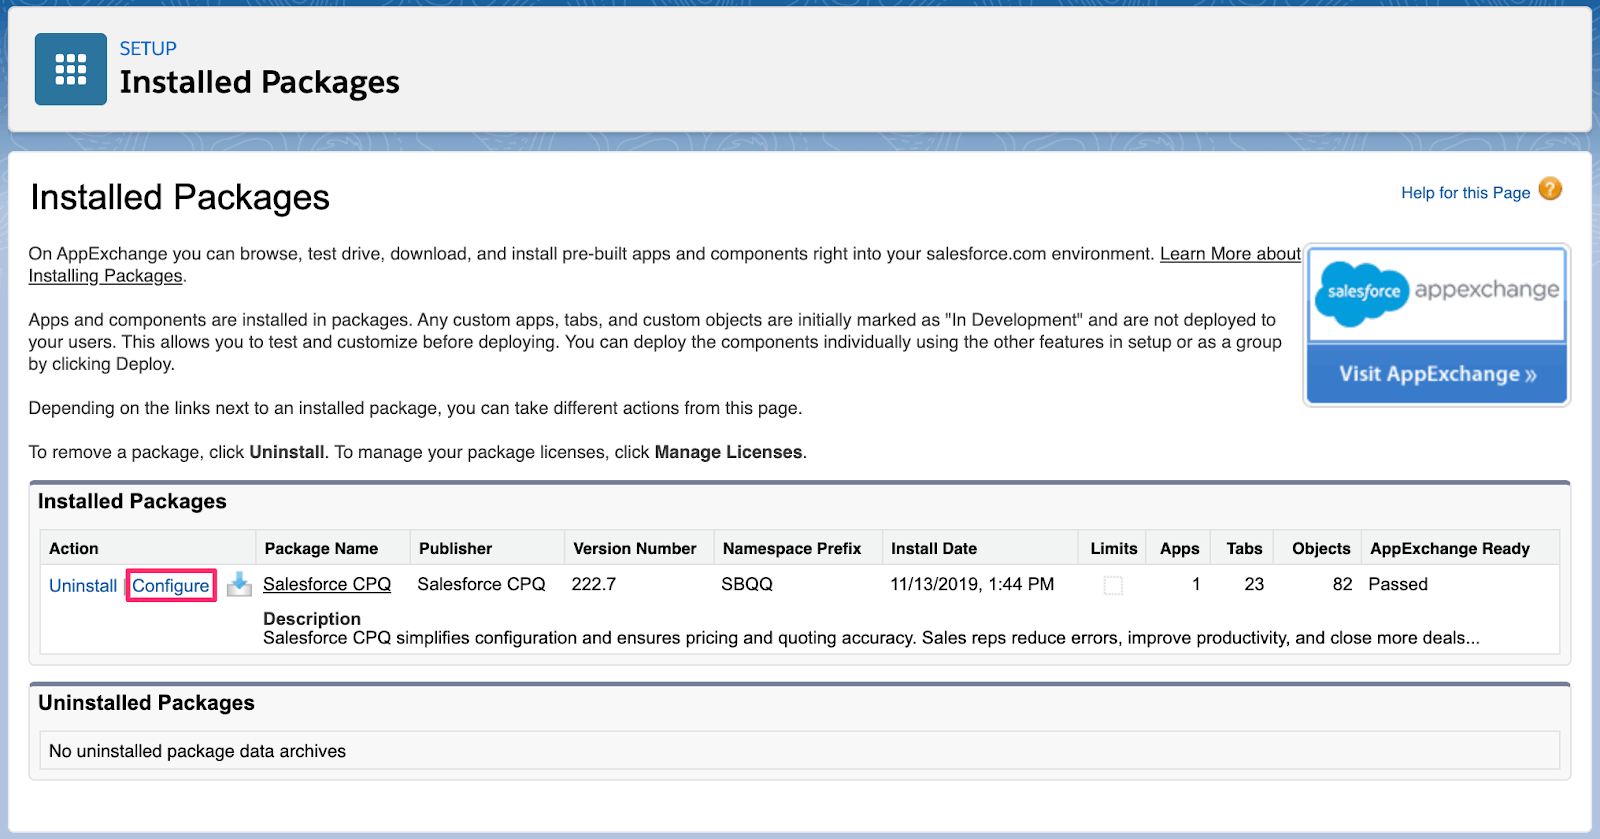
Salesforce installed packages
Click the Pricing and Calculation tab and click Authorize new calculation service.
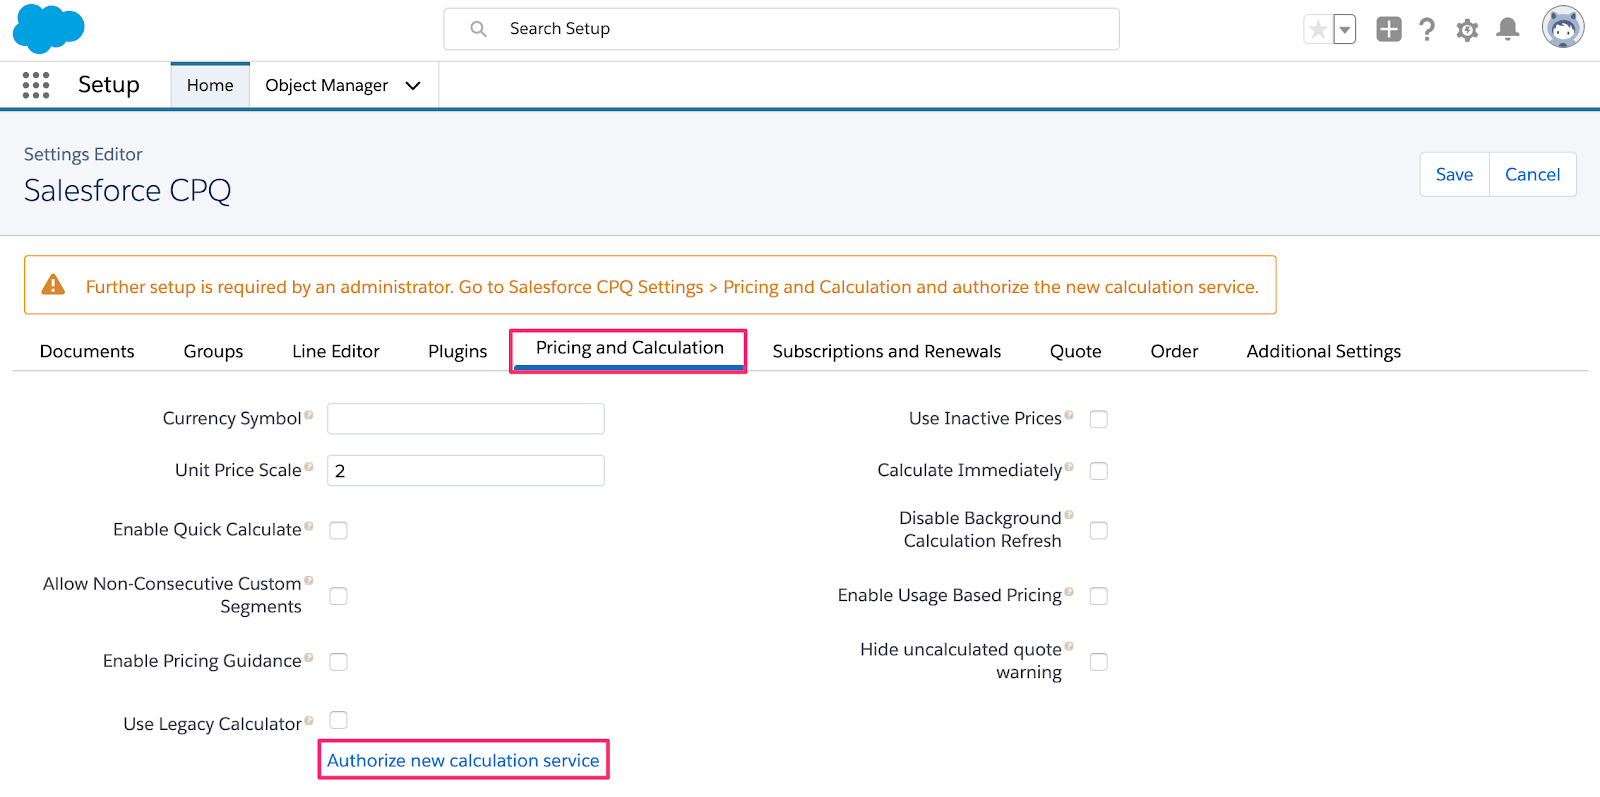
Salesforce CPQ pricing and calculation configuration
As an optional but recommended step, click the Order tab, then check the Allow Multiple Orders checkbox and set the Default Order Start Date to Quote Start Date. After setting those fields, click Save.

Salesforce CPQ order configuration
For more information, see Salesforce documentation on Install Salesforce Billing.
Install Salesforce Billing
Navigate to the Salesforce Quote-to-Cash website, scroll down to the Salesforce Billing package installation links, and select the most recent release. If you’re installing it into a sandbox environment, click the Sandbox link, and if you’re installing it into a production environment, click the Production link. You may be prompted to log into your Salesforce organization if you haven’t done so previously.

The Salesforce Billing installation links
Make sure Install for All Users is selected, then click Install.

Salesforce Billing install for all users
You’ll receive an email telling you Salesforce Billing is installed. To verify, go to Setup > Apps > Packaging > Installed Packages and make sure the package is installed.
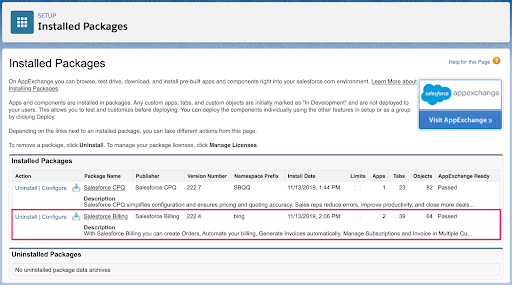
Salesforce installed packages
Install Stripe app for Salesforce Billing
After you’ve installed both prerequisite packages, you can install the Stripe app for Salesforce CPQ & Billing managed package. To learn more about integrating with Salesforce Billing using this connector, contact Stripe support.
You may be prompted to log into your Salesforce org if you haven’t done so previously.
Make sure Install for Admins Only is selected, then click Install.
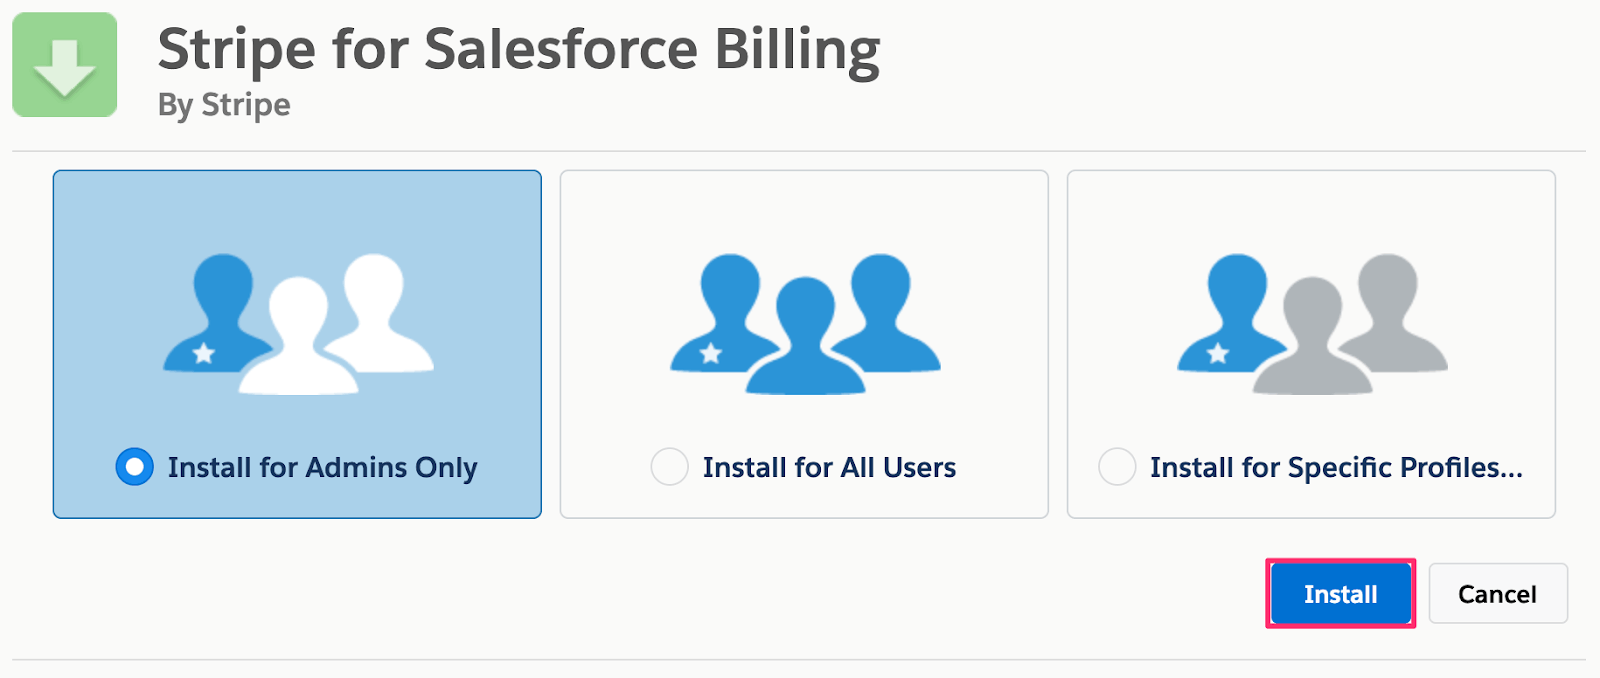
The Stripe for Salesforce Billing installation process
You’ll be asked to approve access to and from third-party websites. Check the Grant Access checkbox and click Continue.
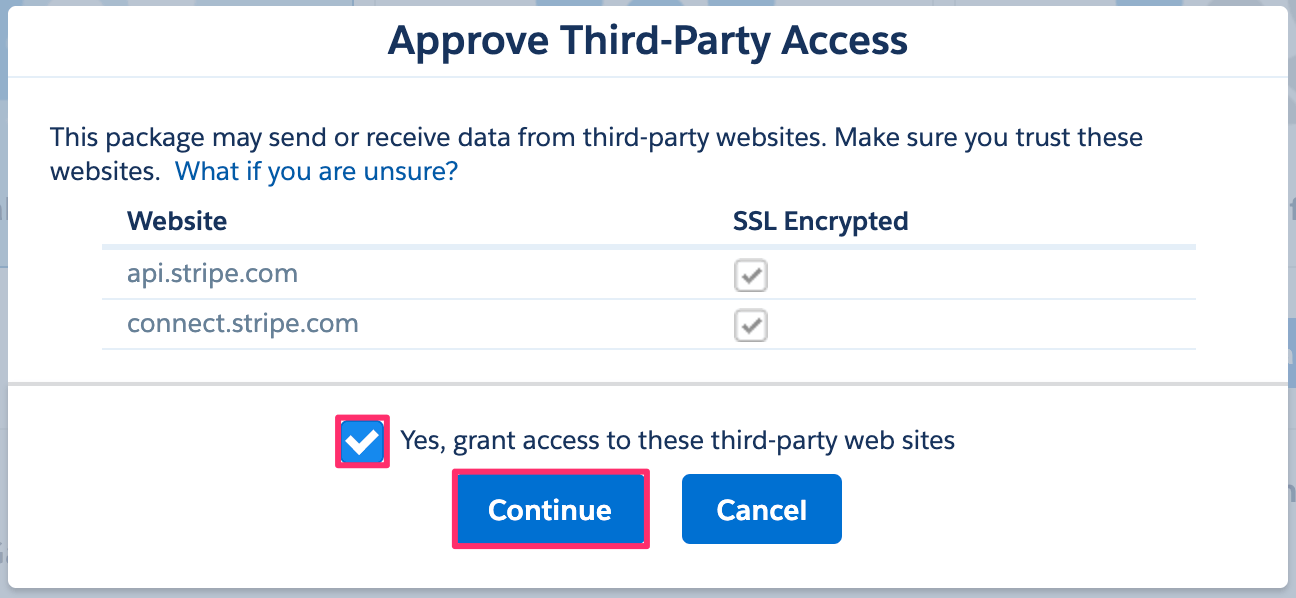
Grant third-party access to Stripe
You’ll receive an email telling you Stripe for Salesforce Billing is installed. To verify, go to Setup > Apps > Packaging > Installed Packages and make sure the package is installed.
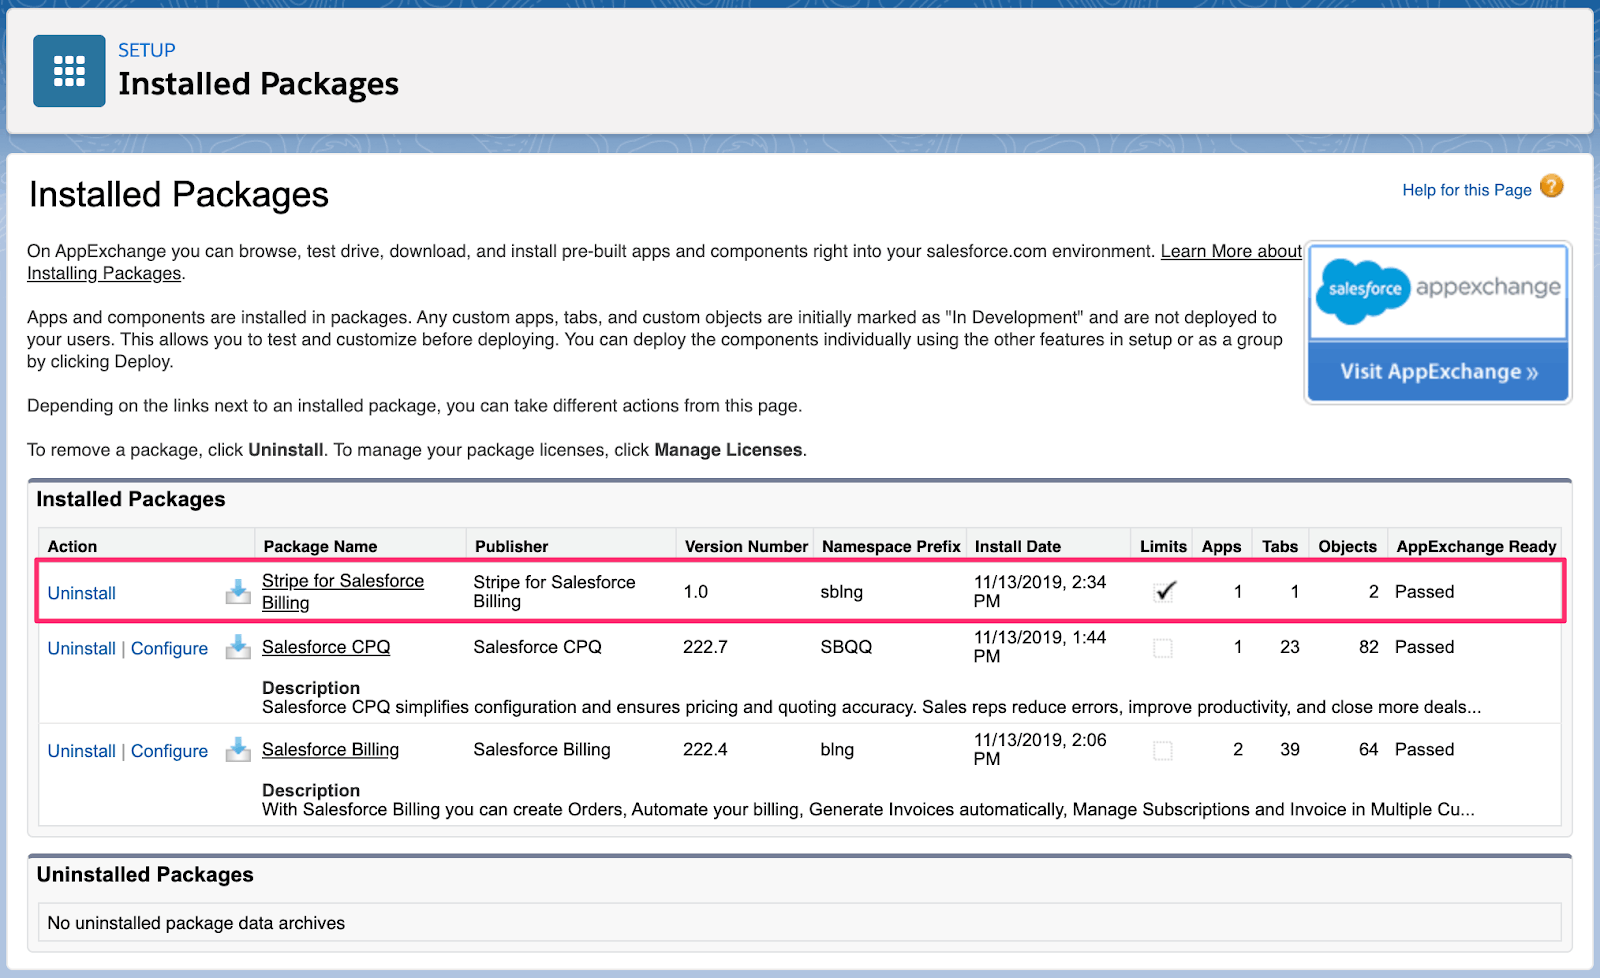
Salesforce installed packages list